Table of contents
Abstract
Christmas cards are generally made of a card stock that works well to make into little boxes that are perfect for small electronic projects. The usual size of the cards also works out to a box close to the size of the well-known Altoids tins.
Project
Intro
Have you ever built a little tech project and then not have a box handy to house the electronics?
As luck might have it, quite a few years ago I stumbled upon a how-to for turning Christmas cards into little boxes. And as it turns out, the results are better than I expected.
Christmas cards are generally made of a card stock that works well to make into little boxes that are perfect for small electronic projects.
The usual size of the cards also works out to a box close to the size of the well-known Altoids tins.
The layout of the cards also tends to be perfect for automatically decorating the new box - the front of the card is for the lid of the top, so the card design decorates the top of the box. And as it turns out, the greeting on the inside of the card ends up in the bottom inside of the box. That will get covered with electronics though.. although I suppose if you make them inside-out you'd get that on the outside bottom.
Full disclosure: I published a how-to for this kind of project box a handful of years ago as part of my Connected Christmas Trees project (see References for details). At the time, it was included as part of the bigger project. I thought I'd re-post it, as I was again making some boxes this year.
I used the excuse "I'm doing this for an element14 project" to hide my true intentions of secretly creating boxes for some fun jewelry I bought my wife for Christmas This way I could build it all right under her nose without her suspecting a thing! (It worked too!)
Anyway, she said she had also forgotten how to make these cool little boxes and said it should be shared with all of you here on element4, because they are quick and easy to make, very inexpensive, and work surprisingly well.
The materials
The materials for these project boxes are pretty much free. In my case I used some cards that were sent to me by random charities, but you could also use cards you, for example, received the year before. I suppose even birthday and other greeting cards would work really well. Besides that, a bit of tape and/or glue is all you need. For tools, just some scissors and a pencil are needed. I used a ruler, but any straight-edge will do, or even the edge of another card can be used.
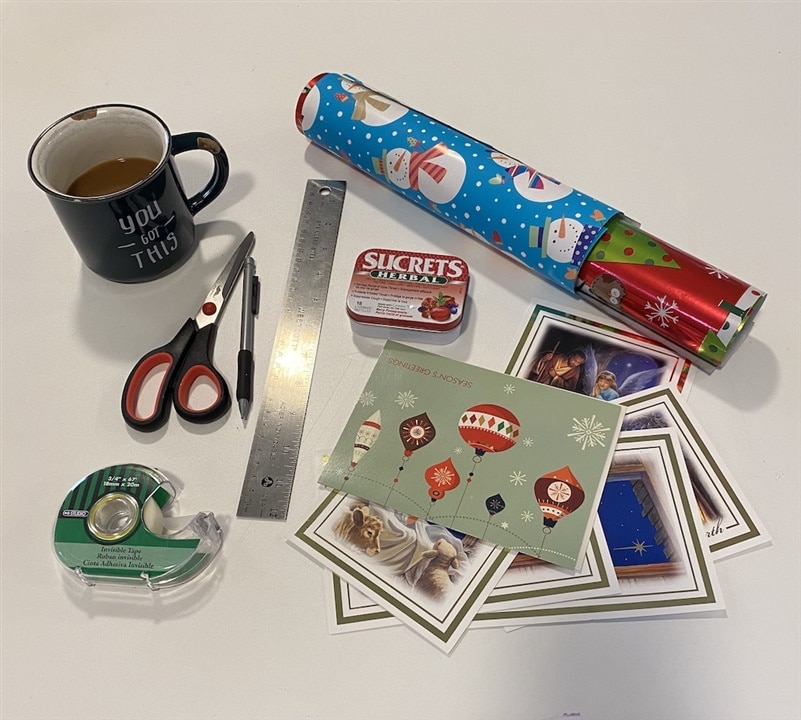
You will need one card per box. I started by using the card I liked the least, in case I screwed it up
Turns out the process is easy and very forgiving.
Step 1: Cut the card in half.
Use the pretty front of the card for the lid, and the back of the card for the bottom box.
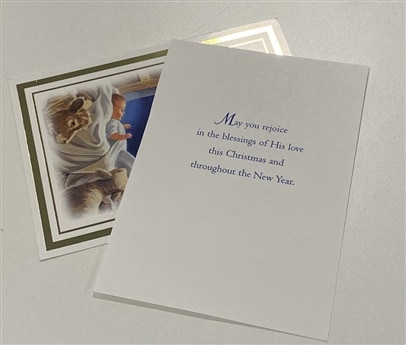
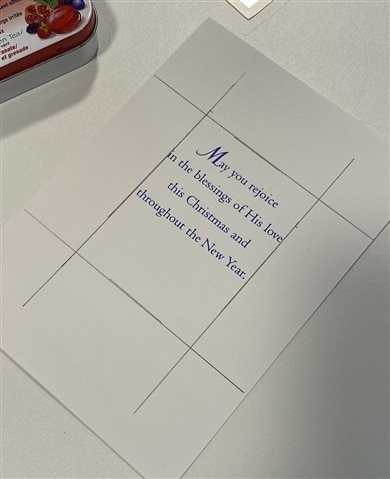
Step 2: Draw the outlines for the box bottom.
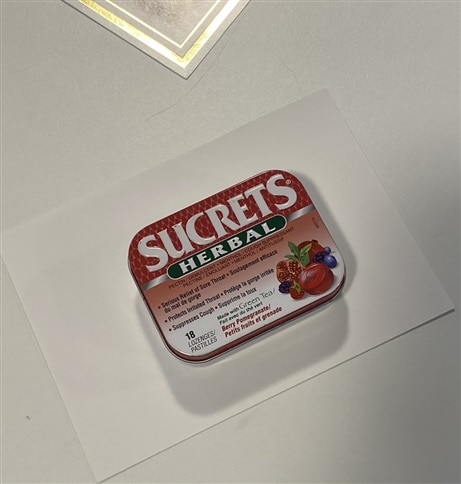
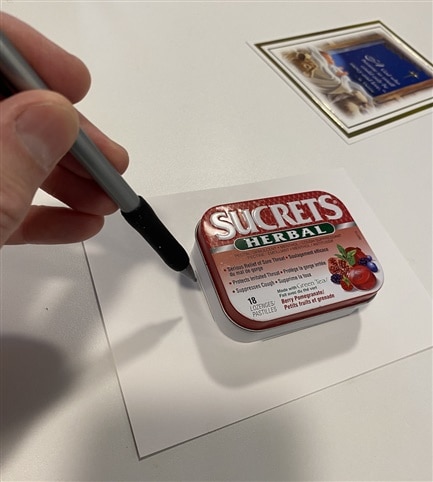
I used a Sucrets tin as a guide for sizing.
You might use an Altoids tin or any other little box or container instead, or just wing it.
You'll want to centre it somewhat, to maximize available space for the sides, and also to keep the greeting somewhat centred in the final box.
Extend the lines out as shown, which will make cutting the corner tabs easier later on.
Don't draw on the table.
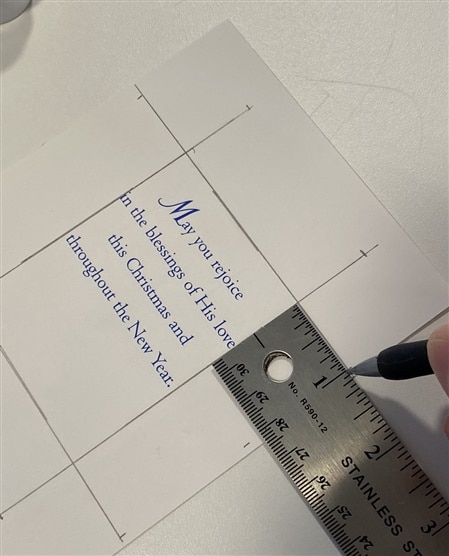
Step 3: Draw the outlines for the box sides
Measure out the height you want the box to be, then draw the lines out as shown.
Don't draw on the table.
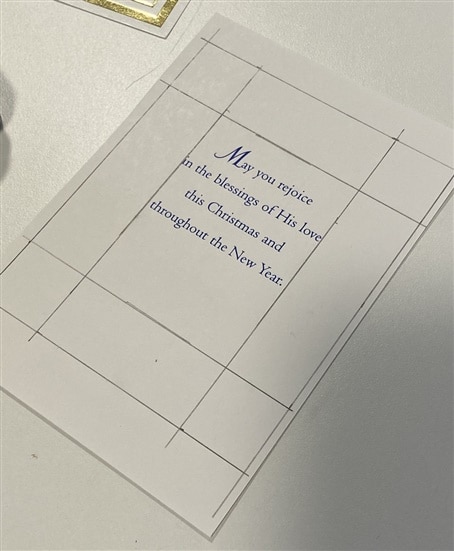
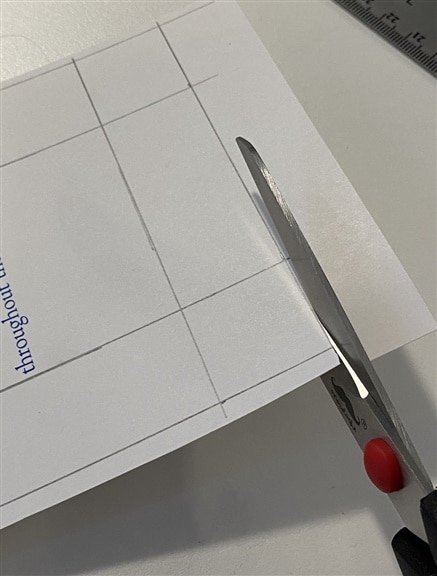
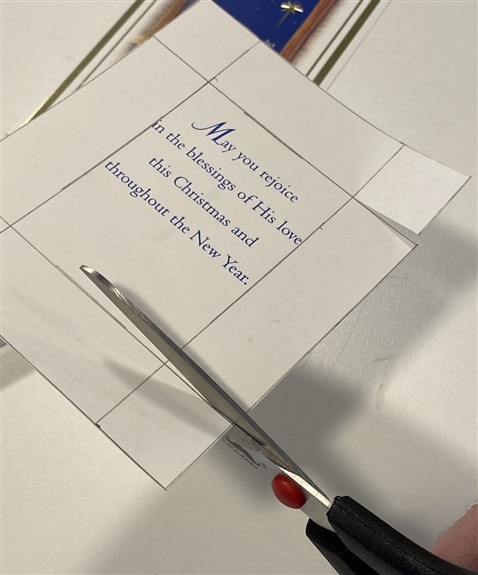
Step 4: Cut along the outer lines
Cut along the outside lines, and then cut only ONE of the corner lines for each corner, as shown - these will become the tabs needed to secure the corners.
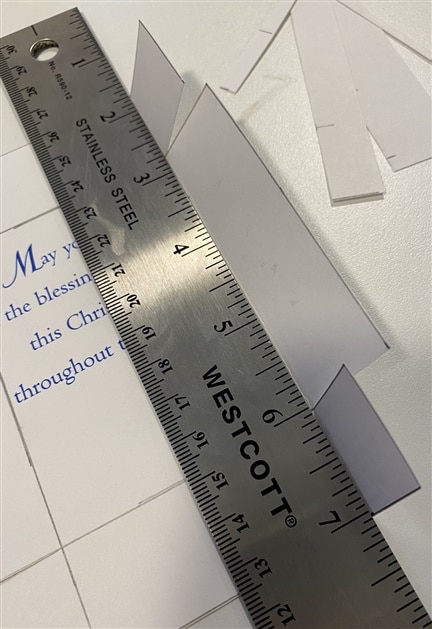
Step 5: Fold the sides up
Getting straight crisp folds is easier when using a straight-edge. If the card is too flat on the desktop, just use a bit of the cut-off card to slide under it to lift it.
Fold all 4 sides up. Also fold the tabs up while doing that.
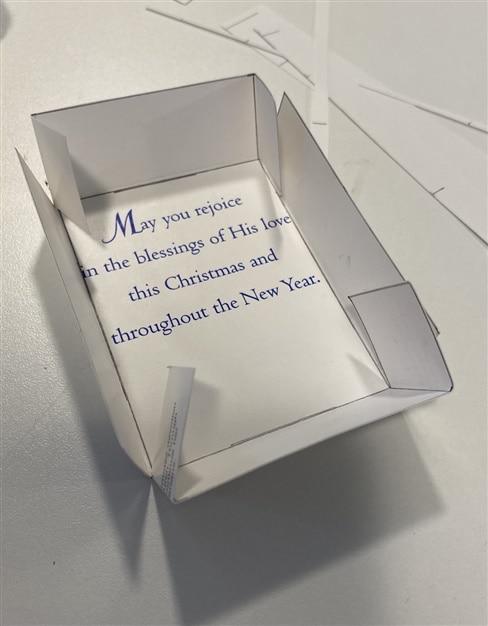
Step 6: Tape (or glue) the corners
I used a small bit of tape on the inside and outside of each corner. Glue, or a glue-stick, would probably work quite well too.
Don't get tape or glue on the table.
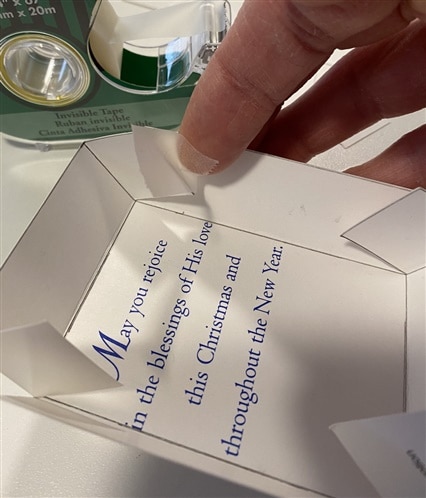
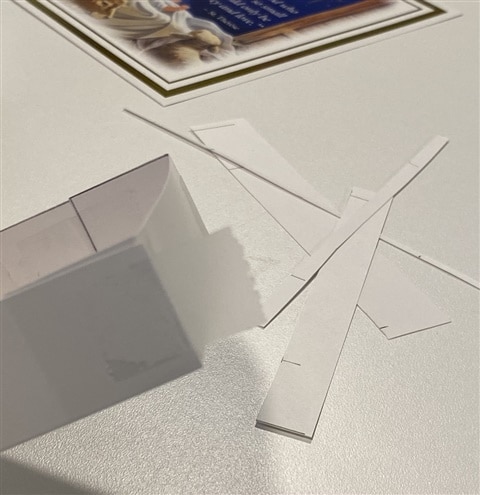
Bottom of Box is Done! That's really all there is to it.
That completes the bottom of the box.
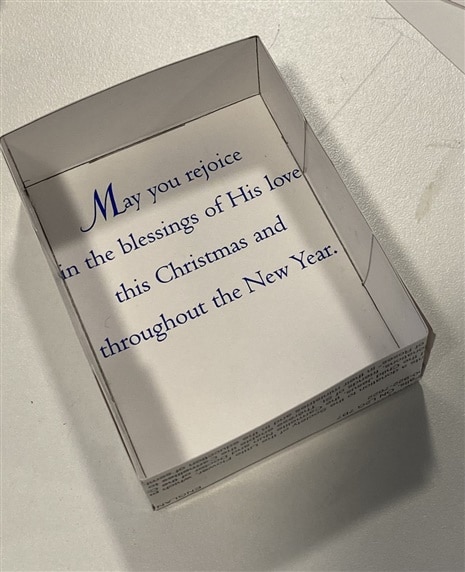
Step 7: Repeat the process to make a lid
I make the lid just slightly bigger than the bottom box, so that it goes on and off easy. 1mm or 1/16" should be enough. If you plan to dress up the box with holiday themed wrapping paper later, you might need to leave a little extra space.
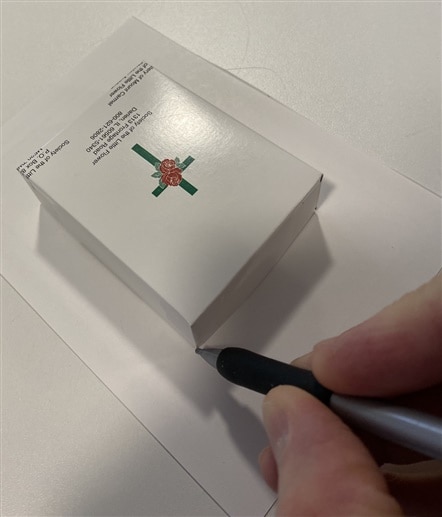
Here I use the bottom box that we just created as a guide for sizing the lid. I marked out from the corners and then used the straight-edge to connect the dots, and then repeat as in the steps above.
Don't draw on the table.
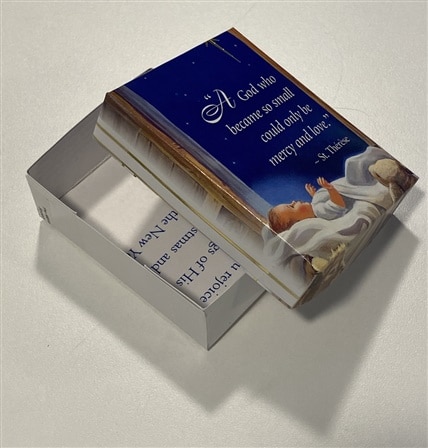
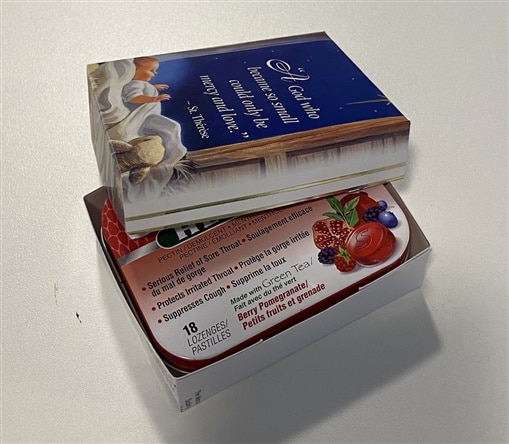
The Completed Project Box
When done, the lid should have the front of the card decorating all of its top and sides.
In my case, the card had writing on the front. Not my favourite, but this might work for you depending on what you're aiming for.
In general I prefer cards with more fun decoration on the front
I chose this card because I thought it would be my throw-away prototype. But no worries, we can dress it up.
And look - the tin I used for size guidance fits inside!
A Few More Examples
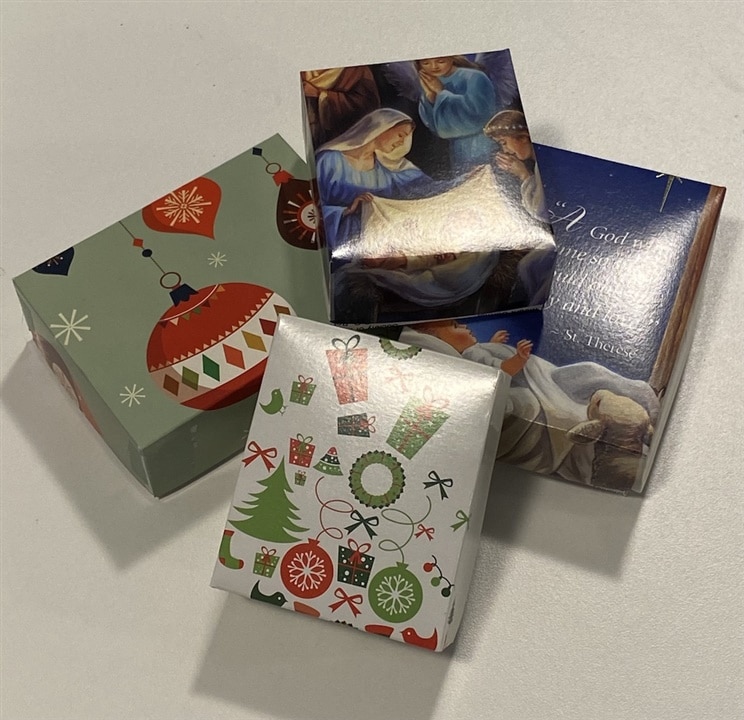
Here's an example of the next box I made, using a card with more fun decorations on the front. See how the seasonal message fits perfectly in the bottom of the box too!
This is the card that was on top, in the picture (above) of the materials used.
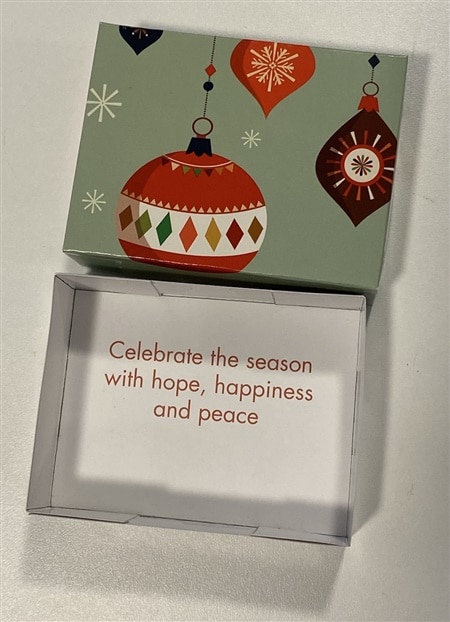
The next box also started with a more cheery bit of holiday art
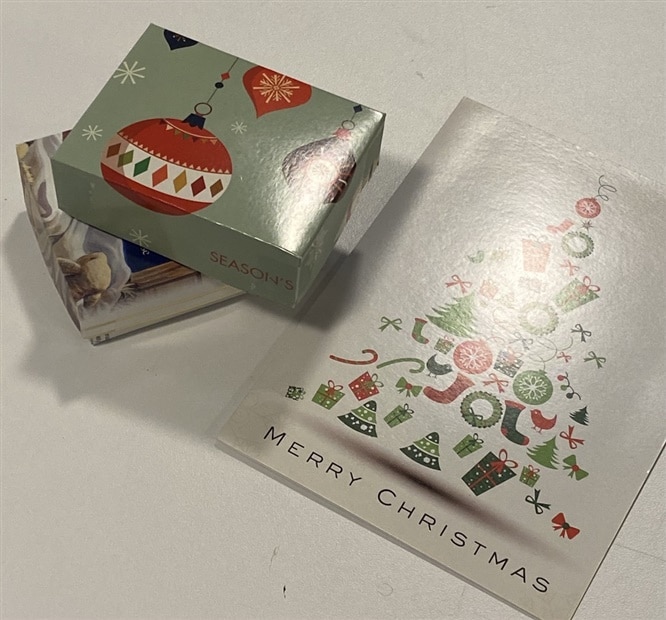
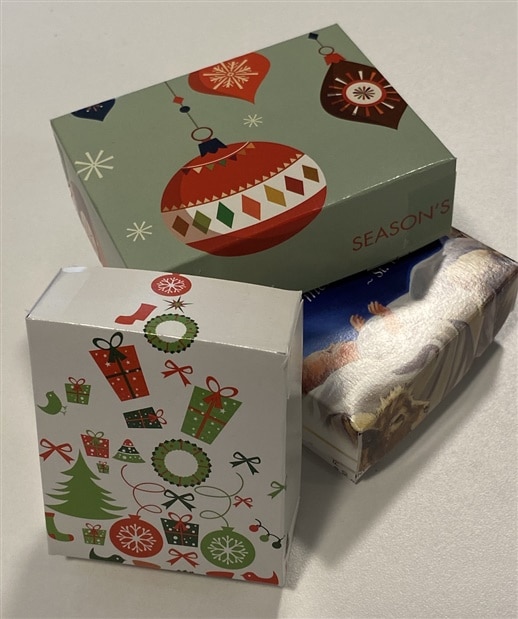
I needed 4 boxes:
Decorating the Completed Boxes
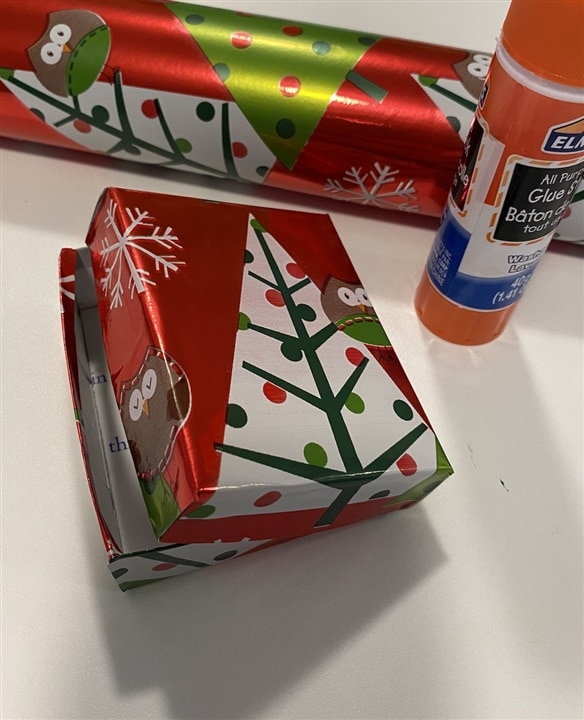
As I mentioned before, I didn't really like the outcome of the boxes made from the more "serious" style cards, so I dressed them up with wrapping paper.
This part is super quick and easy - just cut a piece of paper that's big enough to wrap the outside and allows a little bit of it to be wrapped over the edges of the sides to the inside. I started by gluing the paper onto the big surface with a glue stick, then the sides, cutting out the corners, and then gluing it around. It's a lot more work typing it out than to actually do it
Don't get glue on the table.
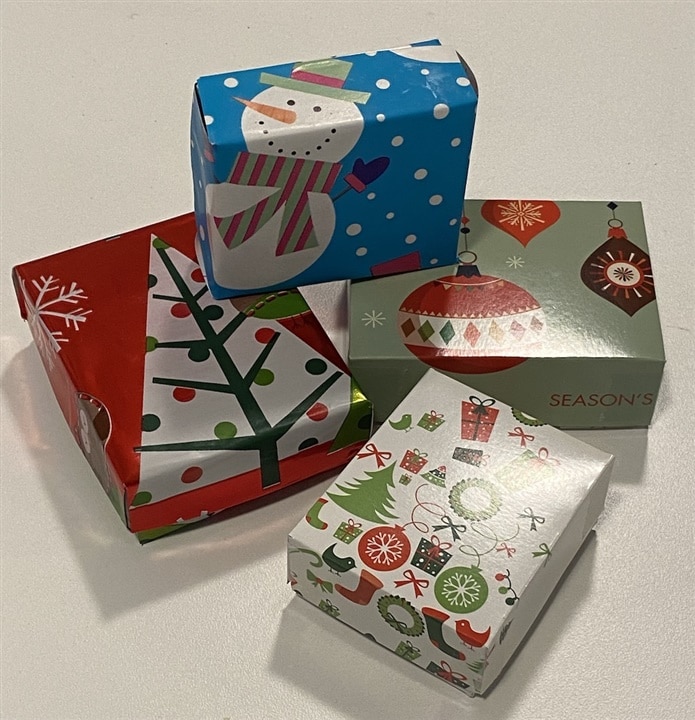
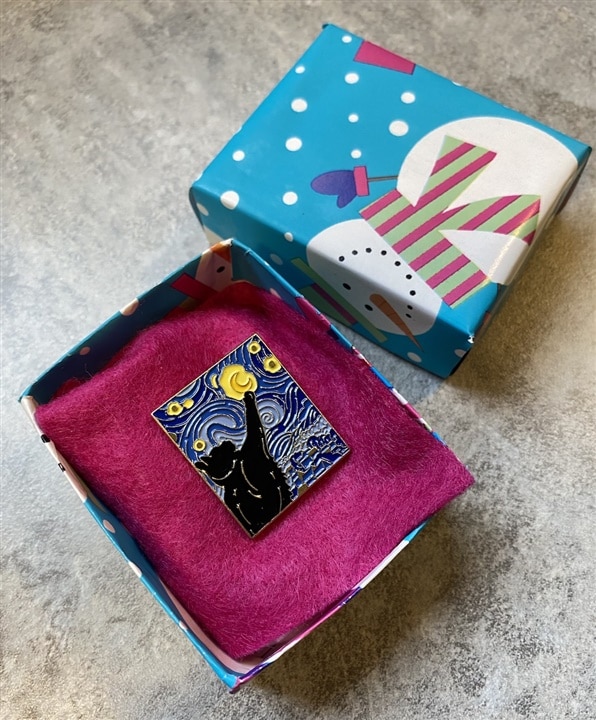
This year, I didn't use them for any of my tech projects. With a bit of fabric on the inside they make pretty good gift boxes:
This is how I used the project boxes for that Connected Christmas Trees project of years gone by:
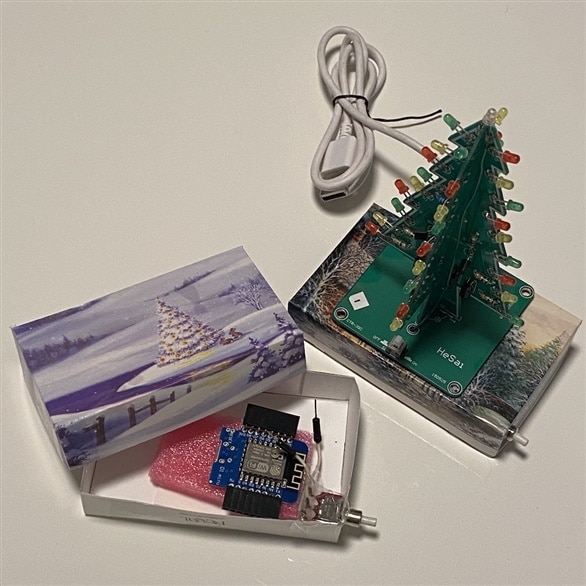
Here is a quick little video showing the boxes. I show a little bit of how I used the project boxes when I built the Connected Christmas Trees, but also how it's actually quite sturdy - sturdy enough to mount a push-button switch and hold up a little PCB-based Christmas tree.
Step 8: Erase the pencil marks from the table.
Step 9: Remove the tape and glue from the table.
Merry Happy Seasons to All!
References
I originally used this kind of project box for a Holiday Special Project here on element14 a handful of years ago.
The how-to for the boxes was also included as a sub-section of that project at the time.
Fun Fact!
iPhones save images in .heic format, which is not recognized by most websites (including this one). Turns out you can easily resize and export a whole bunch of images all at once using Preview on a Mac. Just open all the images you want to modify in one go - select the list in Finder, then right-click and open in Preview should do the trick.

