


 | Enter Your Project for a chance to win robot prizes for your robot builds and a $200 shopping cart! The Birthday Special: Robot Prizes for Robot Projects! | Project14 Home |
| Monthly Themes | ||
| Monthly Theme Poll |

Overview
A typical technique used with Rolling Robots to avoid obstacles is to use sensors such as Infrared Sensors, Ultra Sonic Sensors, Light Sensors and similar devices. This is mainly due to the limited processing power of the microprocessor or microcontroller used. To use some sort of Machine Learning technique, although not impossible, could be either too compute intensive or over kill in these instances. Also, the platforms that could support the processing needed for applications such as Computer Vision were quite costly and not in reach of the standard Maker or budding student; ex: NVIDIA Jetson TX2 - $299-$749 US, Jetson AGX Xavier $1,099 US. The NVIDIA Jetson Nano provides an AI platform that is both powerful and in a decent price range at $99 US. At present time, the documentation for the Nano is still a bit lacking, the NVIDIA folks provided a nice set of Computer Vision examples for the JetBot by way of Jupyter Notebooks. Jupyter Notebooks offer a means to both teach a subject such as Python as well as run examples within the Jupyter Notebook without the need to drop to commanline prompt. Once example that is provided for the JetBot is Collision Avoidance example that demonstrates the power of the Nano to self navigate via a Camera module.
Related Posts
NVIDIA Jetson Nano: JetBot Intro
NVIDIA Jetson Nano: JetBot Assemble
NVIDIA Jetson Nano JetBot Jupyter Notebooks
https://github.com/NVIDIA-AI-IOT/jetbot/tree/master/notebooks
Collision Avoidance Notebook
https://github.com/NVIDIA-AI-IOT/jetbot/tree/master/notebooks
The Collision Avoidance Notebooks are broken down to the 3 sections.
- Data Collection
- Train Model
- Live Demo
Due to the compute intensive nature of first two steps, it is best to power the Nano via the 5v 4A Barrel Jack. The Live Demo can be run via the battery pack since you would want it to wander around.
Install JetBot Jupyter Notebooks
Before getting started with the Collision Avoidance steps, download and install the JetBot Jupyter Notebooks from the NVIDIA GitHub.
https://github.com/NVIDIA-AI-IOT/jetbot/wiki/software-setup
1. Login to the JetBot and run the following at the command line
git clone https://github.com/NVIDIA-AI-IOT/jetbot
cd jetbot
sudo python3 setup.py install
2. If rsync is not already installed, the run the following to install it.
sudo apt-get install rsync
4. If still in the jetbot folder, change directories the next level up.
cd ../
5. To update and replace the existing Notebooks on the JetBot run the following.
rsync -rv jetbot/notebooks/* /home/jetbot/Notebooks/
6. To access the Jupyter Notebooks on the JetBot, with a browser, use the IP Address of the JetBot (This should be displayed on the PiOLED)
and use port 8888 as in the following.
http://<jetbot_ip_address>:8888
Collision Avoidance - Data Collection
To start the Data Collection, navigate a browser to Jupyter Notebooks on the JetBot via port 8888 and select the data_collection.ipynb Notebook from the File Viewer on the left of the page. The Jupyter Notebooks use triatlets and Widgets to display input and output options on the Notebook page.
The first page provides some description of the Data Collection Process.

Scroll down the page to get the Display live camera feed.

Click on the '[ ]' image next to the list code and click the run, arrow, button at the top of the page. This will connect to the JetBot Camera and create a display widget on the page.

These widgets and be displayed in their own tab by right clicking the image and selecting "Create New View for Output".

The camera output should show in a new Output View tab.

The next step will create a 'dataset' folder under the collision_avoidance folder to hold the the free and blocked images that will be used to create the model used in the Live Demo. Again, click the '[ ]' image to the left of the code and then run the code.
NOTE: The 'dataset' folder should appear in the File Viewer on the left side of the screen. If not, then refresh the file list view.

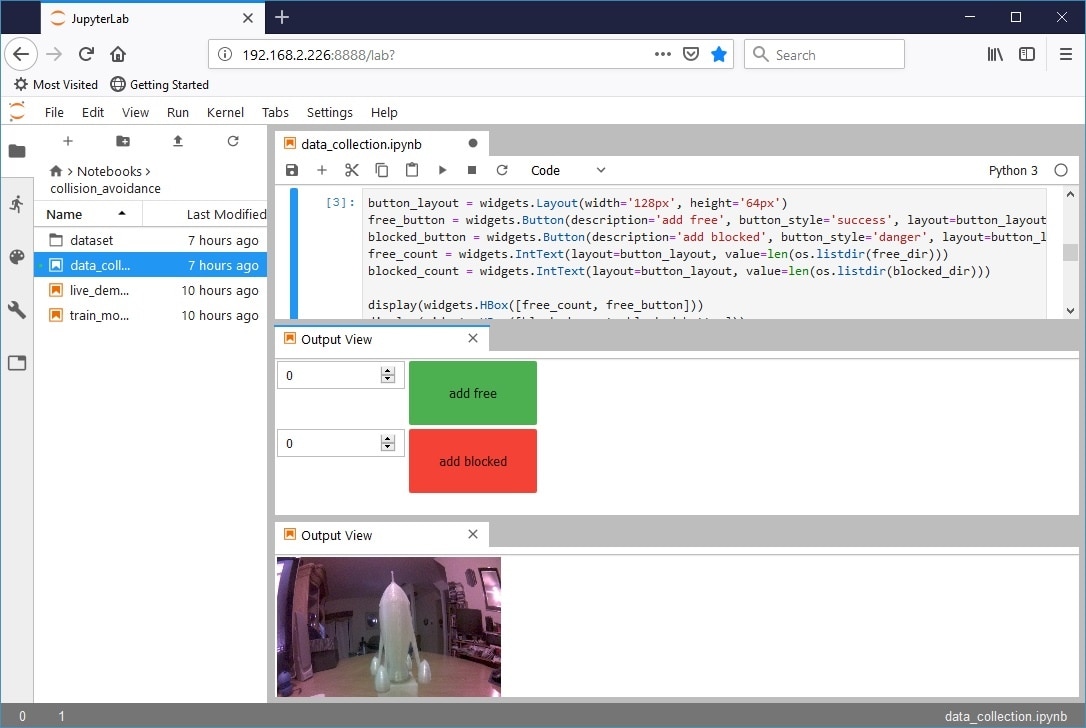
To collect the images to process the model, an 'add free' and 'add blocked' button is used on the page which will allow the user to add images for the blocked and free paths.. Run the code to get the buttons to appear.
NOTE: at this step the buttons are not active.

As with the camera view, right click the button image and select "Create New View for Output" to get the image to appear in its own tab.
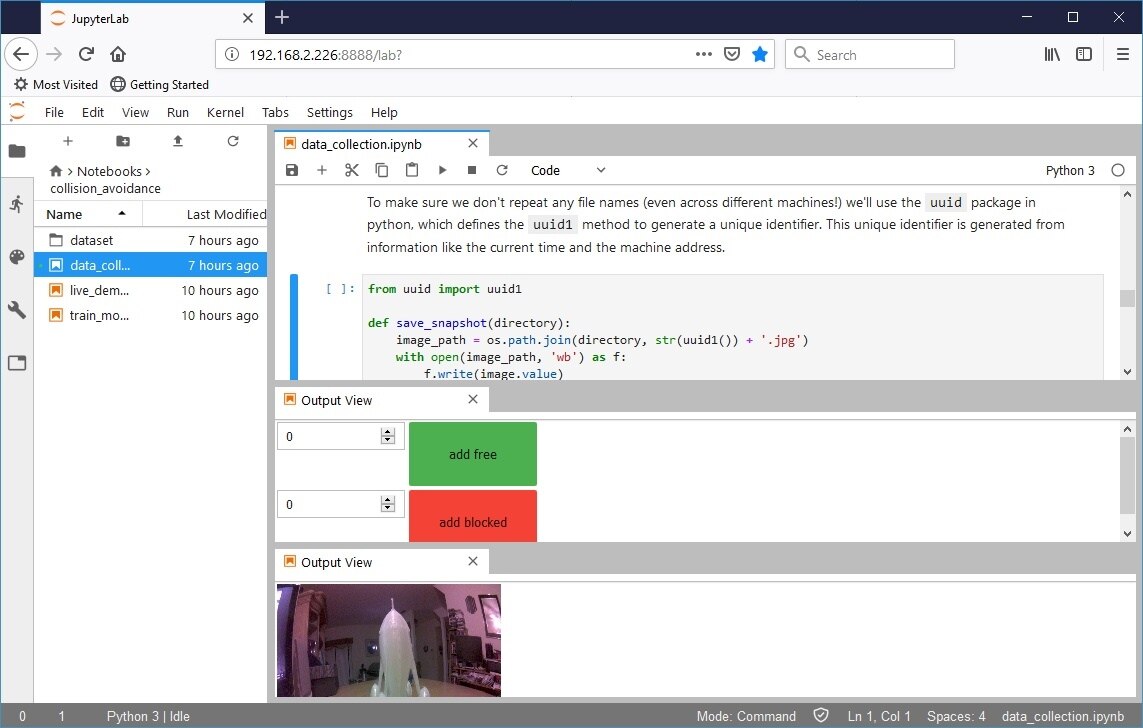
The 'uuid' Python package is used create a unique identifier by importing 'uuid1' and adding this to the image name so each is uniquely identified.
Scroll down the page and run the code.
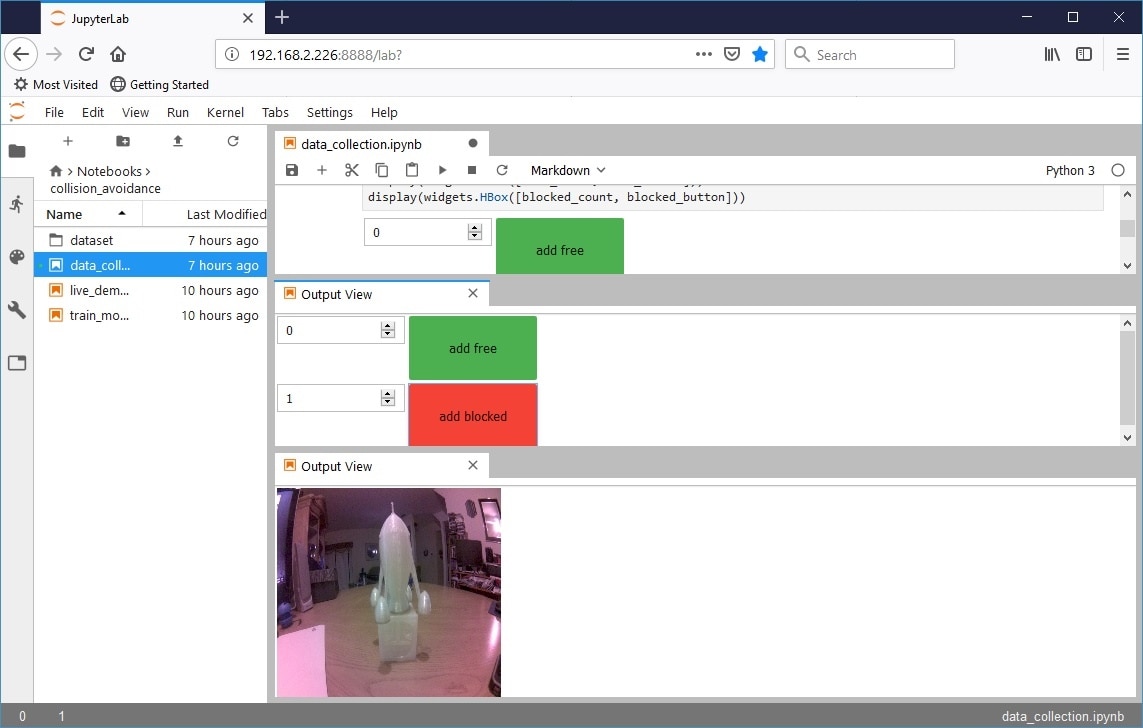
At this stage, the buttons should be active and the data collection can begin. First place an object in the view of camera representing a blocked state and then click the 'add blocked' button to add the image to the dataset folder.
NOTE: The counter to the left of the button should increment by one.
Move the object or the bot so the camera view is not blocked, or 'free', and click the 'add free' button to add the image.

Continue to add free states and blocked states using a variety of objects as well as different lighting to create a workable dataset.
NOTE: It is best to collect an even number of blocked and free states otherwise errors could be seen in the later processes.
Once the dataset collection is complete, scroll down the page to get to the code where the dataset is zipped and run the code. The dataset.zip file should appear in the file viewer list.

Collision Avoidance -Train Model
The Train Model step uses PyTorch to process the images collected in the Data Collection step into a data model that will be used to load into the Nano GPU to identify the possible blocked and free states. PyTorch is an open source deep learning platform using tensor libraries.
PyTorch
To start the Train Model process, open the train_model.ipynb Jupyter Notebook in the file viewer listing.

Click the '[ ]' image next to the list code to import the torch and torchvision packages from PyTorch. The torchvision package has popular datasets, model architectures, and common image transformations for computer vision.
https://pytorch.org/docs/stable/torchvision/index.html
Scroll down the page to the "Upload and extract dataset" section and run the unzip code to extract the dataset images.
NOTE: The dataset folder was created in the Data Collection step, so if the dataset folder already exists, do not run this code otherwise it will hang.
Next, run the code listed under "Create data instance". This will use the ImageFolder dataset class from torchvision.datasets. Run the code.

The next step will split the dataset into training and test sets. Click the "[ ]" image and run the code.

Run the code under "Create data loaders to load data in batches" to create two DataLoader instances.

The next step will "Define the neural network" and use the "alexnet" model to process the data sets and load the model into the GPU for processing.

Once the model is loaded into the GPU , the "Train the neural network" can be performed using 30 EPOCH.
NOTE: This process will take sometime and completes by creating a "best_model.pth" file.

When the Training is complete, each EPOCH step will show on the page and the "best_model.pth" file should appear in the file viewer.

This completes the Model Training. It is best to reboot the Nano at this point, or shut it down and switch from the barrel jack power to the battery power so the bot can wander about in the Live Demo.
Collision Avoidance -Live Demo
The Live Demo takes the images that were collected in the Data Collection step along with the data model that was created in the Train Model step to control the JetBot via Computer vision. The JetBot will avoid the objects that were collected as blocked images and navigate around them in a NASCAR manner, always turning left, based on the images collected as free. This has been a hit and miss step in that sometimes it works and sometimes it does not. I've collected and processed a data model that tends to work consistently so that will be used in this example.
To start the Live Demo, it is best to power the JetBot via the batter power bank so it can wander freely. Once the bot is booted, connect to the Jupyter Notebooks on the JetBot via :
http://<jetbot_ip_address>:8888
Once connected open the live_demo.ipynb Notebook.

Run the code in under "Load the trained model" to load the alexnet model from PyTorch, load the 'best_model.pth' model created in the Train Model step and move the process data into the GPU.

Next, run the code under "Create the preprocessing function" to load the preprocessing code.

The next step will use the Jupyter Notebook traitlets and widgets to create an image box for the camera and a slider indicating when the bot is blocked or free to move.
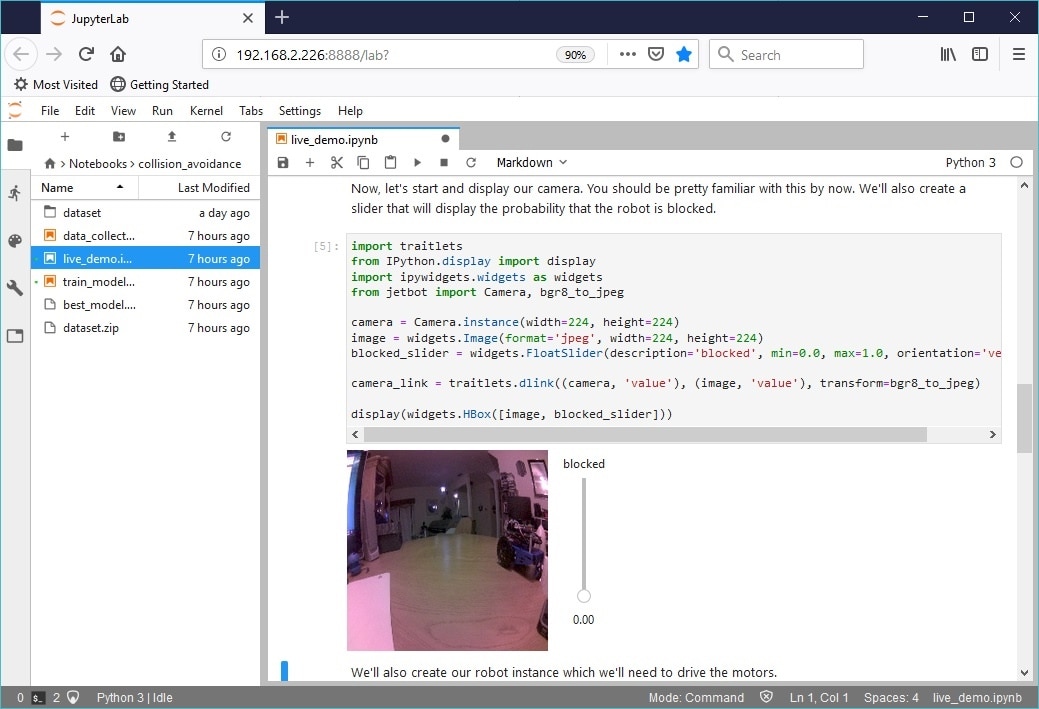
Then run the code to create an instance of the jetbot Robot to drive the motors. As shown previously, right click on the camera image widget and select "Create New View for Output" to open it in a separate Output view tab.

Next, run the code that imports "torch.nn.functional" which will Pre-process the camera image, execute the neural network, and cause the bot to move Left if blocked or straight if free. Run the "camera.observe" code to start the image capture from the camera. At this stage the slider should move up and down indicating whether the bot is blocked or free.

At this point, the bot can be placed on the ground and will wander about avoiding the objects that were collected or close similarities.
NOTE: There was an issue when avoiding 3-d printed objects that were of a neutral color.
Video of walking through the Data Collection, Train Model and Live Demo steps of the Collision Avoidance example.
NOTE: The Live Demo was a fail and had to be redone.
Successful Live Demo that uses a data set that was collected previously.
Conclusion
The NVIDIA Jetson Nano JetBot Collision Avoidance example is a fairly good way to get familiar with Deep Learning and how to take camera images to control the direction of a Mobile Robot. The example does take a bit of work and at times the code would hang but there was no indication of the issue from the Jupyter Notebook. The next step is to take this further and create a non Jupyter Notebook version so the bot can navigate autonomously without the need of browser access. The Nano is an impressive platform that has much potential for AI, Deep Learning and Machine Learning applications.
Top Comments