


 | Enter Your Project for a chance to win a Nano Grand Prize bundle for the most innovative use of Arduino plus a $400 shopping cart! Back to homepage | Project14 Home |
| Monthly Themes | ||
| Monthly Theme Poll |
I've been wanting to try setting the focal distance of my laser engraver/cutter using a micro-LIDAR TOF (time-of-flight) sensor. The NanoRama competition seemed to be suited for such a project. I wasn't lucky enough to get selected for one of the free Nano boards, so I'm using a Sparkfun MicroView module that I had in my parts bin. The CNC/Laser controller that I need to interface to is an Arduino based GRBL controller - so Arduinos all around  .
.
I have a couple of Time of Flight Micro-LIDAR distance sensor breakout boards that I've been playing with - one for the VL53L0X and one for the VL6180X. The primary difference between the sensors is the measurement range. The VL53L0X is optimized for 1 meter and the VL6180X is optimized for 100 mm. Both are interfaced using I2C and both have a minimum resolution of 1 mm. The focal length of my current laser setup is about 40 mm so I'm going to use the VL6180X for this application. I'd like to get sub mm focusing accuracy and I've seen a project that is using averaging to get sub mm resolution and accuracy around +/- 0.2 mm. From empirical experiments I could probably tolerate +/- 1 mm focus error on my laser.
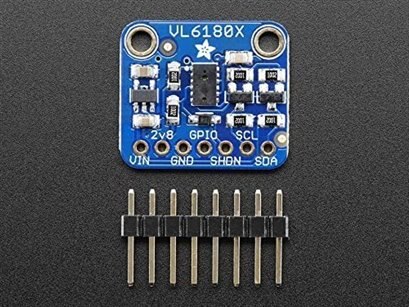
Adafruit VL6180X Breakout
I am going to use the Adafruit VL6180X breakout board: adafruit-vl6180x-time-of-flight-micro-lidar-distance-sensor-breakout. There are two versions of this board. The latest one has STEMMA QT connectors but I am using the original one without the connectors. The sensor itself uses 2.8V so there is an onboard voltage regulator. That makes this board usable with either 3.3V or 5V microcontrollers. The I2C lines are pulled up to whatever voltage is on VIN. That makes it easy to interface to any flavor of Arduino. The VL6180X also has an ambient light sensor but I haven't thought about using that.
Sparkfun MicroView Module
The MicroView is a small (1"x1") Arduino compatible module with a 64x48 pixel OLED display: Sparkfun Microview - OLED Arduino Module. The module only has 16 pins so there are only 6 digital and 6 analog pins available but I'll only need 2 for I2C and one to communicate focal point to the GRBL controller. The module does not have a USB programming interface so you either have to use an FTDI USB interface or I have the USB programmer that was designed for it: Sparkfun Microview - USB Programmer. I'll be using the Arduino IDE to do the programming.

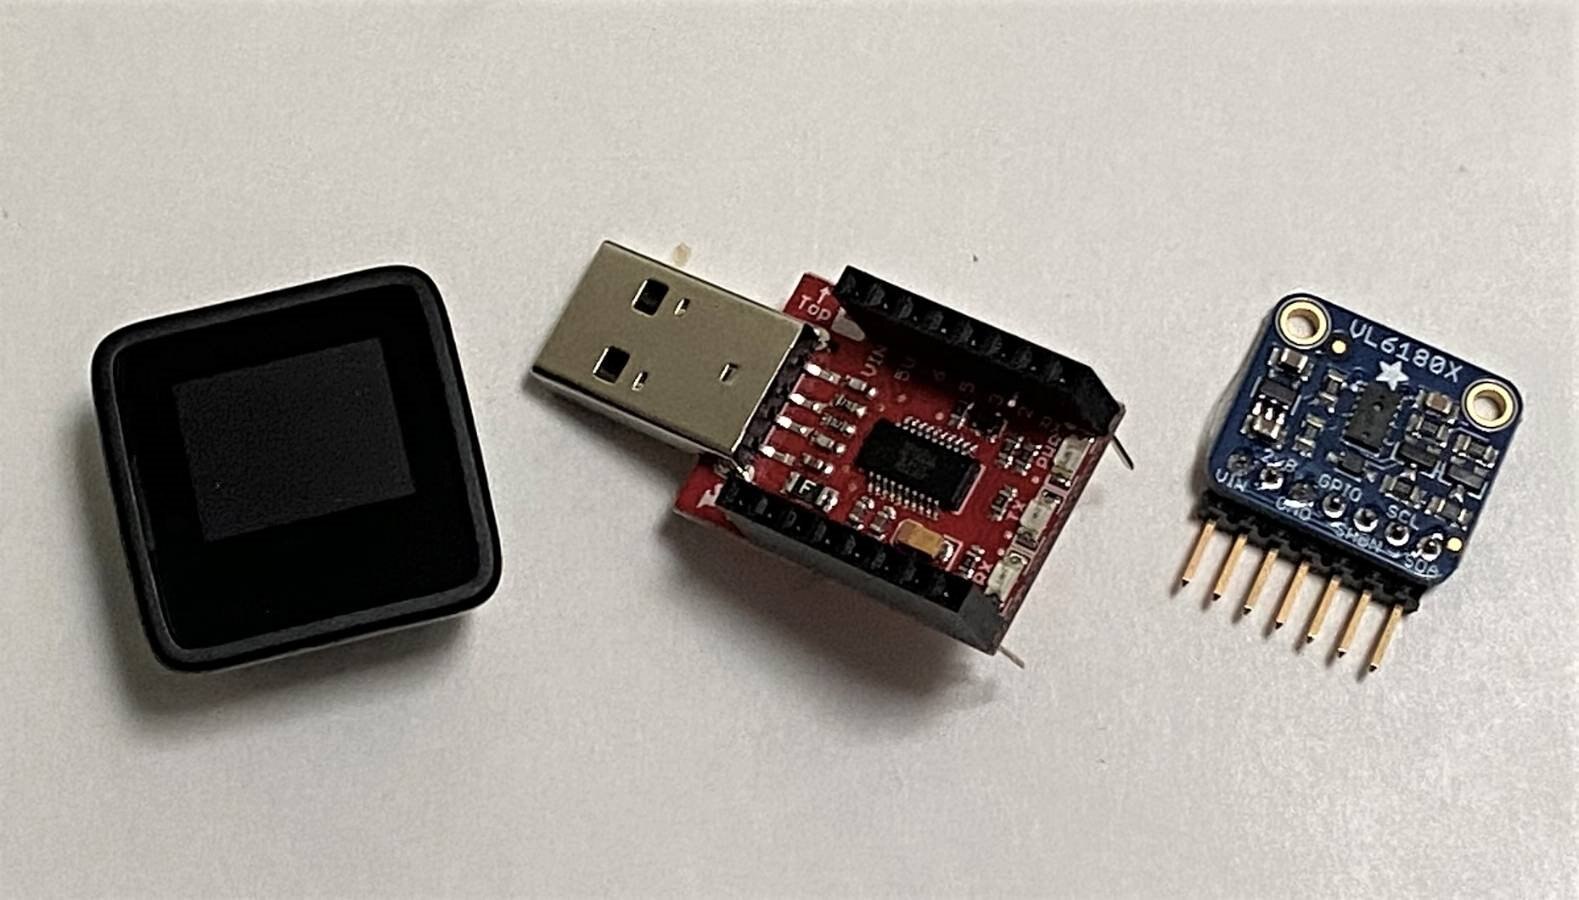
Here are the MicroView, USB Programmer and VL6180X (with right angle header) parts that I'm using.
Arduino IDE Setup
The MicroView firmware programming settings are the same as the Arduino Uno so that's used as the board type. It's been so long since I've done anything significant with an Uno that I'd forgotten how little memory there is available - 32KB of Flash and 2KB of SRAM. I'll need to be careful not to try to do anything fancy.... Gotten spoiled with the ESPs and the newer Arduinos.
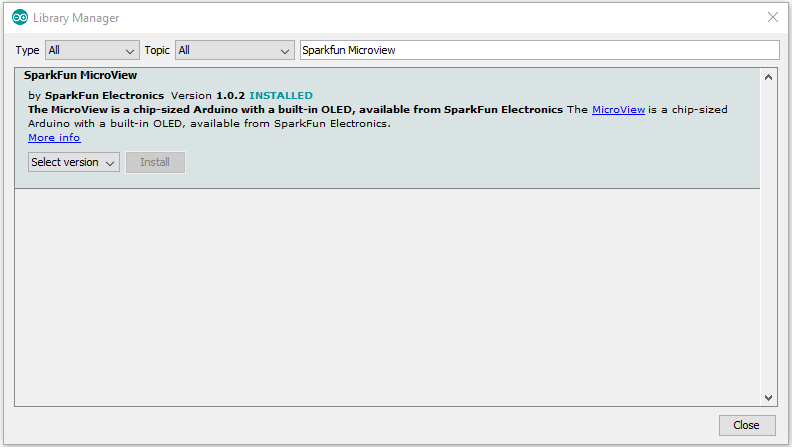
The MicroView library can be installed directly for the Library Manager:
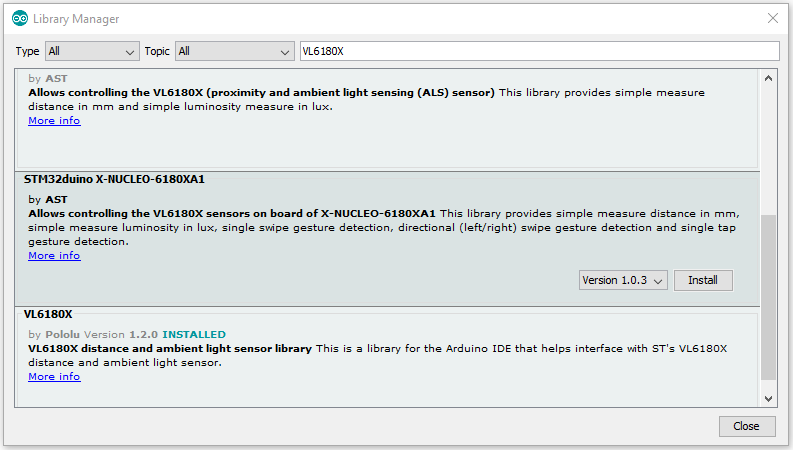
There are muliple VL6180X libraries available. I've had problems using the Adafruit library with an ESP8266 but I do have that installed.
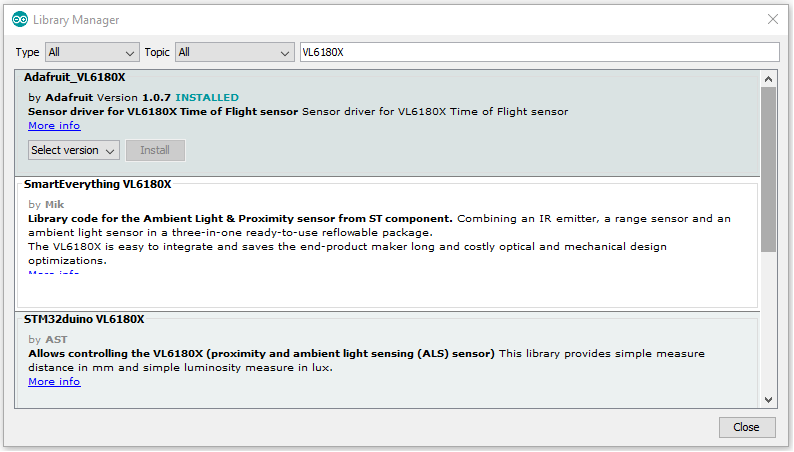
I also have the Pololu library installed - it has an example program that uses averaging that I'm interested in - and it works with the ESP8266.
And because I wanted to try it - I installed the Adafruit VL53L0X library. This one works with the ESP8266 also.

Verify OLED Display
First, to verify that the display is working I wrote a short program to scroll text on the display.
microview_Nanorama.ino
// --------------------------------------
// microview_Nanorama scrolling display
//
// April 23, 2020
//
//
//


#include <MicroView.h>

void setup()
{
  uView.begin();
  uView.clear(PAGE);
  uView.setFontType(0);

  Serial.begin(9600);
  Serial.println("\nNanorama");
}

void loop()
{
  uView.clear(PAGE);
  uView.display();
  uView.setCursor(0,0);


  delay(500);

  for (int y = 48; y >= 0; y--){
//     Serial.println(y);
     uView.setCursor(0,y);
     uView.println("Project14\n");
     uView.println("Nanorama\n");
     uView.println("May 2020");
     uView.println("        ");
     uView.display();
     delay(50);           // wait 5 seconds for next scan
  }

  delay(10000);
}
Verify I2C is working
Another short program to verify that the I2C interface is working - both the VL53L0X and VL6180X sensors have a default power up address of 0x29. You can change that address after power up but it won't be retained after a power cycle. Luckily, I am only using one of these sensors on the bus.
microview_i2c_scanner
// --------------------------------------
// microview_i2c_scanner
//
// April 23, 2020
//
//
// This sketch tests the standard 7-bit addresses
// Devices with higher bit address might not be seen properly.
//


#include <Wire.h>
#include <MicroView.h>


void setup()
{
  Wire.begin();
  uView.begin();
  uView.clear(PAGE);
  uView.setFontType(0);

  Serial.begin(9600);
  Serial.println("\nI2C Scanner");
}

void loop()
{
  byte error, address;
  int nDevices;


  uView.clear(PAGE);
  uView.setCursor(0,0);

  Serial.println("Scanning...");
  uView.println("Scanning..");


  nDevices = 0;
  for(address = 1; address < 127; address++ )
  {
    // The i2c_scanner uses the return value of
    // the Write.endTransmisstion to see if
    // a device did acknowledge to the address.
    Wire.beginTransmission(address);
    error = Wire.endTransmission();


    if (error == 0)
    {
      Serial.print("I2C device found at address 0x");
      uView.print("I2C device");
      uView.println("found at");
      uView.print("addr 0x");
      if (address<16) {
        Serial.print("0");
        uView.print("0");
      }
      Serial.print(address,HEX);
      uView.println(address,HEX);
      Serial.println("  !");


      nDevices++;
    }
    else if (error==4)
    {
      Serial.print("Unknow error at address 0x");
      if (address<16)
        Serial.print("0");
      Serial.println(address,HEX);
    }
  }
  if (nDevices == 0){
    Serial.println("No I2C devices found");
    uView.println("No I2C");
    uView.println("devices");
    uView.println("found");
  }
  else{
    Serial.println("done");
    uView.println("done");
  }


  uView.display();


  delay(5000);           // wait 5 seconds for next scan
}
Try a distance measurement
For a quick test I am repeating single shot distance measurements using the VL53L0X. I have the sensor fixed at 40 mm from the surface using standoffs. The VL53L0X is a longer range sensor but I thought that I would try it first to wring out my setup.
microview_vl53l0x.ino
#include <MicroView.h>
#include "Adafruit_VL53L0X.h"


Adafruit_VL53L0X lox = Adafruit_VL53L0X();


void setup() {
  Serial.begin(115200);
  uView.begin();
  uView.clear(PAGE);
  uView.setFontType(0);


  // wait until serial port opens for native USB devices
  while (! Serial) {
    delay(1);
  }

  Serial.println("Adafruit VL53L0X test");
  if (!lox.begin()) {
    Serial.println(F("Failed to boot VL53L0X"));
    while(1);
  }
  // power
  Serial.println(F("VL53L0X API Simple Ranging example\n\n"));
}

void loop() {
  VL53L0X_RangingMeasurementData_t measure;


  uView.clear(PAGE);
  uView.display();
  uView.setCursor(0,0);
  uView.println("Distance:");

  Serial.print("Reading a measurement... ");
  lox.rangingTest(&measure, false); // pass in 'true' to get debug data printout!


  if (measure.RangeStatus != 4) {  // phase failures have incorrect data
    Serial.print("Distance (mm): "); Serial.println(measure.RangeMilliMeter);
    uView.print(measure.RangeMilliMeter);
    uView.println(" (mm)");
  } else {
    Serial.println(" out of range ");
    uView.println(" out of");
    uView.println(" range ");
  }
  uView.display();
  delay(1000);
}
You can see from the video that there is a fair amount of offset (measuring low 30s at a range of 40 mm). It's actually expected that there will be offset part to part and also over temperature. There is a calibration register that I can program but it will not persist on power cycle. Since I'm using just this one setup I'll probably just add the offset into the program. The linearity of these parts is supposed to be pretty good but I won't need that in this application.
There is a fair amount of variation measurement to measurement but the program I intend to use does a 100 measurement average and hopefully the VL6180X will do better since it is designed for short range.
Next steps
I feel like I've got a good start but there's still a bunch to do.
- Repeat measurements using VL6180X
- Switch to using measurement averaging
- Mount hardware on laser head
- Characterize accuracy
- Verify that I can use a GPIO to drive the Z limit input on GRBL controller
- Add focus button to LaserGRBL program
Probably will do a few more posts....
Top Comments