element14 Community
element14 Community
    Register Log In
  • Site
  • Search
  • Log In Register
  • About Us
  • Community Hub
    Community Hub
    • What's New on element14
    • Feedback and Support
    • Benefits of Membership
    • Personal Blogs
    • Members Area
    • Achievement Levels
  • Learn
    Learn
    • Ask an Expert
    • eBooks
    • element14 presents
    • Learning Center
    • Tech Spotlight
    • STEM Academy
    • Webinars, Training and Events
    • Learning Groups
  • Technologies
    Technologies
    • 3D Printing
    • FPGA
    • Industrial Automation
    • Internet of Things
    • Power & Energy
    • Sensors
    • Technology Groups
  • Challenges & Projects
    Challenges & Projects
    • Design Challenges
    • element14 presents Projects
    • Project14
    • Arduino Projects
    • Raspberry Pi Projects
    • Project Groups
  • Products
    Products
    • Arduino
    • Avnet Boards Community
    • Dev Tools
    • Manufacturers
    • Multicomp Pro
    • Product Groups
    • Raspberry Pi
    • RoadTests & Reviews
  • Store
    Store
    • Visit Your Store
    • Choose another store...
      • Europe
      •  Austria (German)
      •  Belgium (Dutch, French)
      •  Bulgaria (Bulgarian)
      •  Czech Republic (Czech)
      •  Denmark (Danish)
      •  Estonia (Estonian)
      •  Finland (Finnish)
      •  France (French)
      •  Germany (German)
      •  Hungary (Hungarian)
      •  Ireland
      •  Israel
      •  Italy (Italian)
      •  Latvia (Latvian)
      •  
      •  Lithuania (Lithuanian)
      •  Netherlands (Dutch)
      •  Norway (Norwegian)
      •  Poland (Polish)
      •  Portugal (Portuguese)
      •  Romania (Romanian)
      •  Russia (Russian)
      •  Slovakia (Slovak)
      •  Slovenia (Slovenian)
      •  Spain (Spanish)
      •  Sweden (Swedish)
      •  Switzerland(German, French)
      •  Turkey (Turkish)
      •  United Kingdom
      • Asia Pacific
      •  Australia
      •  China
      •  Hong Kong
      •  India
      •  Korea (Korean)
      •  Malaysia
      •  New Zealand
      •  Philippines
      •  Singapore
      •  Taiwan
      •  Thailand (Thai)
      • Americas
      •  Brazil (Portuguese)
      •  Canada
      •  Mexico (Spanish)
      •  United States
      Can't find the country/region you're looking for? Visit our export site or find a local distributor.
  • Translate
  • Profile
  • Settings
Photonics
  • Challenges & Projects
  • Project14
  • Photonics
  • More
  • Cancel
Photonics
Blog LEDGrid Display # 2 : The Laser Activated Display
  • Blog
  • Forum
  • Documents
  • Events
  • Polls
  • Files
  • Members
  • Mentions
  • Sub-Groups
  • Tags
  • More
  • Cancel
  • New
Join Photonics to participate - click to join for free!
  • Share
  • More
  • Cancel
Group Actions
  • Group RSS
  • More
  • Cancel
Engagement
  • Author Author: dubbie
  • Date Created: 30 Mar 2020 9:26 AM Date Created
  • Views 2762 views
  • Likes 8 likes
  • Comments 13 comments
  • nano
  • photonicsch
  • nanoramach
  • ledgrid display
  • laser
Related
Recommended

LEDGrid Display # 2 : The Laser Activated Display

dubbie
dubbie
30 Mar 2020

Having successfully created my own 4 x 4 LEDGrid display using some green LEDs generously donated to me by Element14 recently (LEDGrid Display #1 : First Working Display ) I decided to try for a double lot of photons for the Photonics Project14 Challenge by including a laser activated option. This uses a LDR to detect a bright light, so a laser is ideal and then changes the display to identify this. The four centre LEDs are on when no laser is detected to form an aiming target for the laser. Then when the laser light is detected the inner four LEDs go off and the outer sqaure of 12 LEDs come on to show the target has been 'hit'. The video below shows the system in operation.


You don't have permission to edit metadata of this video.
Edit media
x
image
Upload Preview
image


The circuit is only slightly different from that illustrated in Part 1 and just adds the LDR. I used a value of only 1kOhm for the bias resistor for the LED (which has a dark resistance of about 4 - 5 kOhm and laser light resistance of approximately 200-300 Ohm) to get a good change in voltage when illuminated by the laser. This also has the effect that the system works well even in bright light.


image

I improved the programme  a little bit and used functions to display the two squarea, innersquare() and outersquare() using a global variable for the LED grid for this rather than passing in the values in order to save time on pushing all the values onto the stack and then popping them off again. I haven't performed any measurements of the time taken to manipulate the LED grid data compared with the ON time but with a 1:16 multiplexed display ON rate, the LEDs are already dim so any time saving is worthwhile.


while (1)

  {

    LDRvalue = analogRead(LDR);

    if (LDRvalue < 250)

      {

         innersquare(LEDoff);

         outersquare(LEDon);

      }

    else

      {

         innersquare(LEDon);   

         outersquare(LEDoff);  

      }/* if */

    for (indexY = 0; indexY < 4; indexY++)

     {

      digitalWrite(A2 + indexY, LOW);

      for (indexX = 0; indexX < 4; indexX++)

        {

         digitalWrite(indexX+2,LEDgrid[indexX][indexY]);

         delay(1); 

         digitalWrite(indexX+2,LOW);   

        } /* for */

      digitalWrite(A2 + indexY, HIGH);

     } /* for */


With this arrangement I have achieved some animation of the display by just alternating between the inner square being on and outer square off (no laser) and the inner square being off and the outer square being on (laser on the LDR). The data displayed is hardwired into the programme so at present this is not a particularly good general purpose solution, but it works for this application.


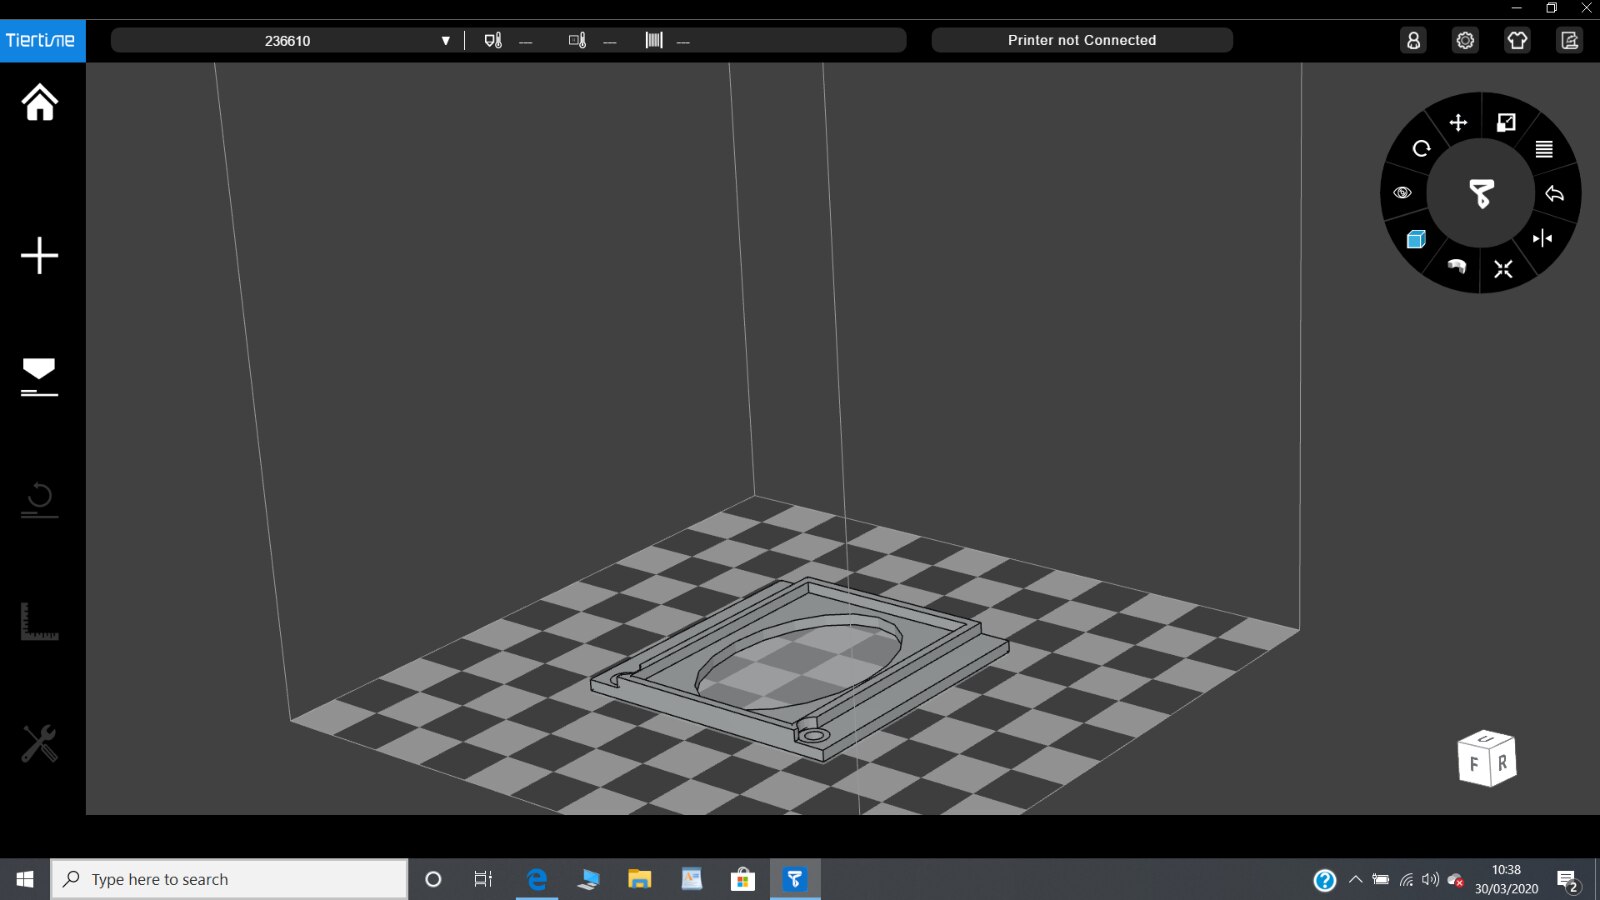
I have added a second 3D printed part, a backplate that holds a white breadboard containing the Nano. The protoboard is an interference fit into the backplate which I was pleased worked, so that no additional gluing or fixing is needed, see below, which is a screen shot taken from the 3D printer software. Then with the addition of some brass spacer pillars a relatively compact module has been created. I didn't think enough about the storing the wiring within the module (actually I didn't think at all about this) so it spills out the sides and makes it look messy. Still, the structure is mostly solid and compact so maybe for the next project I will remember to allow space for wiring. Plus, the battery pack is just Bluetaced to the backplate and there isn't an ON/OFF switch. Also things for future projects.


image


I have tried the display and laser outside at night and it works quite well and the laser will activated the display at distances up to approximately 10 m. At this point the laser beam becomes too spread out (this is a safety feature of the laser) to be detected with the current threshold. There isn't a video of this as my camera just captured a lot of darkness. I am sure that with a little more tweaking it would be possible to achieve even greater distances. It is difficult to maintain the laser dot on the target area, especially at a distance so it could probably do with some form of display latching to show a 'hit'. Then, with the addition of some sort of momentary activation of the laser a simple 'shooting gallery' game could be created.


Dubbie

  • Sign in to reply

Top Comments

  • gecoz
    gecoz over 5 years ago +3
    Hi Dubbie, Great project! I wonder if it could be extended to create a bigger round led board, with few more LDRs, to play a sort of laser-darts! Fabio
  • Fred27
    Fred27 over 5 years ago +3
    Have you considered trying to use the LEDs to detect the laser? I've never tried it myself, but I've read that an LED can also act as a photodiode. I'm not sure how easy it would be to switch between being…
  • Fred27
    Fred27 over 5 years ago +2
    I recognise that 3D printer software from my own UP Plus. A great printer - I won it on Instructables back in 2012 and it's still going strong.
Parents
  • davedarko
    davedarko over 5 years ago

    Nice project! Have you thought about using other LED colors for the outer ring? This has some spaceship docking guide vibes image

    • Cancel
    • Vote Up +2 Vote Down
    • Sign in to reply
    • More
    • Cancel
  • dubbie
    dubbie over 5 years ago in reply to davedarko

    Dave,


    I did have some other types of LEDs of different colours that I could have used (although I never thought of doing so until you just mentioned it) but I used the green ones as they were a gift from Element14 so I decided it would be fun to see what I could make out of them. I started with just an X-Y grid array as a display as I had always wanted to make one to get a better understanding of how they worked. Once it was made I realised it could be made more interactive and fun by adding the light sensor, plus I wanted to see what sort of graphics I could achieve.


    Dubbie

    • Cancel
    • Vote Up +2 Vote Down
    • Sign in to reply
    • More
    • Cancel
Comment
  • dubbie
    dubbie over 5 years ago in reply to davedarko

    Dave,


    I did have some other types of LEDs of different colours that I could have used (although I never thought of doing so until you just mentioned it) but I used the green ones as they were a gift from Element14 so I decided it would be fun to see what I could make out of them. I started with just an X-Y grid array as a display as I had always wanted to make one to get a better understanding of how they worked. Once it was made I realised it could be made more interactive and fun by adding the light sensor, plus I wanted to see what sort of graphics I could achieve.


    Dubbie

    • Cancel
    • Vote Up +2 Vote Down
    • Sign in to reply
    • More
    • Cancel
Children
No Data
element14 Community

element14 is the first online community specifically for engineers. Connect with your peers and get expert answers to your questions.

  • Members
  • Learn
  • Technologies
  • Challenges & Projects
  • Products
  • Store
  • About Us
  • Feedback & Support
  • FAQs
  • Terms of Use
  • Privacy Policy
  • Legal and Copyright Notices
  • Sitemap
  • Cookies

An Avnet Company © 2025 Premier Farnell Limited. All Rights Reserved.

Premier Farnell Ltd, registered in England and Wales (no 00876412), registered office: Farnell House, Forge Lane, Leeds LS12 2NE.

ICP 备案号 10220084.

Follow element14

  • X
  • Facebook
  • linkedin
  • YouTube