


I've made some headway with my robotics project and I've decided that I need a robotic arm to supplement my Blambobot's line following function.

Below is the video of the robotic arm I 3D printed and am controlling with MATLAB/Simulink. Eventually, I will use this robotic arm to load candy onto my TarabotBlamboBot (now also LineFollowerToTheExtreme) robot.
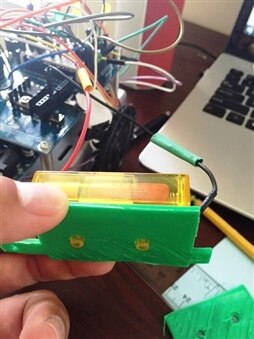
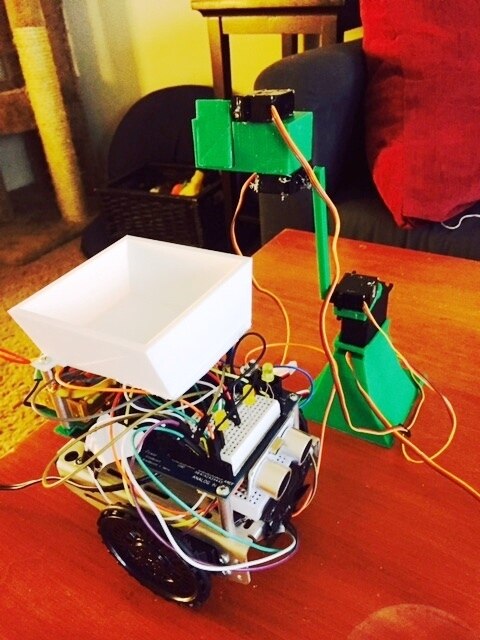
First, after my last blog post I felt that my line following robot was somewhat crude in having it's external battery pack dangle behind it like a sad little sailor...so I got my 3D printing game on and designed a battery holder. Below you'll see a picture of the iterations of the battery pack holder I made and then the final version which I attached to the back of my robot:


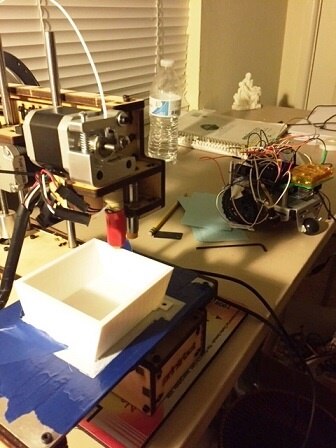
This whole robotic arm project started out though when I decided that my line following robot needed a little "backpack" to carry school supplies. Exactly what a teacher's pet really would want! I know I did back in the day....blush...blush... So I designed a trunk for my robot with a sketchy 3D printer (Printerbot Maker Version; side note, I spent 9 hours assembling this thing at a workshop!!!) and then I spent a good 5 hours waiting for my design to print. I then had a mind bender of a time figuring out how to attach the trunk onto the robot using only two of the risers and the limited amount of screws provided in the Parallax robotics kit. It all worked out though....if only by the possibility of divine intervention?

Alright....so at this point my robot had a trunk...but...for what...I could put golf balls in it and let it line follow around my kitchen but then that would be kind of pointless. So to give purpose to my passing moments I decided to funnel every ounce of my creative energy into designing a robotic arm. I had never designed a robotic arm before but I had seen a lot of them on youtube.com recently. The summer has been long, oh, and how I miss it's beginning already.Wish I could turn back the hands of time a good 10 years and told her something different... Here is my preliminary sketch:

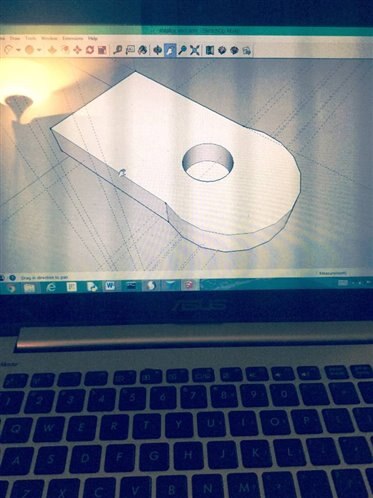
The robotic arm is made up of 4 servos and 5 connecting parts. I will go through them....all were designed using Google Sketchup:
The pivoting base:
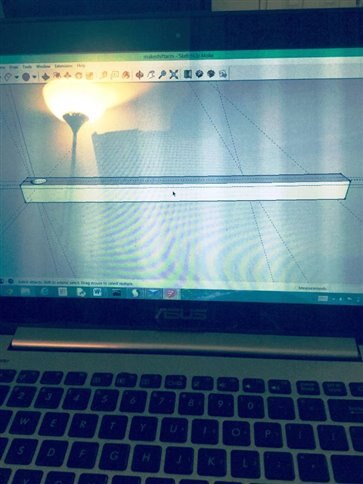
The ARM:
The Head:
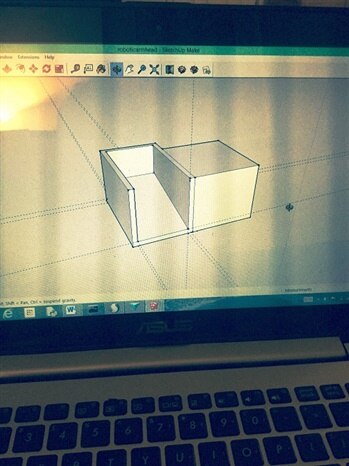
The Stand:

The Door (attached to the servo on the head)

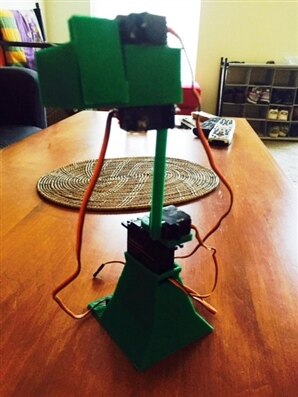
And when everything was printed....and trust me, it took a while; also to make numerous adjustments to the prints- this is what the robotic arm looks like... oh, and I secured all the pieces with epoxy glue to make sure everything stays together when loads of candy are raked in!

It really didn't take me long at all to test and program the robotic arm with SIMULINK. In fact, the Simulink function of being able to run something in external mode allowed me to test the angles of the servos on the fly and with ease. The SIMULINK boxes really helps those who are more visually inclined too. This process of figuring out the movement of multiple servos would have taken forever with typical Arduino programming where the feedback doesn't happen until you upload the code and then see the result. With SIMULINK it took me 15 minutes to figure out how to get the moving parts of the robotic arm to move with some type of synchronicity. Albeit, like a cheap watch you'd get for winning ski ball at Chucky Cheese...
Below is what Simulink code looks like; I really wish I had more instruction on how to use this stuff because the more I practice with it the more I am fascinated with how to represent closed systems. It is also fun to see all the boxes get connected together- it makes you feel very clever and organized
Blah....this picture probably doesn't resonate with you all that much but I have nice gray boxes to represent each of the servo motors and little sub boxes attached to represent one of the two angles they can shoot too once I click the "manual switch."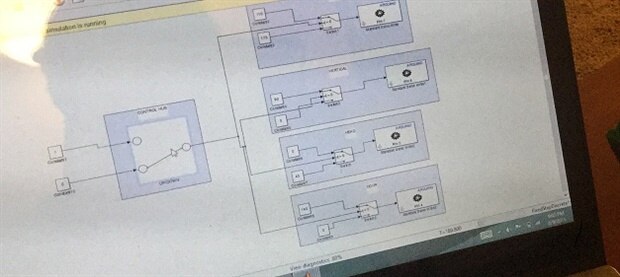
So my end goal for the Teacher's pet robotics challenge is this:
Take a moment to visualize....I want my line following robot to ride around on a line (maybe in my classroom, but realistically in my kitchen) and then when it passes my robotic arm station I can click on my precocious SIMULINK button to load the robot with a pinch of candy from a bowl. The robotic arm is going to reach into the bowl for me because it is, perhaps, more sanitary and also because it oozes endless cool. My concluding post will showcase this candy donation function; the robotic arm and the TaraBotBlamboBot/linefollower to the extreme robot will merge into something which hands out candy like Robbin hood in a Ford Focus production line.