


At least 4 months ago (what now feels like an eternity) I participated in the Raspberry Pi Educators Road Test. Writing blogs based on my lessons using the Raspberry Pi was a truely engaging experience and I put all my enthusiasm into making my articles as interesting as possible. Lukily for me, I was awarded for my efforts; not without having gone through a drawn out processes of me emailing back and forth with element14 about when my prize would arrive. And eventually it was stated as true; a 3D printer, I was informed, a Printerbot Metal Simple (assembled version) would soon be in my callused hands. Wow, that sounded good and I looked at some pictures online, all of which included the price which was approximatley 600 dollars. Which is interesting I thought, because I had been led to believe in my 3D printing noob mind that a decent one should cost around 1000 some dollars. But hey, someone once told me while surveying a dance floor; beggers can't be choosers.
Nobodey at school quite believed that I'd be getting a 3D printer but when that day did come when I was informed that I had a package had been recieved in the docking bay. I was ever so excited and strutted to the back of the caffeteria; giving the thumbs up to the Director of Technology with that glow of "I've arrived" or rather "it's arrived" my treasure of an identify former. But, in the end, after all the lyrical waxing I'd done with regards to the printer. How big it would be, and how much of my desk it would take up; to the point where I'd have to drag in a second table to place it on. The printerbot simple (let me remind you the assembled version) was humble and compact. Like those TV ready meals you can get from the supermarket. Oh how I have come to know those all too well....
Nonetheless, I immediatly hussled to unbox what would be a pandora's box of elation and dissapointment over the next few weeks. Many waves of enthusiasm mixed with frustration with respect to achieving the perfect 3D print. The perfect 9 inch by 9 inch trinket for place on a pedistle on my desk like the latest gold star in a pre-K sticker book.Here it is: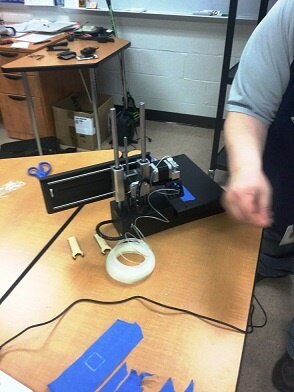
Note: That's not my arm in the for ground. Think of it as the angelic wings of enthusiasm and rapture surrounding the excitement of the first print. Now, as you unbox it there are no instructions to go along with the printer except for basically, go to the printerbot.com website and figure things out. I like to have a proper instruction manual to comfort me; I work in technology but I like instruction manuals, at least the paper type that I can hold. I must be old school but then I don't understand why this is because I find IKEA cool.
Anyway, once you navigate to the Printerbot page you'll be presented with some well thought out step by step instructions for how to set up your Printerbot simple metal. Which since I have the assembled version involves calibrating the extruder probe which pushes out plastic. For this purpose, they include a small leveling probe which you utilize to level the probe at just the right hight relative to the printer bed. It's basically just a piece of pastic you put under the probe sensor to make sure it is the right hight from the printing bed as you lower it. You must then download a piece of software called Cura to turn 3D printing files (which are commonly in .stl format) into something which can be interpreted by the printer in to riggidy-jiggidy movements which layer up plastic into some desired form.
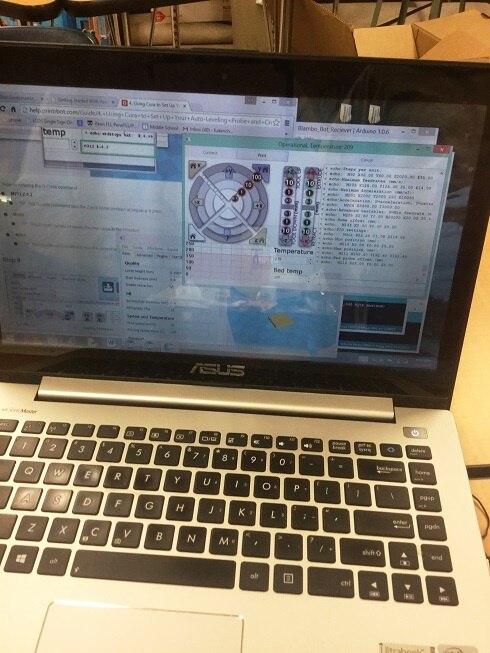
Here is CURA on my latop as it is warming up the probe to unleash a wad of pastic "twerked" onto the printer bed:
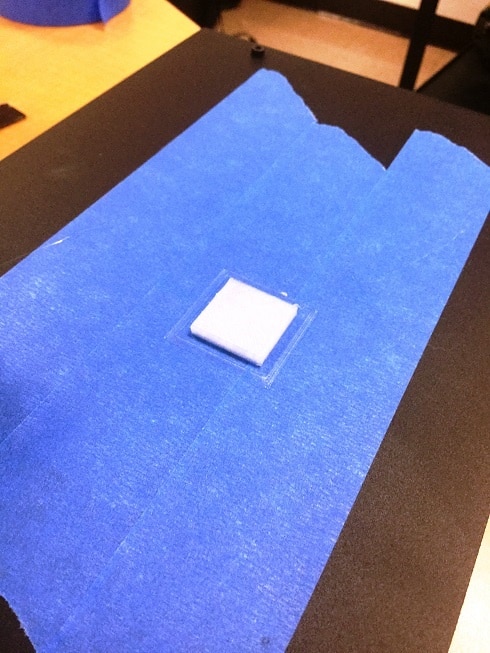
Anyway, the first print which is recommended per the Printerbot website is the 3mm box. This is because your going to want to find out the ideal leveling hight to produce perfectly smooth textured surface. And you want something small enough to print which won't take a good hour and then resemble a sloppy mess of plastic.
This is what the 3mm box test looks like and the product achieved when completed. Note how at this point in the processes we've laid down some blue printers tape onto the printerbed so adhesion between the plastic model and it's surface. If you don't figure this out, as I'll mention later, it is fantastic hassel to deal with:

While you'd thnk it's boring to watch a plastic square be built up I guarantee that 1st time 3D printers will find the processes thrilling. It's like watching tears fall from the sky and then turn into your first love; or maybe even dollar signs for those who still fuetely hope to make a profitable living out of the world of primary and secondary education. How similar this is to baking, maybe I could have baked cakes for a living? Oh then I snap out of that thought when I realize then that the 3D printer can produce things like this:
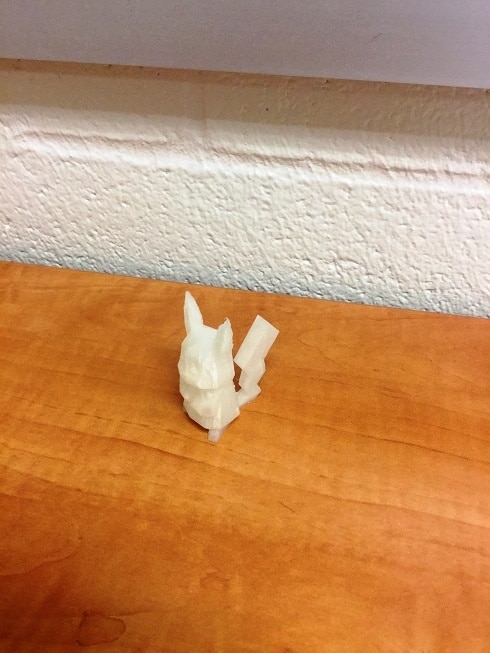
Yup, that is my first 3D print of what today's youth may call "legit" or "sweg." I'd like to see Chef Boyardee produce one of those Pokemon figurines. Here lies in the advantage of 3D printing when all and everything comes together: that you can produce amazingly detailed structures with little effort once you press the print button in Cura, the rumbling of the Printerbot Simple takes over and your pokemon figurine, the file of which was downloaded from yeggi.com, is soon to be birthed into the world like a baby dove.
However, while this all sounds wonderful the printing process is often not as easy and strait forward as it seems. Observe the following photos of models created during the early stages of my courtship with the Printerbot simple:

There is nothing wrog with that meesly Pokemon print in the front but you'll notice that the other models are damaged or in the case of the model on the far left just not completed as it had to be cancelled as a result of the model slipping from the printer bed. This is the perpetual problem you will face with the Printerbot metal; and I don't care what anyone says online about painters tape solving the issues of adhesion as I find it hard to believe and hard to understand that in an age when we can design CAD drawings and have a robot zoom around to layer up plastic to represent it the Printerbot people couldn't figure out a way to create a printing bed that plastic actually adheres too right out of the box. Why should you have to buy some type of tape from Home Depot in the first place to make it work; the guys who work there don't get it. Image if I had to buy the light bulbs for my Volvo before I drove it. And if I drove it at night I'd find out that I am royally ........ (insert whatever R rated eplitive on the dots all you adults still reading, if your PG-13 then think of it as someone forgetting to include a cherry with your Sherley Temple). The models on the picture on the right are damaged as a result of the print continuing after the model has shifted slightly...sigh.....and this is how the problems began.
But as my later blogs will show, all this process was not in vain as I did find a way to get my 3D printer to work and an interesting way to use it in the classroom.


