


Around this time last year I had my first experience with Arduino micro-controllers while attending a workshop at the MIT media labs  .Ever since then it has become a full blown hobby of mine to create robots with them. However, as time progressed I realized that there were limitations to what I could do with an Arduino. Specifically, Arduino lacked a user interface which allowed me to execute commands over the internet or program electronics in Python with ease. Moreover, interfacing a camera to stream video online was way too complicated for me to deal with.
  It was at this point that I invested in a Raspberry Pi; partly to deal with the limitations I found while building robots and also because I had read numerous articles about the Raspberry Pi being used to teach students about programming in schools
  .
.
Currently I am a technology teacher at Lancaster Country Day School, a private K-12 day school in Lancaster, PA. Every week I teach a range of classes from general technology skills, film production and (cue,the drum roll....) programming! The fact that I have been gifted the freedom to try new things in my small programming classes made me curious as to the ways in which I could apply the Raspberry Pi for educational purposes. I was thrilled when Element 14 selected me as one of the participants for their Education Road Test of the Raspberry Pi B+ with a Pi Camera board.
Below are some picture of the basic package Element 14 sent me (note: the camera is not attached):

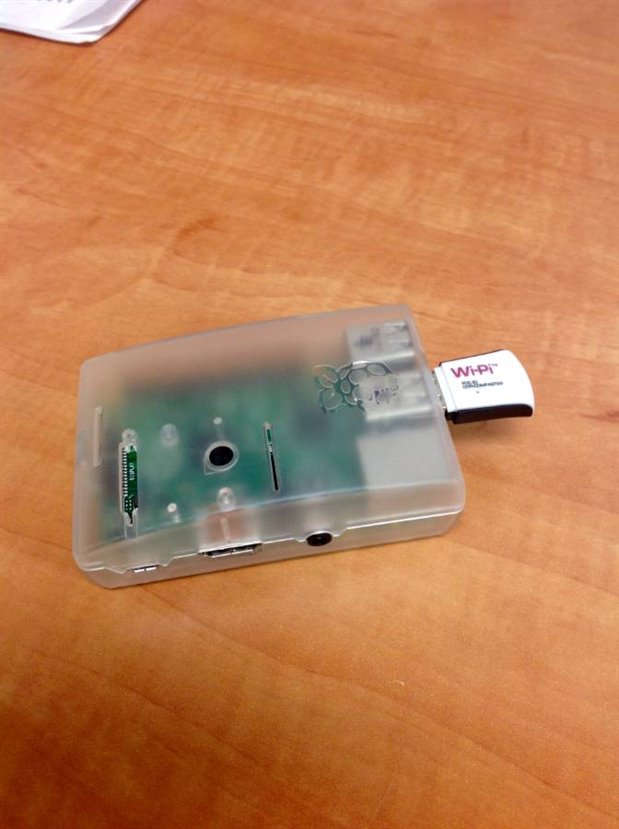
Wow! A Raspberry Pi B+, a white case, Raspibian pre-loaded onto an 8GB SD card, a Wifi dongle and a camera board. In general, the basics of what you need to get started with a Raspberry Pi. For those of you who don’t know what Raspibian is, it is the LINUX operating system specific (and recommended) for the Raspberry Pi. And then for those of you who don’t know what LINUX is it is basically another form of Windows, but not made by Microsoft. Instead it’s maintained by a community of individuals who share their programming knowledge with each other in the spirit of collaboration to develop the interface. LINUX is what we define as “open source.”
Anyway….I got my Raspberry Pi set up and running in no time. Because my 8GB SD card was already loaded up with Raspibian I just plopped it into the micro SD slot and booted the thing up; changed the password and settings so I wouldn't have to type a password in each time I turned the Pi on; and most importantly changed the background to a cool jungle scene . All this was a part of my preparations for presenting the Raspberry Pi to one of my student’s William.
I have a few sections of a class, Beginning Programming, but one of these is made up of a single 8th grade student, William. William is a fast learner and is no novice to technology. Last trimester we worked used a piece of software called GameMaker to produce a rudimentary pinball video game using the GameMaker programming language. This was okay but I felt that it was time to step it up into the real thing; time to introduce young William to Python programming. One of the nice things about the Raspberry Pi with Raspibian is that Python’s Integrated Development Environment (IDLE) is already pre-installed. This means that you can jump write into programming, right after jamming a mini SD card into the Pi slot! 
Below is the link to the lesson plan for my first Lesson with William.
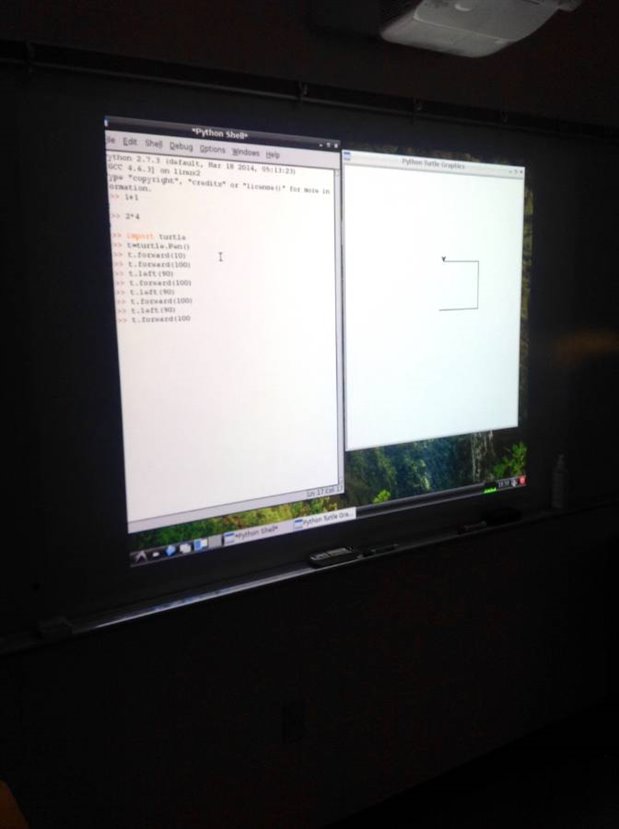
My objective was to give him a run down of what the Raspberry Pi is about and get him right into programming shapes in Python with the “Turtle” library. The “turtle” library resembles the old school tool to teach programming called LOGO. The only real experience I had programming as a youth was during a workshop where the instructor had a long winded approach to getting us to move a triangle around the screen. This wasn't that fun to me; but Oh how times have changed! Especially since I am witnessing things from the other side of the rabbit hole "a la" teacher view. As an adult I now find LOGO like drawing programs cool and I wanted to project my enthusiasm forward. I showed William the basics of how to draw lines and then demonstrated if loops and circles. He took to this right away and drawing squares and all sorts of shapes right off the bat. Below is a picture of the setup I had for projecting the Raspberry Pi (via. HDMI) and William’s turtle at work completing a square. The Python code for drawing a square is found below. It has become my bread and butter for showing people during demonstrations.
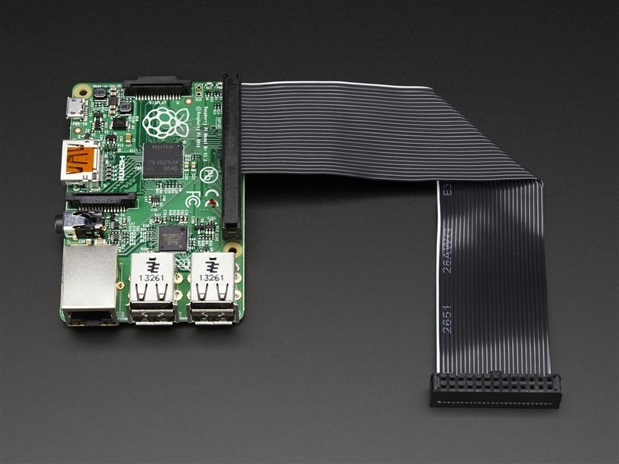
The fireworks for this first lesson was really supposed to be my demonstration of the GPIO (General Purpose Input/Output) pins on the Pi. This is perhaps what causes the Pi to resemble an Arduino micro-controller to some degree and getting little LEDs (Light Emitting Diodes) to flash via Python really gets my blood running. Additionally, showing William how to flash an LED using the Python programming language would be a nice example showing the transition from a graphical computing example (drawing squares) to a physical computing example (lighting up LEDs) with Python. Below is a PI WITH A GPIO RIBBON ATTACHED:
However, this is where I ran into some difficulty. Before the lesson began I had prepared a file on the Pi of Python code I had written or taken online. Some of the stuff related to GPIO and Python were things I had not tried for a couple months. And when I wanted to show the simplicity of lighting up an LED using Python it simply didn’t work. I get getting the error saying something along the lines of: “try running IDLE as root.” But what does this all mean? In the flurry of my lesson I panicked and started Googling all sorts of solutions. I even had poor William type in the commands to redownload the GPIO library through the LX Terminal (excuse my tech Mambo Jambo). Afterwards I found out that whenever you use the Python GPIO library you need to run IDLE in root; this means that you have to type in: sudo idle in the LX terminal. If you don’t run IDLE this way then accessing the GPIO pins will not work and you’ll always get an error. Drat! 
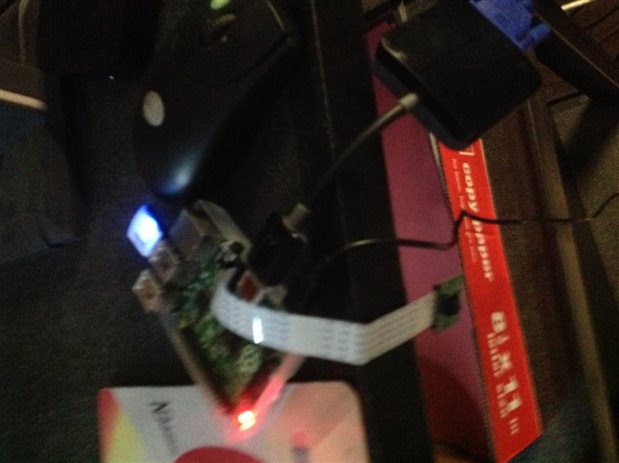
Anyway, William never got to see the Raspberry Pi light up an LED via Python. In fact, the only aspect of physical computing he got to experience was the Pi Camera (what a little gem of electronic wizardry) take a one measly picture set off by a few lines of Python code. In the picture below you can see the Raspi Camera dangling off the side of our computer stand...I apologize in advance for the blurriness:
What I had hoped to do as part of my lesson sequence was set up the camera board to a push button on a breadboard; thus merging the features of the camera and the LED lighting up. As I mentioned earlier, I never got this far and perhaps I tried to slam too much information into a 40 minute lesson. This is easy to do when you only have one lesson per week with a student. Even though things didn’t unfold according to plan I asked William what he thought of the Raspberry Pi and he said he thought it was “pretty cool.”
And “pretty cool” is always better than "boring" as nobody wants to feel beat into their seat with predictability. Better to have my enthusiasm for the Raspberry Pi crash forward like a tsunami! My hope is that with the Raspberry Pi my lessons with William will evolve into the creation of a remote controlled Robot which makes use of a camera and an Arduino for sensing. More on this to come; more lessons will written about after the winter holidays….until then I'll post some blogs on what I'm preparing with the Raspberry Pi.
Helpful Sites For Your Reference:
Capturing HD video with the PI camera
Top Comments