


TL;DR: This is a summary of my progress so far (to be continued) on getting the Raspberry Pi NoIR camera to work for thermography.
For this initial setup, I’m following the directions from Raspberry Pi Org: https://www.raspberrypi.org/help/camera-module-setup/
The first step here was to install the camera board itself. The board ribbon will gone into the Raspberry Pi’s “CSI Port.”
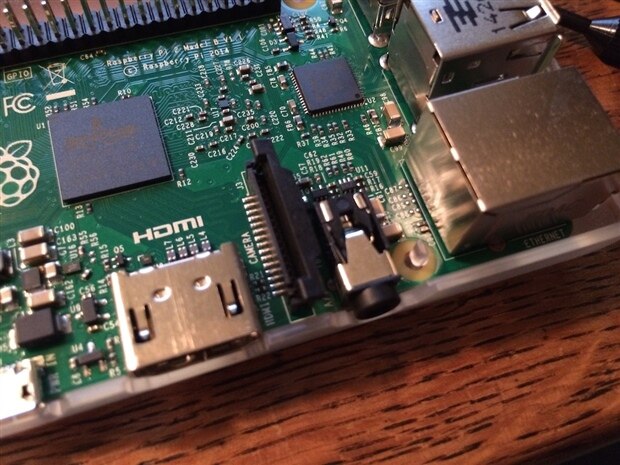
There. It’s inserted into the CSI Port.
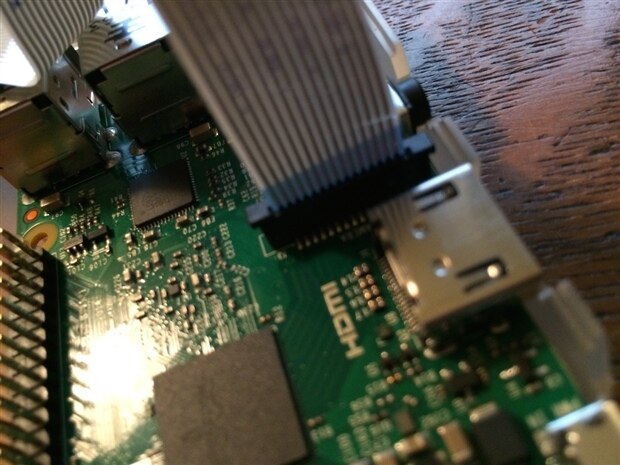
And now it’s been gently doubled over to fit within the Raspberry Pi Project Kit Case.
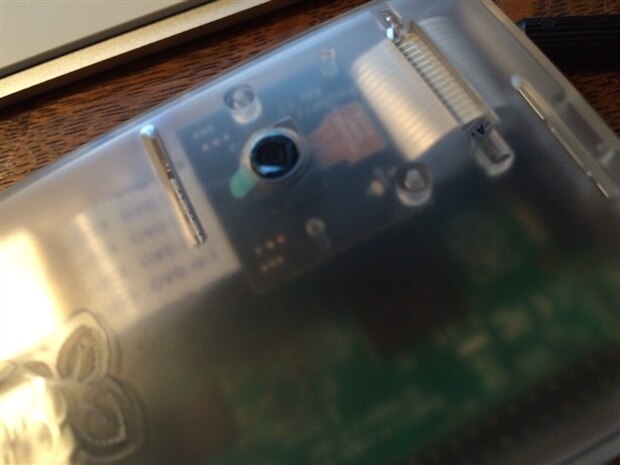
Yes, I’ve left the lens cover on because I am very afraid of damaging it just yet.
Here, on Raspberry Pi .Org, is an answer to my previous query over the NoIR aspect of the kit. The NoIR is an acryonym for “No Infrared [Filter],” which is to say this camera takes photos in visible light as well as infrared. This *might* not be the best solution for thermography, but let’s keep going.
Referring again to RaspberryPi.org, let’s follow these directions for connecting the camera in software (https://www.raspberrypi.org/documentation/usage/camera/README.md).
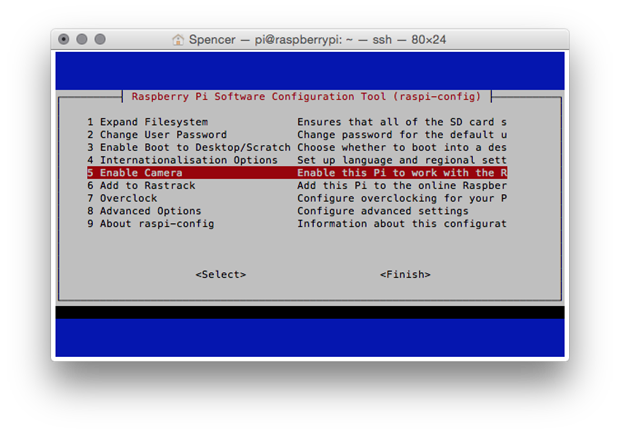
Here, from Terminal, I am able to access the ‘rasps-config’ command to enable the camera. [Notice how this screen exists in Terminal, but the GUI "x" does not. Type 'startx' and get an error.]
Next, I would like to try taking an image with the camera, just to see how it looks. RaspberyPi.org has a short list of terminal commands for the camera (https://www.raspberrypi.org/documentation/usage/camera/raspicam/README.md).

Here’s the first photo taken with ‘raspistill’!
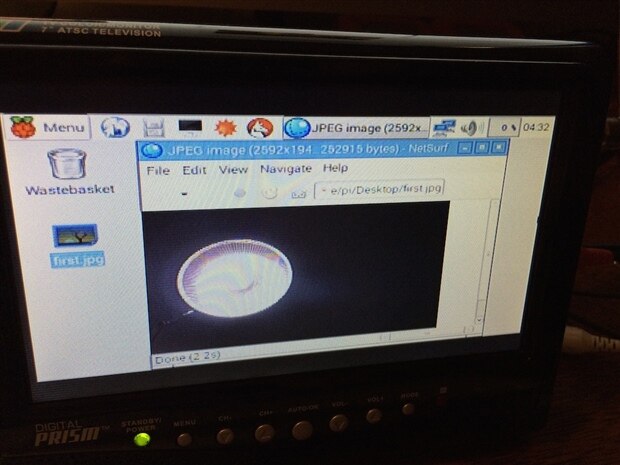
And there we go! A beautiful angle on my desk lamp. In full inferior color!
That, according to documentation, is a 5MP picture being viewed in the Raspberry Pi’s web browser with extreme zoom, on a 7” screen. Marvelous.
Next steps for this thread: Take the picture off the Raspberry and into MATLAB!
Thank you for reading and following. Any tips, suggestions, or resources are welcome, please comment or message me.
Thank you, Adafruit, Mathworks, and element14 for your sponsorship.
Previously:
Blog Entry 1: Hello! Teacher's Pet Students' Robotics Challenge: Attendance Automator — Blog Entry 1: Hello!
Blog Entry 2: Design Constraints Teacher's Pet Students' Robotics Challenge: Attendance Automator — Blog Entry 2: Design Constraints
Blog Entry 3: Background Teacher’s Pet Students’ Robotics Challenge: Attendance Automator — Blog Entry 3: Background
Blog Entry 4: Unboxing Teacher's Pet Students' Robotics Challenge: Attendance Automator—Blog Entry 4: Unboxing!
Blog Entry 5: Design Concept Teacher's Pet Students' Robotics Challenge: Attendance Automator—Blog Entry 5: Design Concept
Blog Entry 6: Startup Teacher's Pet Students' Robotics Challenge: Attendance Automator—Blog Entry 6: Startup
Tags: “teachers_pet” “attendance_automator” “raspbery_pi” “adafruit” "mathworks" "MATLAB" "NoIR"