KiCad recently released Version 6 and I've been playing around with it this week. After the initial irritation of little things that have changed like the new icons and learning where the design rules are located, I'm finding my way around again and there are lots of things to like. I have a board I started in KiCad 5 and against better judgment decided to finish it in the new version. Adding graphics was always kind of clunky in KiCad but the new version makes it quite a bit easier.
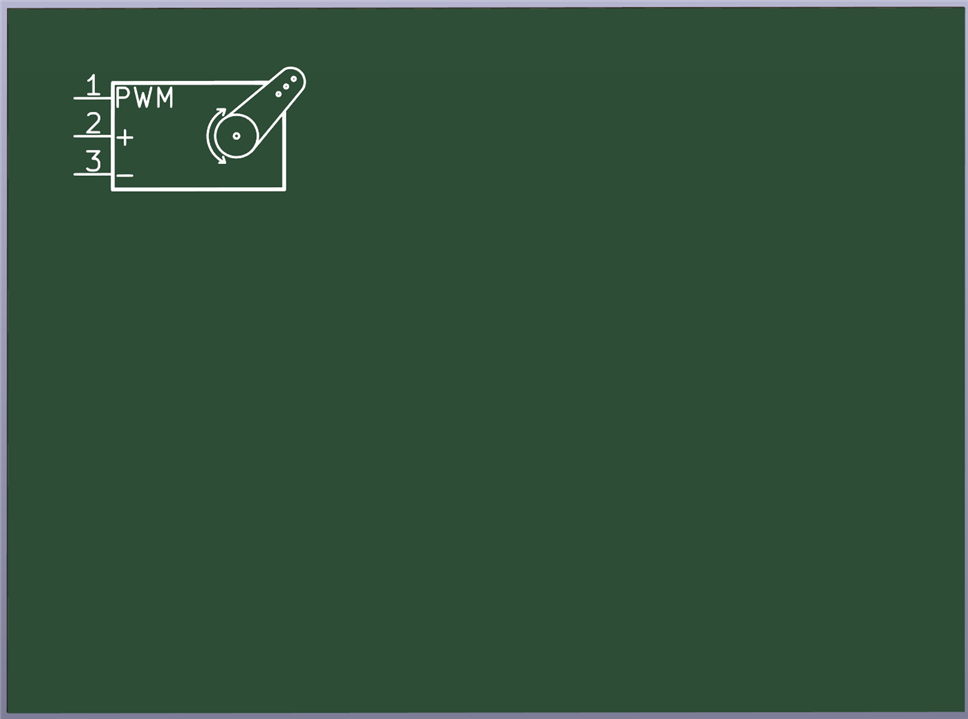
In this case, a servo graphic is desired as shown in the finished board below.

The drawing was made by taking a screenshot of the servo symbol in the KiCad schematic editor and saving it as a PNG file.

The image converter on the KiCad home page is used to prepare the graphic.

Once the image converter is open the graphic is opened with the Load Bitmap button. But before doing that select the radio button for Footprint. The Black/White Threshold becomes important for greyscale but won't matter for this black and white line drawing. Finally, select the Front silk screen radio button (it is possible to change it to the back silk screen inside the PCB editor) and press the Load Bitmap button.

I got a warning message about the profile which I've been able to safely ignore with line drawings, so press the OK button.

Now that the graphic is visible it can be prepared for export. The bitmap has to have sufficient resolution but this image is plenty large for the final 15 x 8.4 mm size footprint selected. It is possible to export it as a file, but exporting it to the clipboard saves the step of having to import it later so press Export to Clipboard.

Now with the graphic in the clipboard, navigate to the PCB editor. I'm using a blank PCB here for demonstration purposes. Use right-click paste or ctrl-V with Windows and there you go. Move it to where it belongs and then click on G*** to highlight it and ask for properties. That is a label KiCad uses for assigning footprints and we don't want it visible on the silk screen.

Make sure the Visible box is not checked.

OK, all done. Here is what it looks like in the 3D viewer.


Top Comments