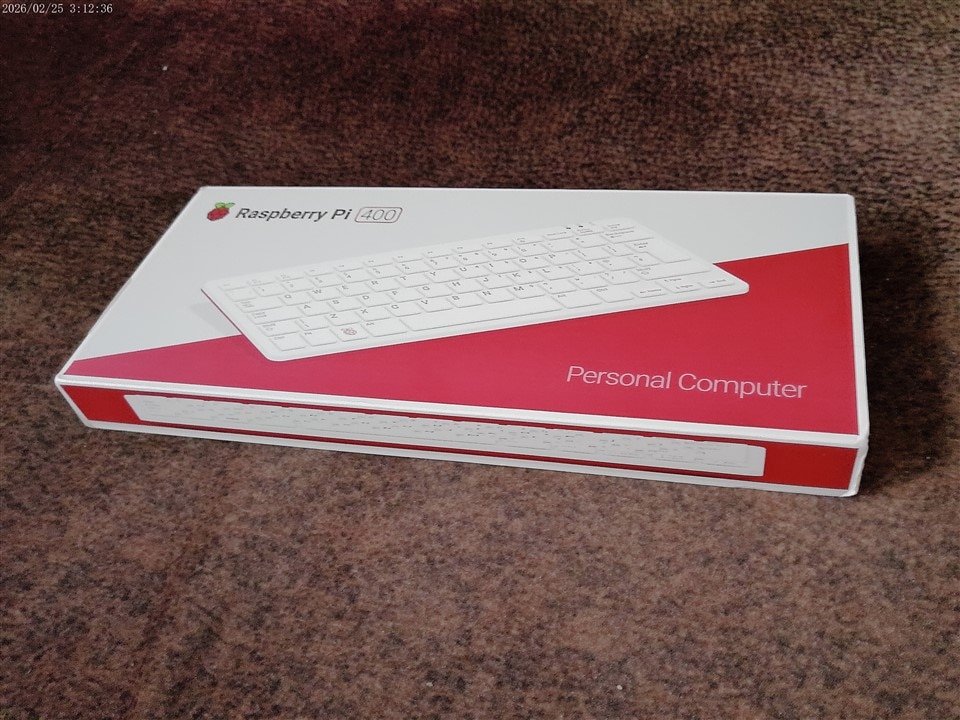
Yesterday, I received a Raspberry Pi 400 as a gift from Elemenet14 for best comment on the Top Tech Voices podcast.
Here is the link to the podcast if you haven't watched it yet.
Here is the screenshot of the comment that I did which was selected by Element14 team as five best comments and I got the price.

Before I say something about the RPI-400, I have got a camera for vlogging purpose. I realized during last design challenge and some of my blog posts, that to produce HQ content like photos and Videos, I need some HQ camera that a smartphone does not usually have (Unforunetely).
Hence, this post is going to be with some camera that can take nice photos. At least for the purpose of posting about development kit or a device this would work.
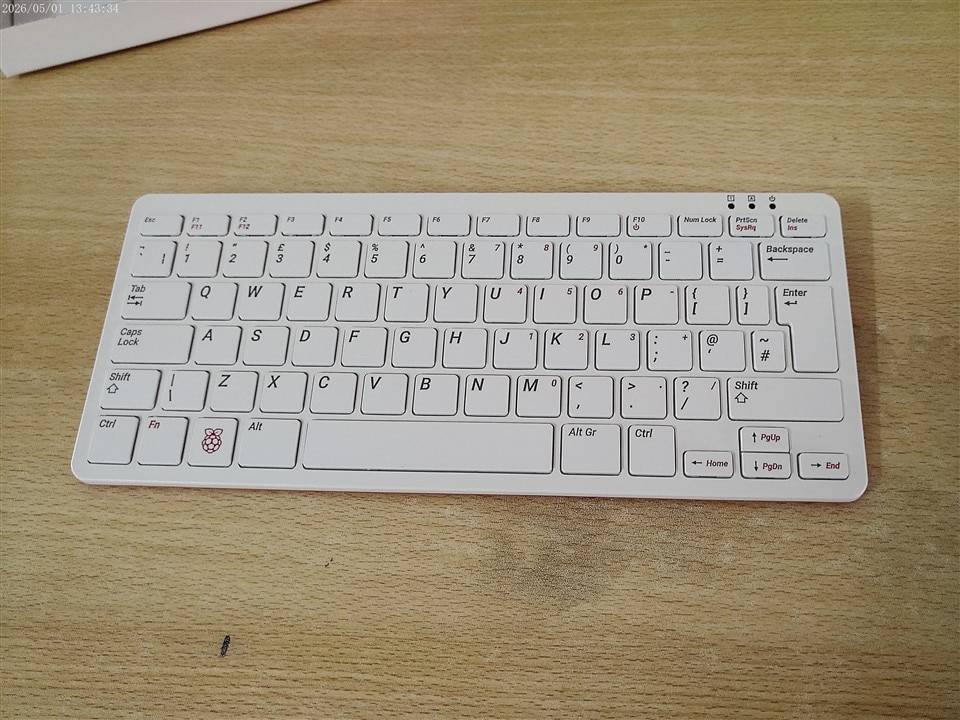
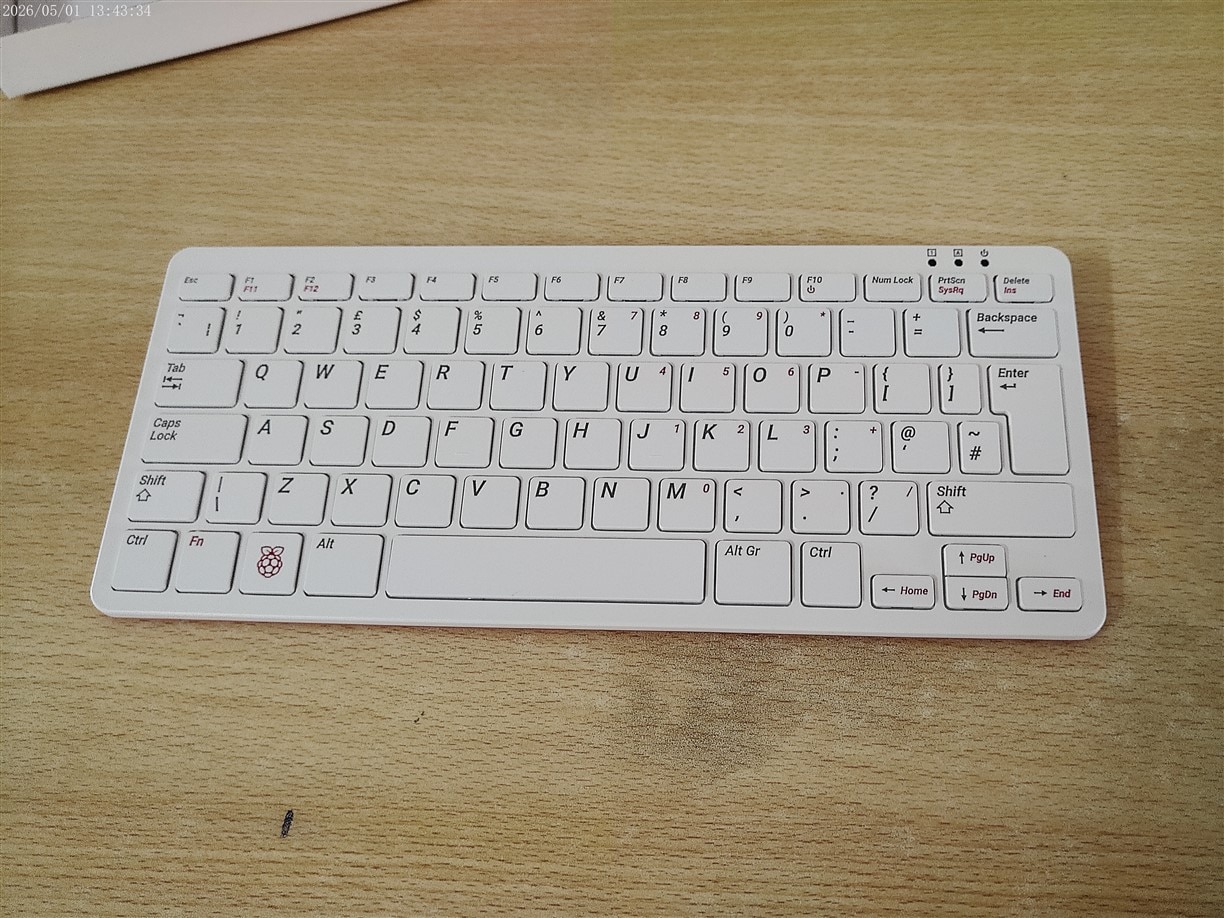
The Raspberry Pi 400 is a mini-PC with Raspberry Pi 4 form factor. There are different versions for different regions. Basically, the key difference is the keyboard and layout of it. The full kit will also include the mouse, power supply module, A preloaded SD card with Raspberry Pi OS and a magazine about Raspberry Pi.
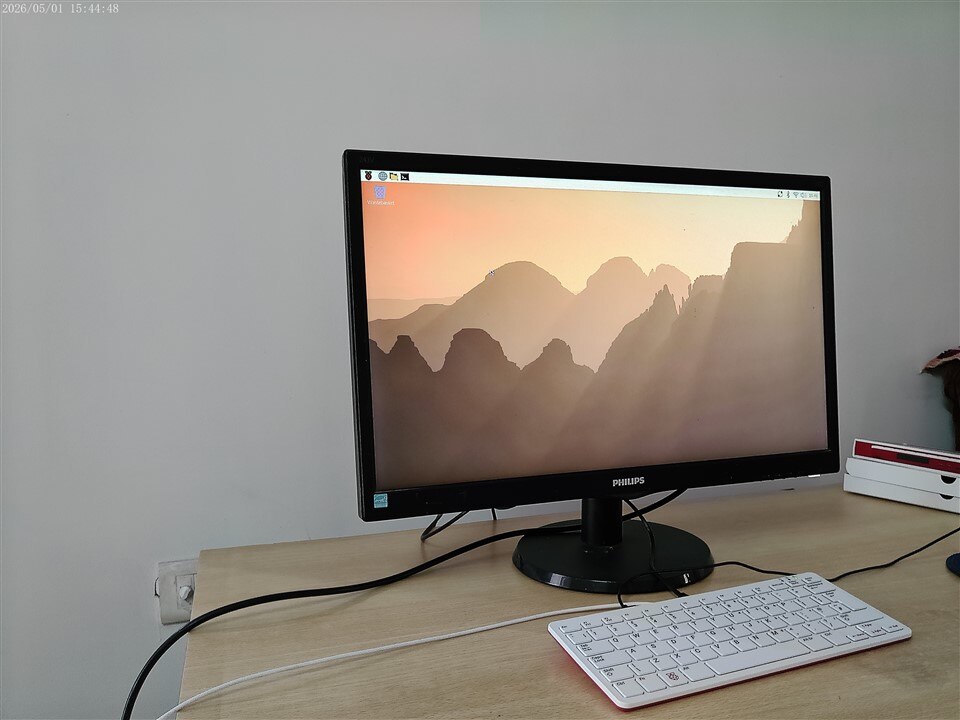
Nevertheless, I had everything needed to get started with this device. I had a spare Micro-SD card, a HDMI monitor and micro-HDMI to HDMI cable that is all needed to try this device as a mini-PC for anything that you would like to do like play games, learn coding, etc.
Installing the Raspberry Pi OS was simple, using the official Raspberry Pi software. Make sure to select right options if you try to install it.
| {gallery}My Gallery Title |
|---|
|
RPI-400: FRONT VIEW |
|
RPI-400: BACK VIEW |
|
RPI-400: FRONT VIEW |
|
RPI-400: BACK VIEW |
|
RPI-400: BOOT COMPLETE |