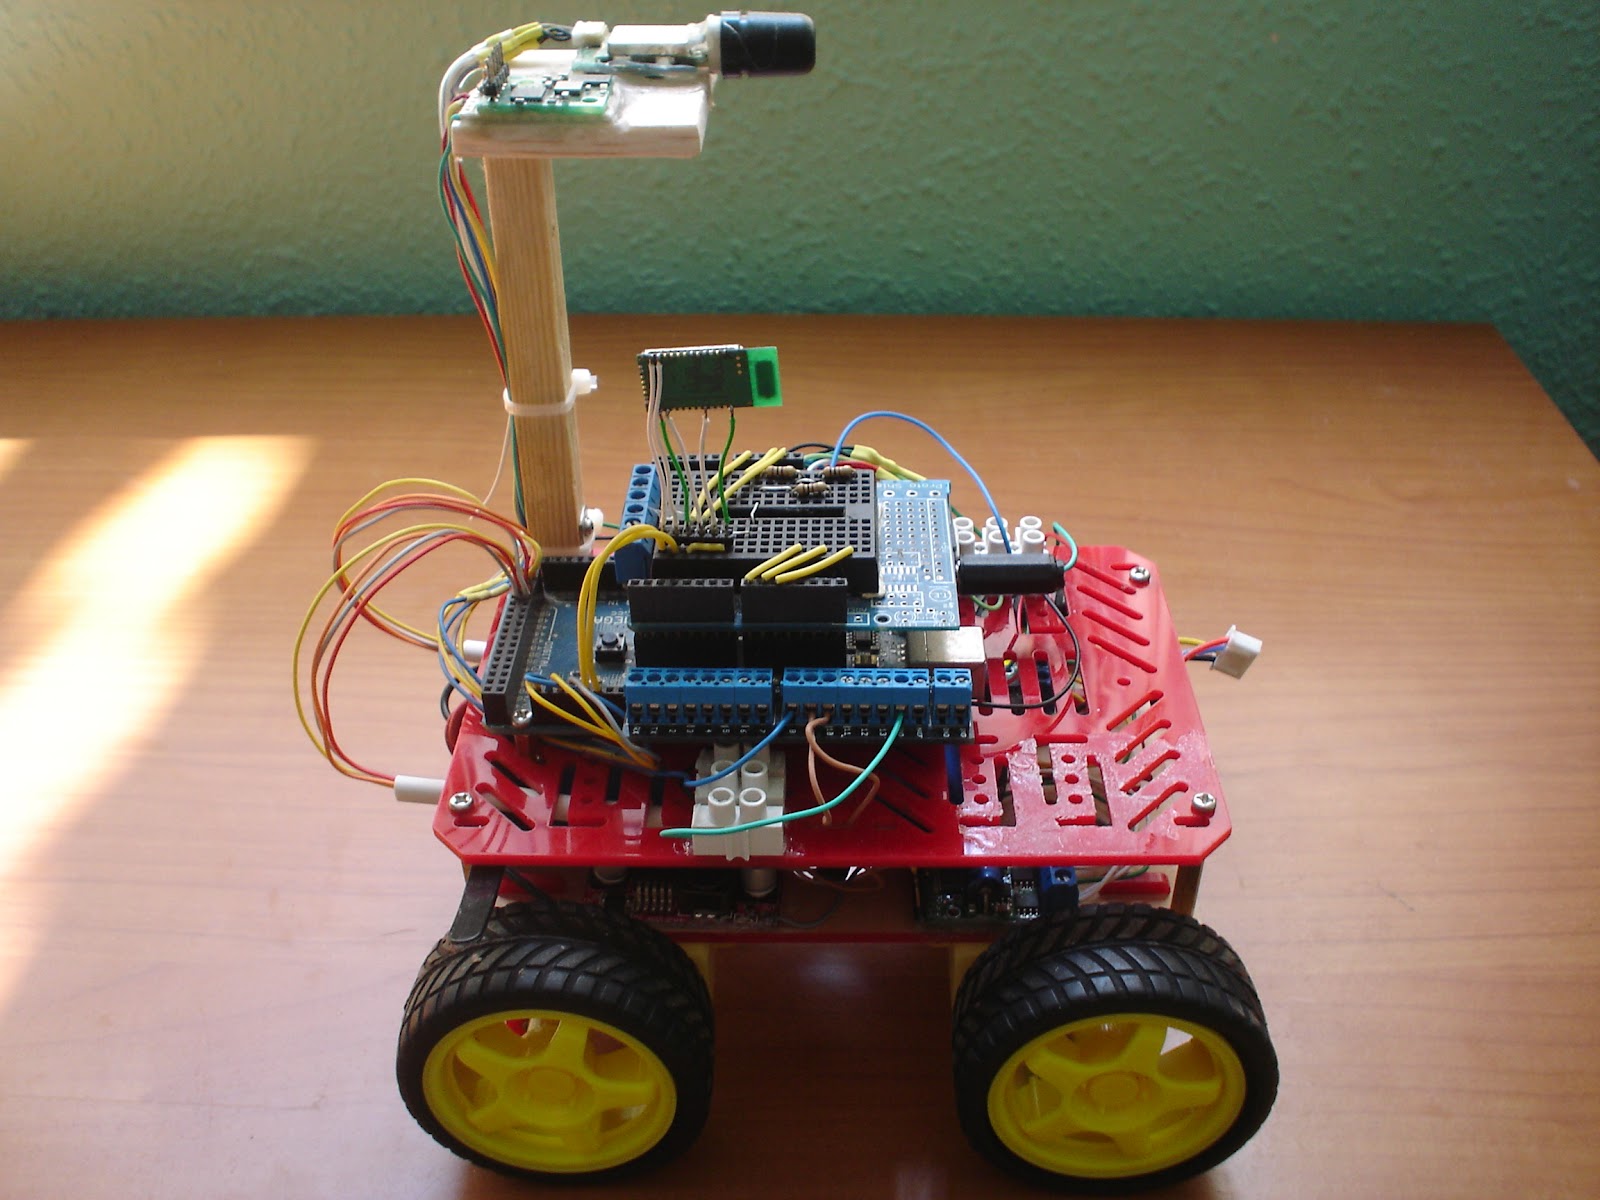
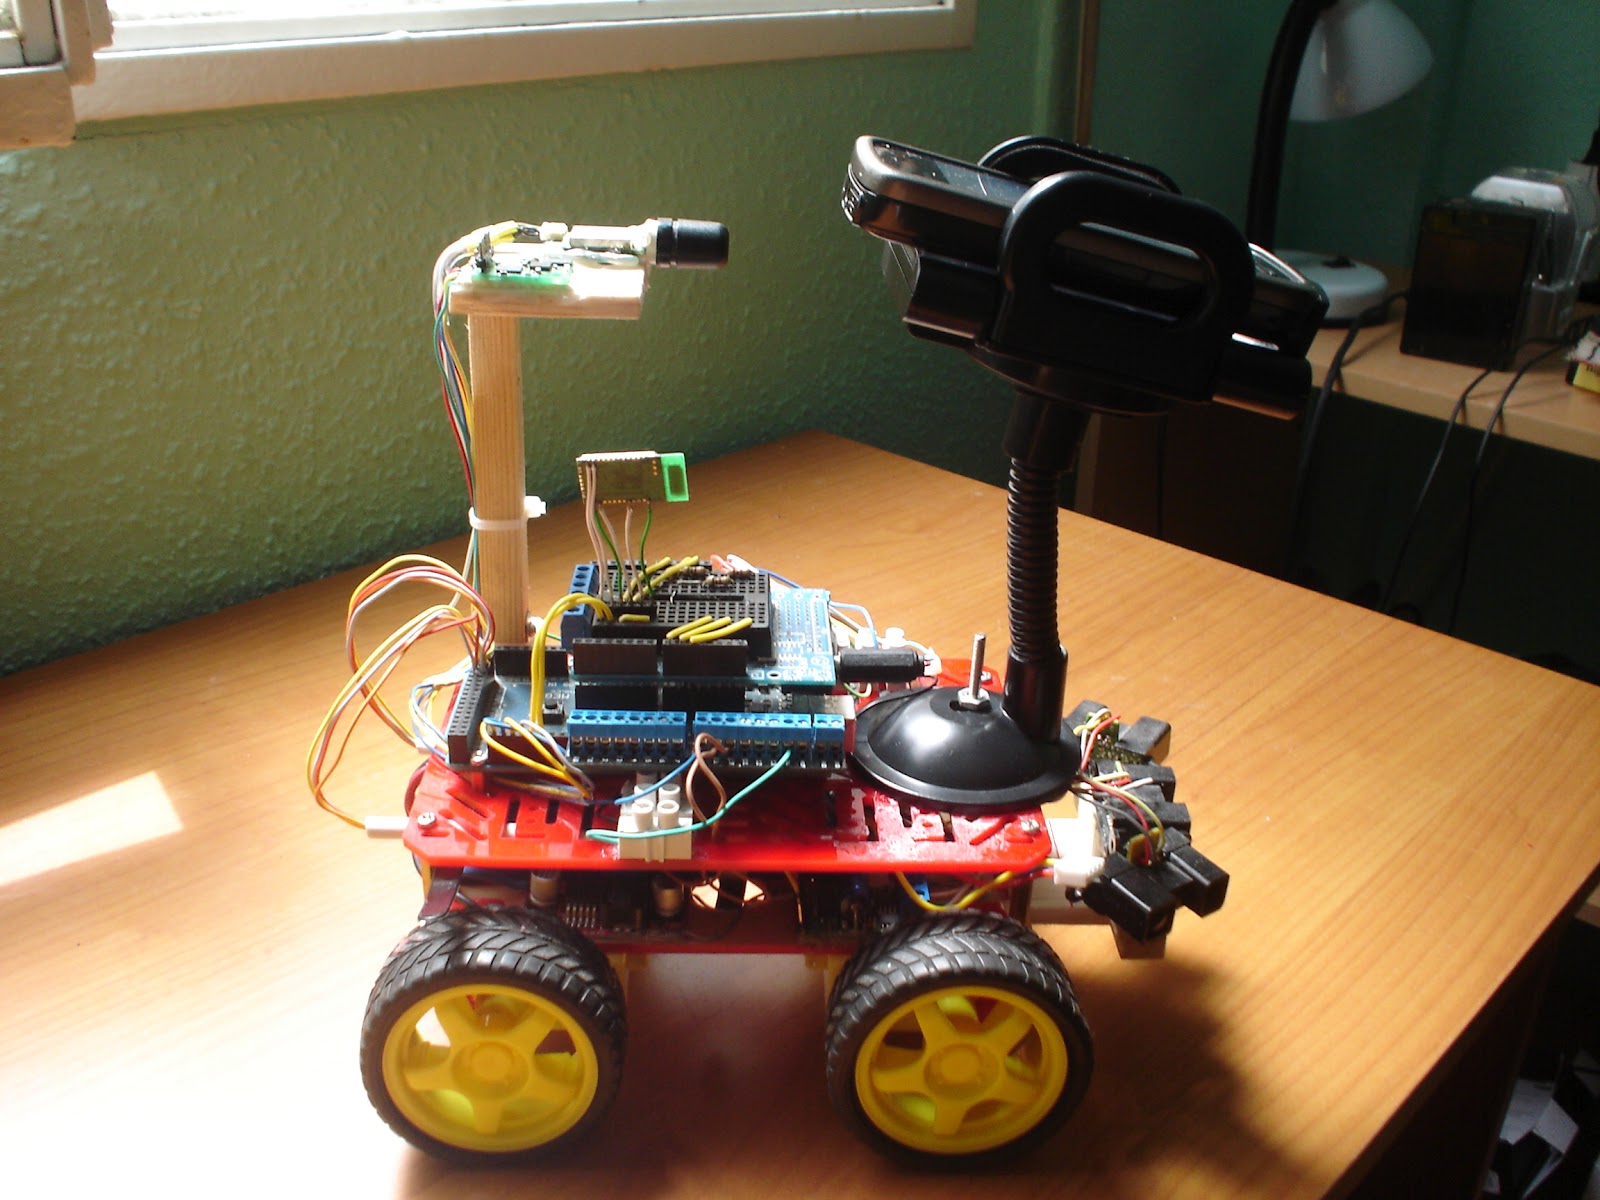
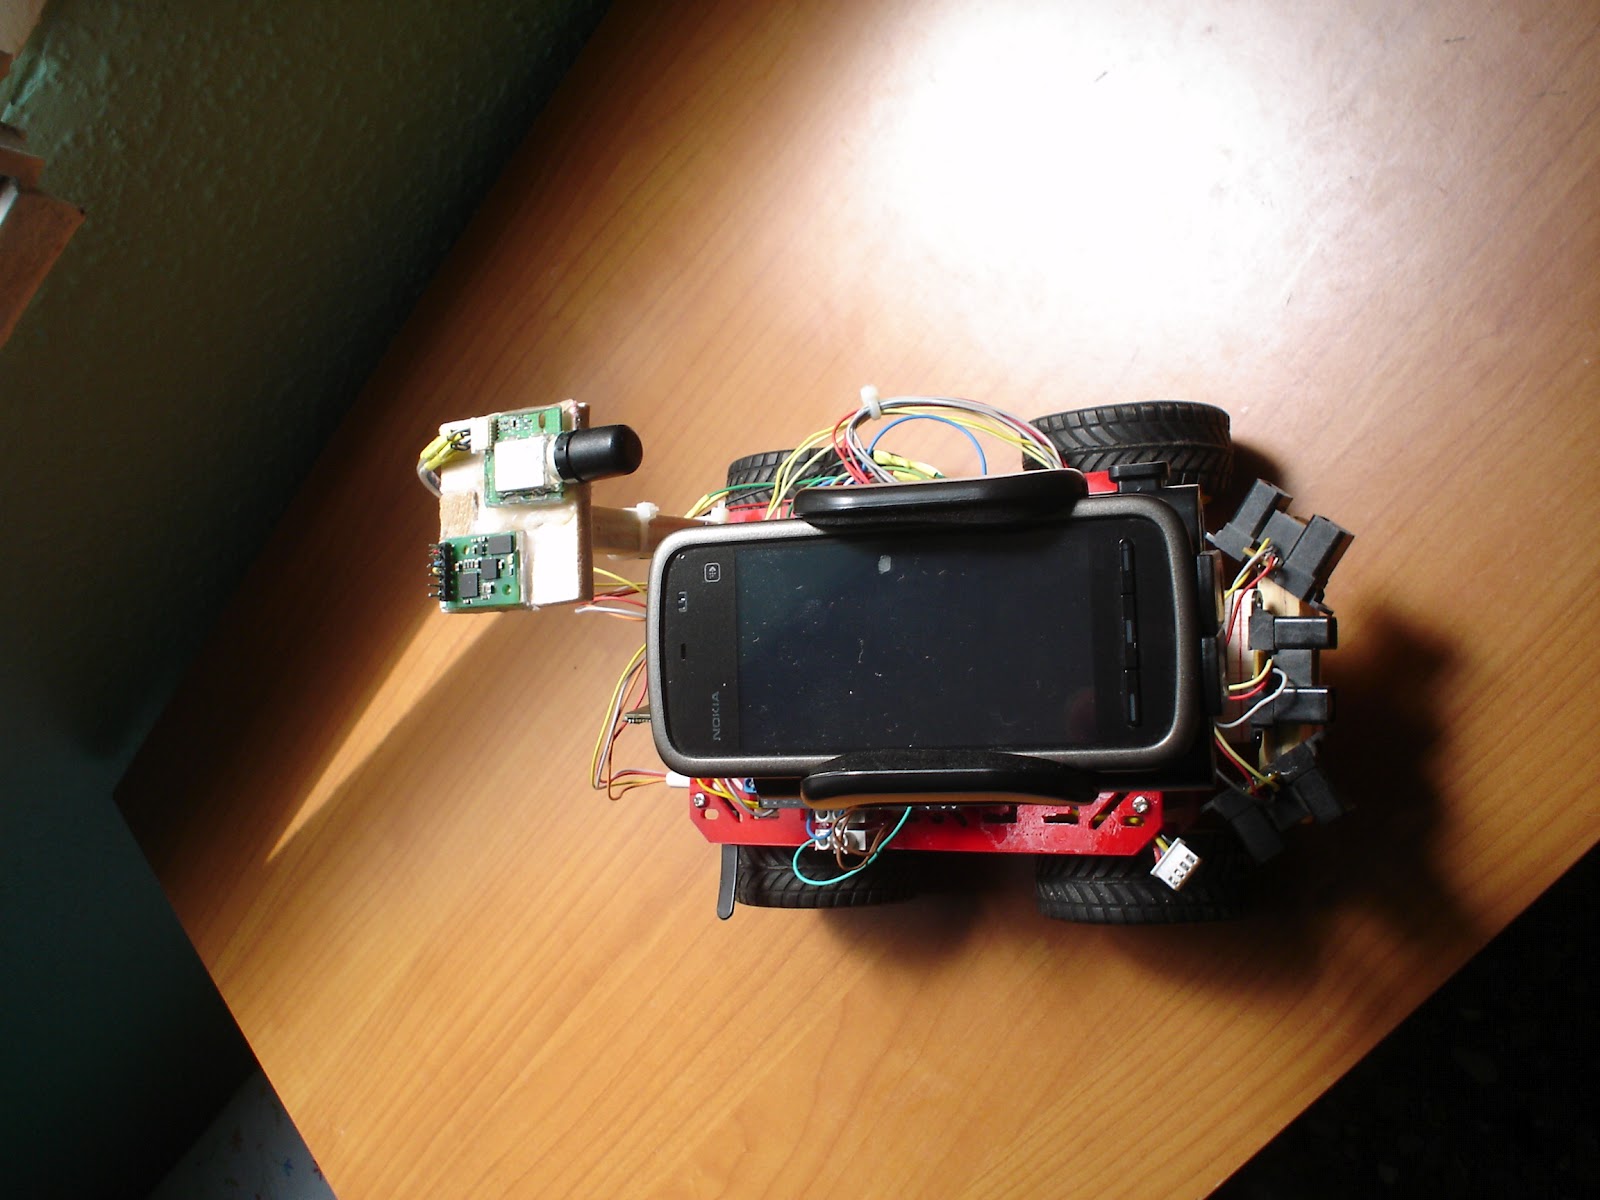
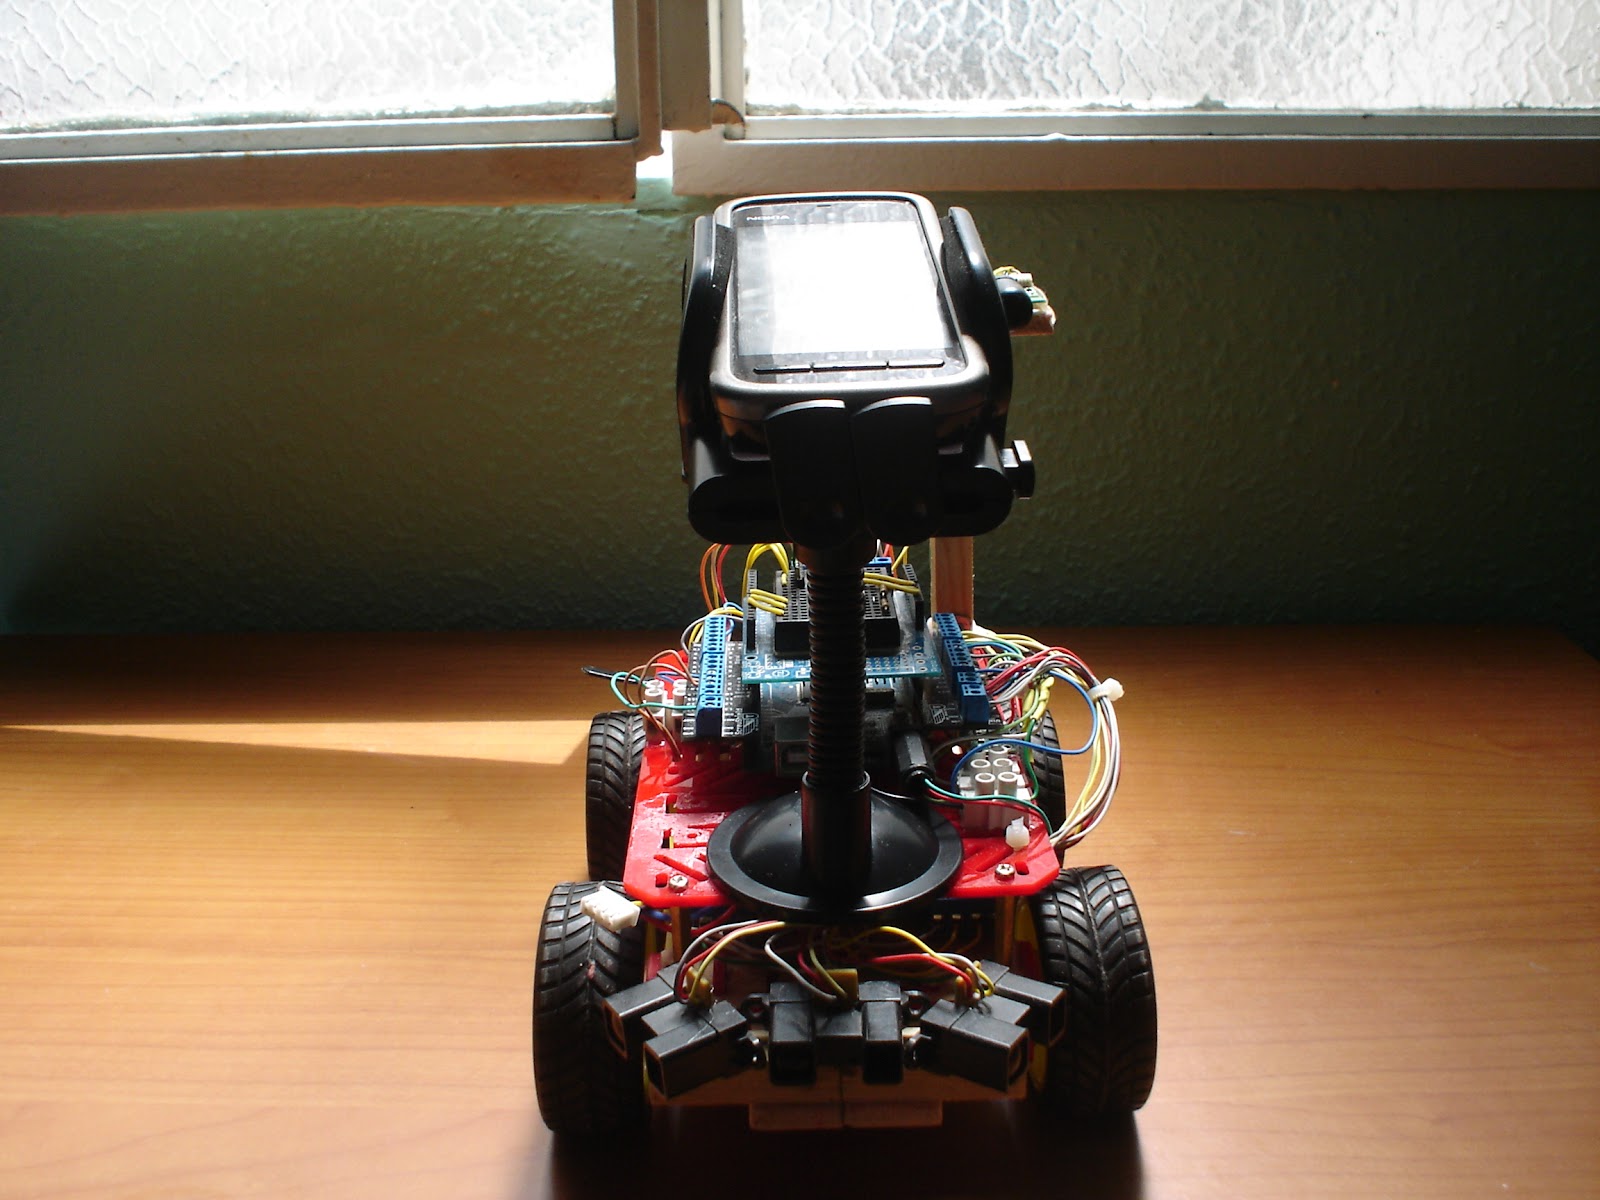
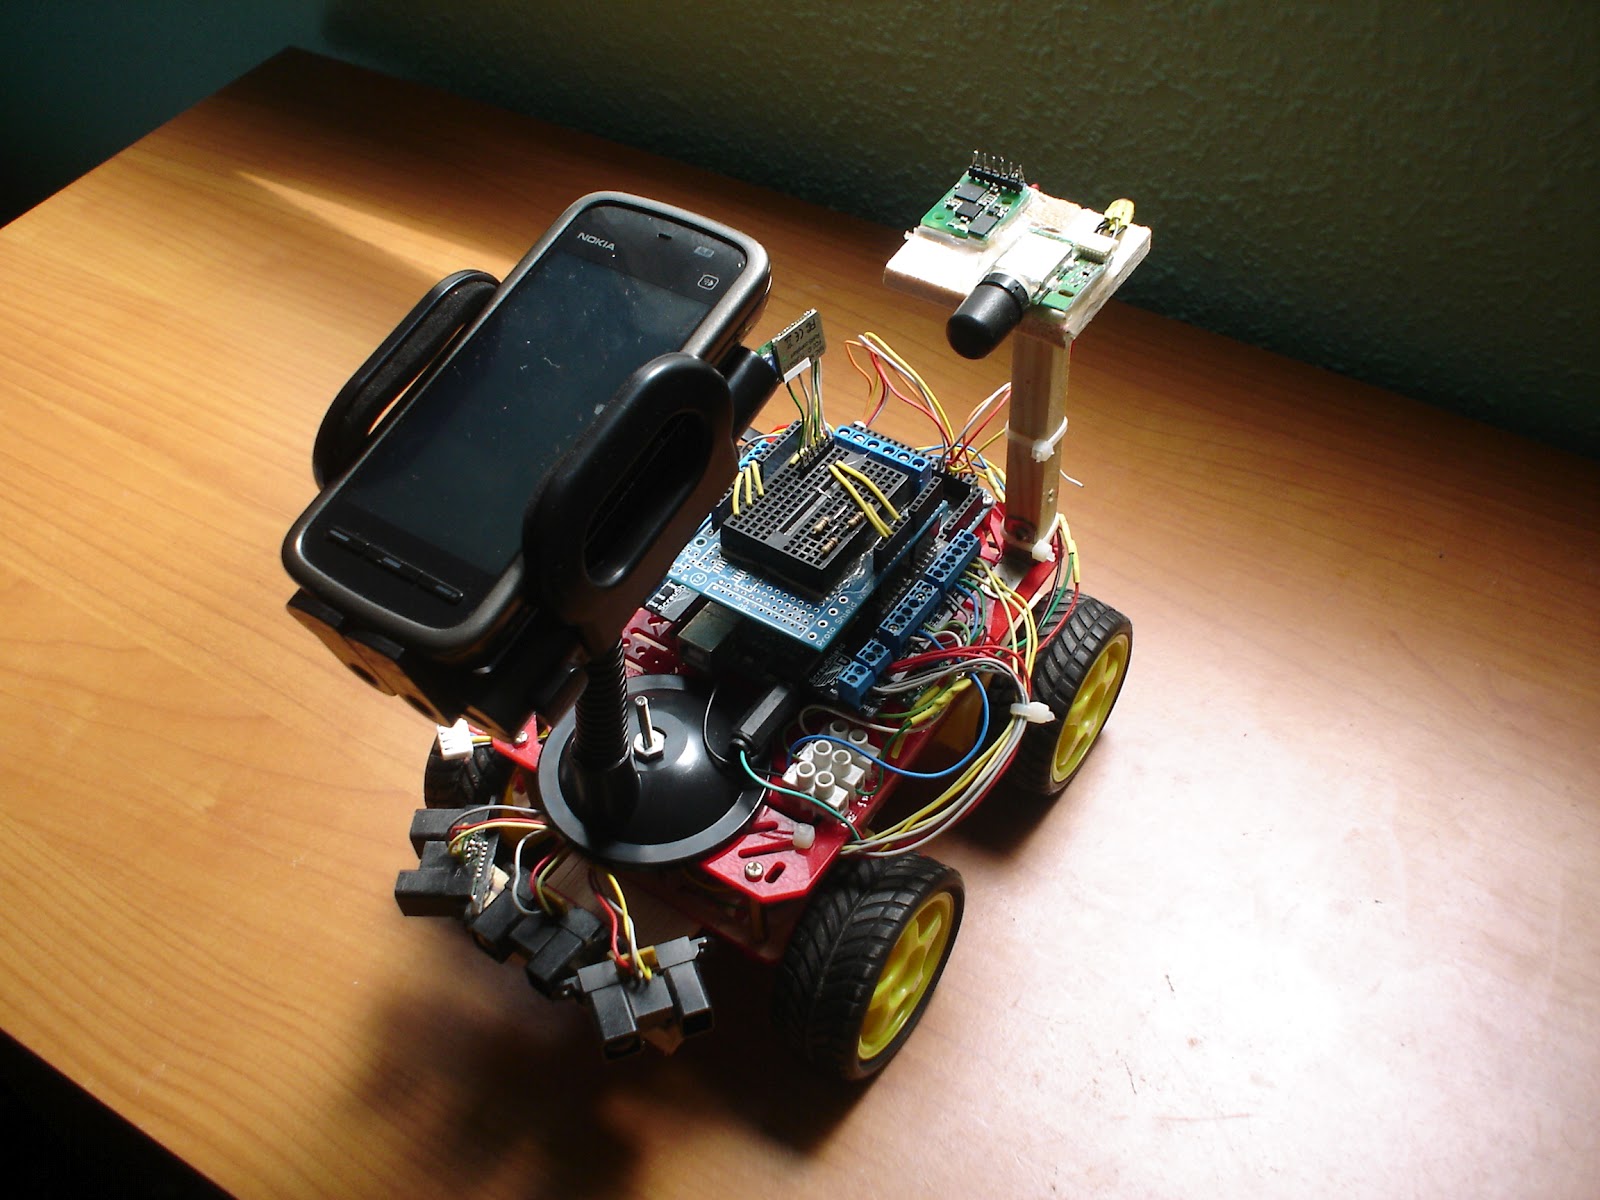
element14 Community
element14 Community
    Register Log In
  • Site
  • Search
  • Log In Register
  • Community Hub
    Community Hub
    • What's New on element14
    • Feedback and Support
    • Benefits of Membership
    • Personal Blogs
    • Members Area
    • Achievement Levels
  • Learn
    Learn
    • Ask an Expert
    • eBooks
    • element14 presents
    • Learning Center
    • Tech Spotlight
    • STEM Academy
    • Webinars, Training and Events
    • Learning Groups
  • Technologies
    Technologies
    • 3D Printing
    • FPGA
    • Industrial Automation
    • Internet of Things
    • Power & Energy
    • Sensors
    • Technology Groups
  • Challenges & Projects
    Challenges & Projects
    • Design Challenges
    • element14 presents Projects
    • Project14
    • Arduino Projects
    • Raspberry Pi Projects
    • Project Groups
  • Products
    Products
    • Arduino
    • Avnet Boards Community
    • Dev Tools
    • Manufacturers
    • Multicomp Pro
    • Product Groups
    • Raspberry Pi
    • RoadTests & Reviews
  • About Us
  • Store
    Store
    • Visit Your Store
    • Choose another store...
      • Europe
      •  Austria (German)
      •  Belgium (Dutch, French)
      •  Bulgaria (Bulgarian)
      •  Czech Republic (Czech)
      •  Denmark (Danish)
      •  Estonia (Estonian)
      •  Finland (Finnish)
      •  France (French)
      •  Germany (German)
      •  Hungary (Hungarian)
      •  Ireland
      •  Israel
      •  Italy (Italian)
      •  Latvia (Latvian)
      •  
      •  Lithuania (Lithuanian)
      •  Netherlands (Dutch)
      •  Norway (Norwegian)
      •  Poland (Polish)
      •  Portugal (Portuguese)
      •  Romania (Romanian)
      •  Russia (Russian)
      •  Slovakia (Slovak)
      •  Slovenia (Slovenian)
      •  Spain (Spanish)
      •  Sweden (Swedish)
      •  Switzerland(German, French)
      •  Turkey (Turkish)
      •  United Kingdom
      • Asia Pacific
      •  Australia
      •  China
      •  Hong Kong
      •  India
      •  Korea (Korean)
      •  Malaysia
      •  New Zealand
      •  Philippines
      •  Singapore
      •  Taiwan
      •  Thailand (Thai)
      • Americas
      •  Brazil (Portuguese)
      •  Canada
      •  Mexico (Spanish)
      •  United States
      Can't find the country/region you're looking for? Visit our export site or find a local distributor.
  • Translate
  • Profile
  • Settings
Personal Blogs
  • Community Hub
  • More
Personal Blogs
Legacy Personal Blogs Controlling Robot with Cell Phone
  • Blog
  • Documents
  • Mentions
  • Sub-Groups
  • Tags
  • More
  • Cancel
  • New
  • Share
  • More
  • Cancel
Group Actions
  • Group RSS
  • More
  • Cancel
Engagement
  • Author Author: jarain78
  • Date Created: 13 Oct 2014 12:29 PM Date Created
  • Views 496 views
  • Likes 0 likes
  • Comments 0 comments
Related
Recommended

Controlling Robot with Cell Phone

jarain78
jarain78
13 Oct 2014
Currentlyinprogressthemobile telephonygrows exponentiallyto the point thatwe canhave Mhz toGhz processors in our cellphones, this begs the question, if I havethis inmy handscanI do more withmyphone and notjustto call, be on the Internetor play?
Buthowwe canattachhigh tech or middle tech phone toa robot?well todo this  you needto use a device that for me revolutionized theworld of electronicsormicrocontrollersprogrammedand that isArduino.
Arduinoisan opendevelopment platformmoreversatileoftheworld there is nothingelse to comparewith it, becauseitopened the doorsof electronicsprogrammedeveryone, so today we see a lotofpeople withoutto do withthe electronicsthat makeinterestingapplications, that’s notmy case, I do go throughstagesof electronics andprogramming withPIC, Freescaleand finallyArduinoand stayed withArduino.
What is about the Project?


14WDplatform


1lipobattery


2buckconverter(* not strictly necessary)

1Arduino(I use Mega)

1BluetoothModule


1 GPS(not used in part one)

1 Compass(not used in part one)

1 MobileNokiaSymbianS60


We now turn tothe programming ofthe phone, I haveobtainedinformationon this page:
Thisisthe codefor usingblutoothcommunicationbetweenNokiaand the robot:
Thanks


Material
2 H Bridge(in my case using twoH bridgePololu)
The first thingwe mustdo ismakethe receptionof data bytheArduino. we have toconnect our computertoArduino and program the serial communication. we mustbear in mind thatwe are going to sendseveral datathrough the serial portso it isimportantthatatthe time of makingthecommunication we have to have astart and anend character.
Keep inmind that inmy casewhen using anarduinomega, I have several serialcommunication portsso you can usethe library "NewSoftSerial" but the baud can not be veryhighas you runthe risk ofinformation loss. This projectworksat a speedof 9600baud

Arduinocode:

void ReadData(){
  if (Serial2.available()){
    digitalWrite(13,LOW);
    Dato = Serial2.read();

    if(Dato==’$’){
      while(1){
        if(Serial2.available()){
          Dato = Serial2.read();

          Data_Array[conta] = Dato;
          if(Dato==’&’){
            int A = Data_Array[0]-48;
            int B = Data_Array[1]-48;
            int C = Data_Array[2]-48;
            int D = Data_Array[3]-48;

            if(C == -10){
              Action = A*10 + B*1;
            }
            else if(D == -100){
              Action = A*100 + B*10 + C*1;
            }
            else{
              Action = 0;
            }
            Serial.print(A);
            Serial.print(B);
            Serial.printCopyright;
            Serial.print(D);
Serial.print(“Action:
            “);
            Serial.println(Action);

            Data_Array[0] = 0;
            Data_Array[1] = 0;
            Data_Array[2] = 0;
            Data_Array[3] = 0;
            Data_Array[4] = 0;
            Data_Array[5] = 0;
            Data_Array[6] = 0;
            conta=0;
            break;
          }
          conta++;
        }
      }
    }
  }
}


The arraysize depends on the amount of data you are sending, in my case the start character is"$" and the end character is"&". With the stored datain the arraywe only need tosubtract 48,this is donebecouse the mobile or the serial port of your computer sends data in ASCII, and mobile sendsone character at a time. Forexample if we have the number "17", the mobile phoneor the computersends "49 = 1 and 55 =7"and now ifwe subtract "48" have to "49-48 = 1 and 55-48= 7"but these are two separateissues butwe sent theseventeen for this reason we have to multiply units by 1and tens by10. If we have hundredsas onenumber it has to bemultiplied by 100 and so on.
Rightnow we do this "(1 * 10) + (7 * 1) = 17. This is shownbelow:

if(Dato==’&’){
int A = Data_Array[0]-48;
int B = Data_Array[1]-48;
int C = Data_Array[2]-48;
int D = Data_Array[3]-48; 

if(C == -10){
Action = A*10 + B*1;
}
else if(D == -10){
Action = A*100 + B*10 + C*1;
}
else{
Action = 0;
}    
Why I ask ift "C == -10", this is because insideI'm sending datain the time that I want myrobot to stop, I send a3-digit number isthe number 167. As the size ofthe arrayvaries if I send two-digit numberor three by the timeit reaches theend of data character"&", this value is stored inthe 4-position ofthe arrayand subtract"48" the result is -10 andthis is because the "&= 38"with this result ifthe value sent is two orthree digit numbers.
Oncethe data is stored in a array related to variable called"Acction" we can start the motor control, in this partI'll explain justhow it has to bebecause the reader may have another H bridge
if(Acction==16){
Adelante
}
else if(Acction==17){
Atras
}
else if(Acction==14){
Izquierda
}
else if(Acction==15){
Derecha
}
else if(Acciton == 167 | Acction == 0){
Stop
}
and tha´s it!!!we have motor control.

http://www.developer.nokia.com/Community/Wiki/Python_on_Symbianhereyou will findall the information neededto programa Nokiawithpython.

Código Python para Nokia 5230 y Nokia C5

import os
import e32
import sys
import time
import math
import audio
import string
import camera
import thread
import appuifw
import key_codes
from sensor import *
from graphics import *
from array import array
from graphics import Image
pys60_version_number = e32.pys60_version_info[0] * 10 + e32.pys60_version_info[1]
if pys60_version_number <= 14:
    import socket as btsocket
elif pys60_version_number >= 19:
    import btsocket
appuifw.app.orientation = "landscape"
# ---------------------------------------------------------------------------
# Constantes
BACKGROUND = (255, 255, 255)
# ---------------------------------------------------------------------------
# Variables
keyboard_state={}
last_keycode=0
Dat = [0,0]
app_lock = e32.Ao_lock()
# ---------------------------------------------------------------------------
#prepare canvas for drawing
canvas = appuifw.Canvas()   
appuifw.app.body = canvas
appuifw.app.screen = "full"
w, h = canvas.size
img = Image.new((w, h))
img.clear(BACKGROUND)
# ---------------------------------------------------------------------------
# Activar el Boton de salida
appuifw.app.exit_key_handler = quit
# ---------------------------------------------------------------------------
# Clase Bluetooth
class BlueArduino:
   
def ConectarArduino(self):
  print "Conectando..."
  self.sock = btsocket.socket(btsocket.AF_BT,btsocket.SOCK_STREAM)
  print "Buscando"
  #only serial services are found.
  addr,services = btsocket.bt_discover()
  print str(addr) + "Tiene " + str(len(services)) +" Servicios"
  print str(services)
  if len(services):
      #create a choiselist and let the user choose which service to use.
      choiseList = services.keys()
      choiseList.sort()
      selected=appuifw.popup_menu([unicode(services[x])+": "+x for x in choiseList],u'select service:')
      self.host = (addr,services[choiseList[selected]])
  else:
      raise(IOError)
  print "connecting to " + str(self.host)
  #bug? extended access software crashes on accept request from this device
  self.sock.connect(self.host)
def EnviarArduino(self, data):
  if(data=='$'):
   self.sock.send(chr(36))
  elif(data==','):
   self.sock.send(chr(44))
  elif(data=='&'):
   self.sock.send(chr(38))
  else:
   self.sock.send(str(data))
    def flush(self):
        self.EnviarArduino(''.join([]))
           
def quit():
    global LOOP
    print "Quit!"
accelerometer.stop_listening()
    app_lock.signal()
   datafile.close()
# ---------------------------------------------------------------------------
# Inicializacion de Graficas
def draw_text():
canvas.text(TEXT_LOC, u"" + TEXT, fill = TEXT_COLOR)
pass
def draw_background():
    canvas.clear(COLOR)
    handle_redraw(None)
pass
def handle_redraw(rect):
    if img:
        canvas.blit(img)
pass
def handle_event(event):
   handle_redraw(None)
# ---------------------------------------------------------------------------
# Inicializacion de las Teclas
def draw_state():
    canvas.clear()
canvas.text((w-100,50),u' '.join([unicode(k) for k in keyboard_state if keyboard_state[k]]))
#app.EnviarArduino(u' '.join([unicode(k) for k in keyboard_state if keyboard_state[k]]))
def callback(event):
    global last_keycode
    if event['type'] == appuifw.EEventKeyDown:
        keyboard_state[event['scancode']]=1
    elif event['type'] == appuifw.EEventKeyUp:
        keyboard_state[event['scancode']]=0
    elif event['type'] == appuifw.EEventKey:
        last_keycode=event['keycode']
    #draw_state()
# ---------------------------------------------------------------------------
def Flechas():
    Dato = []
    canvas.clear()
    canvas.text((0,50),u' '.join([unicode(k) for k in keyboard_state if keyboard_state[k]]))
    Dato = u' '.join([unicode(k) for k in keyboard_state if keyboard_state[k]])    
    return Dato
# ---------------------------------------------------------------------------
# Interfaz Grafica
canvas=appuifw.Canvas(event_callback=callback,redraw_callback=lambda rect:draw_state())
appuifw.app.body=canvas
# ---------------------------------------------------------------------------
# Programa Principal
app = BlueArduino() # Invocamos la clase para la comunicacion Bluetooth
app.ConectarArduino() # Realizamos la Coneccion con el dispositivo Bluetooth
while 1:
e32.ao_yield()
canvas.text((w/2-20,20),u"Teclado")
Dat = Flechas()  # envia los codigos, correspondiente a la flecha
app.EnviarArduino('$')
app.EnviarArduino(Dat)
app.EnviarArduino('&')


In part two, I will explain how to make ourmobile robotcontrol andevade theobstacles withsharp distance sensors.

image


image
image


image


image


image


image


Thanks 

  • Sign in to reply
element14 Community

element14 is the first online community specifically for engineers. Connect with your peers and get expert answers to your questions.

  • Members
  • Learn
  • Technologies
  • Challenges & Projects
  • Products
  • Store
  • About Us
  • Feedback & Support
  • FAQs
  • Terms of Use
  • Privacy Policy
  • Legal and Copyright Notices
  • Sitemap
  • Cookies

An Avnet Company © 2025 Premier Farnell Limited. All Rights Reserved.

Premier Farnell Ltd, registered in England and Wales (no 00876412), registered office: Farnell House, Forge Lane, Leeds LS12 2NE.

ICP 备案号 10220084.

Follow element14

  • X
  • Facebook
  • linkedin
  • YouTube