


As I happen to have a Segger J-Link for this example I will be using a JTAG debug approach, however both approaches are very similar.
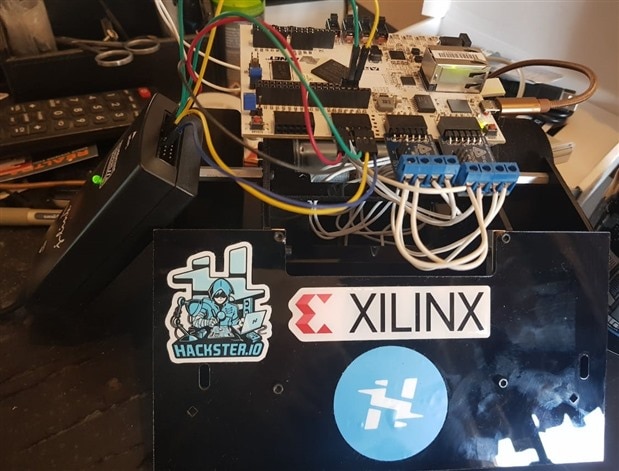
This means we have two JTAG links connected to our Arty, the first is the USB-JTAG link which configures the FPGA with its bitstream, the second my Segger J-Link. Unfortunately, the USB-JTAG is incapable of accessing the Arm Cortex M1/M3 debug interfaces, instead its debug pins are broken out to allow for external SWD or JTAG.
When we want to use JTAG for debugging the pin are broken out on the Arty board to both PmodC and the Shield Connector.
The pins are
• TMS - Shield IO-40
• TCL - Shield IO-41
• nTRST - PmodC Pin 1
• TDI - PmodC Pin 2
• TDO - PmodC Pin 3
Knowing the pin out of the Segger J-Link, we can use jumper cables to connect between the J-Link and the Arty A7.
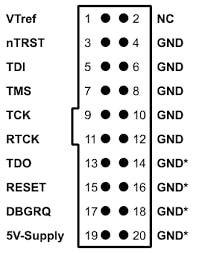
The connections between the J-Link and the Arty can be seen as below, you should also connect the J-link to GND and VTref to the PmodC power pin.
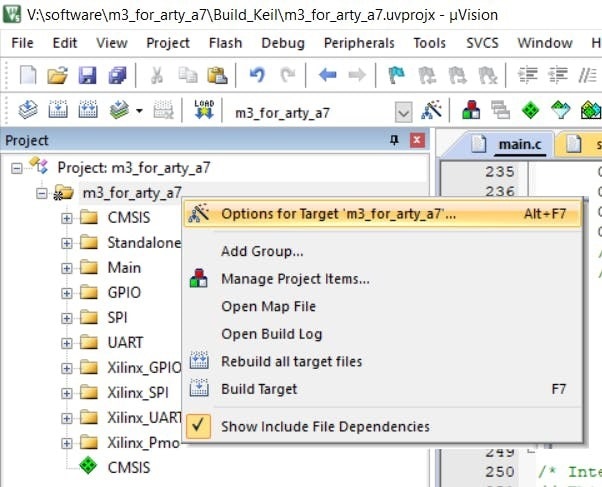
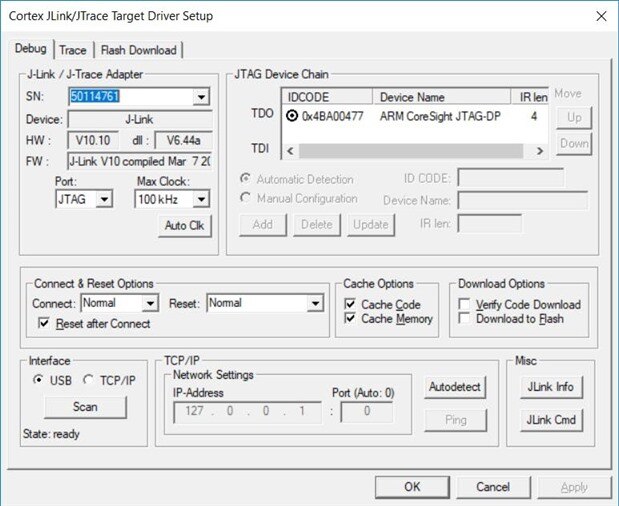
To use the J-Link within the Arm Keil environment we need to configure the target options, we can do this by right clicking on the top level of the project and selecting options for Target 'm3_for_arty_a7'
This will open a dialog box, we can select the JLink and configure the debugger as shown below
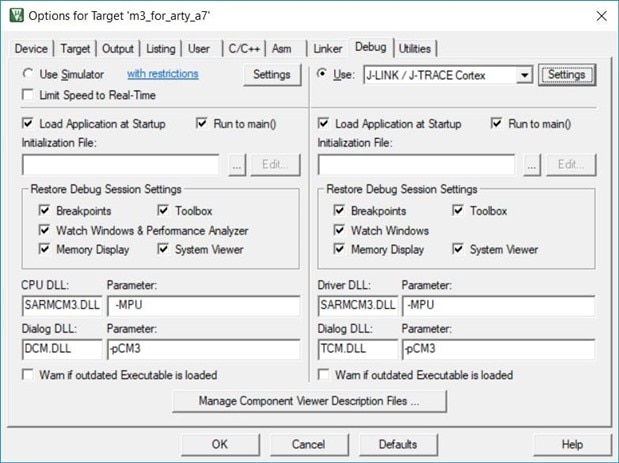
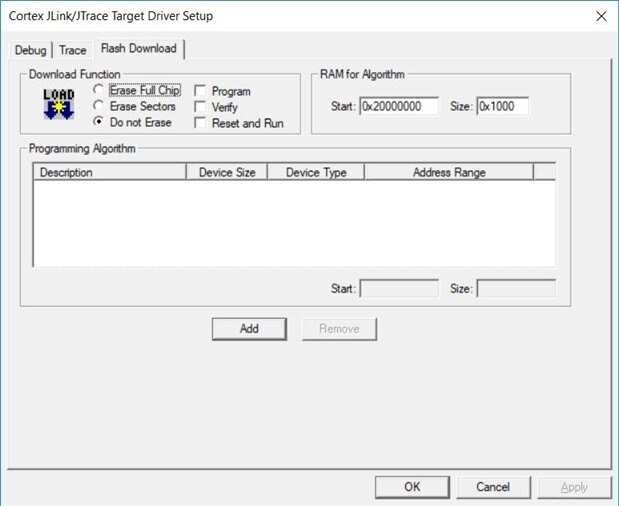
If we need to, we can further customize the J-Link set up, this enables us to change JTAG frequency and select if we desire to download the application to flash or not. In this case we do not want to download to the application to flash.
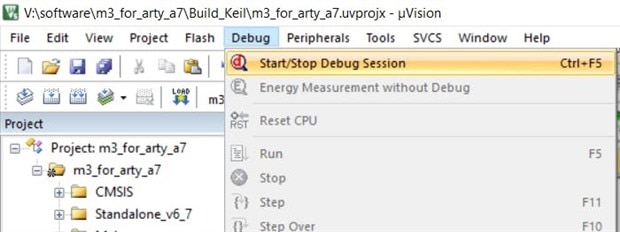
Once both the debugger has been configured and connects to the ARM Cortex M1 / M3 core we are able to start a debugging session.
We can do his using the Debug menu and start a session.
This will open the debugging view, which enables us to see the source and disassembly and importantly the call stack and registers.
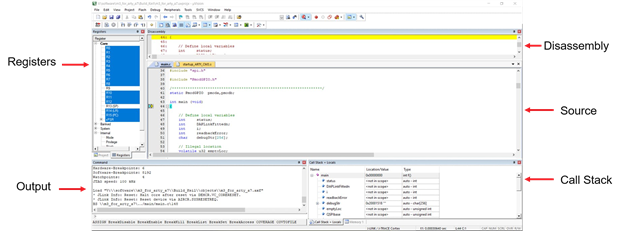
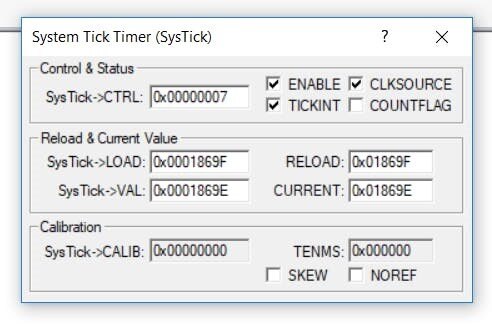
We can now set breakpoints, inspect variable values and continue with debugging our application. It is also possible to inspect the system tick timer directly when debugging.
Following these steps enables us to quickly and easily get going when we want to debug our Arm Cortex M1 and M3 solutions.
NOTE before you can connect to the Arm Cortex-M3 the FPGA must be configured with one. Arm Keil does not download the bitstream configuration
See other blogs on the Arm Cortex Design Start
• Creating the hardware design
Read my other blogs and projects at the MicroZed Chronicles and Hackster.io