 | Enter Your Holiday Season Project for a Chance to Win Over $20,000 Worth of Prizes and Gifts to Give! | Project14 Home |
| Monthly Themes | ||
| Monthly Theme Poll |
As a Psychologist I'm always searching for new and unconventional ways to treat my clients and patients. Kids are the most difficult. The younger they are, the more shy and introverted they tend to be during therapy sessions. With an adult I can apply a clinical standardized test like STAY-Y to probe for anxiety disorders or a personality test to check the introvert scale of the subject, but such tests do not apply to children (at least not all). Even so, kids get scared when they see a stadardized test on paper and get worried there might be something wrong with them. They're skeptical and shut down even more so applying tests is out of the question most of the time. There's always the clinical interview where I ask questions and I make a psychological profile based on those but - while this works with adults and some adolescents - children give vague answers or do not understand the questions or chose not to answer at all.
So I needed something to 1. let them get used to me and the environment for a while and thus create a bond between client and therapist, 2. give them a sense of control in a situation they fear they have none and 3. check for signs of anxiety and introversion without asking questions or reading body language (and thus staring uncomfortably at the child).
And at the beginning of the year Glitch Storm was presented on Tindie. Just what I was looking for: a cheap-to-make Arduino MIDI Synth with infinite tones and sounds.
What does it do?
Glitch Storm uses an algorithm to generate frequencies and sounds. They all repeat themselves but if you play with the three potentiometers you change the algorithm in term of speed and other factors so that each time you generate a unique beat: fast, slow, deep, high-pitched and so on. If you get bored with the current sound you can push one of the two buttons to go back and forth through other sound generating equations. It's a pretty smart and simple design that you can have fun with or plug into an electronic instrument and make weird music. The beats you can generate remind me of old, pixelated Amiga and DOS games and techno-rave parties at the same time.
Here it is in action:
Building it
What you need is a cheap Arduino Nano. I used the CH340G made by the Chinese. You upload the .ino files you downloaded from Git (Glitch_Storm.ino and ecuaciones.ino) with the Arduino IDE and that's pretty much the software part.
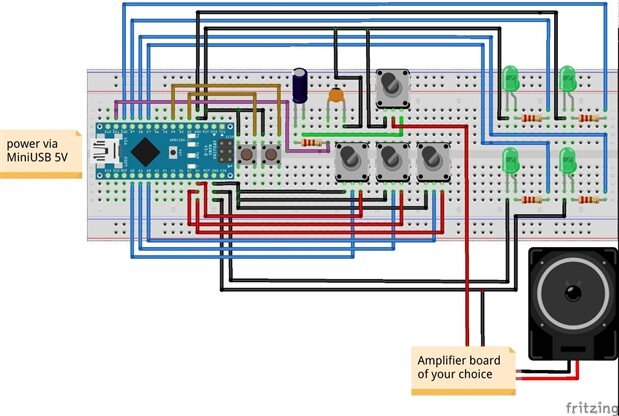
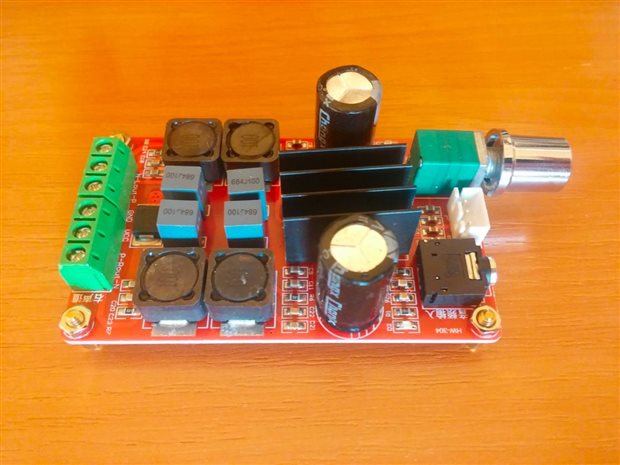
I used a breadboard. There were no Fritzing shematics so I made my own. The original design uses a female jack for output and you connect Glitch Storm to an amplifier. My schematic uses an 8Ω speaker as output and a small 2x50W PCB amplifier in between the build and the speaker.
You need the following:
- 1k 1/4W resistors (5 of them)
- 100nF ceramic capacitor (1 piece)
- 1u electrolitic capacitor (1 piece)
- 10k-100k linear pots (4 of them) - I used 50k ones
- 6x6x5mm through-hole switches (2 pieces)
- LEDs (4 of them) - I used green ones
- a breadboard
- Dupont wires
- an Arduino Nano
- a MiniUSB cable for power (I used an old Motorolla cellphone charger that has an output of 5V and 550mA)
- 1 or 2 8Ω/50W speakers
- any amp board that can hande 5V and 2A power and 8Ω/50W speakers
The amplifier board and the speakers are optional. You can use your own aplifier device and headphones if you like. Four of the resistors serve as circuit protection for the LEDs and are optional.
My design looks like this:
The minus leg of the LEDs goes to Ground and the plus (the longer leg) of the LEDs are connected to a 1k resistor that then is connected to D7, D8, D9, respectively D10 pins of the Arduino Nano. The middle leg of three of the pots (used to modulate the sounds) go to the A0, A1, respectively A2 pins of the Nano board. Left leg goes to a Ground pin, the one on the right needs to be connected to the 5V pin of the Nano. One side of the two momentary push buttons goes to ground and the other to D2 and D4 respectively. Connect D11/MOSI on the Arduino to one leg of the ceramic capacitor and the other leg connect it to a Ground pin. Connect the fifth resitor to the same D11/MOSI pin and the other leg of the resistor connect it to the "+" (longer) leg of the electrolitic capacitor. The short leg of the electrolitic capacitor goes to the right pin of the last potentiometer, the left leg of the potentiometer goes to Ground and the middle one will be connected to the plus hole of the amplifier (while the minus part is connected to one of the Ground pins of the Arduino Nano).
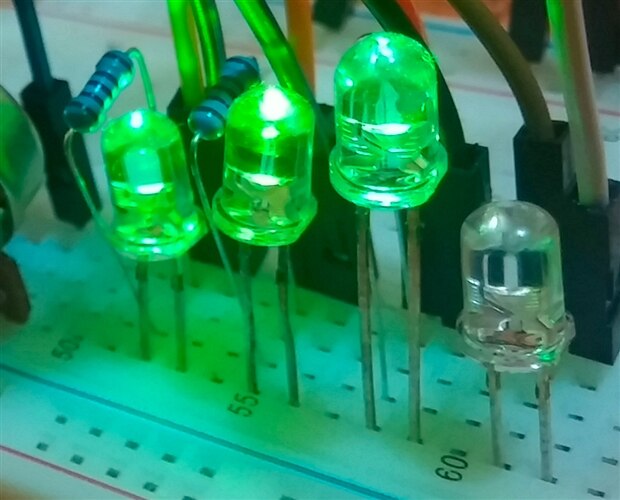
You connect the Arduino Nano to the USB port of your computer or any other power source capable of outputing 5V/2A and the code does the rest. Weird sounds start blating through the speaker. The fourth pot (the last one we connected) is the volume potentiometer. Turn the other three to make sounds. Use the two buttons to generate new sounds ot keep one button pushed for about five seconds and the Nano will go through sequences of algorithms and generate even more interesting sounds. The LEDs point out which sequence and what algorithm the Nano currently uses to generate the tones.
You can make your own MIDI music this way. I have spent aboout an hour last night playing with this thing and I didn't get bored one bit.
The theory
Kids are curious. It takes less than two minutes for one to get familiar with what each button and potentiometer does. If I leave them be with such a device they'll pretty much start experimenting with it and even enjoying the process. This in turn brings their psychological defense mechanisms down (try being stubborn with a cousellor and concentrate on playing at the same time). Even more importantly, I can hear what music they are making. Are the tones low and slow or do they prefer upbeat music? Is their immagination well developed and experiment and manage to output interesting and melodic sounds? How curious are they at the moment - do they try out everything or stick at the same rhythm? Do they perfect it to a clear tone or leave it be as it is and try something new? Do they finally innitiate a conversation and ask me how the device works? Do they respond if I complement them on their creation? And if they do - will they try their best to show me how they can better it or will they parade it for minutes on end to bask in the glory of the moment?
Everything and anything they do with Glitch Storm tells me something about their state of mind, their willingness to cooperate during sessions, their mental development, level of immagination, even character. Some may expect when brought to a Psychologist to be asked to draw or talk about themselves and come prepared to refuse such activities. But this is something they would not have seen or experimented before and my guess is curiosity and fun gameplay will win in the end. Being able to have full control of the device in a previously quiet and seemingly "serious" environment in turn makes them feel safe and in control and also relaxed that "Mr. Doctor" is ok with the chaos they create. Kids are often told to be still and quiet so if you let them express themselves the way they want to and provide them with a creative and non-destructive way to do so they will be more willing to open up and talk about their problems. Suddenly you're "the fun adult".
Kids being kids some might like the device too much and will want to take it home with them and will not take no for an answer. Luckily it's extremely easy and cheap to build, so - if this becomes the case - I can make a new one in about an hour. The sounds might make their parents lose their minds after a while though, should I gift them a build.
All in all it's a nice and simple device you can play with and keep kids (and 40 year olds like me) entertained. Now all I need is to transfer everything to a prototyping board, solder the components and build a box for this.
Will update with pics. 
Next day edit:
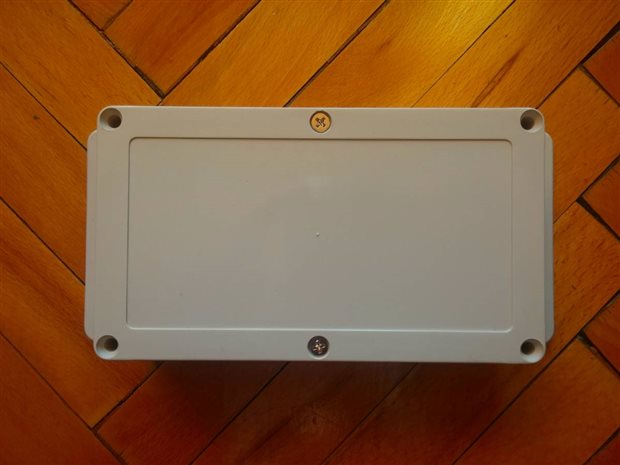
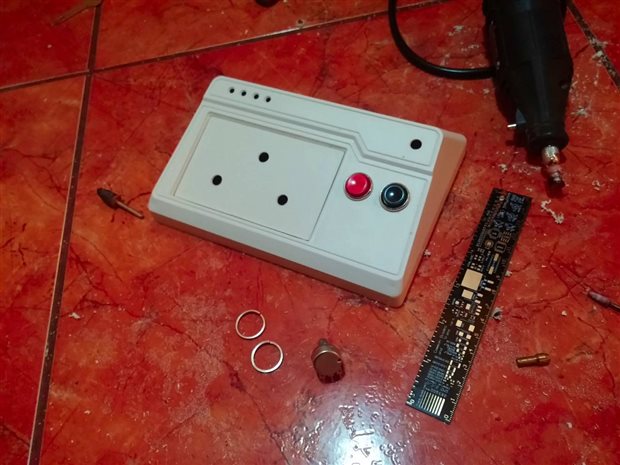
I bought a better amplifier board, some smaller speakers and a project box for the synth.
Here it is with the 50W amp board:
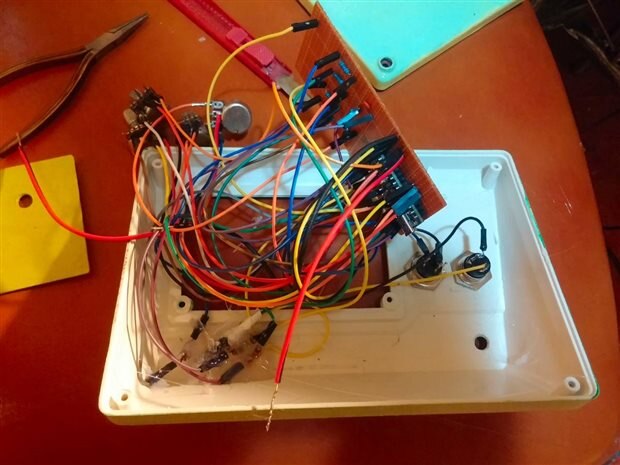
/January 7th update: decided to go with another box and started working on the prototyping board. Horrendous soldering skills but it works.
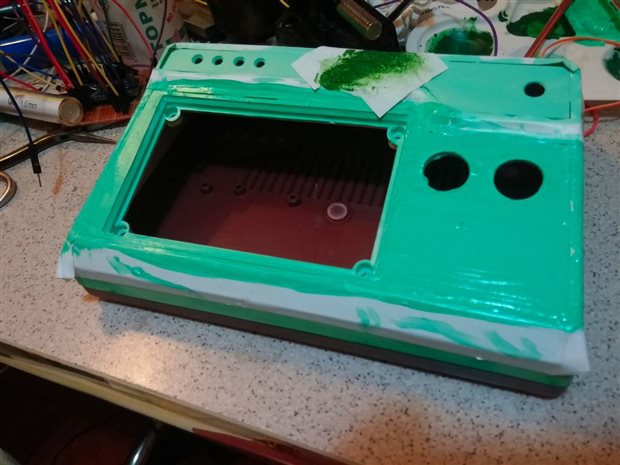
Started painting the box in more cheerful colors.
/January the 8th update:
The paint on the box is almost dry. Still needs a few corrections here and there but tomorrow I will apply a thin protective layer of epoxy resin on the box and let that dry too. It will make it glossy and it will brighten the colors.
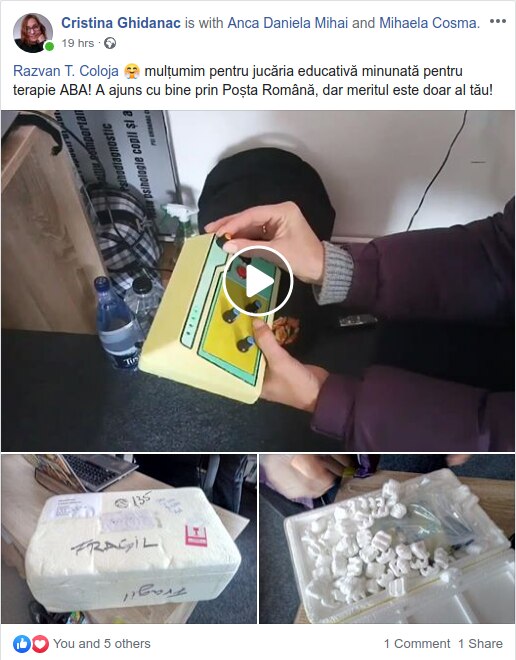
One of my hobbies is recycling old laptops and PCs. I gather broken laptops from people and recondition them, install Linux on them then donate them to kids who can't afford a computer. One of the people who recently sent me an old laptop via mail is also a Psychologist and she saw my posting of this blogpost's link on Facebook. She asked me if I would be willing to build a Glitch Storm box for her too so she could use it in ABA therapy with autistic children. So as soon as I get another Arduino Nano I'm building another one of these synths and mail it to her. Glad to see cheap technology being used in the field of Child Psychology and also glad the idea I had is found useful by my colleagues.
/January the 9th edit: Almost done. Soldered everything and fitting it into the case on which I applied a thin layer of protective epoxy resin.
...aaaaaaaand Done!
January the 17th update: new pot caps.
/February update: I've donated it to three psychologists from that work with autistic children. They're from another, smaller town.






Top Comments