


Howdy -
With Maker Faire Bay Area coming up next week, I'm changing gears from my hrmshield project. The past several Maker Faires I've been to I had a sponsor badge on which I was able to write my name and Twitter handle (@pdp7). I'll be a regular attendee this year, so I was trying to think of a way to identify myself in order to easily connect with folks I know from Twitter, IRC, etc.
At Chicago Northside Mini Maker Faire last month, I got a great deal on 16x8 LED matrix kit from 2D Kits for $15. It's powered by a PIC and the source code is on their website. I was thinking that I could reprogram it with my info and use it as a badge:
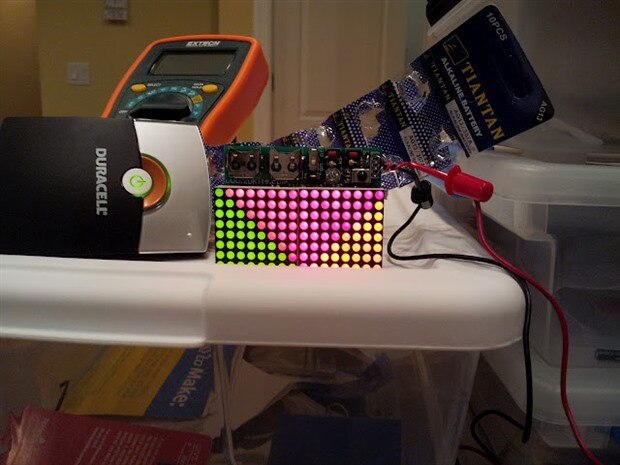
However, after assembling I realized that the matrix pins don't make very solid contact because they go into header rather than the board itself and the matrix pins are rather thin. I was eventually able to get all the LEDs working by inserting it just right. It works ok sitting on a desk, but I doubt it would when bouncing at the end of lanyard. In the future I might build another one with the matrixes soldered directly onto the PCB. It is real nice looking and they were very quick and helpful with my support questions via email. Plus, it can easily be powered via Li-ion battery USB charger as it chews through coincells.
I started looking around for other ideas and saw a "Hello! My Name is" badge kit from Maker Shed:
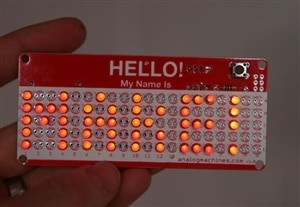
I thought it was a pretty clever idea, but unfortunately it was out of stock.
Then I started thinking why not just design my own badge. I would learn more, and it would be more in the maker spirit. I started looking at LED matrixes but realized, that since not enough time for batch PCB service, it would involved a lot of wiring on a perf board. My primary goal is to display "pdp7", and I realized that luckily this fits on 7 segment displays as "PdP7". I'd seen some nice looking 4-digit 7-segment displays on a recent Adafruit "Ask An Engineer" episode:

So I placed an order for a couple different colors along with Adafruit's lovely half-sized Perma-Proto boards (a genius product!):
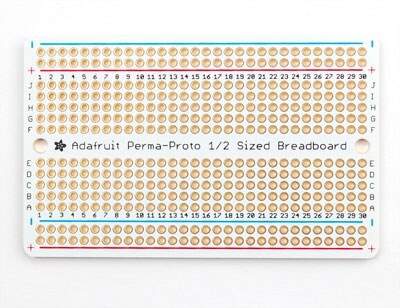
I was planning that I could fit a small pin count AVR on the perma-proto next the 7-segment module. I would then use PWM output to switch a transistor connected to the power of the 7-segments. This would allow me to make a nice fade in, fade out effect.
Then the following day I realized that the 7-segment module from Adafruit is multiplexed. My plan was to hardwire each 7-segment digit to my static "PdP7" message. I really didn't want to have to deal with the wiring involved with multiplexing, so I started looking for single digit 7-segment displays. This led me to some nice looking blue 7-segments from SparkFun:
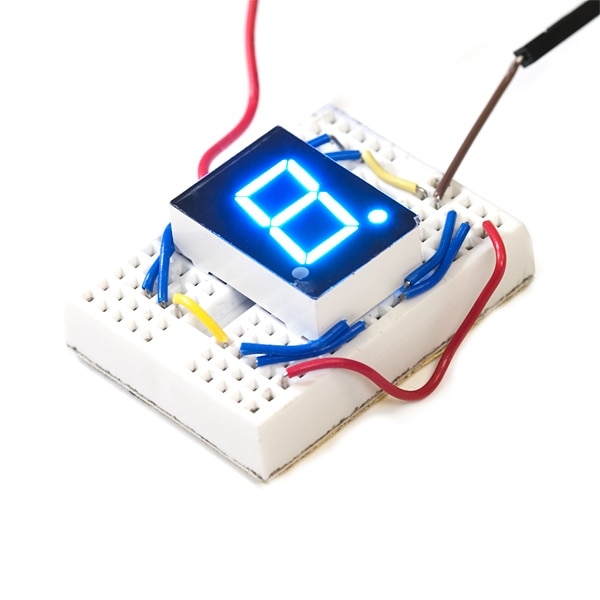
However, these modules are much bigger and 4 would take up the whole width of the half-size perma-proto leaving me no place to put an AVR. Thankfully, the perma-protos actually came in a 3-pack so I figured I could make a double decker designer with headers - secured with screws or zip ties through the mounting holes. With this in mind, I ordered the 7-segments from SparkFun.
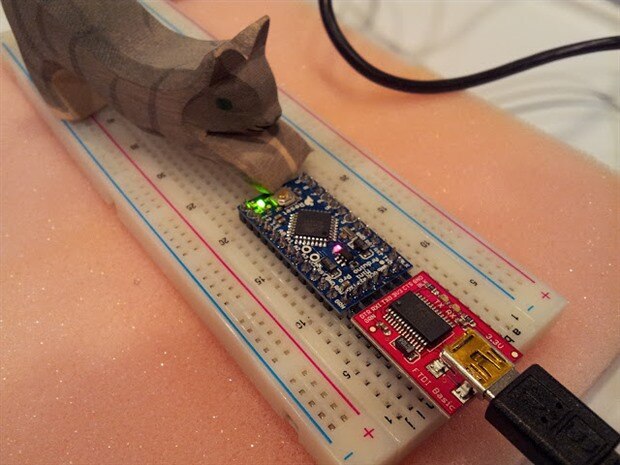
A couple days later I was thinking I should try to power it with LiPo so I went to MicroCenter to pick up a SparkFun charger & battery combo pack (got to love SparkFun in retail store!). While I was there, I noticed the adorable little SparkFun Arduino Pro Mini which operates at 3.3V and 8 MHz and decided to pick it up along with a 3.3V FTDI board to program it. Now I feel a little guilty going with this solution as it is much more costly and overkill compared to something like an ATtiny2313 (which I have several of along with ISP programmer). However, there's not much time to complete this project and I'm not quite as experienced with "plain" AVR C programming. I'd like to re-implement this project in the future with just an ATtiny but for now I'm going with Arduino.
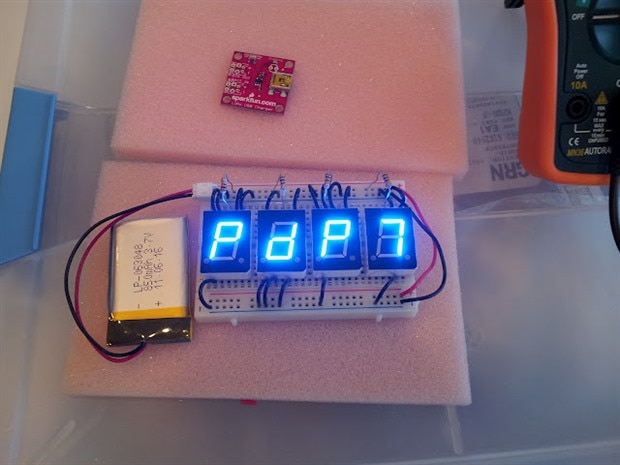
I hooked up the 7-segment displays on a breadboard powered by 3.7V LiPo battery. After calculations and measurements, I found 100 Ohm resistor to each display's common anonde pin limited current per their datasheet rating and provided enough maximum brightness:
I then wanted to control the 7-segments with the Arduino. For each, a transistor connects Vcc to its common anode through a resistor. A separate PWM pin is connected to the based of each transistor through a resistor. This allows me to then have the Arduino sketch control the brightness of each digit individually. Here are some simple patterns I've programmed so far:
The code is in a Github repo: https://github.com/pdp7/pdp7badge
I've since realized that the transistors are really not needed as the current is small enough to be driven by the Arduino's pins directly. I've now switched to this configuration. I'm going to do some more research before soldering to perma-proto board though as I'm still a bit confused about the per pin current ratings in the ATMega328 datasheet. I think I'm well below the ratings especially given that it's PWM driven and not steady state. I'll post a schematic, measurements and calculations in a future post.
Cheers,
Drew

