German version available here: https://reterra.ch/sonne-auf-dem-dach/
For quite some time my neighbours and us were thinking of adding a solar system to the roofs of our houses. While we have a lot of sun during summer months, in autumn, winter and spring foggy days are much more common than sunny days. I wanted to know it more in detail, as well as do a first apporach in using the Azure IOT hub. In this blog I will take you along the steps it took me to make the system work.
You will find here
Steps and goals
- Measure the light intensity
- Save the data to the Azure IOT hub
- Determine the number of sunny hours per day
- Display the data in a graphical way
Used material
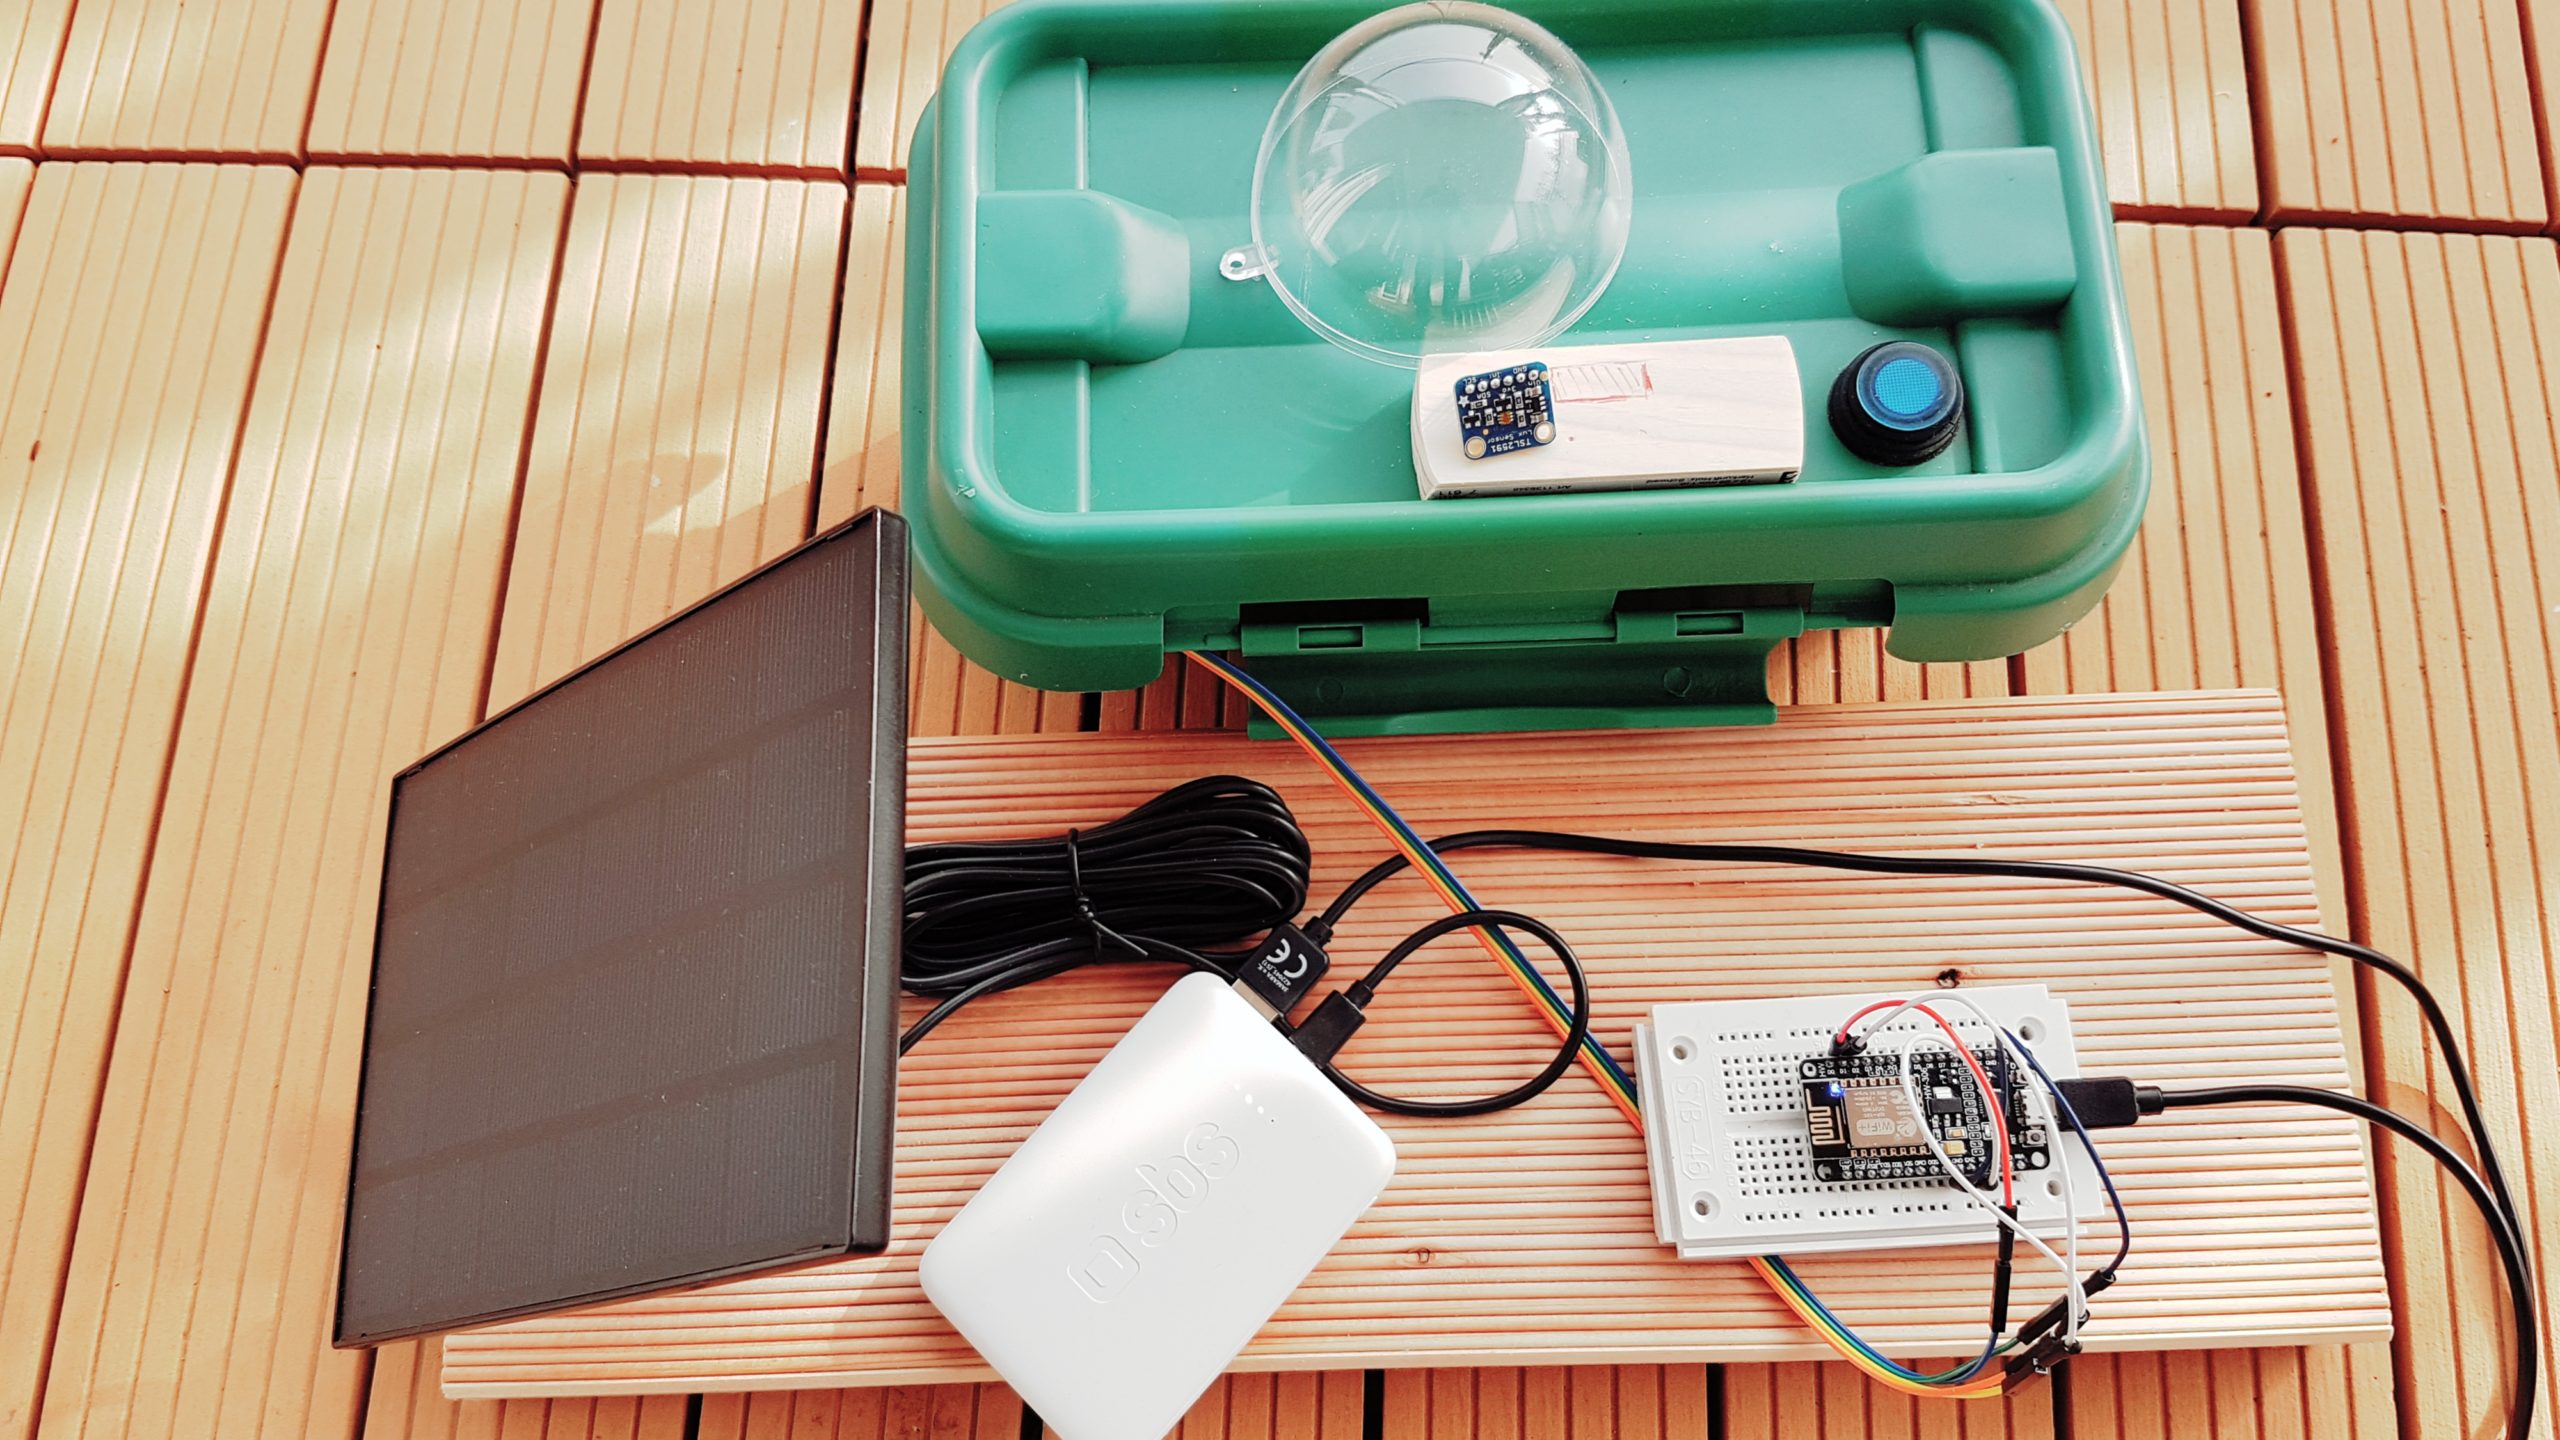
I decided to use a nodeMCU, as the WiFi connectivity is already built in. That what I used for my project:
- nodeMCU
- TSL2591 lux sensor
- Small powerbank
- 5V solar cell
- DRiBox by Sockitbox
- Hardwood board
- Cubes made out of concrete
Hardware
There is not really a lot to do for the microcomputer but get the sensor data and send it to the IOT hub of Azure. I decided to go with a nodeMCU ESP8266. It hast a built-in WiFi connectivity, is small, cheap and supports I2C. After I already have started building the system I noticed it even has a deep sleep mode. The energy consumption can therefor get optimized, but later more on that.
The sensor is a TSL2591 lux sensor. It measures the light intensity and additionally also the amount of IR radiation.
Coding
When developing software, I normally try to slice my programm first into smaller components and try them out seperately. In this case I will do this as well. There is a great library available for the TSL2591 sensor including several code samples. Therefore I will first do the Azure IOT connectivity.
C1 - Connect the nodeMCU to the wireless network
The first part of the code is to connect the nodeMCU to my wifi. The system will at the end be on my roof, so I don't have a terminal to see if the connection to the WiFi works or not. I use the internal LED at GPIO2 for signaling the status of the connection.
#include <ESP8266WiFi.h>        // Include the Wi-Fi library

const char* ssid     = "SSID";         // The SSID (name) of the Wi-Fi network you want to connect to
const char* password = "PASSWORD";     // The password of the Wi-Fi network

void setup() {
  pinMode(2, OUTPUT);     // Initialize GPIO2 pin as an output

  WiFi.begin(ssid, password);             // Connect to the network

  while (WiFi.status() != WL_CONNECTED) { // Wait for the Wi-Fi to connect
    delay(1000);
    digitalWrite(2, LOW);   // Turn the LED on by making the voltage LOW
    delay(1000);            // Wait for a second
    digitalWrite(2, HIGH);  // Turn the LED off by making the voltage HIGH
  }

   digitalWrite(2, LOW);    // Turn the LED off by making the voltage LOW
   delay(3000);
digitalWrite(2, HIGH);     // Turn the LED off by making the voltage HIGH
}

void loop() { }
And yes, it works as expected. Only problem that occurs some time is that your not able to see the builtin LED blinking due to a fast connection to the WiFi.
C2 - Setting up Azure IOT
I decided to use the Azure service by Microsoft. The data storage services by Google or Amazon would also be possible I guess. But Microsoft seems to me to be more secure for not misusing the data.
First you have to create a Azure account. That's no big deal, so I will not show it steps by steps. It's really easy, you need a credit card though. They don't bill you at the start and you also get free services to start with.
You need the following services from Azure:
- Event hub - to communicate with the nodeMCU
- Stream analytics job - to send your data to the storage
- Some storage - to store the data
This video tutorial shows you step by step what to do. It's important that you locate all your services in the same region. If not, you will have to pays to transfer your data inbetween.


Top Comments