


Continuing our theme of the Internet of Things (IoT) we will this week demonstrate the simplicity of using Flowcode to implement an internet connected Temperature and Humidity sensor.
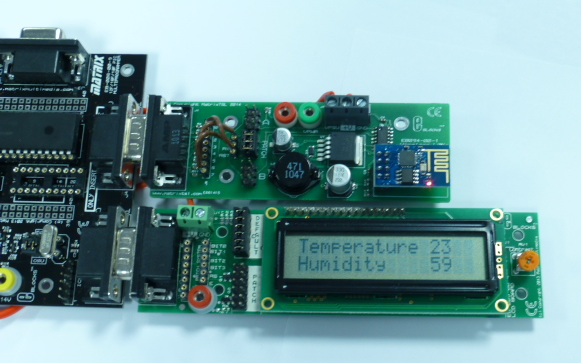
Pictured above is the WiFi based receiving and display station. This is implemented using a simple Flowcode web server component, so could just as easily be replaced by any internet connected server and data logging application.
But first, let’s take a look at the sending device that has the Temperature and Humidity sensor. This could be used for remote monitoring, such as in a greenhouse.
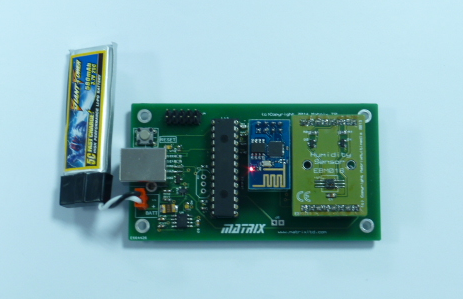
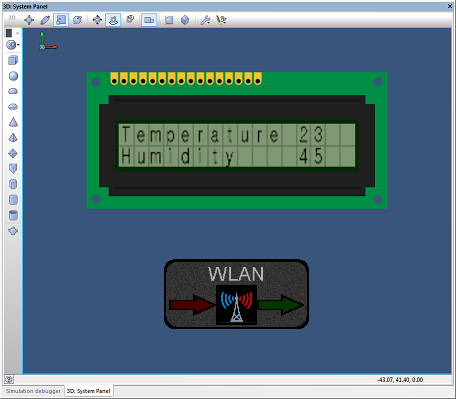
The sensor board project includes ESP8266 WiFi and Matrix TSL EBM016 Temperature and Humidity sensor modules. Both of these are well supported by Flowcode components which greatly simplify the software coding of the project. Simply drop both of these components from the tools menu onto the Flowcode IDE system panel, as shown below.

Once the component properties have been set, a Flowcode flowchart program can then be quickly constructed. This simply needs to initialise the WLAN via calls to the Initialise macro, then connect to a WiFi access point via a call to the ConnectToSSID macro.
The program should then enter a loop and at periodic intervals send the temperature and humidity information to a server. This is simply done by firstly calling the ClientConnect macro to connect to the server, reading the sensor values, constructing a request string and then sending it to the server via the SendClientRequest function.

Here we have constructed the get request string, for example:
GET /sensor.php?T0=23&H1=49 HTTP/1.0
Where T0 and H1 are our temperature and humidity parameters with values 23 and 49. These could be processed with the sensor.php server page, such as recording them to a database.
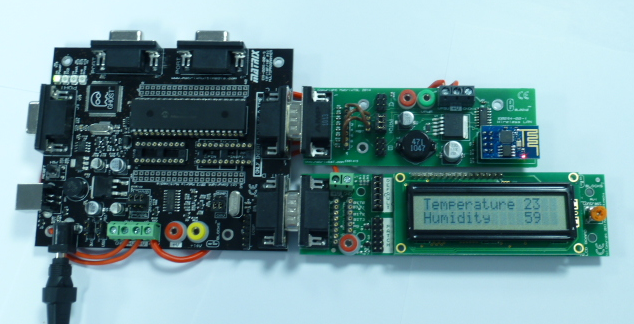
But for our demonstration example we are going to create a display centre based on Matrix TSL E-blocks and simple to use Flowcode software components.
Here are the Flowcode software components that are used:
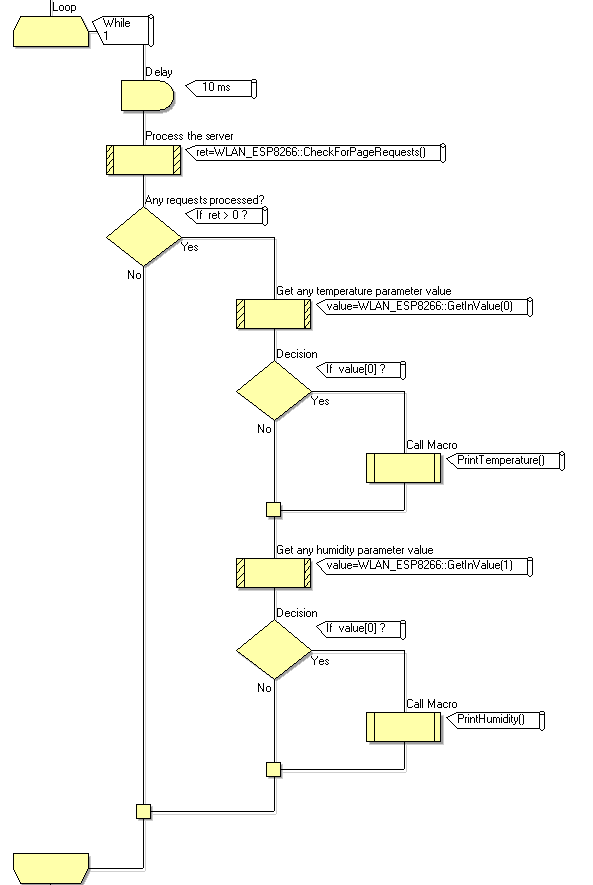
The flowchart program simply needs to intialise the web server component and then setup an access point with the CreateAccessPoint macro. Then enter a program loop testing for requests and processing them and displaying the results on the LCD display. Here is the flowchart to do that:
And that is project done!
Our IoT theme continues next week.
Top Comments