


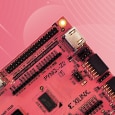
PYNQ-Z2: Embedded Vision Workshop Series with Adam Taylor
Getting Started | Getting Up and Running | Unlocking Your Inner PYNQ Hero | Project14 | PYNQ Workshop 
Hi there,
With this blog post I would like to:
- Help you bridge the PYNQ-Z2 board to the Internet via direct Ethernet connection to your Linux machine (in order to download Python packages and clone repos)
- Introduce myself to this new to me community
- Introduce the project I would like to apply the knowledge from the workshops to
Feel free to skip directly to the section of your interest if you are not keen on reading my "mémoire" 
Hi, I am Maxim
I am an electronics and ICT student at KU Leuven in Belgium. I was brought up in a family of engineers, although only 2 of the family members (grand parents), are/were engineers by vocation, not just by education. I began as a snowboard athlete in my teens without particular care for my education, despite of doing okay in school, and that was the only thing in my head. My grandfather is a former Soviet electronics researcher in one of the at-the-time secret facility "Postbox" in USSR, working on the intercontinental ballistic missile programs.
Growing up I was mesmerized by the things he was making and doing at home related to electronics, maths, experiments and prototyping (not of the missiles of course, but of the controller systems for them . Though I would not be surprised to have stumbled upon a test tube with plutonium, or two). Observing my grandfather and my parents who would express their technological ideas in the business sector of their occupation with the perspective of their engineering background, I started developing an interest for engineering and for making things, namely electronics and programming related.
Fast forward a few years and I began my studies in electronics and ICT via a quite steep transition from a sportsman to a nerd (still wrapping my head around how that actually happened, but never regretted it).
On the non-academic side of things, I love tea, honey, baking, and growing plants (Left: my mango-avocado bonsai garden; Right: my balcony tomato garden from 2018).


I have left only 7 more years to go before the first harvest from the small mango-avocado garden; last year we cultivated 74 tomato plants on the balcony (the neighbors were not too keen on the looks of it as from afar they certainly look like some other type of plant  ).
).
On the academic side of things, I am interested in RF design, FPGAs, distributed computing and computer networks (especially MANETs). I spend most of my days on the university material and on learning extracurricular material related to the aforementioned areas of interest. As any normal person, I have troubles balancing the proportions of each, so if you have good tips from experience, drop them below!
PYNQ-Z2 Embedded Vision Workshop
As you may have stumbled upon it already, there is a great workshop series going on in the months of May-June by adamtaylorcengfiet, whose hackster.io account I would heavily recommend you to take a look at; there is some very interesting projects related to FPGAs which I personally intend to use as inspiration in the coming months. I found all of this content fairly recently and am surprised that you can learn so much outside of classroom! This is certainly becoming my preferred way of learning things as one institution can not teach you the good basics and the most cutting-edge technical stuff at the same time for resource or simply timing limitations.
A little more about the workshops, Adam Taylor introduces the PYNQ framework and how it can be leveraged in hobby, R&D, as well as commercial environments to accelerate ML applications using the FPGA fabric. In essence, PYNQ is a framework which, in most broad terms: "Makes it easier to implement advanced complex designs on an FPGA using Python, rather than pure VHDL or Verilog". There is a very good book describing in detail the PYNQ platform for ML applications and the ZYNQ MPSoC written by Xilinx and University of Strathclyde in Glasgow. I am still reading the book; it is quite lengthy, but dense in content. Definitely check it out.
To the fun stuff, when I discovered Element14, hackster.io and hackaday.io by accident, I started looking though the webpages and stumbled upon this workshop. I was instantly interested in the event since as a part of my Master's Thesis next year, I would like to implement an Embedded Vision device for detecting edge cases in commercial truck drivers for the driver training, insurance, CCTV, and autonomous driving model training based on the outcome of the observed or participated edge case (accident, lack thereof, human to machine interaction, etc.). The Element14 workshop specified that it offers 3 PYNQ-Z2 kits (the board to be used in the workshops) to the interested participants. I decided to tell about my desired project, link to my comment with detailed project explanation, and excitingly enough:
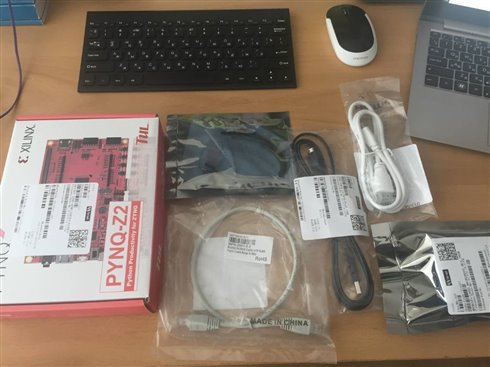
Element14 and the moderator of the event tariq.ahmad were very generous to send me a PYNQ-Z2 kit!!! Thank you again for this warm and nice gift, I will be making good use of it!
Each of the workshops is accompanied by a lab text from Adam which explains in very good detail step-by-step actions you must do to complete the lab, while in the live event diving more in detail about the concepts and how to use the platform for ML applications. With that, I recommend to prepare the lab in advance and to run through every step yourself prior to the lab in order to follow along during the live event and to be able to ask technical questions regarding implementation of a particular design or conceptual approach to follow when using the PYNQ framework to develop ML, CV applications. Otherwise it is easy to get frustrated during the live event that something is wrong with the network configuration/syntax and you are not able to follow Adam because of that.
While reading comments of people having issues with the setup of the required tools, inconvenience to have to connect the board to the router to download Python packages or in general inability to pip install for network issues, and also while having spent some time configuring the different network settings myself, I decided to help everyone out by making a "tutorial" on resolving these common issues.
Bridging PYNQ-Z2 to the Internet via Ethernet Connection to PC
If you found yourself in the same situation as me that you want to have the PYNQ-Z2 lay nice and conveniently next to your computer and not nearby the router all the way across your home somewhere under a counter or between shoe shelves in order to be connected to the Internet, then this section is for you.
Suppose you want to connect your setup as following:
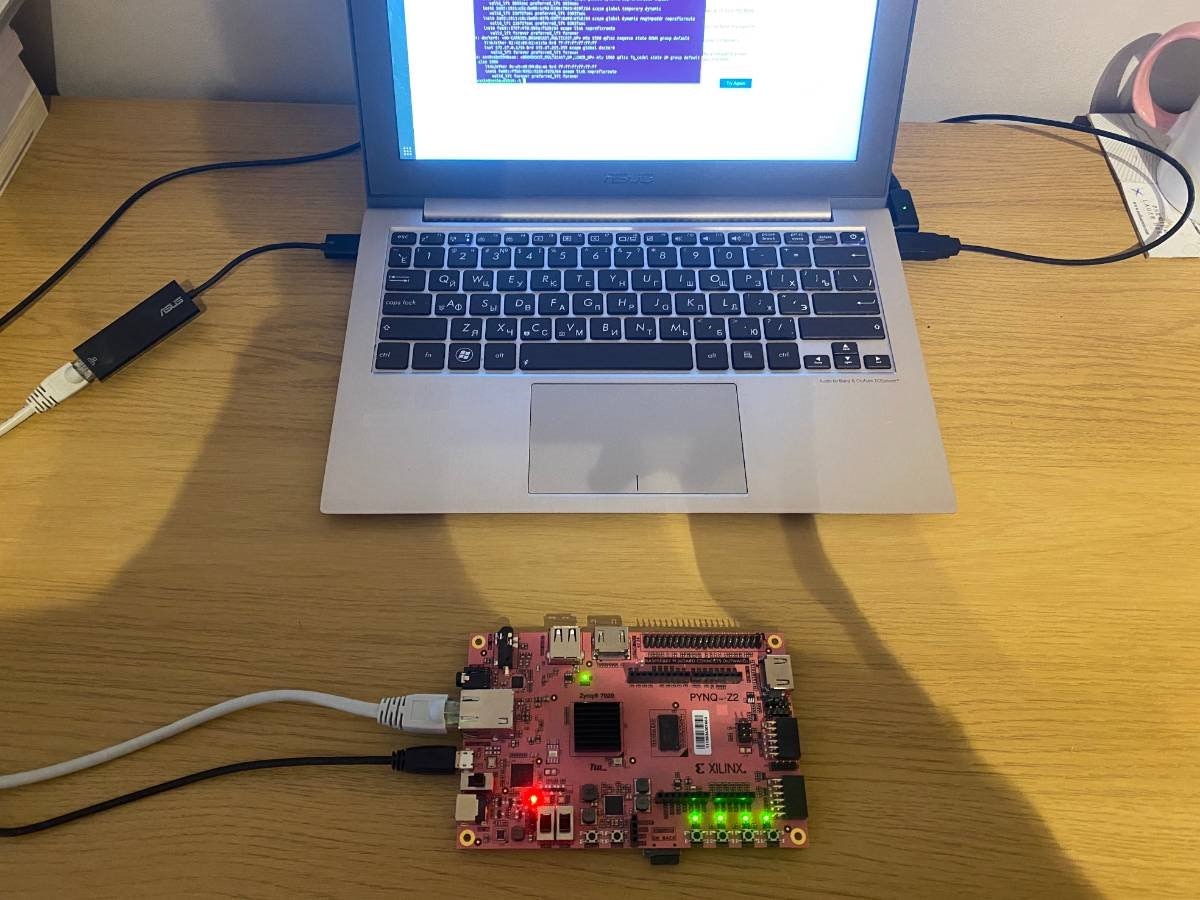
However, because the Ethernet link creates a new local network between the PYNQ-Z2 and your PC, it does not have a connection to your home WiFi and hence the Internet. Which is also reflected upon by the PYNQ documentation. That means that you have to perform some network address translation and port forwarding on your PC to act as a router for the PYNQ-Z2 (also referred to as bridging in this particular case to bridge Ethernet with WiFi). The easiest way to do it in Ubuntu is by creating another Ethernet network which you will configure as "Shared to other computers" by running in the terminal (ignore the $):
$ nm-connection-editor
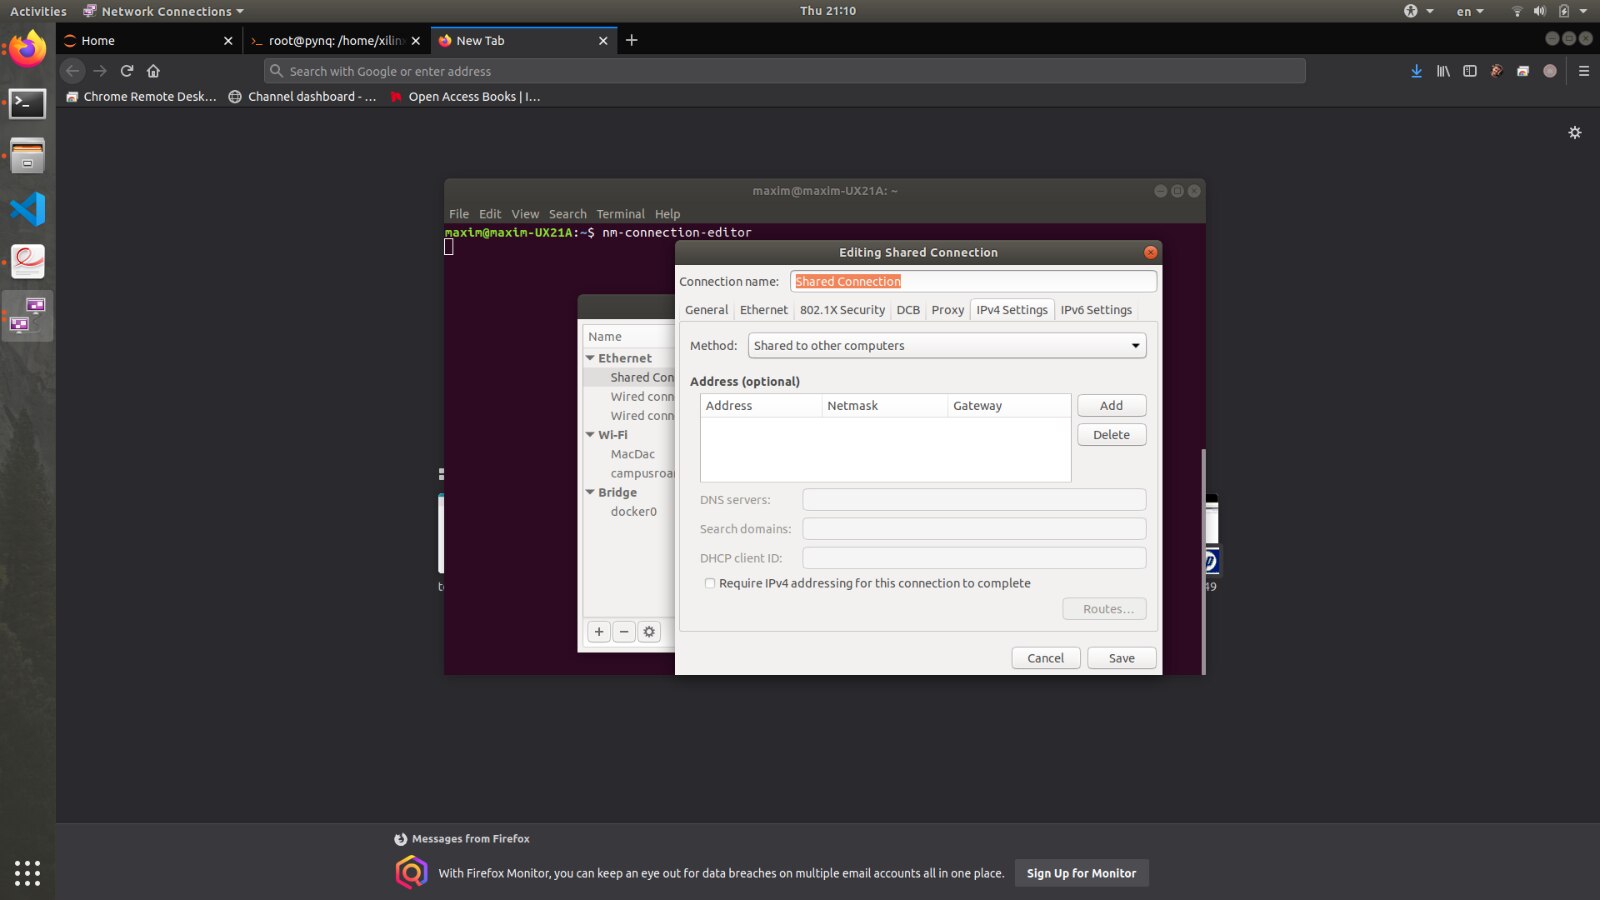
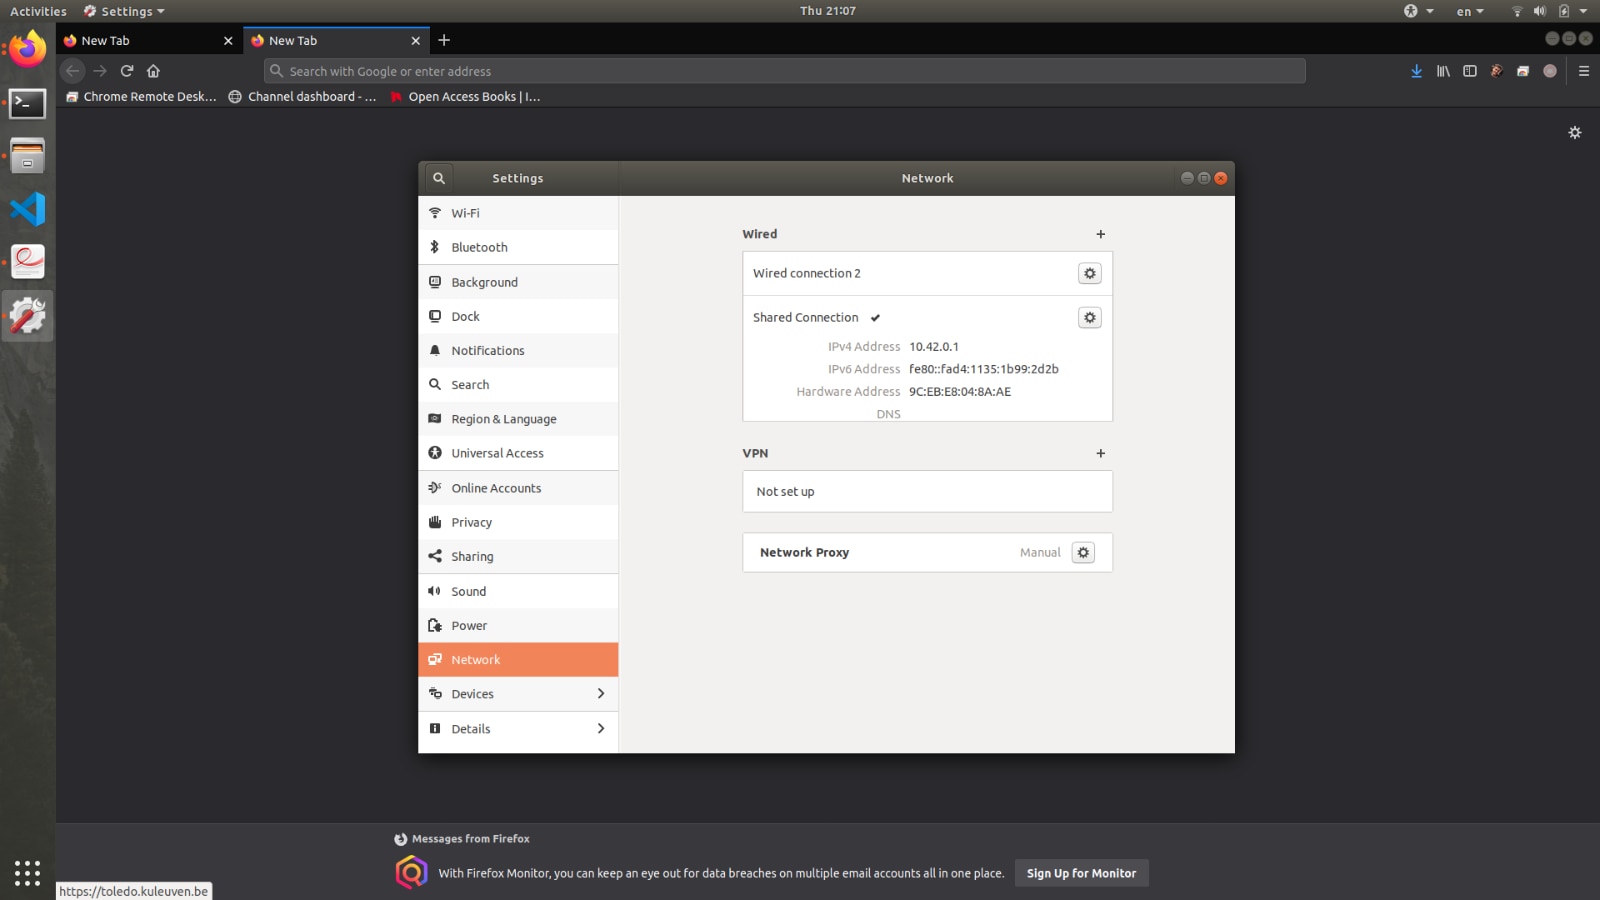
This will open the connection manager. Click "+" to create new. In the new window, give it name, "Shared Connection" for example. Then click "IPv4 Settings" and in the drop-down select "Shared to other computers". Save and exit.
Ubuntu will perform all the necessary configurations for you and will run a DHCP server on that network, assigning you the IP address 10.42.0.1 (do not change it) and some random one within appropriate range to the connected PYNQ-Z2.
At this point if you have your PYNQ-Z2 board connected, it will lease an IP address automatically.
Next step, you need to add the default gateway for the PYNQ-Z2 board. To do that, you must first be on the same network as the default network of the PYNQ-Z2, which is 192.168.2.0/24. Hence you first assign yourself an IP address in the same range, for example I made it as 192.168.2.1. Let's do it step-by-step:
1. Connect and power-up the board. Print the IP address on your Ubuntu machine to find the interface, in my case it is enx9cebe8048aae
$ ip addr
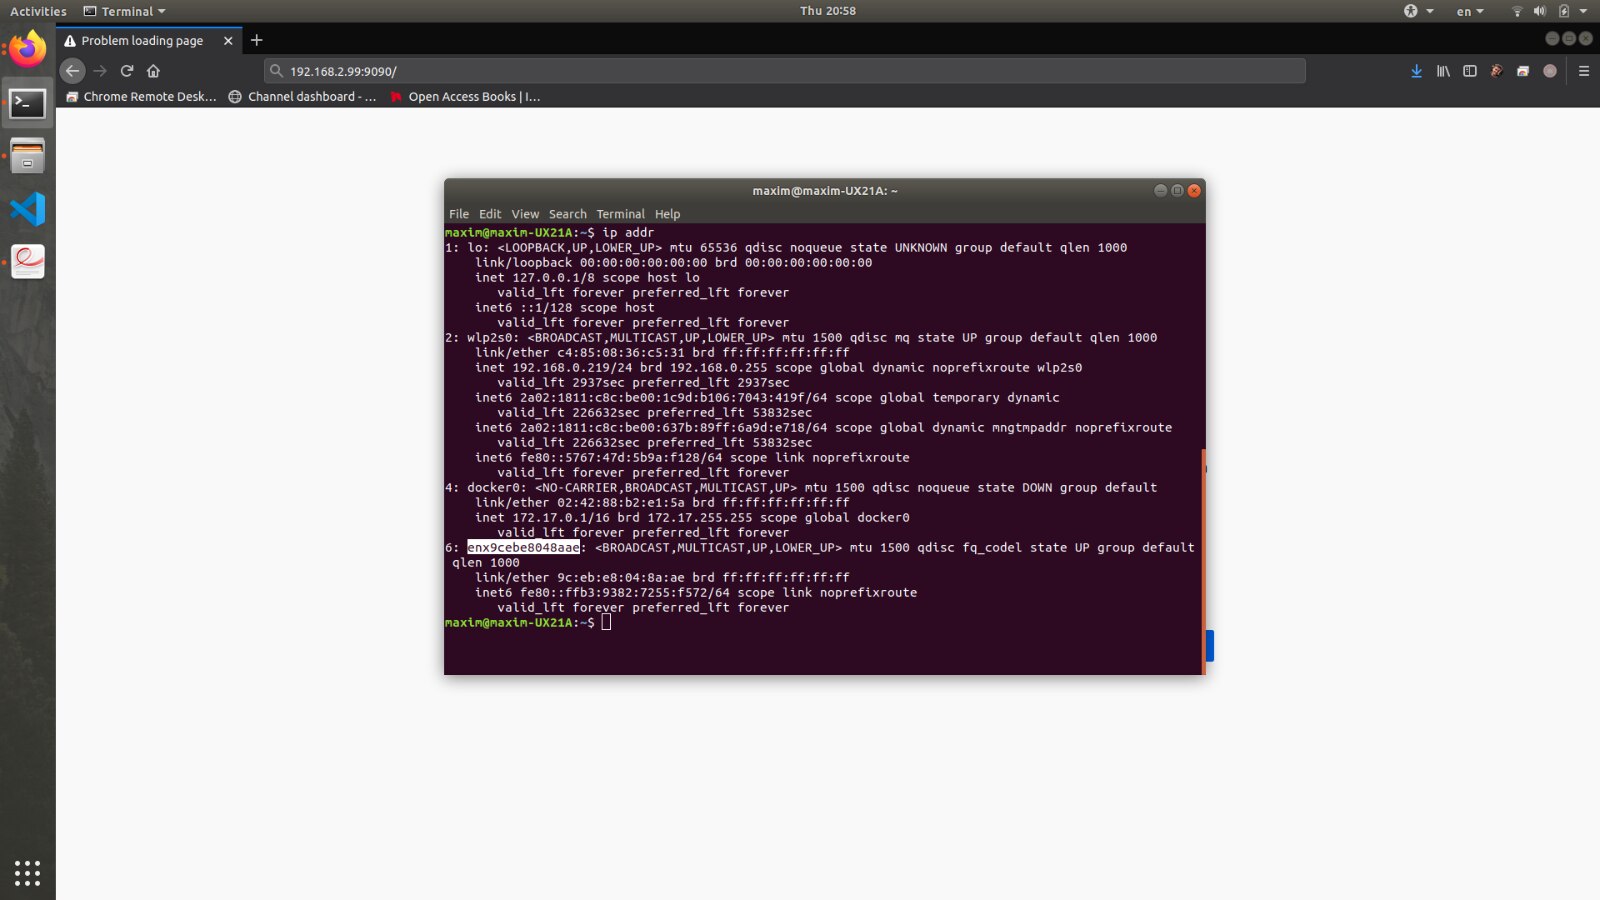
2. Add a static IP address to that interface, for example 192.168.2.1, but replace "enx9cebe8048aae" with your Ethernet interface name as found from step above
$ sudo ip addr add 192.168.2.1/24 dev enx9cebe8048aae

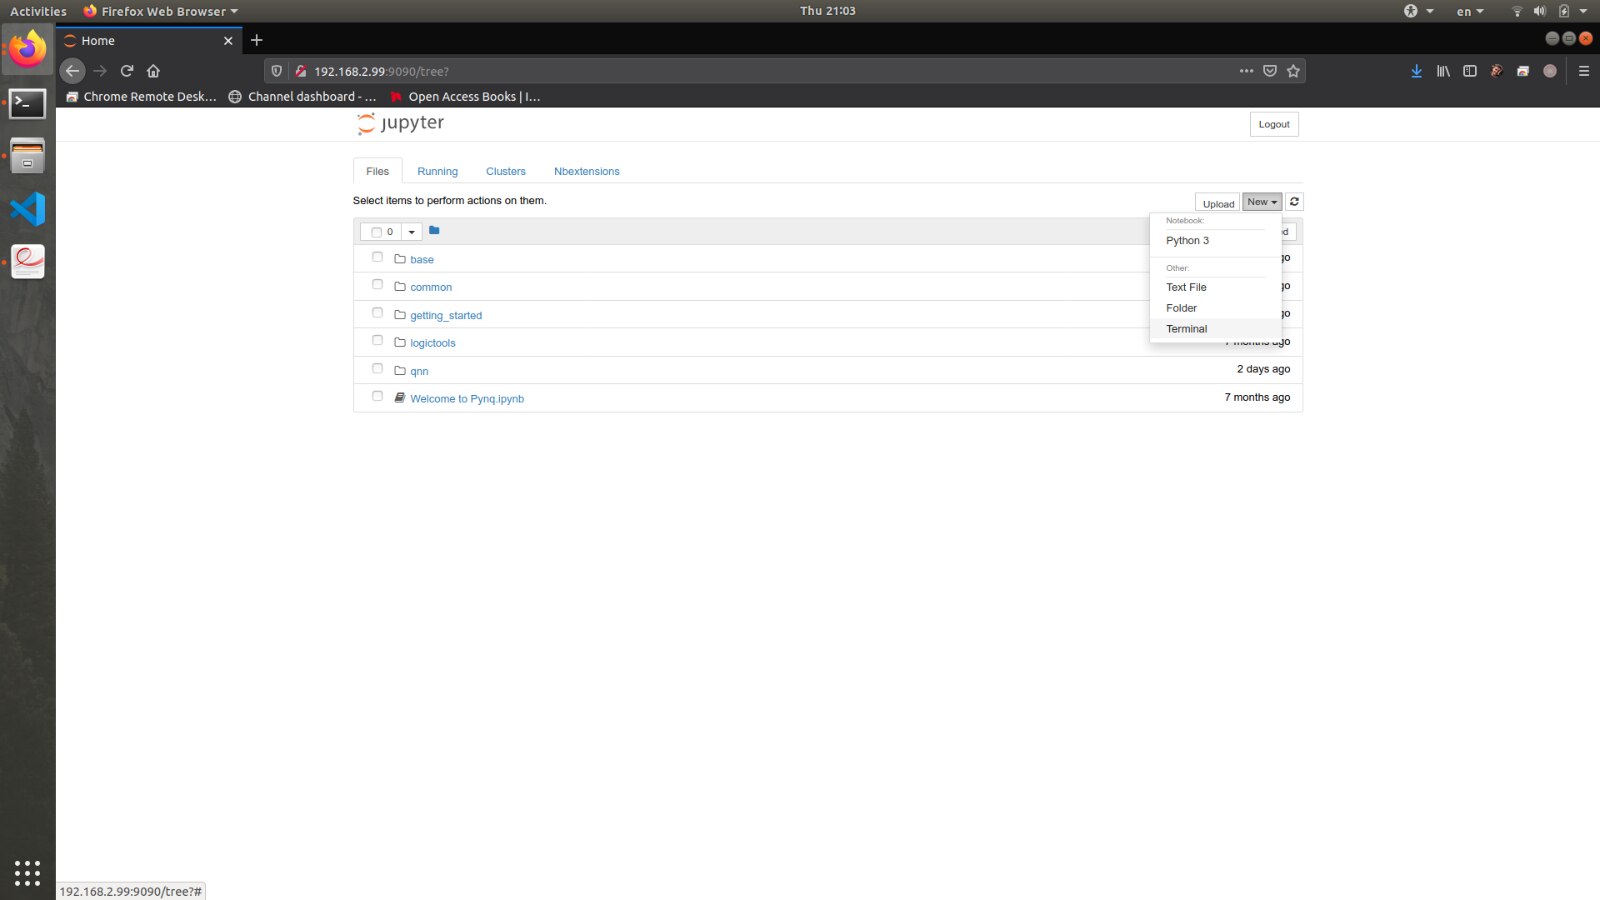
3. Browse to 192.168.2.99:9090 and login with password "xilinx". Once in the home directory, click "New"->"Terminal"
it will open terminal emulator and allow you to configure everything else on the PYNQ-Z2 board needed to connect to the Internet
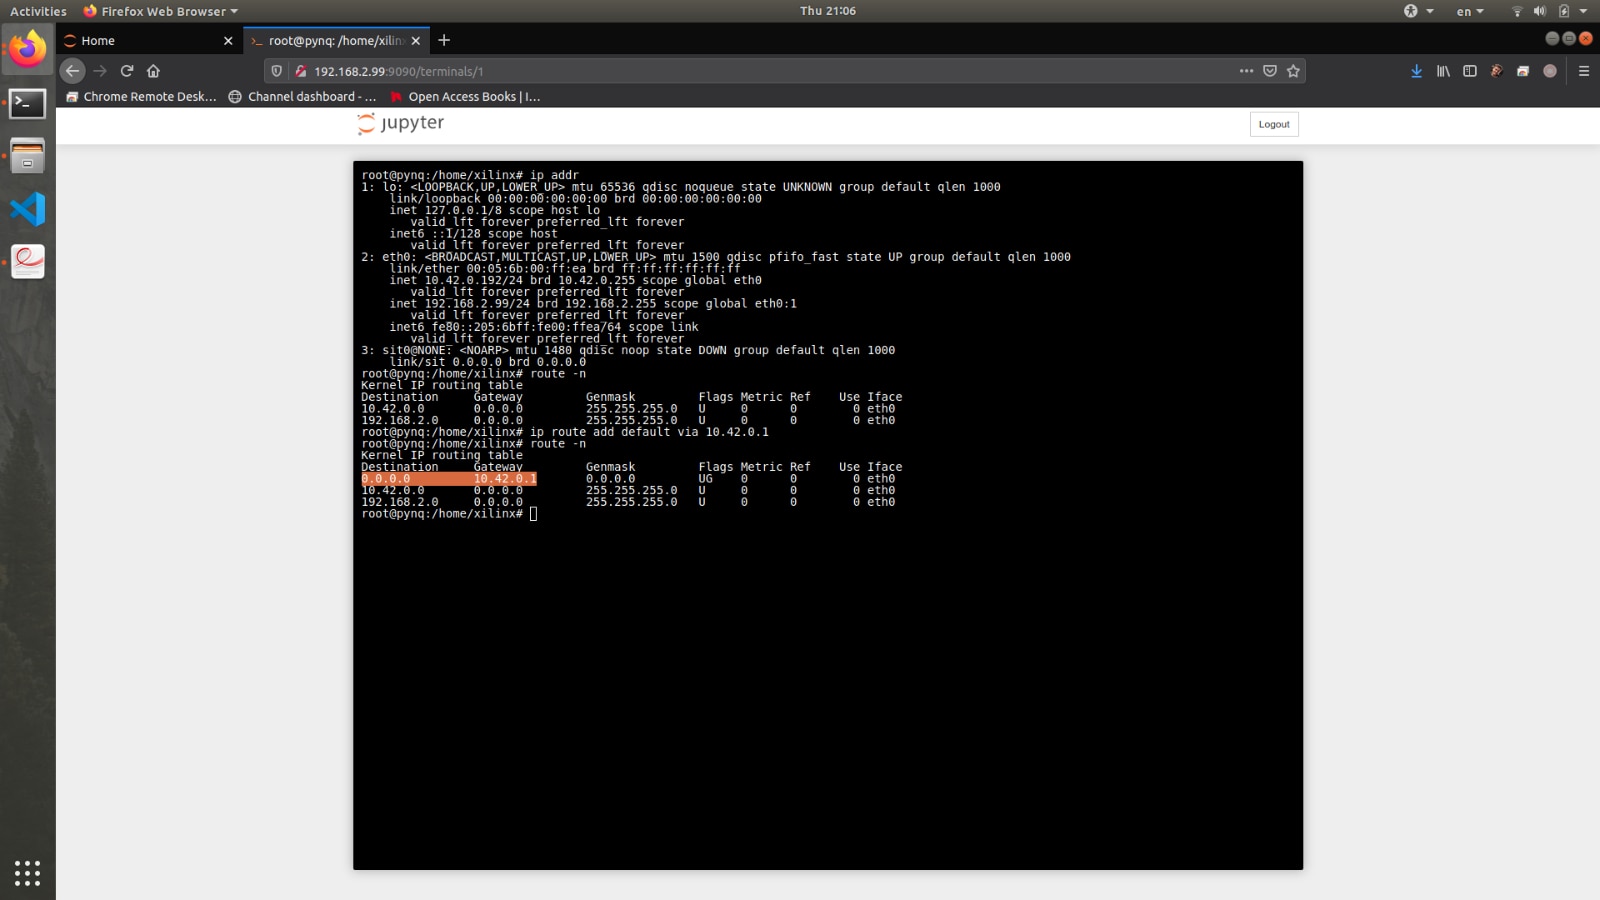
4. Add default gateway
$ ip addr will show you that the current IP addresses the address in the 10.42.0.0/24 subnetwork is the new IP of your PYNQ-Z2 (10.42.0.192 in my case) which you will now have to browse to in place of 192.168.2.99
$ ip route add default via 10.42.0.1 metric 100 will add the default gateway for the PYNQ-Z2 to use to route all of the traffic through your PC
5. Shutdown the Jupyter notebooks kernel, change on your PC the wired connection to the previously made "Shared Connection" network
6. You can now browse to this recorded in the previous step IP address (10.42.0.192 in my case) and use it as explained in the lab text, but now you have access from PYNQ-Z2 to the global Internet via your Ethernet link to PC!
To verify, you can ping Google DNS at 8.8.8.8 by:
$ ping 8.8.8.8
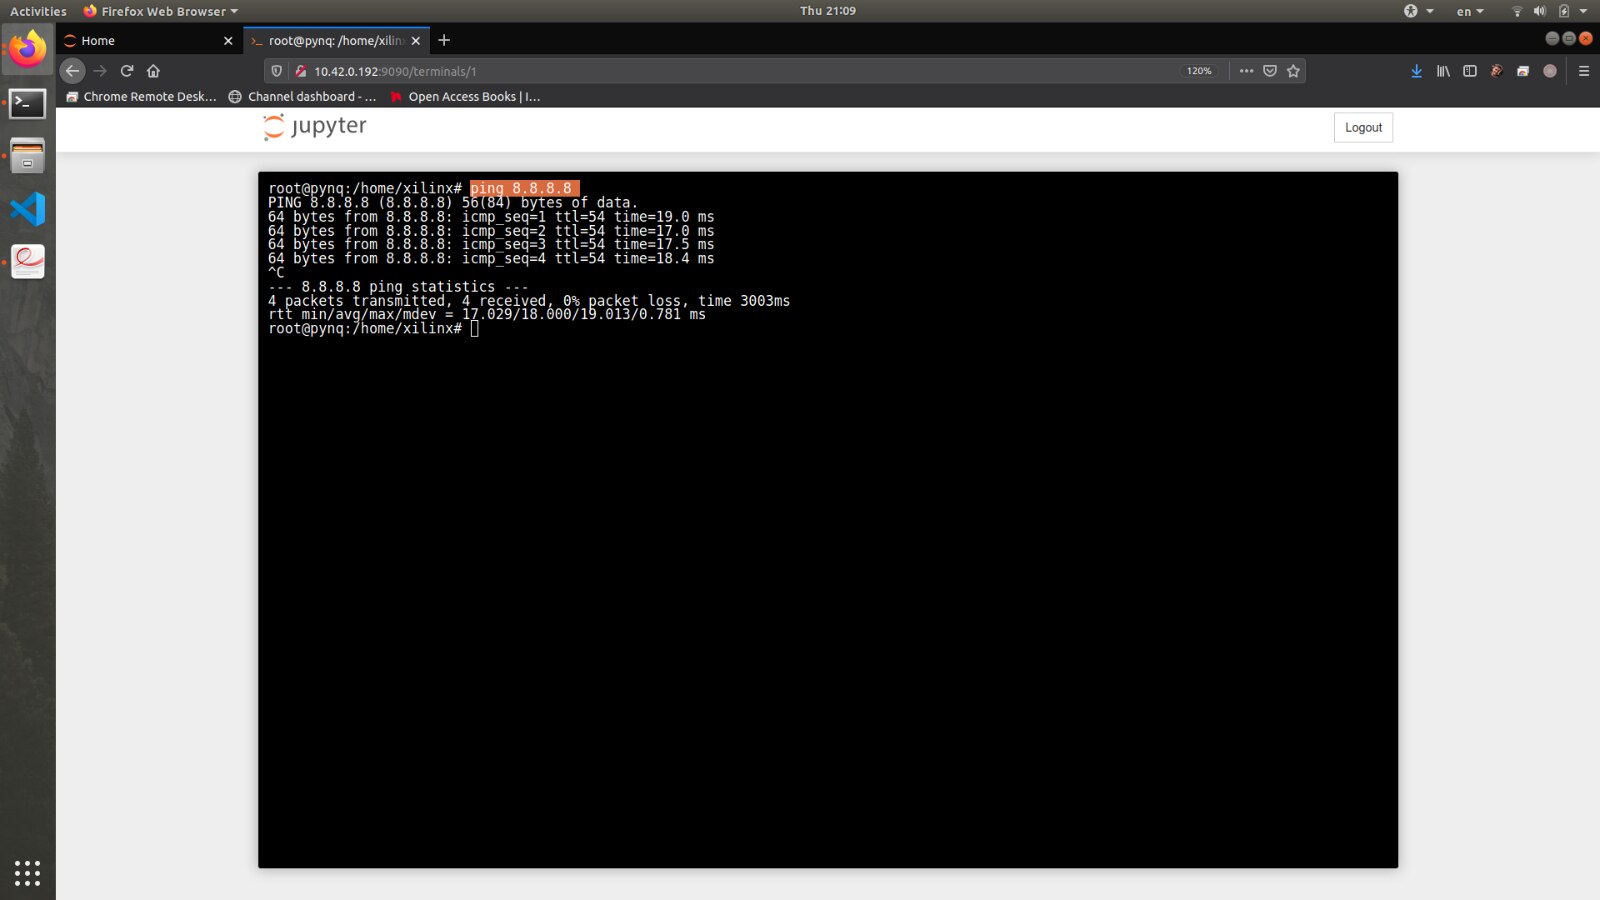
And as you can see the PYNQ-Z2 sends packets!
You can now proceed with the part of Lab1 where you clone Github repo of the QNN.
As you can see, it was just a few simple steps and now you can sit in the comfort of your work table and the reach of your PYNQ-Z2 board. Grab a cup of tea while cloning the Github repo, it will take a while.
I hope you found this blog post useful, in the next one I will post about the changes (homework of Lab1) that I made to the overlays to implement extra features and what type of waveform I implemented and for which use case.
Thank you! Enjoy the workshops!
Maxim