


Summary
This guide will cover the installation of the software required to develop with Sparkfun RedBoard Artemis ATP on the Arm Mbed
Mbed  operating system.

RedBoard Artemis ATP
The Artemis module has 48 GPIOs and the RedBoard Artemis ATP exposes all pins in a form factor known as Mega. It has the pins labeled as they are assigned on the Apollo3 IC itself.
SparkFun's Artemis module is a Cortex-M4F with BLE 5.0 running up to 96MHz and with power as low as 6uA per MHz (less than 5mW).
The Apollo MCU Family is an ultra-low power, highly integrated microcontroller platform based on Ambiq Micro’s patented Subthreshold Power Optimized Technology (SPOT) and designed for battery-powered and portable, mobile devices.
Serial and JTAG Programming
The RedBoard Artemis has two methods for programming. The most common is the USB C connector that operates as a USB to serial bridge. By simply pressing 'Upload' in the Arduino IDE or 'make bootload' from the SDK the firmware on Artemis is updated.The RedBoard Artemis uses the CH340C. The driver should automatically install on most operating systems.
The second method is JTAG programming. An unpopulated JTAG footprint is available for more advanced users who need breakpoint level debugging.
Serial Wire Debug
Serial Wire Debug (SWD) is really just a modification/implementation of JTAG specifically for ARM processors. SWD puts the 2 pins (SWDIO and SWCLK) on top of the JTAG pins allowing a user to use either JTAG or SWD without the need to breakout more pins.
Required Materials
- RedBoard Artemis ATP
- USB cable Type CUSB cable Type C
- J-LINK EDUmminiJ-LINK EDUmmini
OS Requirements
For this guide we are using Windows 10
J-Link Software
First step is to download the J-Link Software. This software is good for updating the firmware on the programmers.
Download Installer and install
https://www.segger.com/downloads/jlink/#J-LinkSoftwareAndDocumentationPack
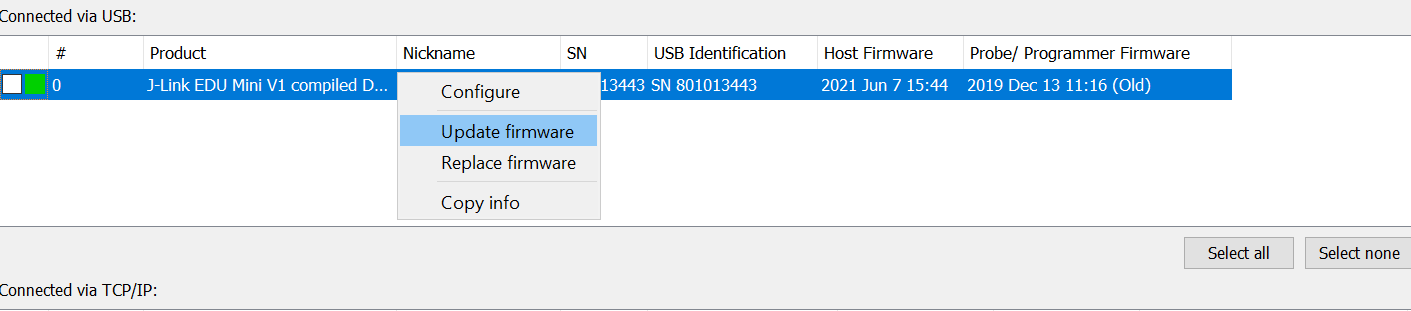
Connect your J-link
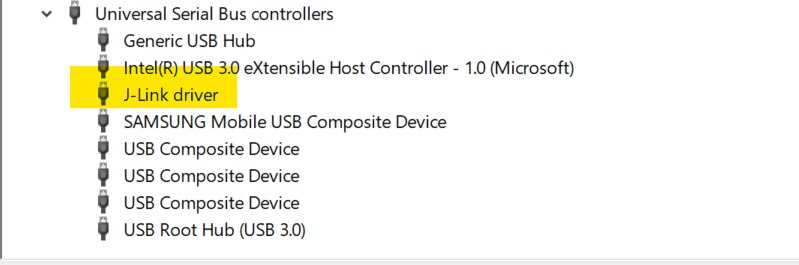
Go ahead and open the Jlink Configurator and see if your programmer needs an update.

Clone the Mbed OS Fork
We first need to clone our fork of Mbed OS from the ambiq-apollo3-dev branch of the GitHub repository.
You can use the GitHub desktop application. https://desktop.github.com/
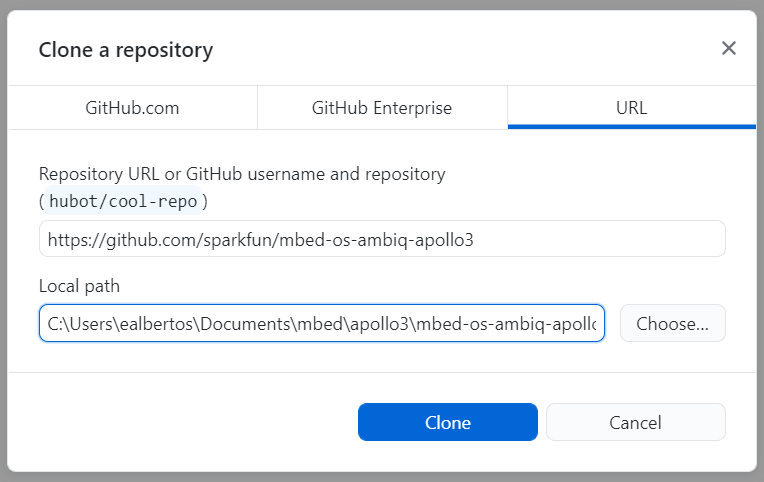
From the GitHub desktop application, clone the sparkfun/mbed-os-ambiq-apollo3 repository.
https://github.com/sparkfun/mbed-os-ambiq-apollo3
Note the location of the repository on the computer.
Once the repository has been cloned, pull the ambiq-apollo3-dev branch.
Install Mbed Studio
Users should install the latest version of Mbed Studio. Installation instructions can be found here on the Mbed website. Documentation for Mbed Studio is also hosted on the Mbed website.
https://os.mbed.com/docs/mbed-studio/current/installing/installing-mbed-studio.html
Blinky example. Project Setup
Open Mbed Studio and create a new project.
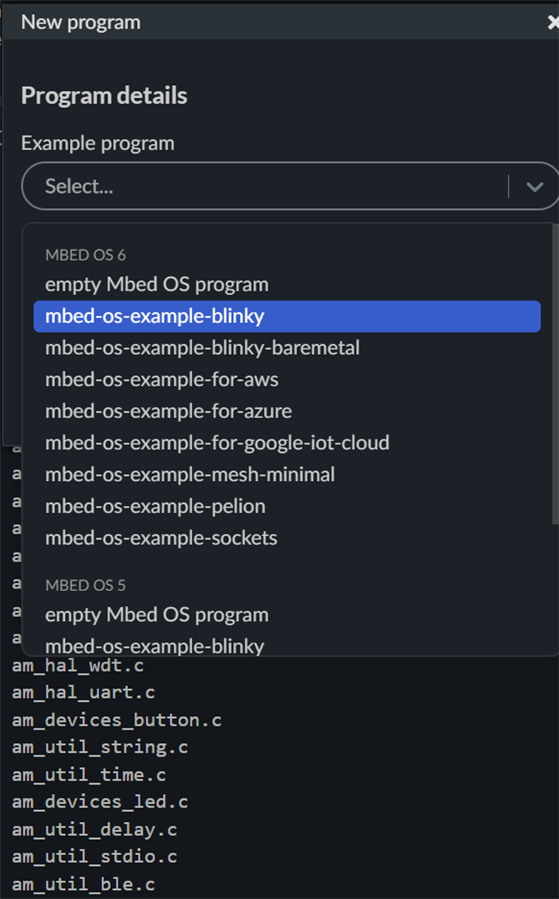
From the menu, select File > New Program....
A New program dialog box should open.
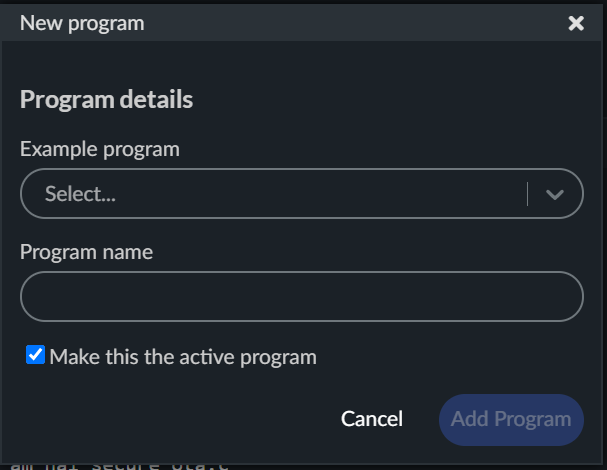
We'll begin with the Blinky example, from the Example program drop-down list, select in the MBED OS 6 list
For the Mbed OS Location, select the "Link to an existing shared Mbed OS instance" option
Browse for the location noted earlier, to the ambiq-apollo3-dev branch of our fork of Mbed OS


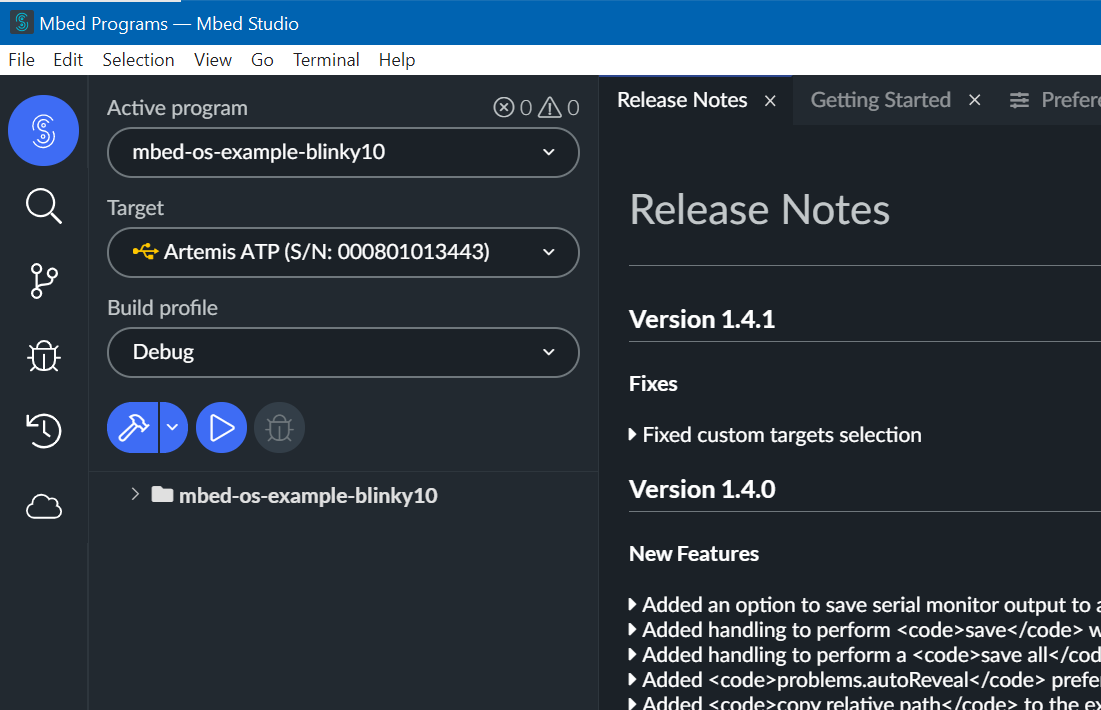
Clean and build the project

Build Project
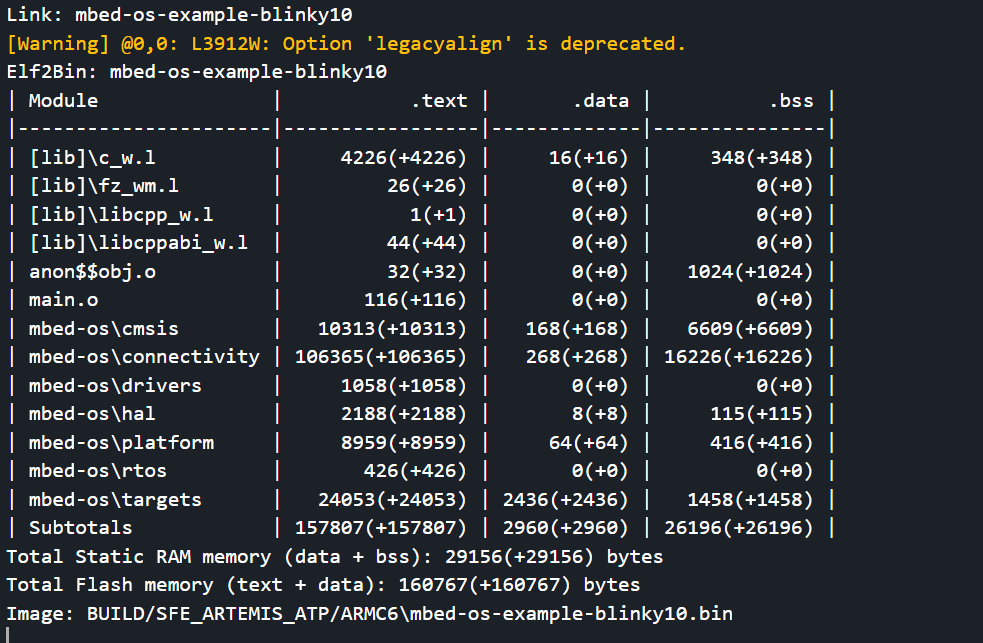
Click the Build, hammer icon. This builds Blinky and stops.
Check the build output for the location of the .bin file.

Clone the Ambiq Secure Bootloader (ASB) Upload
Development boards that utilize a WCH CH340C or CH340C Uart-to-serial chip will be programmed using the Ambiq Secure Bootloader (ASB).
https://github.com/sparkfun/Apollo3_Uploader_ASB
Ambiq Secure Bootloader (ASB) documentation

Example usage:
python asb.py --bin "${path to your binary file}.bin" --load-address-blob 0x20000 --magic-num 0xCB -o "${path to your binary file}" --version 0x0 --load-address-wired 0xC000 -i 6 --options 0x1 -b 115200 -port "{serial.port}" -r 2 -v
python asb.py --bin "${path to your binary file}.bin" --load-address-blob 0x20000 --magic-num 0xCB -o "${path to your binary file}"
--version 0x0 --load-address-wired 0xC000 -i 6 --options 0x1 -b 115200 -port "{serial.port}" -r 2 -v