


Using PC to control GPIB instruments, such as oscilloscopes, multimeters, power supplies is easiest thing, as most of vendors already supply ready to use libraries and packages to interface their instruments via GPIB. But if you want use using Linux-based OS or something like Raspberry Pi, things get tricky, especially for engineers who are not quiet familiar with Linux. Simple plugging GPIB adapter into Linux box will make nothing useful, as there are some compiling and packet tossing required, to make things exciting. Let's see how hard is that..
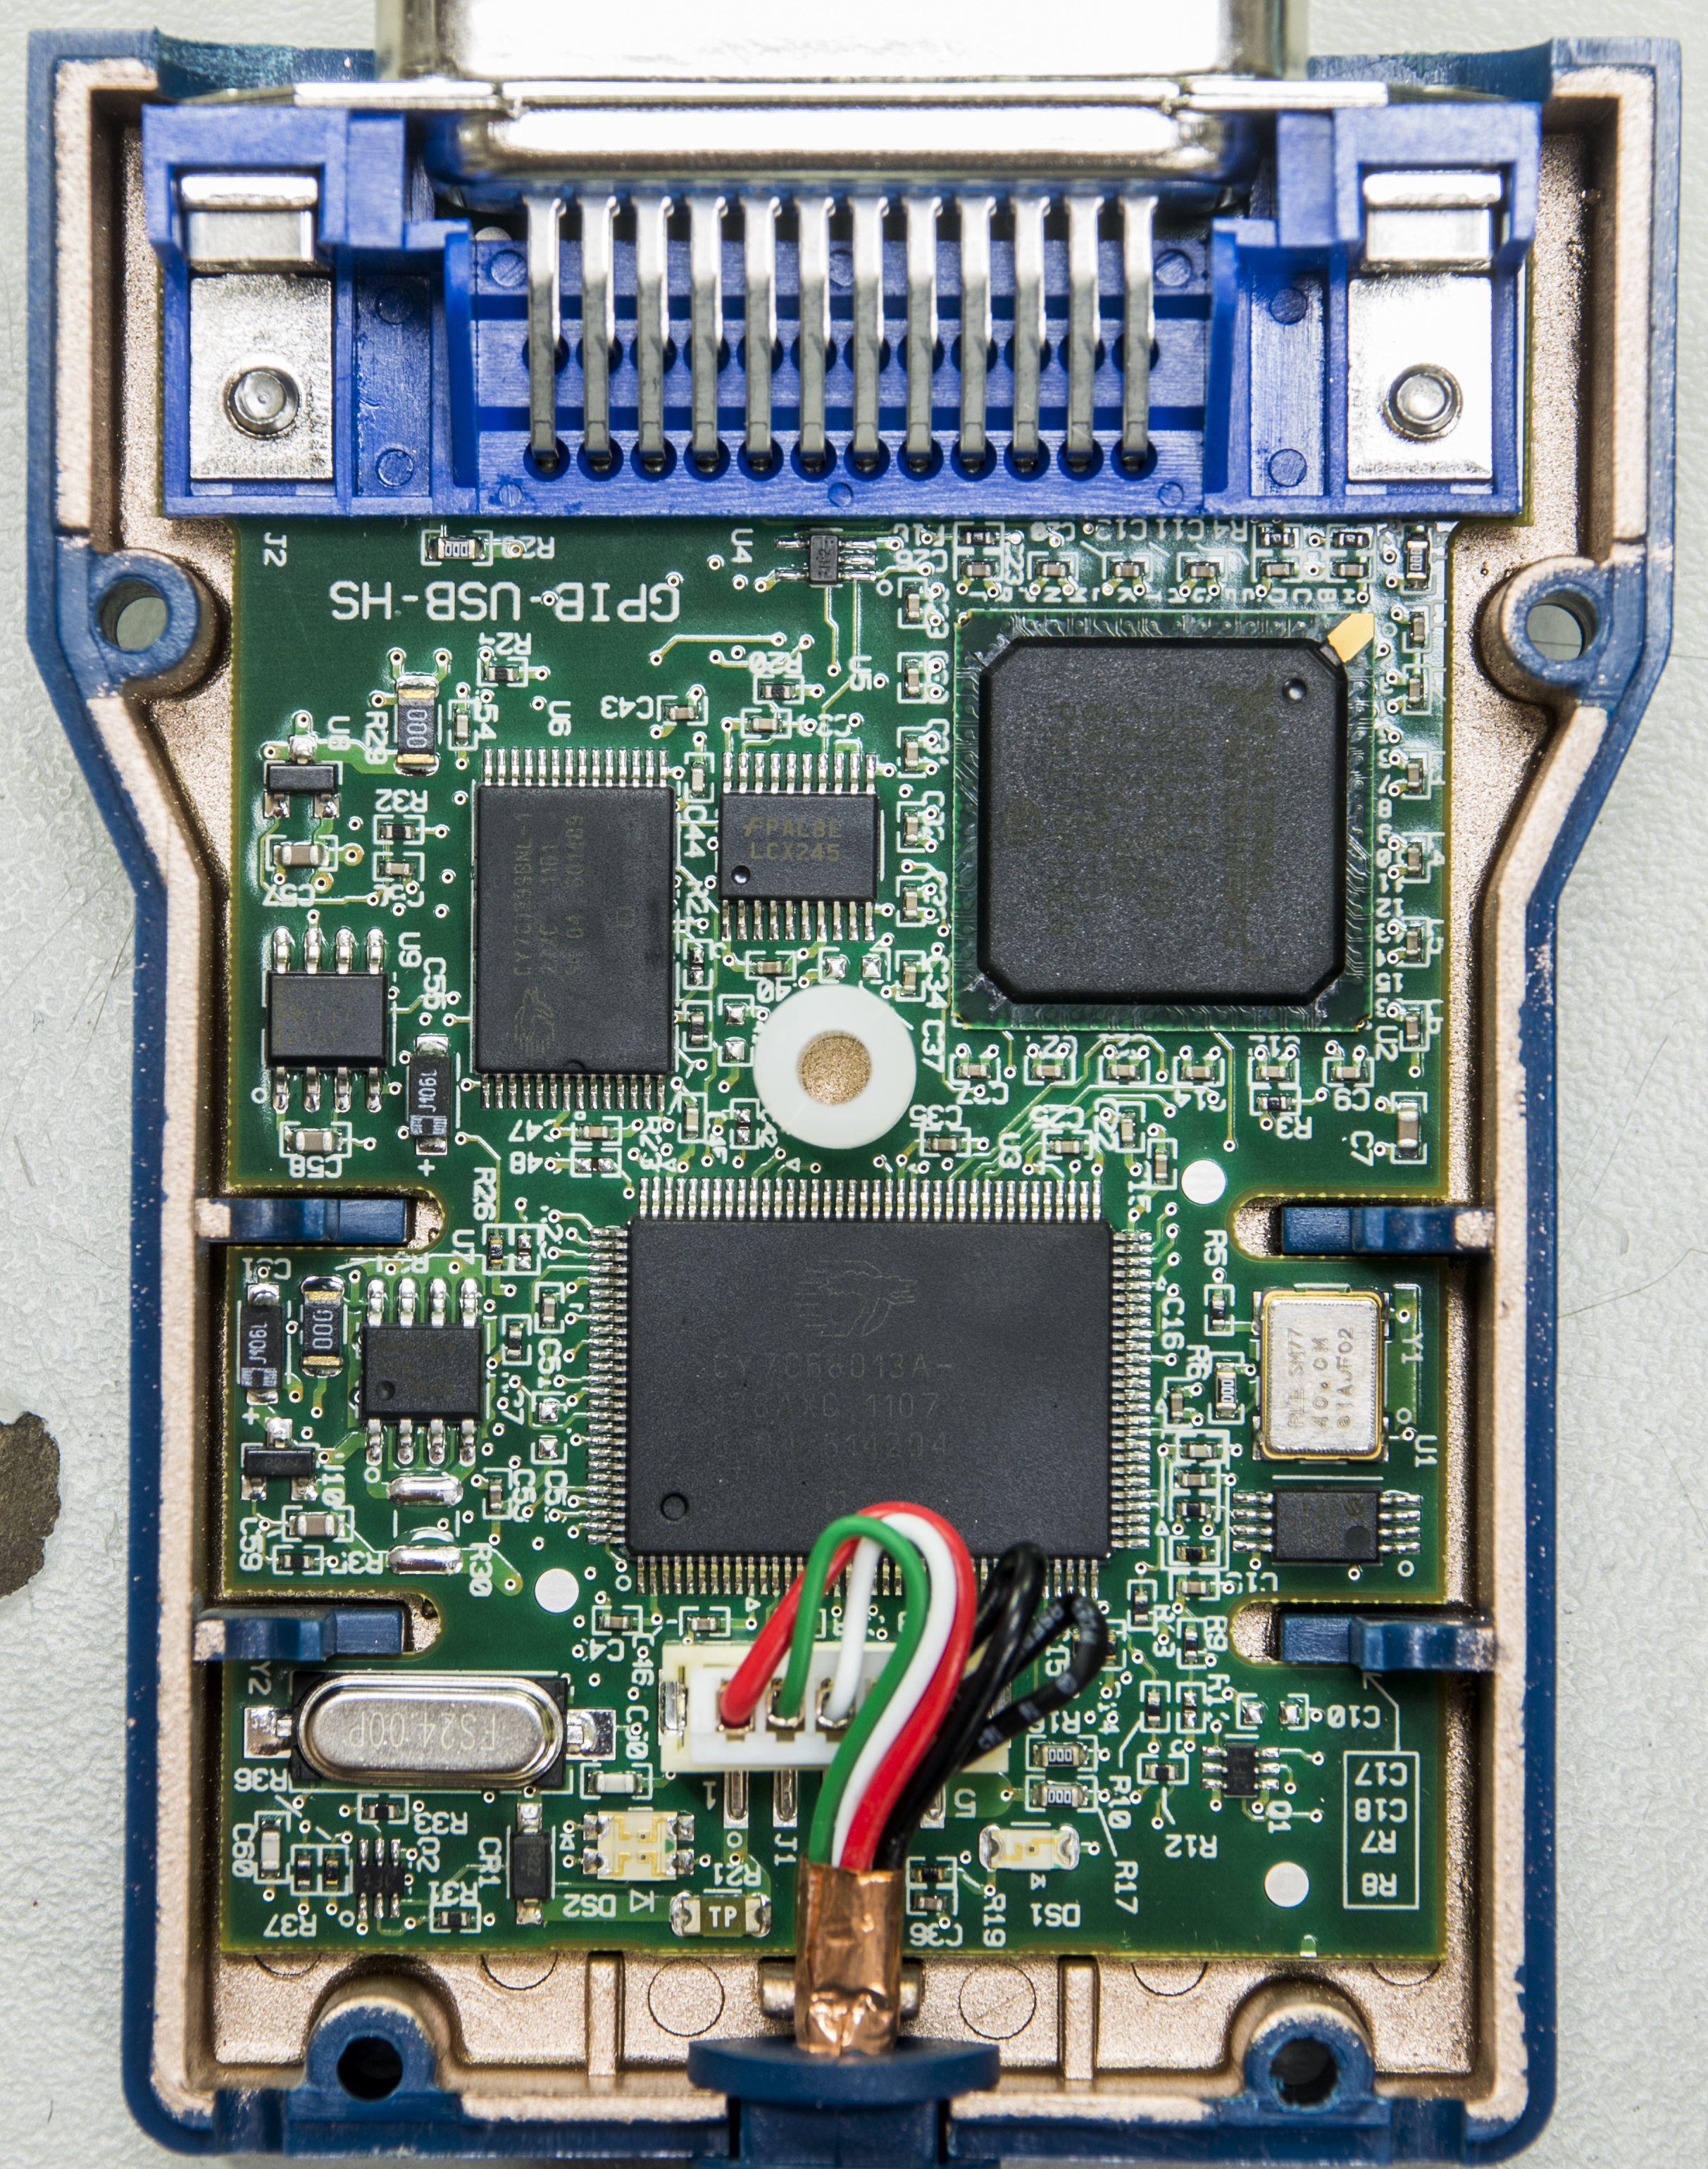
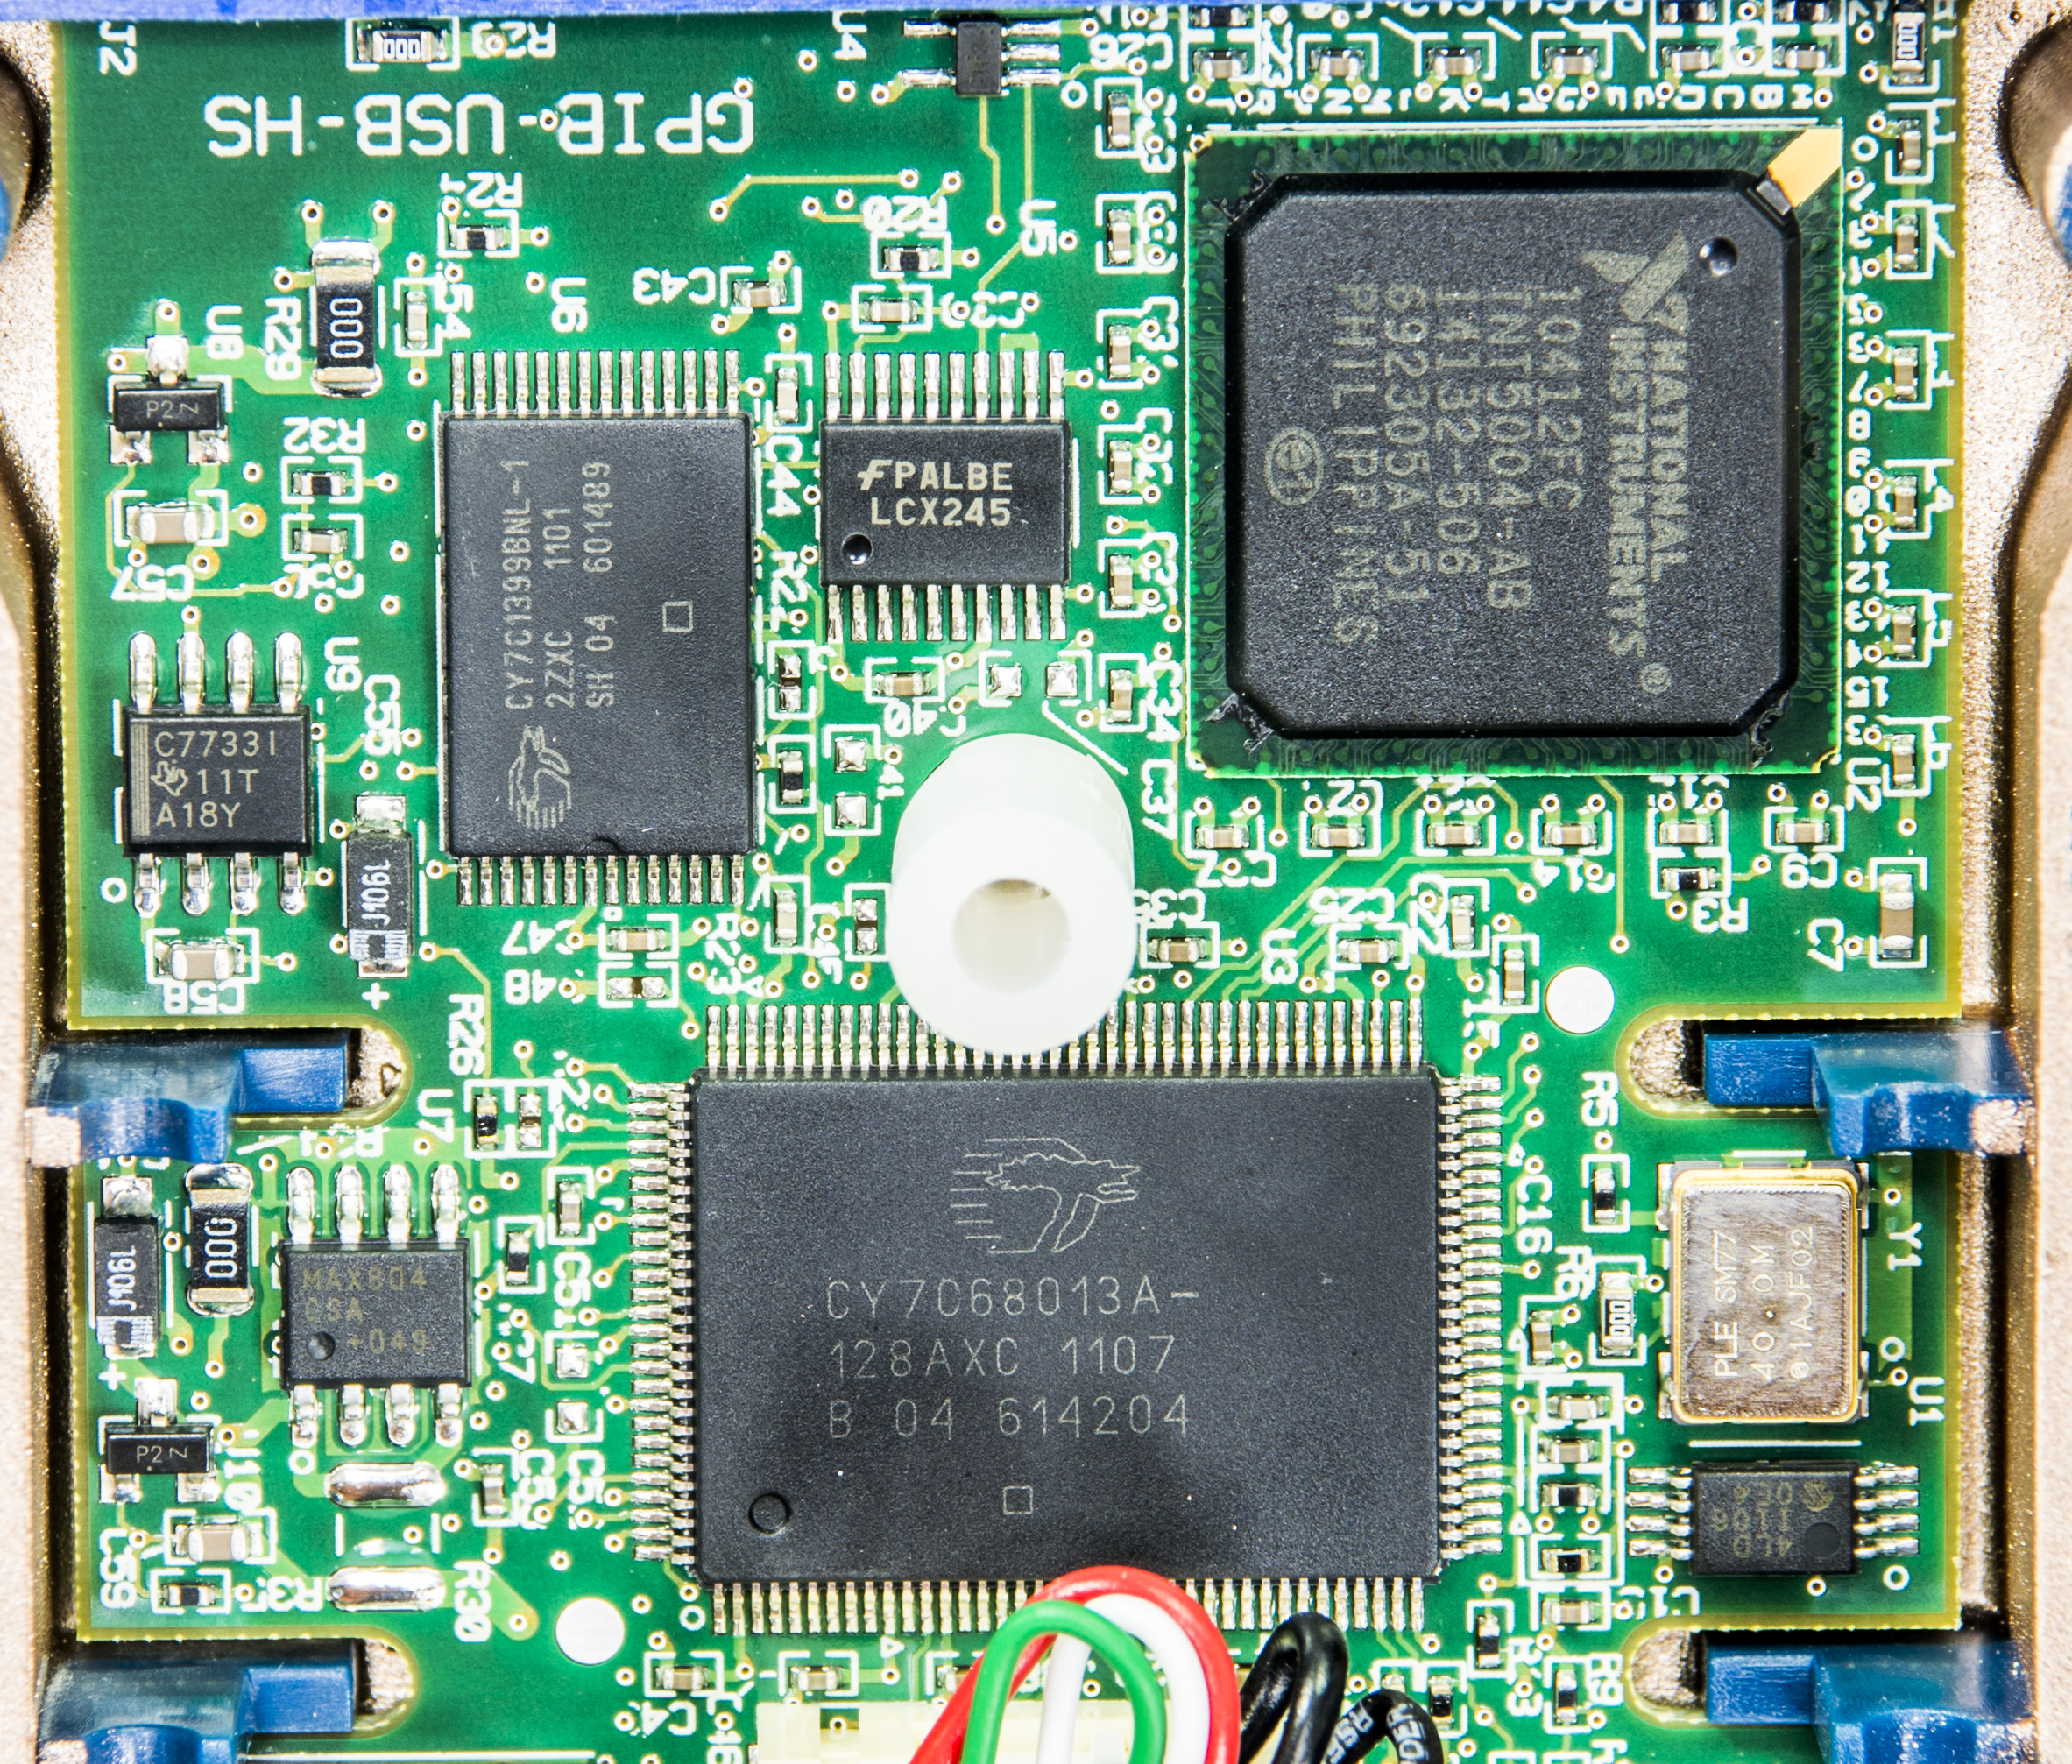
National Instruments GPIB-USB-HS dongle
First, take a look on hardware interface which we will be using in this tutorial.
There are multiple versions of USB-GPIB interfaces from National Instruments, and in this case I used previous generation GPIB-USB-HS.
While NI site lists Linux support, it’s declared only for RedHat, Scientific Linux and SUSE. If we want use it with something like Raspberry Pi with it’s Debian-based Linux system we are alone in the wild.

Very brief datasheet just covers basic installation and specification.
Raspberry Pi setup
All information below is tested on Raspberry Pi 1 model B revision 2, using on-board USB connection. Linux version used was RASPBIAN Debian Wheezy, which we already go through basic setup doing I2C stuff before, in this article. If you need to setup system from scratch on blank SD card, suggest to reference that article first.
Below step by step tutorial for whole process of setting up GPIB-USB-HS to work with Raspberry Pi system, I'd like to give credits to “Forum thread on EEVBlog.com” and member bingo600, which was a great help
- Before installing stuff, I'd highly recommend to update current packets. All commands below are issued under admin root rights, so if you don’t usually logon under root, you may need use sudo.
apt-get update
- Install Linux kernel image, as linux-gpib module versions are specific for each kernel branch, and they both need match.
apt-get install linux-image-rpi-rpfv
In my case it put kernel verison 3.18.0. You can locate it in /boot directory, where two files should be present, such as initrd.img-3.18.0-trunk-rpi and vmlinuz-3.18.0-trunk-rpi
- In boot/config.txt append this at end of file , or it will boot the default “Foundation kernel”
************* SNIP ***********************
# Set params for "raspbian debian-style kernel" boot
kernel=vmlinuz-3.18.0-trunk-rpi
initramfs initrd.img-3.18.0-trunk-rpi followkernel
- Double check filenames and presence of files in /boot, otherwise your Raspberry Pi will not boot. If such happens, fix is easy. Just remove SD card, plug it into your PC and change config.txt file, as it’s accessible from FAT filesystem under usual OS, unlike rest of linux partitions on Raspberry’s SD card.
- After success with kernel change and boot, we can check kernel version and install header package:
pi@tin ~ $ uname -a
Linux tin.pi 3.18.0-trunk-rpi #1 PREEMPT Debian 3.18.5-1~exp1+rpi16 (2015-03-28) armv6l GNU/Linux
pi@tin ~ $ sudo apt-get install linux-headers-rpi-rpfv
- Since we will be compiling lot of stuff later, worth to preinstall all packages and libraries, to make sure dependency are met correctly.
apt-get install build-essential texinfo texi2html libcwidget-dev tcl8.4-dev tk8.4-dev libncurses5-dev libx11-dev binutils-dev bison flex libusb-1.0-0 libusb-dev libmpfr-dev libexpat1-dev tofrodos subversion autoconf automake libtool
- Now install linux-gpib itself. Enter home directory and run next:
root@tin:/home/# mkdir linux-gpib
root@tin:/home/# cd linux-gpib
root@tin:/home/linux-gpib# svn checkout svn://svn.code.sf.net/p/linux-gpib/code/trunk linux-gpib-code
A    linux-gpib-code/linux-gpib
A    linux-gpib-code/linux-gpib/test
A    linux-gpib-code/linux-gpib/test/runtest
...
...
root@tin:/home/linux-gpib# cd linux-gpib-code/linux-gpib/
- At this moment we have latest linux-gpib from SVN and ready to configure and install it.
root@tin:/home/linux-gpib# cd linux-gpib-code/linux-gpib/
root@tin:/home/linux-gpib/linux-gpib-code/linux-gpib# ./bootstrap
libtoolize: putting auxiliary files in `.'.
libtoolize: copying file `./ltmain.sh'
libtoolize: putting macros in AC_CONFIG_MACRO_DIR, `m4'.
libtoolize: copying file `m4/libtool.m4'
libtoolize: copying file `m4/ltoptions.m4'
libtoolize: copying file `m4/ltsugar.m4'
libtoolize: copying file `m4/ltversion.m4'
libtoolize: copying file `m4/lt~obsolete.m4'
configure.ac:102: installing `./compile'
configure.ac:39: installing `./config.guess'
configure.ac:39: installing `./config.sub'
configure.ac:20: installing `./install-sh'
configure.ac:20: installing `./missing'
examples/Makefile.am: installing `./depcomp'
...
...
- linux-gpib is using kernel headers, which version must match our kernel version. So make sure those installed as well:
root@tin:/home/gpib/linux-gpib-3.2.21# apt-get install linux-headers-3.18.0
Reading package lists... Done
Building dependency tree
Reading state information... Done
...
...
The following NEW packages will be installed:
  linux-headers-3.18.0-trunk-all linux-headers-3.18.0-trunk-all-armhf
  linux-headers-3.18.0-trunk-rpi2
0 upgraded, 3 newly installed, 0 to remove and 0 not upgraded.
Need to get 857 kB of archives.
After this operation, 6,807 kB of additional disk space will be used.
Do you want to continue [Y/n]? Y
...
...
Fetched 857 kB in 2s (365 kB/s)
Selecting previously unselected package linux-headers-3.18.0-trunk-rpi2.
(Reading database ... 97166 files and directories currently installed.)
Unpacking linux-headers-3.18.0-trunk-rpi2 (from .../linux-headers-3.18.0-trunk-rpi2_3.18.5-1~exp1+rpi16_armhf.deb) ...
Selecting previously unselected package linux-headers-3.18.0-trunk-all-armhf.
Unpacking linux-headers-3.18.0-trunk-all-armhf (from .../linux-headers-3.18.0-trunk-all-armhf_3.18.5-1~exp1+rpi16_armhf.deb) ...
Selecting previously unselected package linux-headers-3.18.0-trunk-all.
Unpacking linux-headers-3.18.0-trunk-all (from .../linux-headers-3.18.0-trunk-all_3.18.5-1~exp1+rpi16_armhf.deb) ...
Setting up linux-headers-3.18.0-trunk-rpi2 (3.18.5-1~exp1+rpi16) ...
Setting up linux-headers-3.18.0-trunk-all-armhf (3.18.5-1~exp1+rpi16) ...
Setting up linux-headers-3.18.0-trunk-all (3.18.5-1~exp1+rpi16) ...
- Now run ./configure in linux-gpib directory to prepare it for our system environment.
root@tin:/home/linux-gpib/linux-gpib-code/linux-gpib# ./configure
checking for a BSD-compatible install... /usr/bin/install -c
checking whether build environment is sane... yes
checking for a thread-safe mkdir -p... /bin/mkdir -p
checking for gawk... no
checking for mawk... mawk
checking whether make sets $(MAKE)... yes
checking whether to enable maintainer-specific portions of Makefiles... no
checking build system type... armv6l-unknown-linux-gnueabihf
checking host system type... armv6l-unknown-linux-gnueabihf
checking Linux kernel directory... ok
checking Linux kernel compile flags... Makefile:10: *** mixed implicit and normal rules: deprecated syntax ok
checking for gcc... gcc
- Compile and install linux-gpib
root@tin:/home/gpib/linux-gpib-3.2.21# make
make  all-recursive
make[1]: Entering directory '/home/gpib/linux-gpib-3.2.21'
Making all in include
make[2]: Entering directory '/home/gpib/linux-gpib-3.2.21/include'
make  all-am
make[3]: Entering directory '/home/gpib/linux-gpib-3.2.21/include'
make[3]: Nothing to be done for 'all-am'.
...
...
root@tin:/home/gpib/linux-gpib-3.2.21# make install
Configuration for linux-gpib and interfacing
After everything successfully installed without errors, let’s connect GPIB-USB-HS adapter to Raspberry Pi and try to talk with it.
Make sure your Pi powered with good high-current USB cable and +5 VDC power supply with at least 1 Amp , as NI GPIB-USB-HS is taking some decent amount of power and with cheap USB cable connected to PC port it was causing unstable operation, LAN LEDs on Pi were blinking like crazy and nothing worked, as voltage drop too much.
Checking interface connection is simple, just run lsusb to see which devices are present on USB bus:
root@tin:/etc# lsusb
Bus 001 Device 002: ID 0424:9514 Standard Microsystems Corp.
Bus 001 Device 001: ID 1d6b:0002 Linux Foundation 2.0 root hub
Bus 001 Device 003: ID 0424:ec00 Standard Microsystems Corp.
Bus 001 Device 004: ID 3923:709b National Instruments Corp. GPIB-USB-HS
Unlike old GPIB-USB-B, which need Cypress FX firmware upload after connection, GPIB-USB-HS does not need any firmware uploads and ready to work right from the box.
Let’s load kernel module with modprobe:
root@tin:/home/gpib/linux-gpib-3.2.21# modprobe ni_usb_gpib
root@tin:/home/gpib/linux-gpib-3.2.21#
Should be no error messages here. Can check if module was correctly used as well by lsmod.
root@tin:/home/gpib/linux-gpib-3.2.21# lsmod
Module                  Size  Used by
i2c_dev                 6970  0
i2c_bcm2708             5306  0
ni_usb_gpib            26063  0
gpib_common            31031  1 ni_usb_gpib
Modify /etc/gpib.conf like below:
board_type = "ni_usb_b">/* type of interface board being used */
Everything should be working well by now:
root@tin:/home/gpib/linux-gpib-3.2.21# gpib_config
root@tin:/home/gpib/linux-gpib-3.2.21#
No errors, yey! Let’s test how it works now.
Testing GPIB operation
To test I had NI GPIB-USB-HS connected to Keithley 2002 bench digital multimeter. Instrument is configured with GPIB Address = 17.
root@tin:/# ibtest
Do you wish to open a (d)evice or an interface (b)oard?
        (you probably want to open a device): d
enter primary gpib address for device you wish to open [0-30]: 17
trying to open pad = 17 on /dev/gpib0 ...
You can:
        w(a)it for an event
        ...
        ...
        (r)ead string
        perform (s)erial poll (device only)
        change (t)imeout on io operations
        request ser(v)ice (board only)
        (w)rite data string
: w
enter a string to send to your device: *IDN?
sending string: *IDN?

gpib status is:
ibsta = 0x2100  < END CMPL >
iberr= 0

ibcnt = 6
You can:
        w(a)it for an event
        ...
        ...
        (r)ead string
        perform (s)erial poll (device only)
        change (t)imeout on io operations
        request ser(v)ice (board only)
        (w)rite data string
: r
enter maximum number of bytes to read [1024]: 1024
trying to read 1024 bytes from device...
received string: 'KEITHLEY INSTRUMENTS INC.,MODEL 2002,1167961,A09  /A02'
Number of bytes read: 57
gpib status is:
ibsta = 0x2100  < END CMPL >
iberr= 0

ibcnt = 57
Now can see data send/received correctly.
Python-application to talk GPIB from Raspberry Pi
Let's use fresh GPIB setup to talk with Python.
To use GPIB in Python we just need to do few steps here, install python-dev:
root@tin:/# apt-get install python-dev
Reading package lists... Done
Building dependency tree
Reading state information... Done
The following extra packages will be installed:
  libssl-dev libssl-doc python2.7-dev
The following NEW packages will be installed:
  libssl-dev libssl-doc python-dev python2.7-dev
0 upgraded, 4 newly installed, 0 to remove and 0 not upgraded.
Need to get 2,699 kB/31.4 MB of archives.
After this operation, 41.4 MB of additional disk space will be used.
Do you want to continue [Y/n]? Y
....
Setting up python2.7-dev (2.7.3-6+deb7u2) ...
Setting up python-dev (2.7.3-4+deb7u1) ...
Now we can install python egg to include Gpib module with our python system environment:
root@tin:/home/linux-gpib-code/linux-gpib/language/python# python ./setup.py  install
running install
running build
running build_py
creating build
creating build/lib.linux-armv6l-2.7
copying Gpib.py -> build/lib.linux-armv6l-2.7
running build_ext
building 'gpib' extension
creating build/temp.linux-armv6l-2.7
gcc -pthread -fno-strict-aliasing -DNDEBUG -g -fwrapv -O2 -Wall -Wstrict-prototypes -fPIC -I../../include -I/usr/include/python2.7 -c gpibinter.c -o build/temp.linux-armv6l-2.7/gpibinter.o
gcc -pthread -shared -Wl,-O1 -Wl,-Bsymbolic-functions -Wl,-z,relro build/temp.linux-armv6l-2.7/gpibinter.o -L../../lib/.libs -lgpib -lpthread -o build/lib.linux-armv6l-2.7/gpib.so
running install_lib
copying build/lib.linux-armv6l-2.7/Gpib.py -> /usr/local/lib/python2.7/dist-packages
copying build/lib.linux-armv6l-2.7/gpib.so -> /usr/local/lib/python2.7/dist-packages
byte-compiling /usr/local/lib/python2.7/dist-packages/Gpib.py to Gpib.pyc
running install_egg_info
Writing /usr/local/lib/python2.7/dist-packages/gpib-1.0.egg-info
Simple Python test can help to check access, for multimeter sitting on GPIB bus with address 17. Test is simple sending IDN? request and reading back 100 bytes:
root@tin:/home/linux-gpib/linux-gpib-code/linux-gpib/language/python# python
Python 2.7.3 (default, Mar 18 2014, 05:13:23) [GCC 4.6.3] on linux2 Type "help", "copyright", "credits" or "license" for more information.
>>> import Gpib
>>> inst = Gpib.Gpib(0,17) # Device address 17
>>> inst.write("*IDN?")
>>> inst.read(100) # read 100 bytes
'KEITHLEY INSTRUMENTS INC.,MODEL 2002,1167961,A09  /A02  \n'
>>>
Hope this article help to link your free Raspberry Pi with industry standard GPIB intruments. No need big bulky computer with Windows tied to it anymore!

I had this article hosted on own site as well, in case you want check latest version
Top Comments
-

Former Member
-
Cancel
-
Vote Up
0
Vote Down
-
-
Sign in to reply
-
More
-
Cancel
-

tin_xdevs
in reply to Former Member
-
Cancel
-
Vote Up
0
Vote Down
-
-
Sign in to reply
-
More
-
Cancel
-

Former Member
in reply to tin_xdevs
-
Cancel
-
Vote Up
+1
Vote Down
-
-
Sign in to reply
-
More
-
Cancel
-

Former Member
in reply to Former Member
-
Cancel
-
Vote Up
+1
Vote Down
-
-
Sign in to reply
-
More
-
Cancel
-

tin_xdevs
in reply to Former Member
-
Cancel
-
Vote Up
0
Vote Down
-
-
Sign in to reply
-
More
-
Cancel
-

khanalb
in reply to Former Member
-
Cancel
-
Vote Up
0
Vote Down
-
-
Sign in to reply
-
More
-
Cancel
Comment-

khanalb
in reply to Former Member
-
Cancel
-
Vote Up
0
Vote Down
-
-
Sign in to reply
-
More
-
Cancel
Children