


Hi,
So this is my third post in this series of reviewing TI Connected Launchpad. You can find my first two posts here and here. I hope those posts were useful to you. In the second post, I showed you how to setup Energia for Connected launchpad in Ubuntu 14.04( both 32b & 64b ). In this post, we will be setting up the official TI IDE - Code Composer Studio(CCS) - in Ubuntu 14.04 machine.
For those who are not aware of CCS, quoting from TI's ccs webpage :
Code Composer Studio is an integrated development environment (IDE) that supports TI's Microcontroller and Embedded Processors portfolio. Code Composer Studio comprises a suite of tools used to develop and debug embedded applications. It includes an optimizing C/C++ compiler, source code editor, project build environment, debugger, profiler, and many other features. The intuitive IDE provides a single user interface taking you through each step of the application development flow. Familiar tools and interfaces allow users to get started faster than ever before. Code Composer Studio combines the advantages of the Eclipse software framework with advanced embedded debug capabilities from TI resulting in a compelling feature-rich development environment for embedded developers.
In this post, we will be setting up the latest version( v6 ) of CCS. This post is heavily influenced by this wiki. The wiki instructions are incomplete and I have added the extra steps I did to make the CCS up and running. The setup is just a three step procedure.
1. Download CCS from ti.com
2. Install the dependencies in linux system
3. Install CCS in linux system.
1. Download CCS from ti.com
You can find the downloads section at Download CCS - Texas Instruments Wiki. Before downloading, you have to fill out a software request form. Once that request is approved, you will presented with the download link. It may take some time to complete the approval process. But for me, it happened instantly. Additionally, they will send you a email link for download upon the complete of approval proccess.
The file name you downloading will be like "CCS6.x.x.xxxxx_linux.tar.gz".
2. Install the dependencies
This is the most confusing step, especially for the 64bit guys. Since only 32bit releases are available, the 64bit machines must install the 32bit application support libraries. I admit that I still don't know the correct list of required dependencies. But even in the CCS wiki, the list is incomplete. What I will do here is to list the steps I did to get CCS working. You can use the following commands to install the dependencies.
sudo apt-get install libc6-i386 libx11-6:i386
sudo apt-get install libc6-i386 libasound2:i386 libjpeg62:i386 libatk1.0-0:i386 libcairo2:i386 libdbus-1-3:i386 libdbus-glib-1-2:i386 libfontconfig1:i386 libfreetype6:i386 libgconf-2-4:i386 libgdk-pixbuf2.0-0:i386 libgtk2.0-0:i386 libice6:i386 lib32ncurses5 liborbit2:i386 libpango-1.0-0:i386 libpangocairo-1.0-0:i386 libpangoft2-1.0-0:i386 libpng12-0:i386 libsm6:i386 lib32stdc++6 libusb-0.1-4:i386 libx11-6:i386 libxext6:i386 libxi6:i386 libxrender1:i386 libxt6:i386 libxtst6:i386 lib32z1 libgnomevfs2-0:i386 libcanberra-gtk-module:i386
These are the dependencies listed in CCS wiki. But if you proceed with this alone, you may be able to install and open CCS. Even you can build your software, but once you try to download( or debug ) it to your target, you will get these errors.
CORTEX_M4_0: GEL
Output: Memory Map Initialization Complete
CORTEX_M4_0: Error connecting to the target: Frequency is out of range.
CORTEX_M4_0: Error connecting to the target: Frequency is out of range.
These errors means that we don't have the right USB drivers/supporting libs yet( What a cryptic error, huh? ). To eliminate these errors, you have to install the following dependencies too.
sudo apt-get install libusb-1.0-0 libusb-1.0-0:i386 libusb-1.0-0-dev libusb-1.0-0-dev:i386
sudo apt-get install libcups2:i386 libgtk-3-0:i386 libncurses5:i386 libudev1:i386 libstdc++6:i386 libgnomeui-0:i386 libusb-1.0-0-dev:i386
sudo apt-get install gtk2-engines-murrine:i386
First line will install the required USB libs. Second line will install the additional 32bit application support libraries. Third line will fix the cluttered UI.
3. Install CCS
First we have to unpack the downloaded archive to some convenient place. In terminal, go to the folder to where you have downloaded the tar.gz archive.
>> cd <folder_containing_CCS6.x.x.xxxxx_linux.tar.gz>
>> tar xvfz CCS6.x.x.xxxxx_linux.tar.gz
>> chmod +x CCS6.x.x.xxxxx_linux.tar.gz
>> cd CCS6.x.x.xxxxx_linux
>> chmod +x ccs_setup_6.x.x.xxxxx.bin
>> sudo ./ccs_setup_6.x.x.xxxxx.bin
This following windows will appear in order. Mostly you can leave the options as default or as shown in these screen shots.
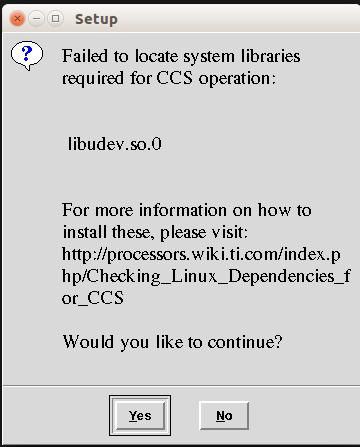
Fig 1 : This warning is a known problem. You cam proceed with an 'Yes' as it won't create problems.

Fig 2 : Here you have to click the accept option.

Fig 3 : Here you have to set the path to which CCS should be installed. Leave the path as default.

Fig 4 : Here you have to select the components to install. Make sure that the components I selected in the
screenshot is selectedin your window also.If you want additionalcomponents, you can select tham too.
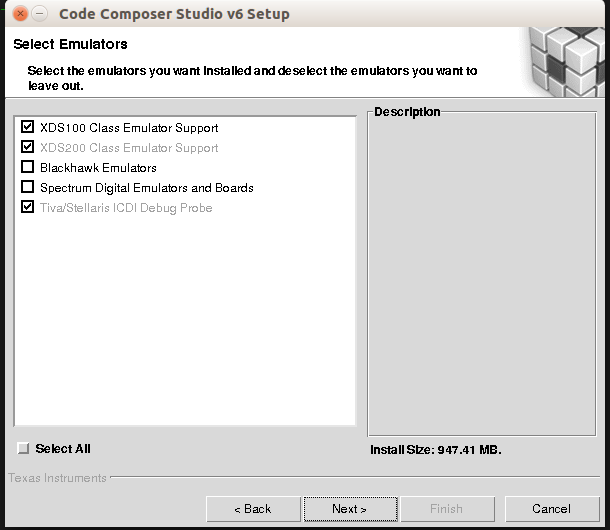
Fig 5 : Selecting Emulators. Default will be fine.

Fig 6 : If you wish to install the additional components to be downloaded from web, you can select them.
For now we will leave it unselected.
You can click finish button and CCS will start installing. It may take a few minutes. Once installation is finished, it will show a concluding window. Click OK and proceed.
In my ubuntu machine, it didn't created any menu item. So we have to use the command line to start CCS. Or alternatively you can use 'alacarte' to make a menu entry, logout, login and you will have CCS listed in your Unity menu.
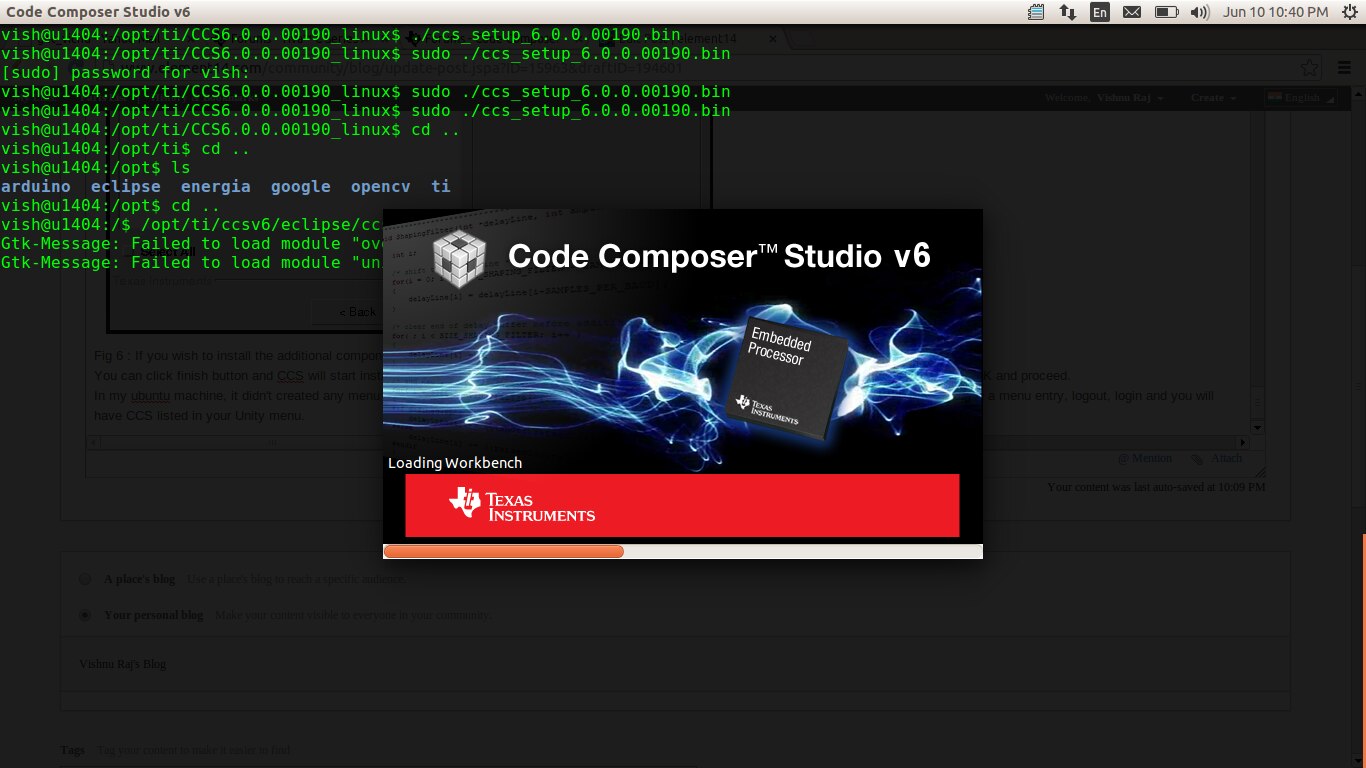
Fig 7 : CCS starting up.
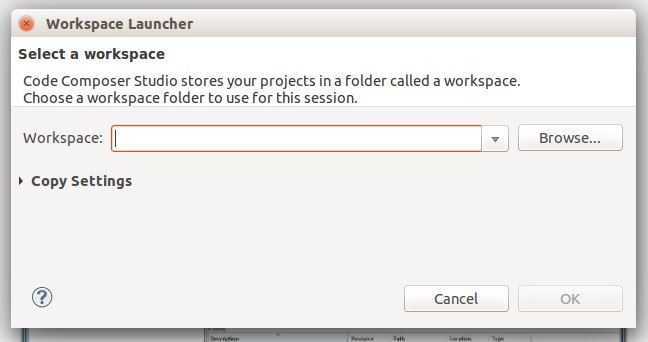
Fig 8: Set your workspace. For those who don't know the concept of workspace, default will be fine.
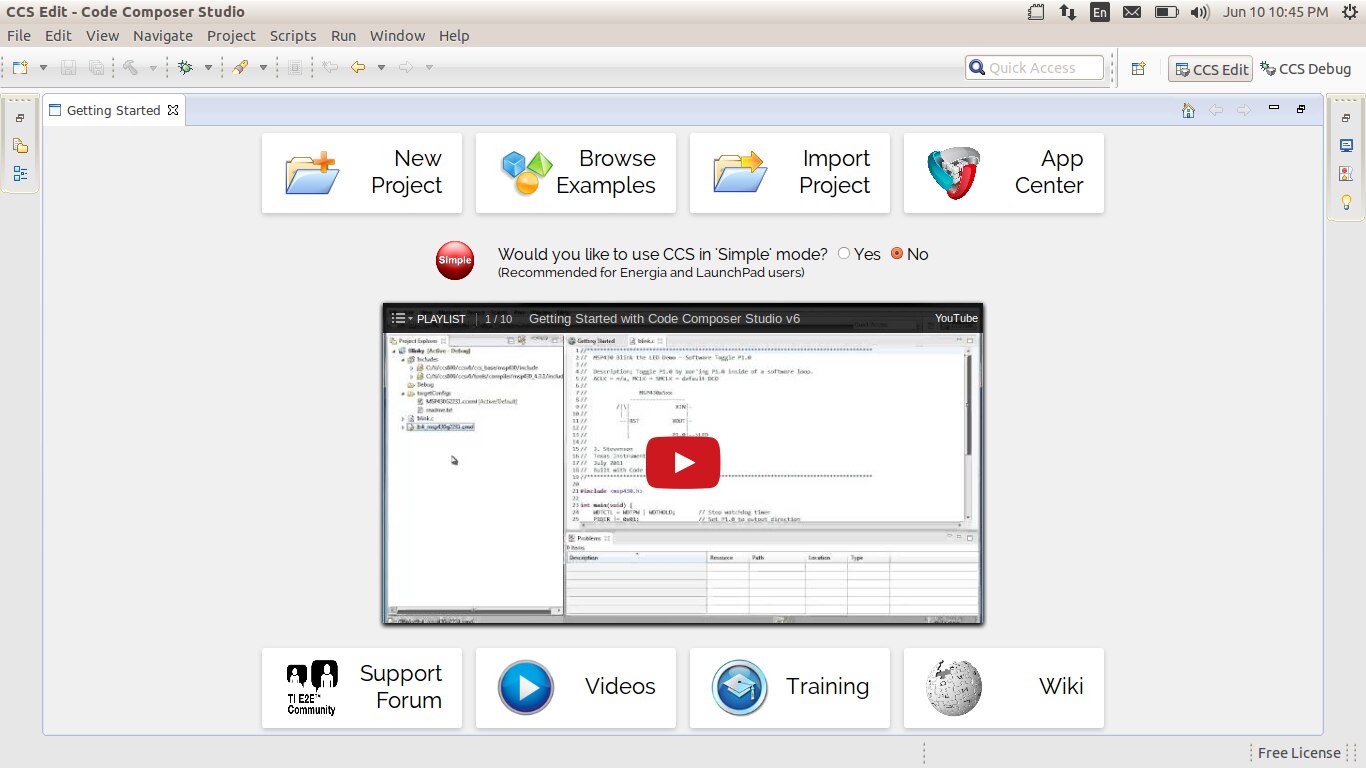
Fig 9 : CCS welcome screen.
So we are finished. By following these steps, you would be able to install CCSv6 in Ubuntu 14.04. Although not tested, these steps will be equally applicable for debian, Linux Mint and Elementary distros too.
Happy coding,
vish
Top Comments