


I have posted several of my organization projects in the past. Some of these projects have helped me to be more organized, but that hasn't stopped me from making a mess. Between my constant need to bring home more tools and my continuous stream of project, my workspace continues to get very disorganized. In yet another attempt to bring order to my workspace, I purchased two smallish tool racks.
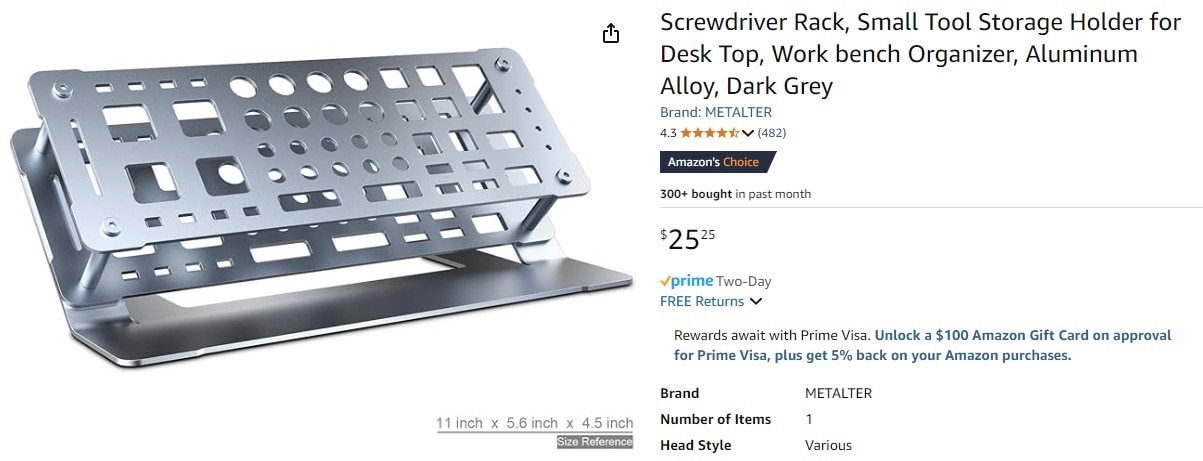
I really liked the design, with a sloped top, allowing be to see all of the tools, while also allowing me a clearer view of the open slots/holes. I virtually any purchase, once I got it home, I immediately determined that it needs a few modifications. I intend to use these racks in two different locations, one at my solder station and the other near my 3D printer and my worktop computer.
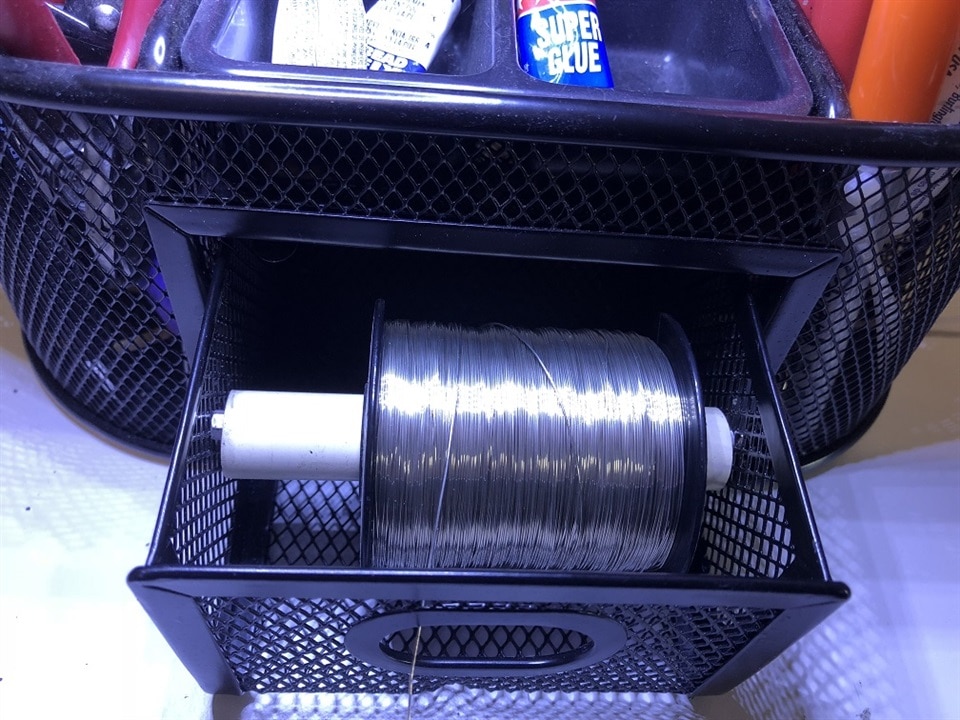
For the soldering station I had a need to mount a roll of solder as I was replacing a wire basket organizer that I turned into a spool holder. Here is an image of my prior solder holder:
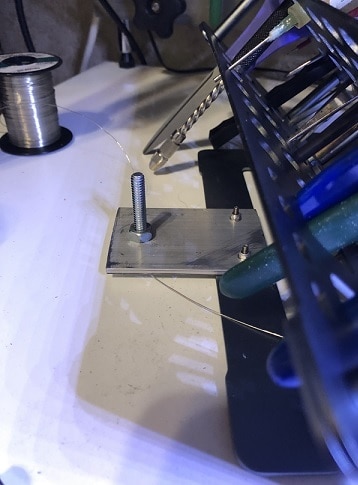
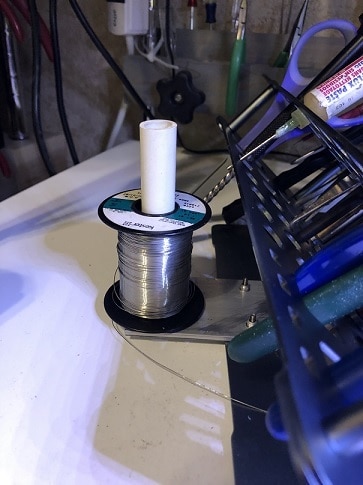
My idea was to mount the solder spool behind the rack, with the solder coming out just above the base of the holder. To do this, I used a 2" x 3" piece of 1/8" aluminum bar that I found in my shop. I drilled a 1/4" hole, centered and 1/2" from the back edge. This will be used to insert a 1/4" - 20 bolt for the solder spool. I also driller two small holes for 4-40 screws to attach the bracket to the tool rack base. Here is a picture of the bracket attached to the tool rack:
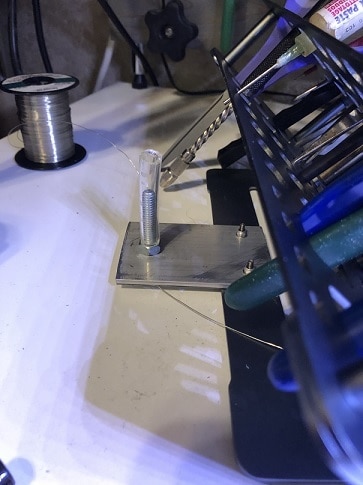
The 1/4" bolt is quite a bit smaller that the solder spool inside hole, so I added a piece of vinyl tubing and the CPVC pipe that I had used in the prior design.
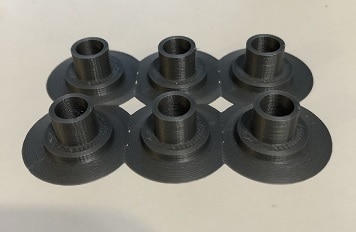
So far, so good. One of the issues that I have with my soldering station is how to store my numerous solder tips for my soldering iron. The irons tool cradle has holes for three tips, but I have a few more than that. The lower set of holes in the center of the rack are the perfect size for the solder tips, except with the upper and lower holes the same diameter, the tips just slide through the holder. I also notice this was an issue with some of my smaller tools, so I decided I needed a solution. I then decided to design some simple buttons that could be fitted into the holes. The buttons would have a top lip the was 0.1" in depth and 0.55" in diameter. The stem of the button would be 0.25", with a diameter of 0.34" (the size of the small rack holes), with an inside through hole of 0.25" diameter. This would allow the solder tips to rest inside the 0.25" through hole. Here are pictures of the buttons (printed six at a time) and the solder tips in the tool rack:
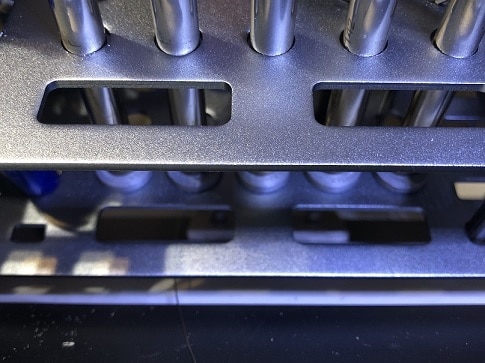
Note: the solder can be seen passing below the lower rack, just under the second tip from the left.
Here is the soldering station tool rack in place, ready to go:
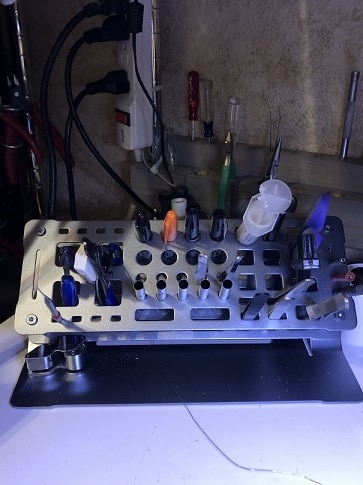
Note: The new tool rack sits in front of by wooden tool block (still in use) and alongside of a somewhat new metal peg board tool rack (not quite visible).
Now to my 3D printer tool rack. I came up with a few tools that I wanted near my 3D printer and my desk top computer, and these tools had some of the same issues and a few new ones. I have a few tiny screw drives that have blades shorter that the distance between the two racks. To address this problem, I decided to simply modify one of the existing buttons as opposed to designing another 3D part. To this end, I decided to cut a 3/4" length of 1/4" brass tubing that I could insert into the through hole on one of the buttons. I press the brass tubing into the top of the button, so that the tubing projects upward towards the upper rack by 1/2". Here are some pictures:
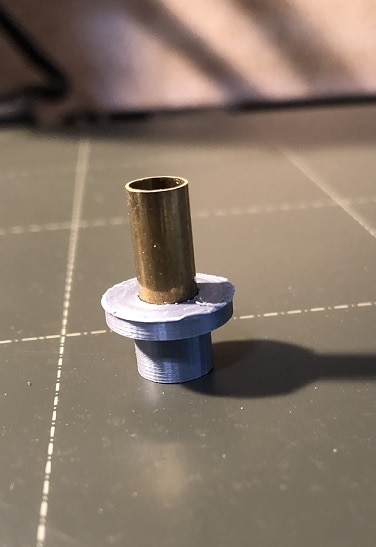

While playing around with the tool racks and the buttons, I noticed that I can also insert these into the small holes on the upper rack to hold tiny screwdrivers from slipping through the holes. I am sure that I will be able to find more uses for these buttons, but also some other 3D printed parts that will allow me to add more and more tools to the racks.
Thanks for reading along!


