


The Arduino Uno R4 WiFi has an ESP32 WiFi module on it, which includes Bluetooth (BLE).
When it was first released, the BLE part was not yet implemented, but you can upgrade the firmware on your Arduino Uno R4 WiFi board that enables it. Judging by the version number starting with 0.x, I'm guessing it's still in a beta/development mode.
Here is the URL that explains how to update it: https://forum.arduino.cc/t/radio-module-firmware-version-0-2-0-is-now-available/1147361
Note that the above is a blog post, so if you're reading this in the future, there will likely be a newer version, or you might already have it activated on your board.
After I updated the firmware and installed the beta version of the ArduinoBLE library, I read through and tried a few examples for the BLE functions, and then put together a small sketch.
My goal is to use the Arduino Uno R4 WiFi to control a little robot car platform that's been sitting unused in my office for far too many years already.
To that end, the sketch will be receiving some basic commands that I will ultimately use to control the car. It essentially matches the images I created for the LED matrix in a previous blog post - I'll eventually make it display the commands on that LED matrix as a way to verify what it's doing.
There are a couple of ways to use Bluetooth to communicate with an Arduino board. One common method is to just make it a serial connection and then send and receive commands via that serial interface. The other way is to set it up as a proper Bluetooth device and use characteristics to share information.
I decided to try the BLE device method. I'm not sure if there's any advantage to that or not, but there are enough examples so it's not really any more difficult to use.
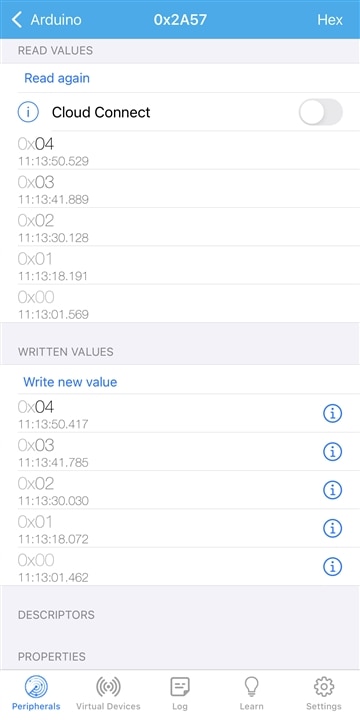
And of course, you'll need something on "the other side" of that BLE connection. Luckily, there's an app for that. The examples recommended LightBlue for iOS, so I used that to get started. I'll probably write a little control app for it eventually, unless I can find an app that's already done that work for me.
And here is the result after testing:
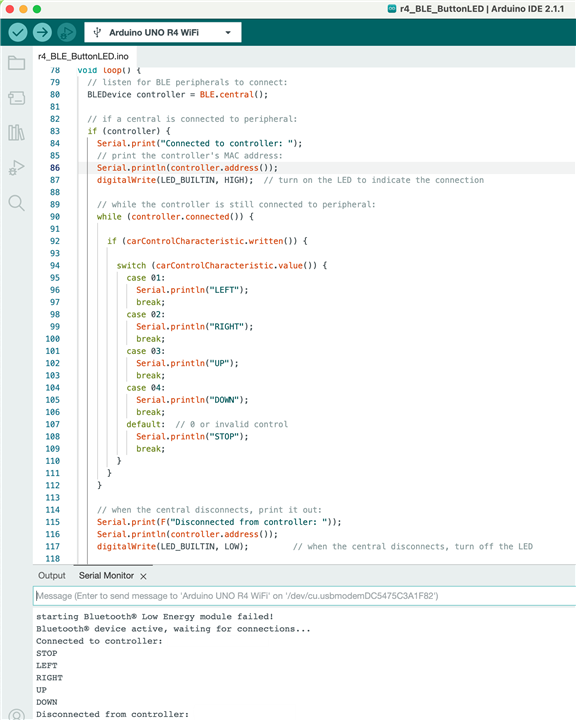
Haha, oops - that "failed!" message above was while I testing the rapid blinking of the LED that indicates failure. It never actually failed at all during real use.
In the app I basically just sent the numbers 00 through 04, using that little "write new value" link.
You can then press on the entry it creates to send it again so you don't always need to re-type the numbers.
Here is the Arduino source file, if you want to try it out:
For a full list of arduino products visit one of our online stores.