element14 Community
element14 Community
    Register Log In
  • Site
  • Search
  • Log In Register
  • Community Hub
    Community Hub
    • What's New on element14
    • Feedback and Support
    • Benefits of Membership
    • Personal Blogs
    • Members Area
    • Achievement Levels
  • Learn
    Learn
    • Ask an Expert
    • eBooks
    • element14 presents
    • Learning Center
    • Tech Spotlight
    • STEM Academy
    • Webinars, Training and Events
    • Learning Groups
  • Technologies
    Technologies
    • 3D Printing
    • FPGA
    • Industrial Automation
    • Internet of Things
    • Power & Energy
    • Sensors
    • Technology Groups
  • Challenges & Projects
    Challenges & Projects
    • Design Challenges
    • element14 presents Projects
    • Project14
    • Arduino Projects
    • Raspberry Pi Projects
    • Project Groups
  • Products
    Products
    • Arduino
    • Avnet Boards Community
    • Dev Tools
    • Manufacturers
    • Multicomp Pro
    • Product Groups
    • Raspberry Pi
    • RoadTests & Reviews
  • About Us
  • Store
    Store
    • Visit Your Store
    • Choose another store...
      • Europe
      •  Austria (German)
      •  Belgium (Dutch, French)
      •  Bulgaria (Bulgarian)
      •  Czech Republic (Czech)
      •  Denmark (Danish)
      •  Estonia (Estonian)
      •  Finland (Finnish)
      •  France (French)
      •  Germany (German)
      •  Hungary (Hungarian)
      •  Ireland
      •  Israel
      •  Italy (Italian)
      •  Latvia (Latvian)
      •  
      •  Lithuania (Lithuanian)
      •  Netherlands (Dutch)
      •  Norway (Norwegian)
      •  Poland (Polish)
      •  Portugal (Portuguese)
      •  Romania (Romanian)
      •  Russia (Russian)
      •  Slovakia (Slovak)
      •  Slovenia (Slovenian)
      •  Spain (Spanish)
      •  Sweden (Swedish)
      •  Switzerland(German, French)
      •  Turkey (Turkish)
      •  United Kingdom
      • Asia Pacific
      •  Australia
      •  China
      •  Hong Kong
      •  India
      •  Korea (Korean)
      •  Malaysia
      •  New Zealand
      •  Philippines
      •  Singapore
      •  Taiwan
      •  Thailand (Thai)
      • Americas
      •  Brazil (Portuguese)
      •  Canada
      •  Mexico (Spanish)
      •  United States
      Can't find the country/region you're looking for? Visit our export site or find a local distributor.
  • Translate
  • Profile
  • Settings
Personal Blogs
  • Community Hub
  • More
Personal Blogs
Ralph Yamamoto's Blog NXP Rapid IoT - MCUXpresso IDE
  • Blog
  • Documents
  • Mentions
  • Sub-Groups
  • Tags
  • More
  • Cancel
  • New
  • Share
  • More
  • Cancel
Group Actions
  • Group RSS
  • More
  • Cancel
Engagement
  • Author Author: ralphjy
  • Date Created: 5 Jan 2019 11:42 PM Date Created
  • Views 792 views
  • Likes 4 likes
  • Comments 3 comments
  • mcuxpresso
  • rapid iot kit
Related
Recommended

NXP Rapid IoT - MCUXpresso IDE

ralphjy
ralphjy
5 Jan 2019

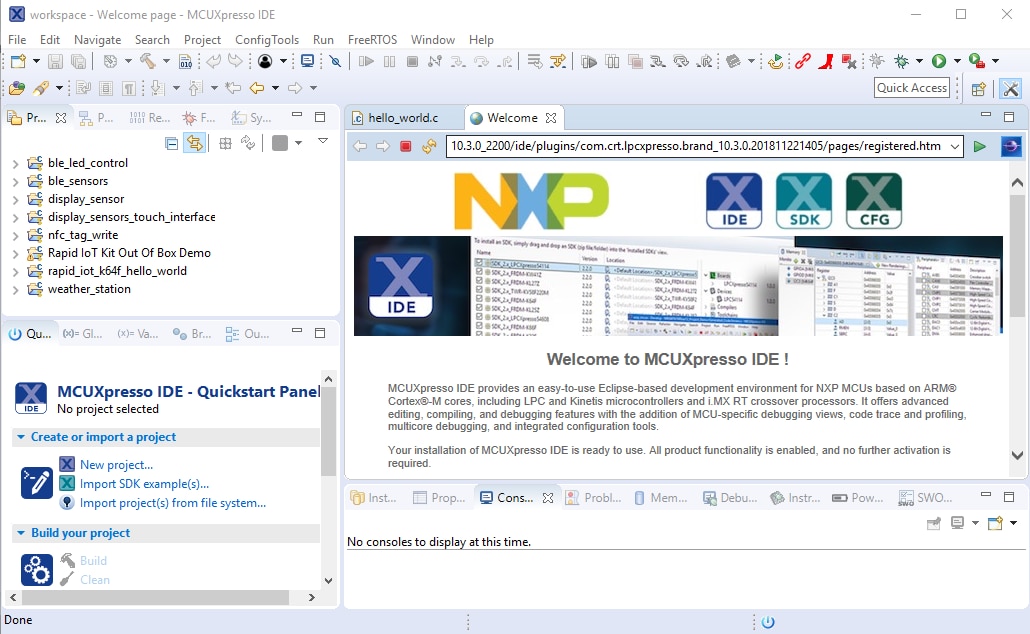
The MCUXpresso IDE is an Eclipse based development environment that offers more advanced editing, compiling and debugging of applications for the Rapid IoT device.

In this blog post I'm going to cover generating an example program using MCUXpresso.


You need to download and install two components:

1) MCUExpresso IDE  http://www.nxp.com/MCUXpresso

2) Rapid IoT SDK  http://www.nxp.com/rapid-iot


The Rapid IoT SDK actually contains two SDKs, one for each processor in the device.  You need to import both SDKs into the IDE (SDK...MKW41Z4 and SDK...MK64F12).


NXP has provided a set of examples programs for the Rapid IoT MCUXpresso setup on github - https://github.com/theophieleroy/rapid_iot_mcuxpresso_examples.


Use the Import project(s) from file system to load those examples into the IDE.

The following shows the example programs loaded in the IDE.

image


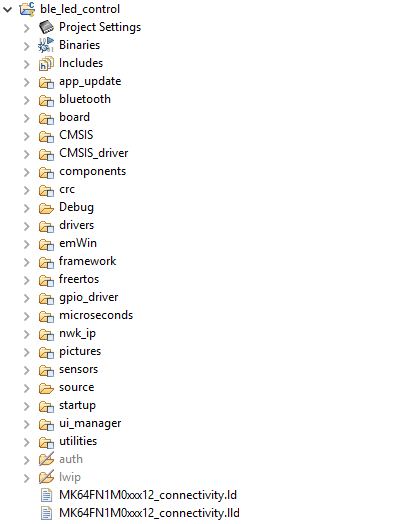
For my test of MCUXpresso I am going to use the ble_led_control example.  The project files are shown below.

image


The functionality is fairly straightforward.  The Rapid IoT is set up to pair with another BLE device.  In my case I am going to use my Android tablet (Nexus7).  The tablet needs to use the Nordic nRF mobile app which provides BLE scanning and connection capability.  Once the Rapid IoT is paired, the app can either read or write two bytes of data to/from it.  The first byte represents luminosity values from 00 to 03 and the second byte represents color from 00 to 03 (red,green.blue,white) of the RGB LED.


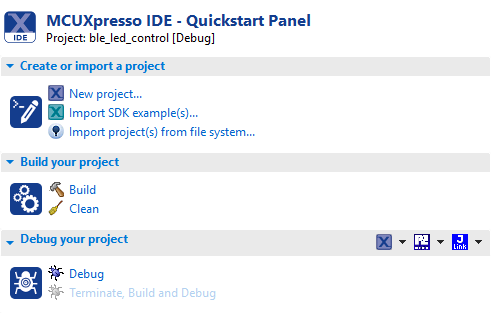
First step is to select the project and build it from the Quick Start Panel.

image


The result of the build is displayed in the Console Window.

image

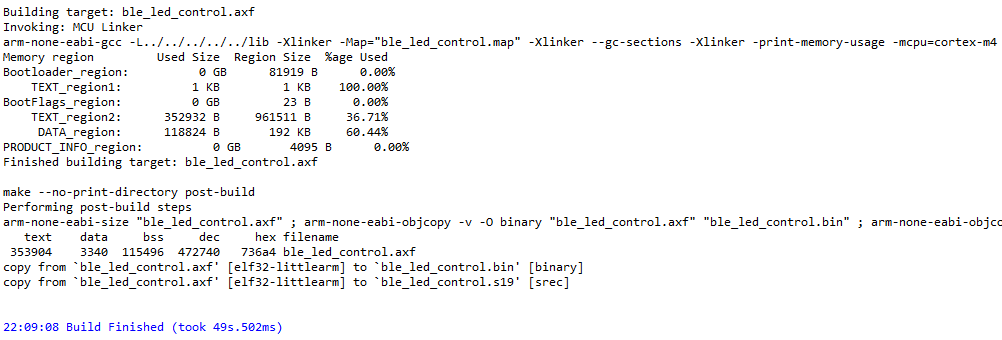
The final step is to connect the Rapid IoT to the computer in Mass Storage mode and copy the ble_led_control.bin file to it.


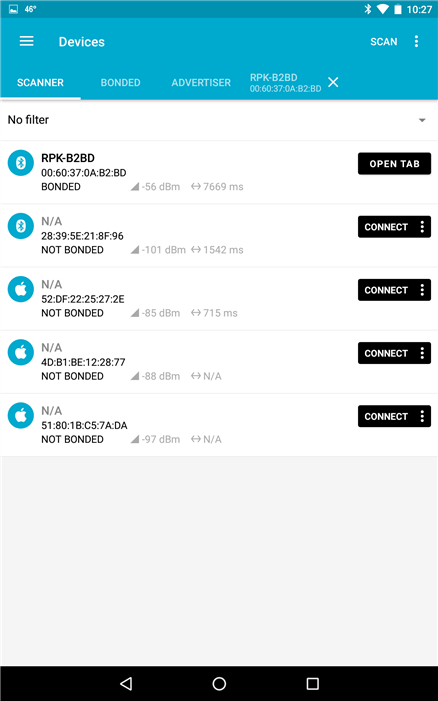
The following are screen captures from my Nexus7 tabletusing the nRF app after the ble_led_control program was successfully uploaded to the Rapid IoT.

Here is a result of the BLE scan after I successfully paired the Rapid IoT (RPK-B2BD).

image


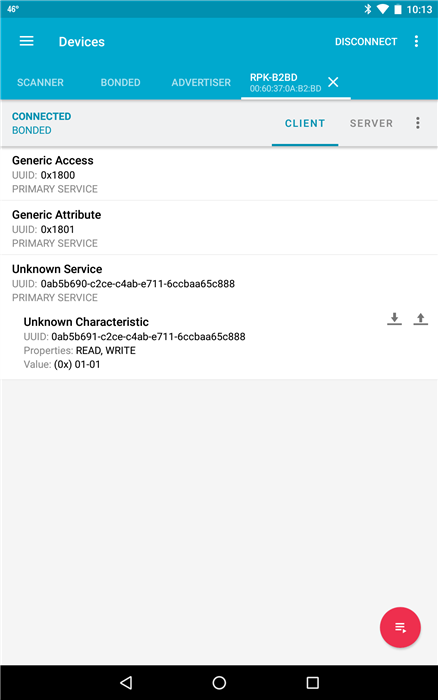
The client panel shows the RGB LED read/write service for the Rapid IoT.

image


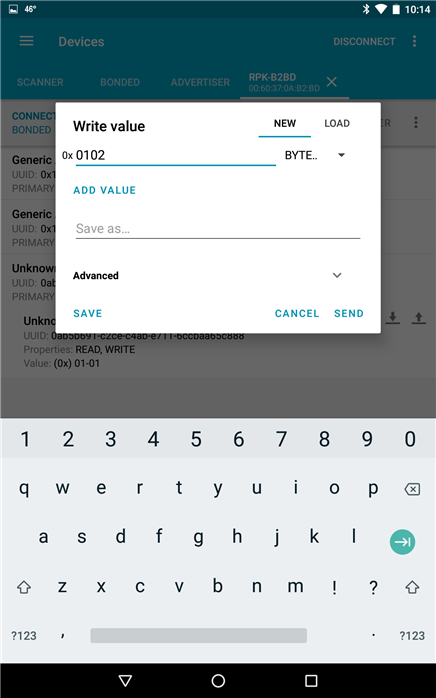
Opening the write panel allows values to be entered for the LED luminosity and color.

image


Here is a short video showing the LED color being changed from white to red to green to blue.

You don't have permission to edit metadata of this video.
Edit media
x
image
Upload Preview
image


Now that I've verified the operation of both the Rapid IoT Studio and MCUXpresso IDE, I can move on to developing my own applications.  The first program that I am going to attempt will be a web based interface using the Rapid IoT to external read and write NFC tags.

  • Sign in to reply
  • ralphjy
    ralphjy over 6 years ago in reply to Jan Cumps

    Yes, currently the bootloader is programmed to use the mass storage mechanism to load the firmware.  I'm pretty sure you could change that if you knew what you were doing and updated the bootloader or just programmed the flash memory directly. 


    Debugging requires additional hardware that I don't currently have.  The Rapid IoT was designed to be compatible with the Hexiwear IoT platform.  One way to add debug capability is to use the Rapid IoT with the Mikroelektronika Docking-station for the Hexiwear device (MIKROE-2094).  That will enable debug with the OpenSDA DAP-LINK application.  You do need to reprogram the firmware on the docking station for the Rapid IoT debug.  The docking station also provides sockets tor 3 Click boards.  I haven't bought a docking station yet.

    • Cancel
    • Vote Up 0 Vote Down
    • Sign in to reply
    • More
    • Cancel
  • Jan Cumps
    Jan Cumps over 6 years ago

    Do you have to use the mass storage mechanism to load the firmware? How does eclipse debugging work together with that?

    • Cancel
    • Vote Up 0 Vote Down
    • Sign in to reply
    • More
    • Cancel
  • DAB
    DAB over 6 years ago

    Nice start.


    DAB

    • Cancel
    • Vote Up 0 Vote Down
    • Sign in to reply
    • More
    • Cancel
element14 Community

element14 is the first online community specifically for engineers. Connect with your peers and get expert answers to your questions.

  • Members
  • Learn
  • Technologies
  • Challenges & Projects
  • Products
  • Store
  • About Us
  • Feedback & Support
  • FAQs
  • Terms of Use
  • Privacy Policy
  • Legal and Copyright Notices
  • Sitemap
  • Cookies

An Avnet Company © 2025 Premier Farnell Limited. All Rights Reserved.

Premier Farnell Ltd, registered in England and Wales (no 00876412), registered office: Farnell House, Forge Lane, Leeds LS12 2NE.

ICP 备案号 10220084.

Follow element14

  • X
  • Facebook
  • linkedin
  • YouTube