

An Open-Source platform to create digital devices and interactive objects that sense and control physical devices. | Arduino Tutorials | |
| Arduino Projects |
| {tabbedtable} Tab Label | Tab Content |
|---|---|
| Installing Arduino IDE | This is just a quick overview of what you need to do to get started with Arduino. I'm working from a Mac at the moment so I'll be installing the Mac version.
The procedure for Mac is the same as for Linux.
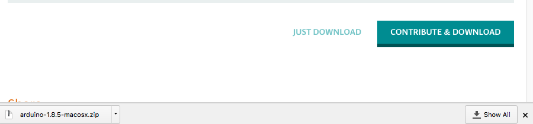
You can download the Arduino IDE here:
https://www.arduino.cc/en/Main/Software
and find older releases here:
https://www.arduino.cc/en/Main/OldSoftwareReleases
Unzip the folder and place it in your Applications folder:
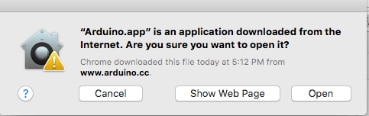
Launch Arduino.app in the Applications folder and you should see this:
Hit Open when you see this popup:
when it's done you should see the editor and a toolbar at the top of the screen.
Your editor will now look like this:
|
| Blinking an LED |
If you are learning Arduino for the first time you can grab what are known as sketches. Sketches give you the code you need to put something into the editor to make your Arduino do something useful.
Coding is something you learn from simply doing. To help you get started along your journey there are included sketches including a sketch that blinks the built-in LED on an Arduino Uno.
You'll now have a sketch which you can use to program the microcontroller on your Arduino to blink the built-in LED pin:
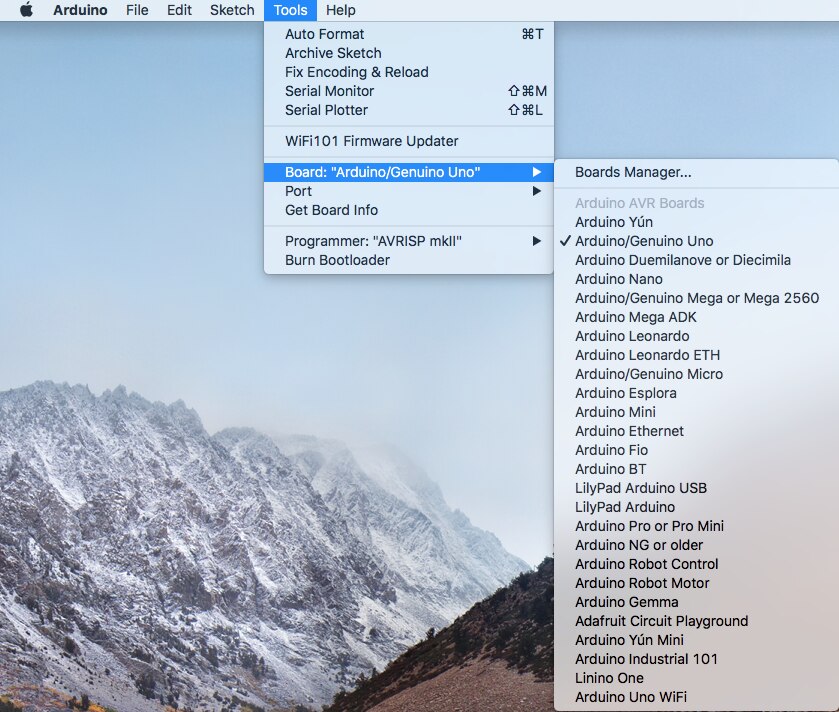
Under the Tools -> Board ensure that you have the right board selected (this example is using the Uno)
I'll need to connect my Arduino to the serial port of the my Arduino.
Arduino uses an A B usb cable which is something you see with printers and some older harddrives.
I do not feel like looking around for a A B usb cable so I just unplug A B cable connecting my printer to my computer.
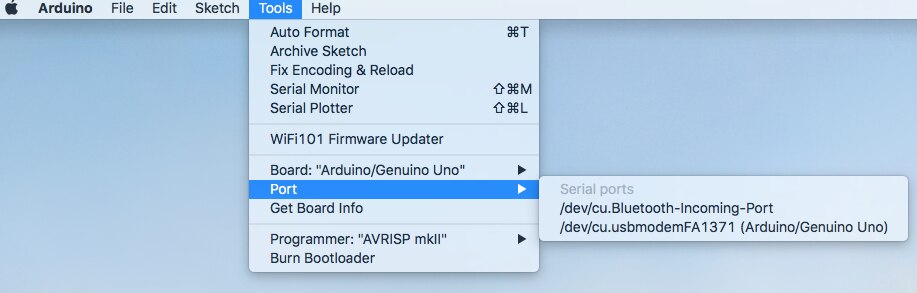
Tell the board what port your board is connected to Tools -> Serial Port
On Linux and Mac this looks like /dev/tty.usbmodem* or /dev/tty.usbserial* where * is the a string of alphanumerical characters.
This is what mine looks like:
(My board appears to have shipped with a blinking LED program already loaded in. I don't want that, I want to show that I can blink my own LED so before I do upload the blinking LED sketch, I upload the Bare Minimum sketch.)
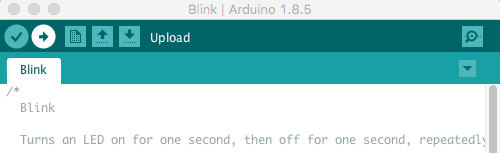
I go back to the Blink LED Sketch at the top and I'm ready to upload my first Arduino program.
To upload the program I click on the arrow next to the check mark (they really do make this as simple as possible):
I click on the button and look at the bottom of the IDE screen to see if its working:
You can watch the progress bar on the bottom of the IDE to watch as your sketch compiles and uploads to the microcontroller.
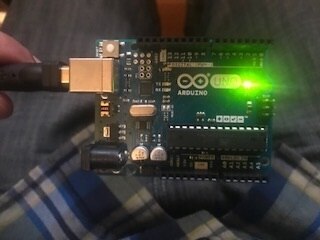
Once completed, the yellow LED on your Arduino will blink once per second.
This is how mine looked:
Reading the Code:
|
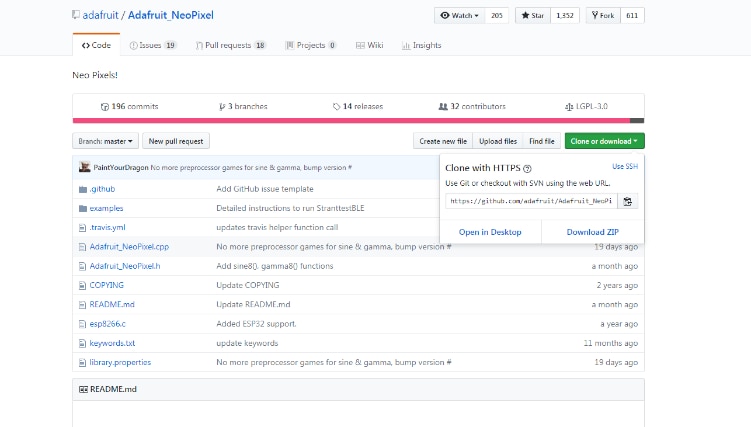
| Getting to Github Libraries | As you get more involved with Arduino you are going to want to interface your board with a chip or a sensor.
For this kind of thing, Github is your friend.
May Arduino libraries are available on Github, thanks its the embrace of the Open Source Community.
Be sure to download the full zip file:
In this example the file is name Adafruit_NeoPixel-master.zip.
Use an unzipping program to unizip the folder.
remove master and any spaces, underscores, or dashes between the text so that it looks like this:
AdafruitNeoPixel
Under Sketches -> Import Library -> Add Library
That's it! Your Library is now available for you to use! |


View Jeremy Blum's element14 exclusive Arduino Tutorial on installing Arduino IDE and blinking LED:
In 2011, Jeremy Blum produced a series of element14 tutorials. In this tutorial, Jeremy goes over installing Arduino IDE in Windows and Blinking an LED. |
sudo Sergeant shows you how to Ditch the Arduino IDE for Terminal:
