


So, I wanted to try out the Arduino IoT Cloud. I present to you this little project of a data logger and will also show you the steps to follow along to get started with Arduino IoT Cloud.
First of all Arduino is having free upgrade for 3 months to their maker plan/ With that plan you can create lot many things and connect lot many boards at same time. If you want upgrade now,
In this simple getting started post, we will be controlling the onboard led on Arduino MKR 1010 Board from the Arduino IoT Cloud.
So lets get started:
- Setting up an account
- Adding a board
-
Creating a small LED Control Property
- Now make a new property as this one for simple control of an LED
- Now click on Edit Sketch
- You will see the online code editor open
- Click on the secrets tab and add your WiFi SSID And password
- Then go to main sketch and add these lines here:
- Then click on upload
- Let it wait for some time as the code complies and flashes the board.
- Then click on serial monitor to view:
- You will see the updates being printed.
- Now go back to IoT Cloud, and click on dashboard
- Now you can control the LED (i.e. the built in LED) on the Arduino Board
- Working Explained
- Demonstration
Setting up an account
Create an account
Open create.arduino.cc
Click on Sign In
If you have an account then login with your credintials or signup

Enter your details (for Signup)

Verify your email address

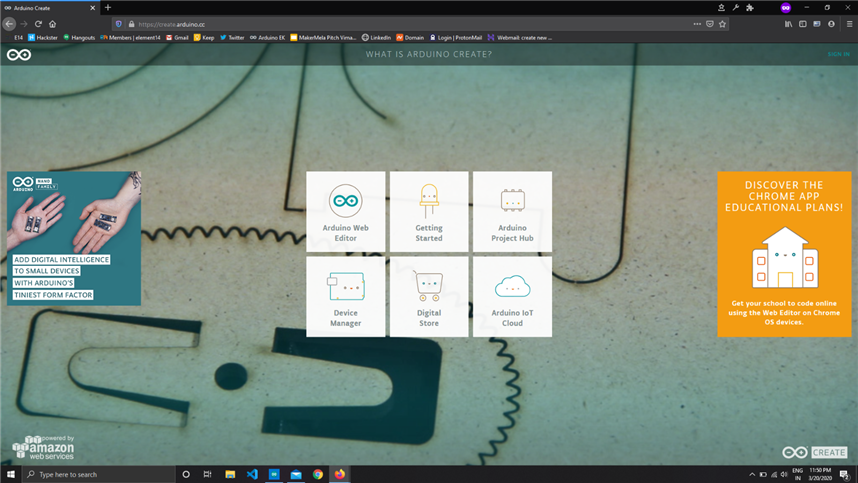
Now after logging in, Click on Arduino IoT Cloud

You can also choose several plans

I would suggest to go with free for experimentation
After you open IoT Cloud you will see this.
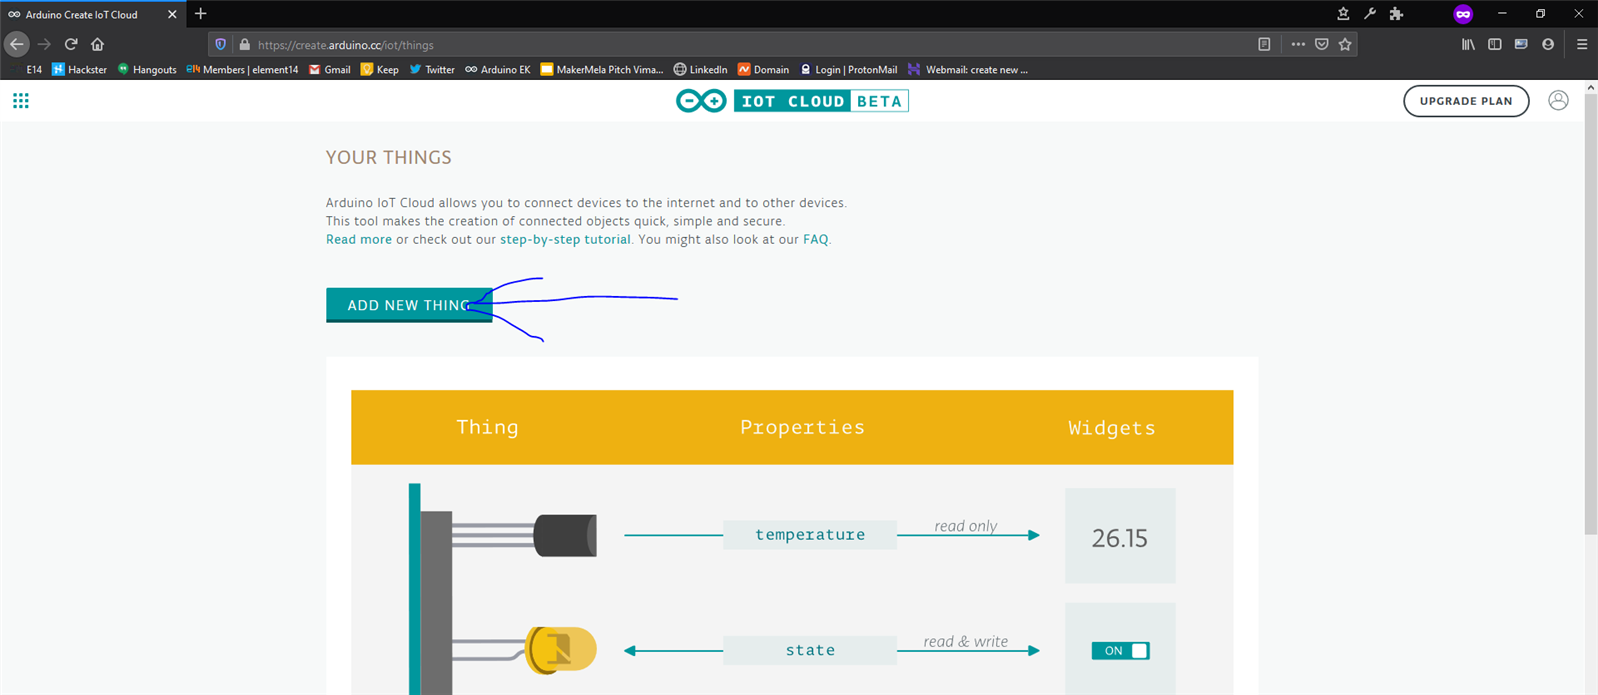
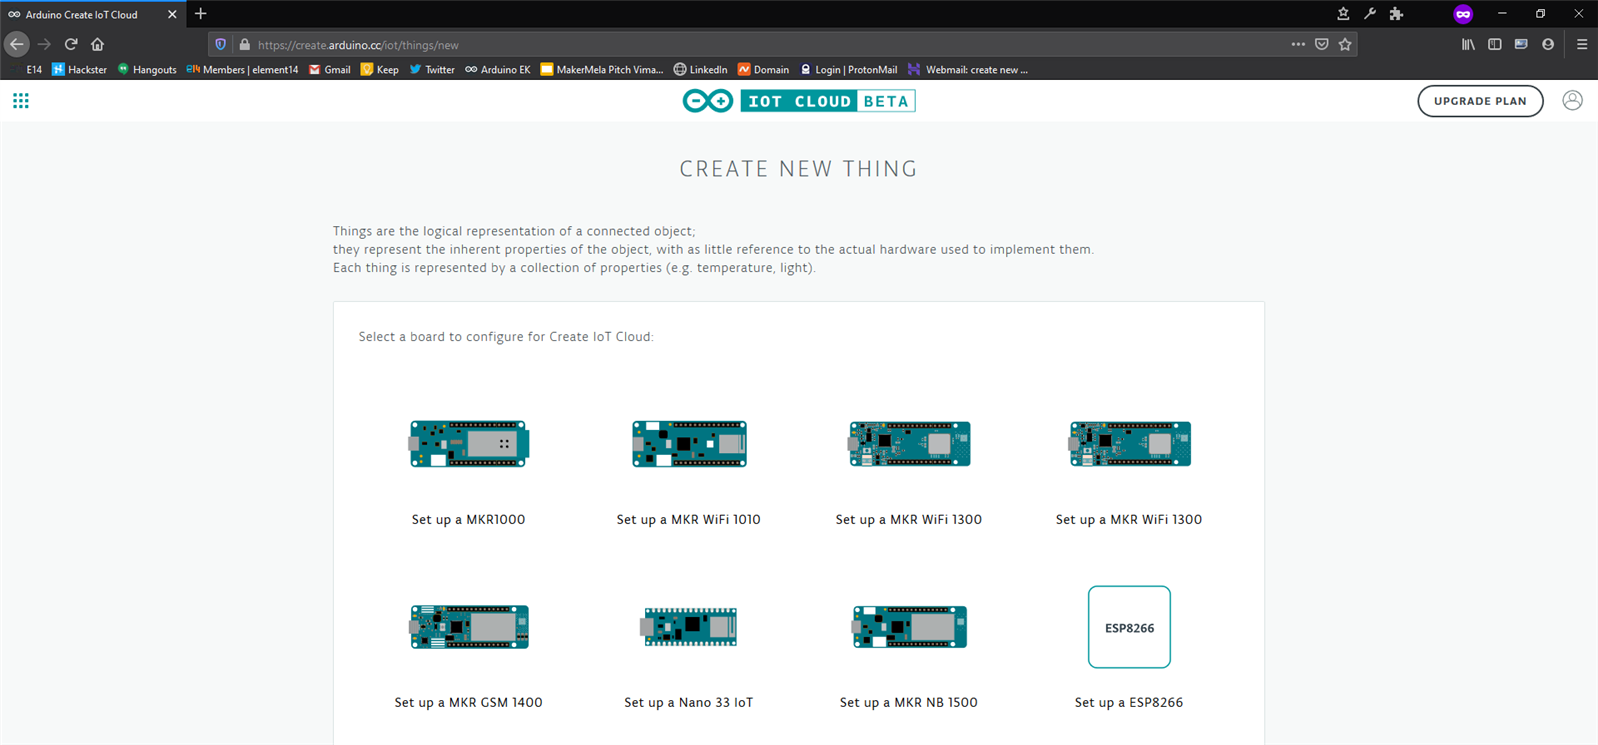
Adding a board
Click on add new thing
You can select any of the available boards that you have. I have MKR 1010 so I choose that.
Then connect your board to your computer via USB Cable
<pictures>
Follow the steps shown
I would highly recommend using the Cloud Editor for which you need a lightweight Arduino Create Plugin. With that you will not need to install libraries, boards, etc.
See the video for the configuration process, assuming the Create Plugin is installed.
Creating a small LED Control Property
Now make a new property as this one for simple control of an LED

Now click on Edit Sketch

You will see the online code editor open

Click on the secrets tab and add your WiFi SSID And password

Then go to main sketch and add these lines here:

void onLEDControlChange() {
  // Do something

 digitalWrite(LED_BUILTIN,lEDControl);
}
You can see my sketch here:
https://create.arduino.cc/editor/e14_vimarsh/99754137-0692-4327-9df1-d42014531f23/preview
Then click on upload

Let it wait for some time as the code complies and flashes the board.

Then click on serial monitor to view:

You will see the updates being printed.

Now go back to IoT Cloud, and click on dashboard

Now you can control the LED (i.e. the built in LED) on the Arduino Board

Working Explained
Demonstration