


In my last post, we examined Eclipse, the IDE included in the Android Development Tools bundle. We learned how to configure the RIoTBoard to make it appear as an Android device in Eclipse, and we're now ready to write our Hello World! application. (If you missed the first installation of this series, you can find it here.)
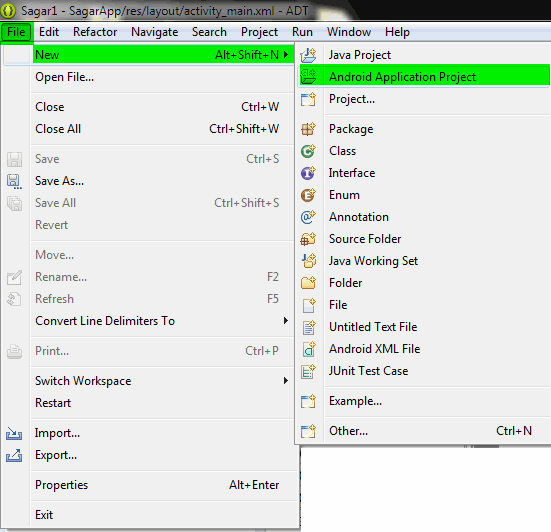
Go to the File menu on the Eclipse toolbar and hunt down to Android Application Project:
You're going to be asked to name your application, project, and package. The most important thing to note here is that whatever you enter for your application name is how users will ultimately see it in the Google Play Store. For now, I'm going to keep it simple and make some variations on the phrase "Hello, World!" This is also where you specify which versions of Android you want your application to work with. Even though few people are running Android 2.2 (known as Froyo, or Frozen Yogurt), I'm going to choose that as my minimum required SDK just to show how Android lets you get really specific about compatibility. I'm also going to choose API 18, or Android 4.3 as my Target and Compile With options:
<html><head><title>Jive SBS</title></head>
<body><font face="arial,helvetica,sans-serif">
<b>Error</b><br><font size="-1">
An general error occurred while processing your request.
</font></font></body></html>
On the next screen that appears, make sure the following boxes are selected:
<html><head><title>Jive SBS</title></head>
<body><font face="arial,helvetica,sans-serif">
<b>Error</b><br><font size="-1">
An general error occurred while processing your request.
</font></font></body></html>
(Place your project in whatever directory you plan to use to hold your app work.)
Next we get to choose or make an icon which users will click to launch our app. You can either choose some text to build a small button graphic, or you can use an image. I'm going to use one of the stock Android app icons for now:
<html><head><title>Jive SBS</title></head>
<body><font face="arial,helvetica,sans-serif">
<b>Error</b><br><font size="-1">
An general error occurred while processing your request.
</font></font></body></html>
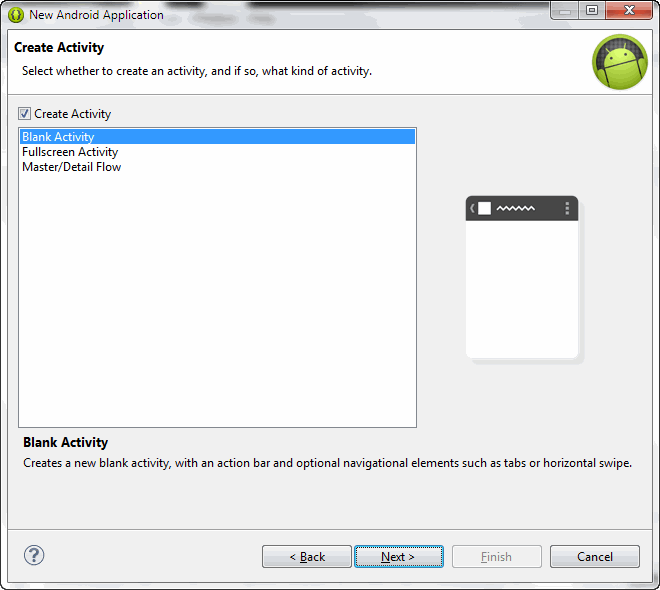
The Create Activity window appears. Make sure the checkbox is selected, and keep the default selection of Blank Activity for now:
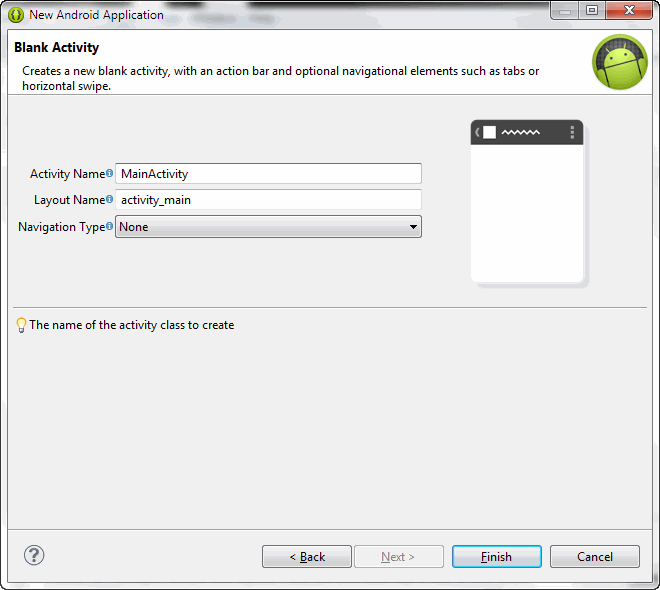
On the next (and final) window, use the default names provided, and select None for Navigation Type:
With this, the setup wizard should end and place you into a new Android project in Eclipse:
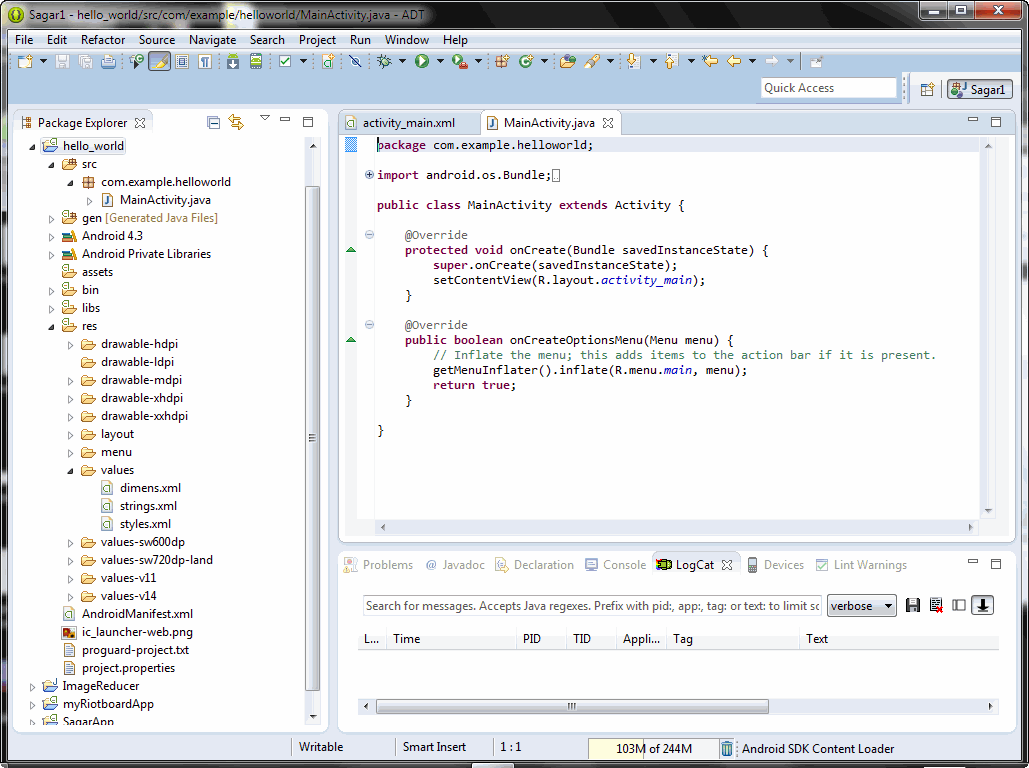
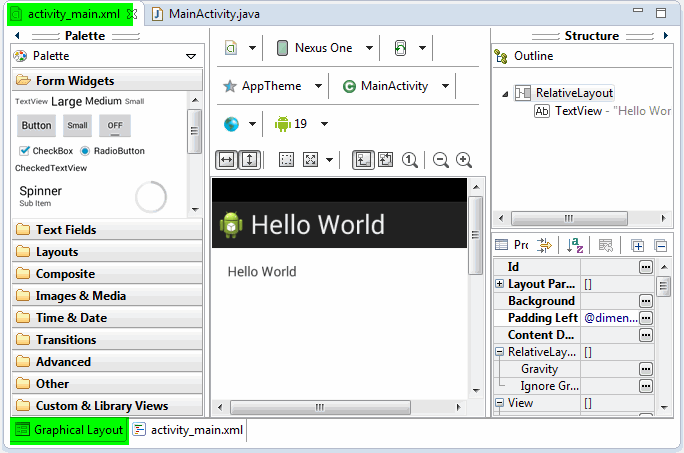
Everything we need to create our application is right here on this screen. By default, ADT pops you to the MainActivity.java window, but that's not where we want to be. Click on the tab next to it called activity_main.xml. Once there, click on the bottom tab to switch to its Graphical Layout:
You can always switch to the xml tab if you prefer to edit this way. I prefer using the graphical layout editor when making a lot of changes.
The first thing we notice is that this starter app already displays the text Hello World. Google tries to make it easy for us newbie app developers!  Click on the words Hello World in the Graphical Layout window, it switches to the activity_main.xml tab and highlights the block of code called TextView:
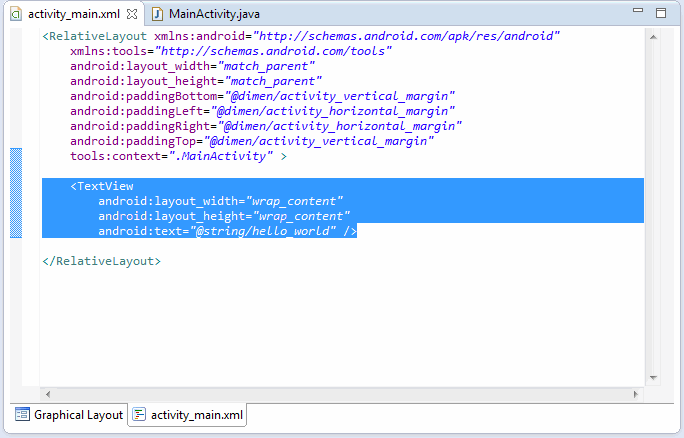
Although it looks like we should be able to simply edit this text to produce the desired changes, this is simply a named pointer to another file which holds the text we need to edit. (Don't believe me? Try changing the "hello_world" part of the line above, then click back over to your Graphical Layout tab to see what happens.) The file we need to edit is called strings.xml, and it is located in the res/values directory:

Double-click on this to bring it up in our main viewing area, then click the strings.xml tab on the bottom:
<html><head><title>Jive SBS</title></head>
<body><font face="arial,helvetica,sans-serif">
<b>Error</b><br><font size="-1">
An general error occurred while processing your request.
</font></font></body></html>
Here we have independent controls for setting the large text name at the top of our app as well as the smaller text which appears in the body. For instance, I'm going to make mine slightly different from each other:
<html><head><title>Jive SBS</title></head>
<body><font face="arial,helvetica,sans-serif">
<b>Error</b><br><font size="-1">
An general error occurred while processing your request.
</font></font></body></html>
We click back over to the activity_main.xml tab and then into its Graphical Layout tab to see... no changes:

What's the deal? Only saved changes get reflected in the Graphical Layout view. The little asterisk next to the strings.xml tab shows us that there is unsaved work we need to commit:

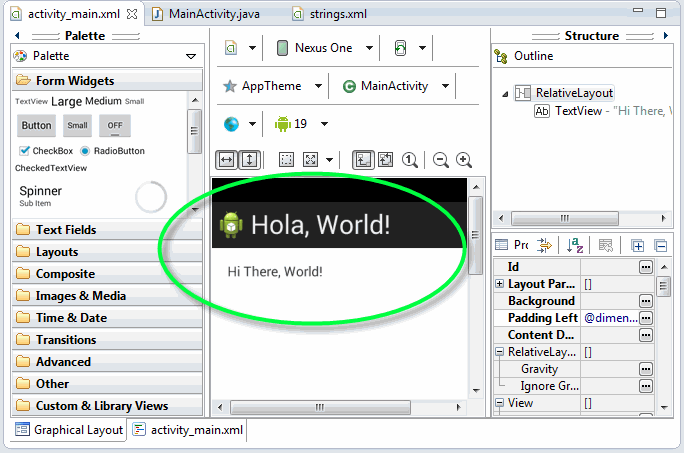
Select Save from the File menu, or hit Control+S on Windows, and the asterisk will disappear. The Graphical Layout tab should also reflect the changes we made:
It's time to 'port our app over to the RIoTBoard. Make sure the RIoTBoard is displayed in your Devices tab:
<html><head><title>Jive SBS</title></head>
<body><font face="arial,helvetica,sans-serif">
<b>Error</b><br><font size="-1">
An general error occurred while processing your request.
</font></font></body></html>
(If you need a refresher on how to make it appear there, check out my last blog on setting the RIoTBoard up.)
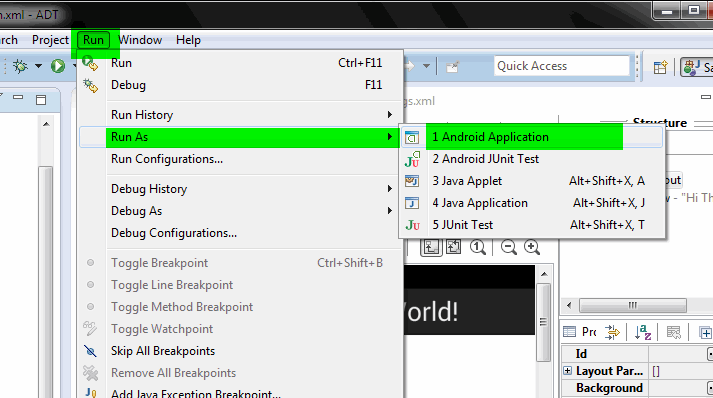
Select the following choices from the Run menu:
Eclipse should then prompt you to confirm that you wish to transfer your app to the RIoTBoard:
<html><head><title>Jive SBS</title></head>
<body><font face="arial,helvetica,sans-serif">
<b>Error</b><br><font size="-1">
An general error occurred while processing your request.
</font></font></body></html>
Select your RIoTBoard, then click OK. Your app will transfer via USB to the RIoTBoard. Look over at your RIoTBoard monitor and you should see this:
<html><head><title>Jive SBS</title></head>
<body><font face="arial,helvetica,sans-serif">
<b>Error</b><br><font size="-1">
An general error occurred while processing your request.
</font></font></body></html>
By default, Android devices launch your new app right after they transfer over. Close down the app on the RIoTBoard by clicking the Back arrow and you should see it listed right there along with all your other apps:
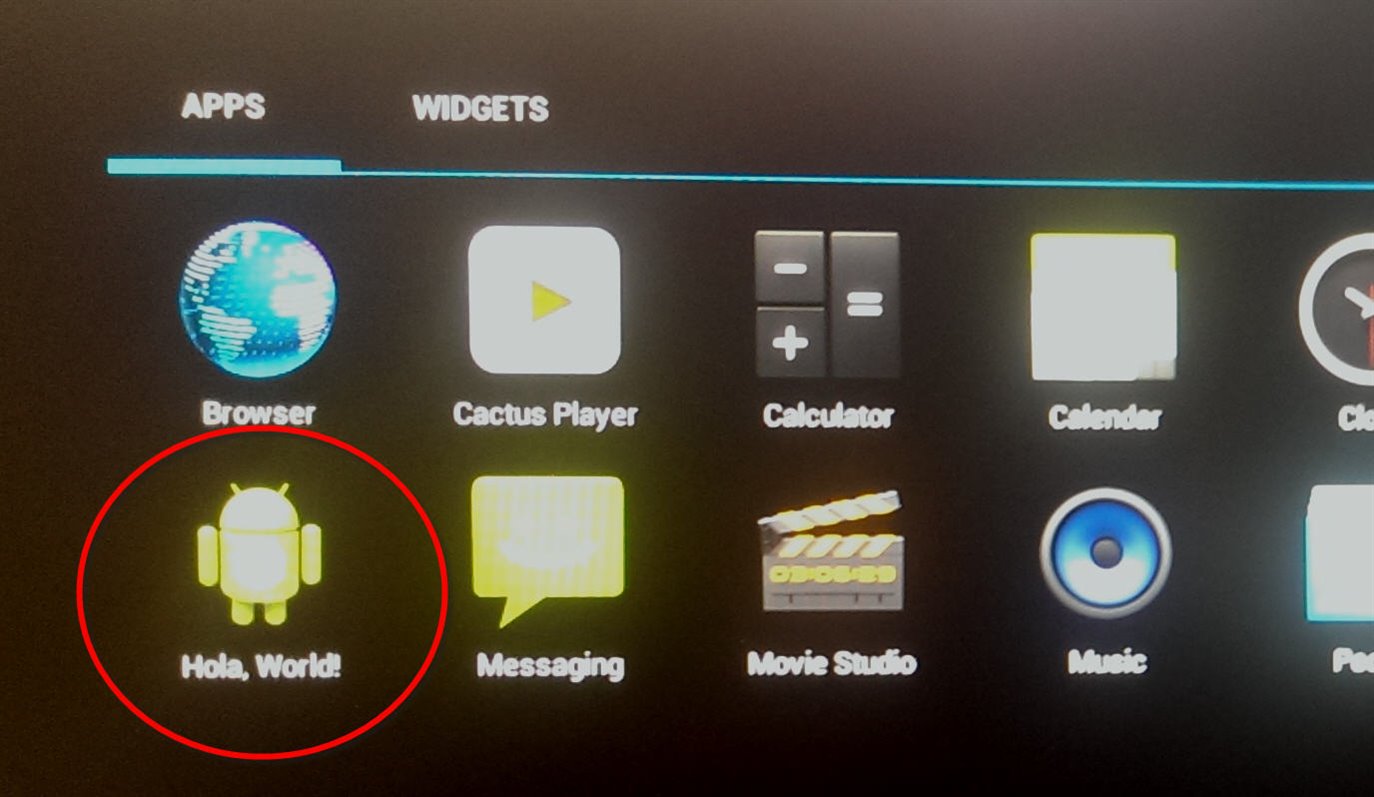
Success! You have now written, modified, and transferred your first Android app to the RIoTBoard. While our app may not win any prizes for originality, we've covered the basic steps involved in writing any app for the Android operating system. You can build on this rudimentary tutorial by checking out Lawrence Angrave's amazing-- and free --online class, "Creative, Serious, and Playful Science of Android Apps" on Coursera. Many of the ideas I shared in this blog series come right from Lawrence's work.
The RIoTBoard is the perfect device for testing Android apps without needing to use a memory-intensive, performance-degrading software emulator. Have fun exploring the world of Android app development, and be sure to come back to element14 to let us know how you're getting along!

Top Comments