Recently we built a Plex Media Server using the Raspberry Pi 2, at the time the Raspberry Pi 2 was the most powerful board in the Raspberry Pi range. But on February 29th 2016 the Raspberry Pi Foundation announced their latest board, the Raspberry Pi 3.
Photo Credit - Raspberry Pi Foundation
Technical Specifications
- Broadcom Quad Core 64bit CPU 1.2GHz (BCM2837 SoC)
- Broadcom BCM43438 WIFI and Bluetooth connectivity
- 1GB RAM
- VideoCore IV GPU and 3D now clocked at 400MHz and 300MHz respectively.
Raspberry Pi 3 Improvements
The new Raspberry Pi 3 is now 66% faster than the Raspberry Pi 2 and is approximately 10X faster than the original Raspberry Pi. The CPU of the Raspberry Pi 3 is an ARM Cortex A53 clocked at 1.2GHz per core, giving us the most powerful Raspberry Pi ever!
So how can this help our media server project?
- Faster CPU, more CPU power enables our Raspberry Pi 3 to index our media library quicker.
- 64bit CPU, 32bit operating system. The new Pi 3 CPU is 64bit, and while the Raspbian operating system is still 32bit, the extra headroom is still utilised giving us a speed boost.
- Scaling CPU. The new Raspberry Pi 3 CPU can scale, enabling it to power down when not in use but spring into life when needed.
- WIFI. The built in WIFI of the Raspberry Pi 3 is really fast. Working to 'n' standard, we can send HD video from our Pi 3 to any device on the network...wirelessly!
So here is our guide to building a Plex media server using the Raspberry Pi 3.
For this project you will need
- A Raspberry Pi 3
- A laptop running Windows/Mac or Linux
- A minimum of 8GB SD card (Class 10 for best results)
- A minimum of a 2A power supply but for best results use a 2.5A power supply
- An Ethernet cable connected to a router.
- An external USB hard drive, preferably powered by an external power supply.
We start the project by installing the latest version of Raspbian on to an 8GB or greater SD card. It is vitally important that we use the latest version of Raspbian with the Raspberry Pi 3 as it has tweaks that enable the Pi 3 to really fly. The best tutorial on how to install Raspbian on an SD is provided by the Raspberry Pi Foundation and can be found on their blog
With Raspbian installed we now need to boot our Raspberry Pi. Insert the microSD into the Raspberry Pi, then attach any peripherals such as keyboard, mouse, HDMI, Ethernet to the Pi. Lastly attach the power cable to boot the Pi.
When your Pi has booted to the desktop, click on the menu to the top left of the screen and go to the Preferences menu. From there select the Raspberry Pi Configuration application.
In this application we need to change the boot behaviour so that the Pi boots to the terminal and is logged in. We’ll also change the memory for the GPU to only use 8MB of RAM
With these changes made, save and exit the application. You will be asked to reboot, do so before progressing.
With our Pi rebooted we now find ourselves at the terminal. It may seem a little scary at first but the terminal is the best way to work with a Linux computer.
Setup our software
Our next goal is to install the software necessary for our Pi.
First we update our list of available software and then upgrade the software. We will use an operator to join two commands together. The first command updates the list of software and if that completes successfully, then the last part of the sequence, a software upgrade is started and any suggested files are auto installed.
In the terminal type.
sudo apt-get update && sudo apt-get upgrade -y
Now we are going to upgrade the distribution, Raspbian, software. To ensure that our operating system is fully up to date. In the terminal type.
sudo apt-get update && sudo apt-get dist-upgrade
Once completed and the terminal is returned to you enter the next command to install the HTTPS transport package to enable access to HTTPS content over the Internet.
sudo apt-get install apt-transport-https -y --force-yes
Next we shall download a key that will authenticate our downloads to ensure they are safe
wget -O - https://dev2day.de/pms/dev2day-pms.gpg.key | sudo apt-key add -
With the key downloaded we now add a new repository to our list, this repository is provided by dev2day.de who has worked on the packages that will power our Plex install.
In the terminal type
echo "deb https://dev2day.de/pms/ jessie main" | sudo tee /etc/apt/sources.list.d/pms.list
We now update our list again, to ensure that we now have the latest updates for the Plex Media Server.
sudo apt-get update
Lastly we install the Plex Media Server software.
sudo apt-get install -t jessie plexmediaserver -y
The install will only take a few minutes and once completed the Plex Media Server will automatically start as a background service on your Pi.
At this point it is worth rebooting your Raspberry Pi 3 as proceeding without a reboot caused a bug when trying to configure the Plex server via the browser.
To reboot in the terminal type.
sudo reboot
Networking
With the Raspberry Pi 3 we saw the introduction of built in WIFI! Yes we no longer need USB dongles to connect. The WIFI chip on the Pi 3 is a BCM43438 which is rated up to Wireless N which gives us plenty of bandwidth to stream video over WIFI.
Connect to WIFI (Optional step, can be skipped if using Ethernet)
Connecting to WIFI from the terminal is rather easy, but looks rather scary!
Firstly we need to find out the name of our router, the SSID.
In a terminal type
sudo iwlist wlan0 scan
Look for the name of your router. It should look something like this, replace MY_ROUTER with the name of your router.
ESSID:"MY_ROUTER"
Next look through the text for your router and see if you can spot a line similar to this.
IE: IEEE 802.11i/WPA2 Version 1
So now we need to add our network details to a file called wpa-supplicant, in the terminal type.
sudo nano /etc/wpa_supplicant/wpa_supplicant.conf
In the text editor, navigate to the bottom of the text and add the following. Obviously change the ssid and psk to match the name of your router and the password you use to get online.
network={
  ssid="MY_ROUTER"
  psk="THE PASSWORD YOUUSE TO CONNECT TO THE ROUTER"
}
Save your work by pressing CTRL + O then press Enter. Next Press CTRL + X to exit the editor.
The changes should be automatic, but it is prudent to make sure by typing the next two lines one after another.
sudo ifdown wlan0
sudo ifup wlan0
You can check your IP address by typing
ifconfig wlan0
Your IP address should pop up for the interface wlan0, which is our WIFI card.
The best test to check that this works is to reboot your Raspberry Pi and see if it auto connects to the WIFI. To reboot type.
sudo reboot
Fix IP address of the Pi
To ensure that we can discover our Pi on a network we will now fix the IP address of the Pi.
First we need to find out the IP address, in the terminal type.
hostname -I
Write down your IP address!
Now let's fix the IP address, in the terminal type
sudo nano /boot/cmdline.txt
At the very end of the line we will add the IP address that we earlier wrote down. So type
ip=THE IP ADDRESS YOU WROTE DOWN
With the IP entered press CTRL + O, then Enter to save your changes.
Now press CTRL + X to close the file.
Now reboot your Pi to make the changes permanent.
sudo reboot
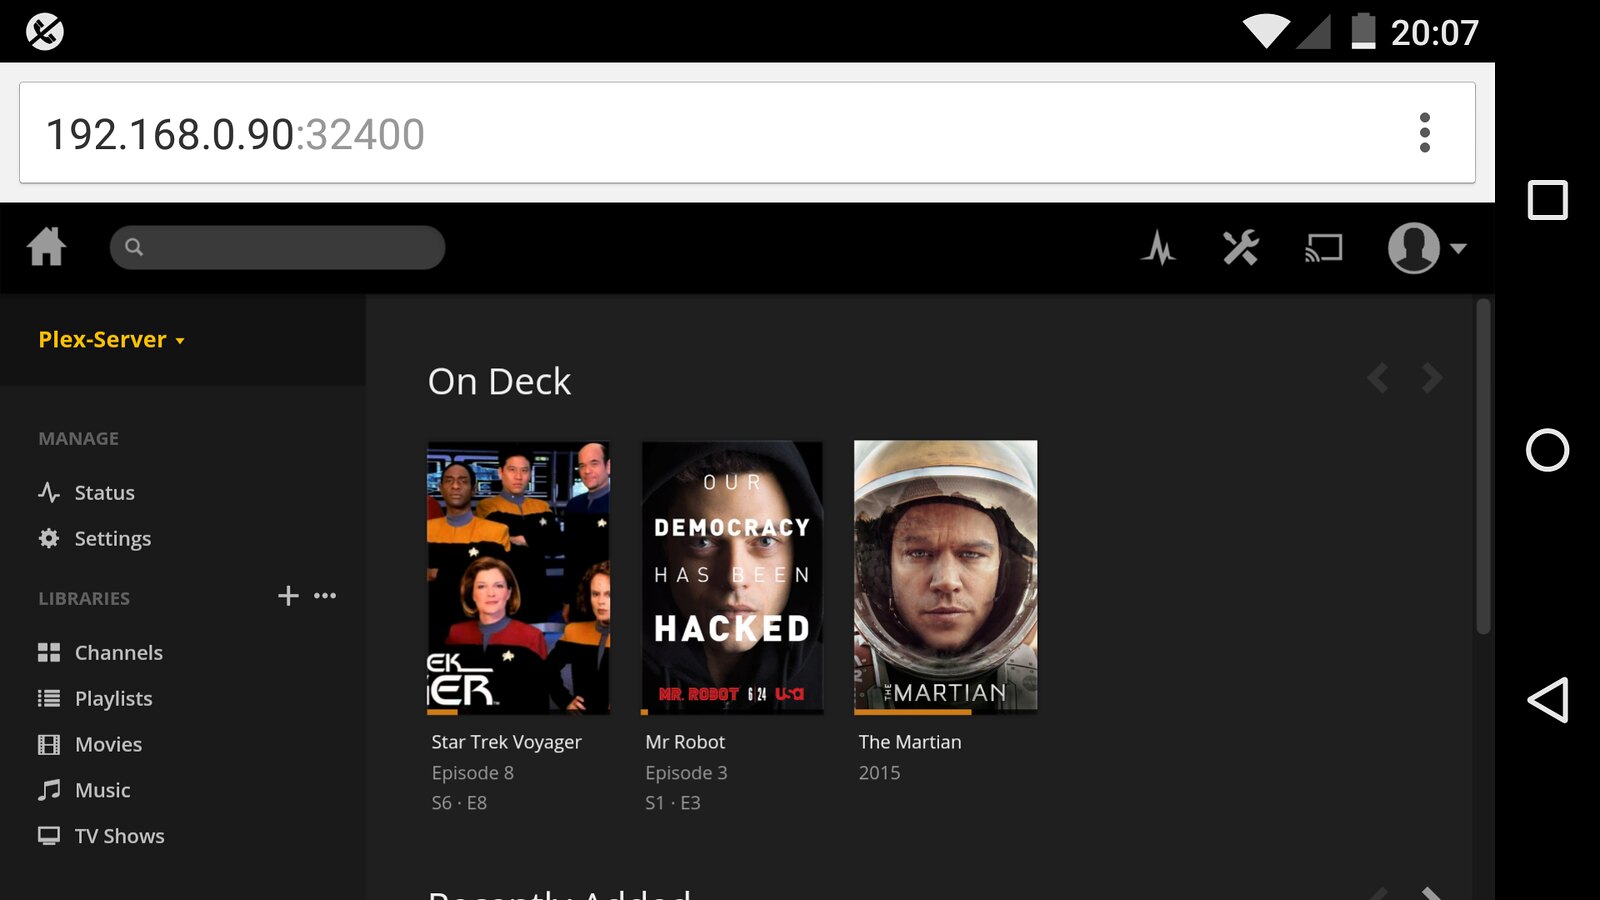
With your Pi rebooted we shall now test that we can access the Plex server. On your laptop or desktop PC open a web browser and type your IP address followed by :32400/web so for example I typed.
192.168.0.90:32400/web
This will now open the Plex Media Server software and we will need to read and accept the Terms and Conditions before progressing.
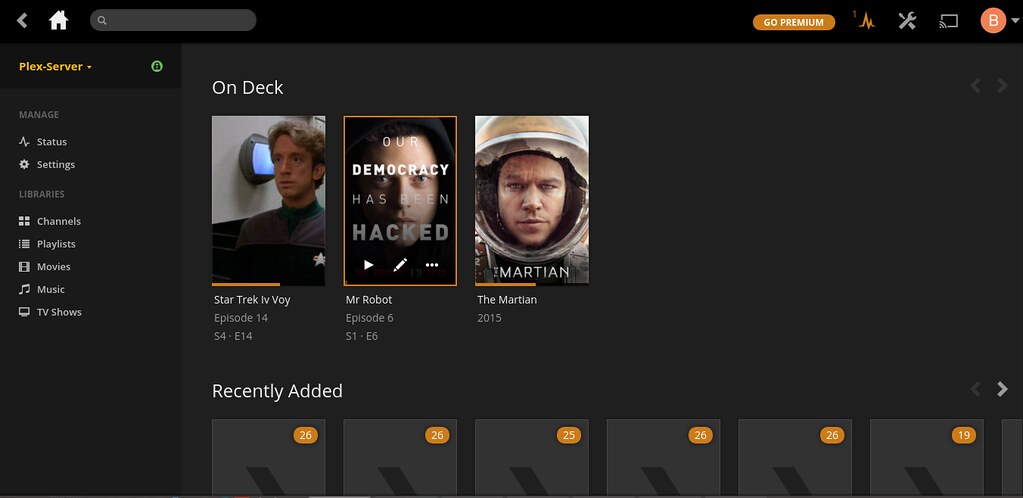
Once Plex has loaded take a few moments to get familiar with the interface. Specifically the libraries, which will house your media collection.
The SD card of our Raspberry Pi is rather small, so let's add an external hard drive and store our media there.
Plug in your USB drive. Nothing will happen in Plex until we mount the drive. In Linux, mounting a drive means that it is ready to be used. On your Raspberry Pi, in the terminal type
dmesg
You will see a lot of text whizz up the screen but keep a look out for your hard drive.
So now lets create somewhere to link our hard drive to the Raspberry Pi this will be a directory called “library”. In the terminal type
sudo mkdir /mnt/library
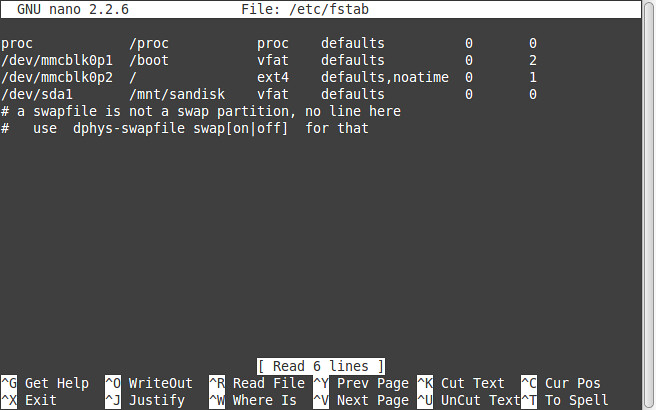
Now we shall open a text editor and add a line of code to mount the drive on boot. For our drive we used a FAT32 formatted drive. As this is the only USB drive it will be given the assignment “sda” and if the drive has one partition, where our data is stored, then it will be “1”. This gives us the location of our media which is “sda1”.
sudo nano /etc/fstab
So now we shall mount our drive, got to the last line which starts with a “/” and make a new line under it. Enter the following and try and keep your spacing similar to those above.
/dev/sda1 /mnt/library vfat defaults 0 0
To save your work press CTRL + O followed by Enter. Then to exit press CTRL + X.
Reboot your Raspberry Pi.
sudo reboot
Once the Pi has booted back up navigate to your content by typing.
cd /mnt/library
Now we need to see where our content is, so to find it type
ls
You should see lots of directories and files, just as you arranged them on your main computer.
Our next step involves enabling access to the files for any user. As our server will be in our home we shall enable access to all of the content for all of the users. Typically this is not the done thing for big servers in production but for our server this is fine. So to enable access we need to type
sudo chmod 777 -R /mnt/library
On a Raspberry Pi 2 this took a few minutes to complete, but thanks to the Pi 3 and its new processor this time is greatly reduced. But the time will vary depending on the amount of files in your library.
So now that we our drive ready to serve our media, let's start using it!
Back to our laptop/PC and open your web browser to your Plex Media Server.
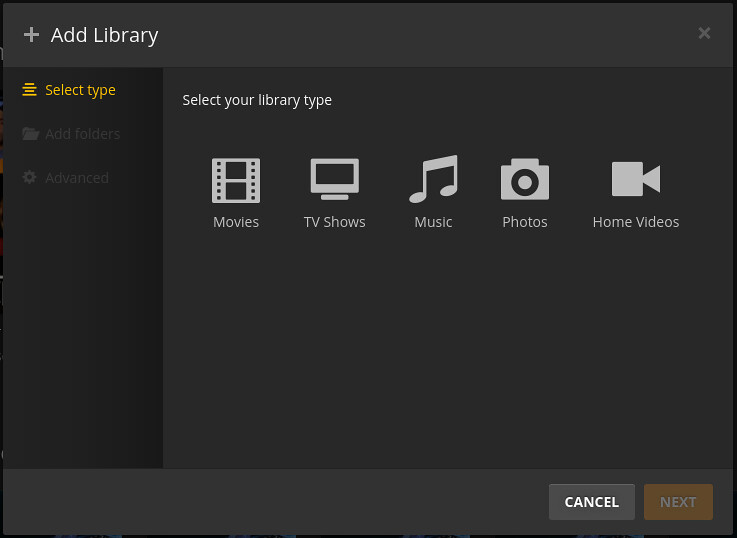
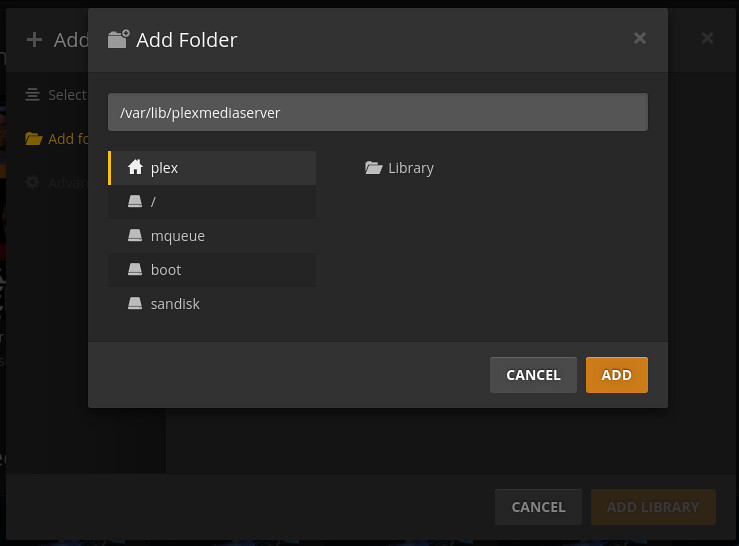
You will be prompted to add a library, so go ahead and do so. Now which library you add depends on what you have. I chose to add a couple of TV series. When ready click on “Add Library” to import the media.
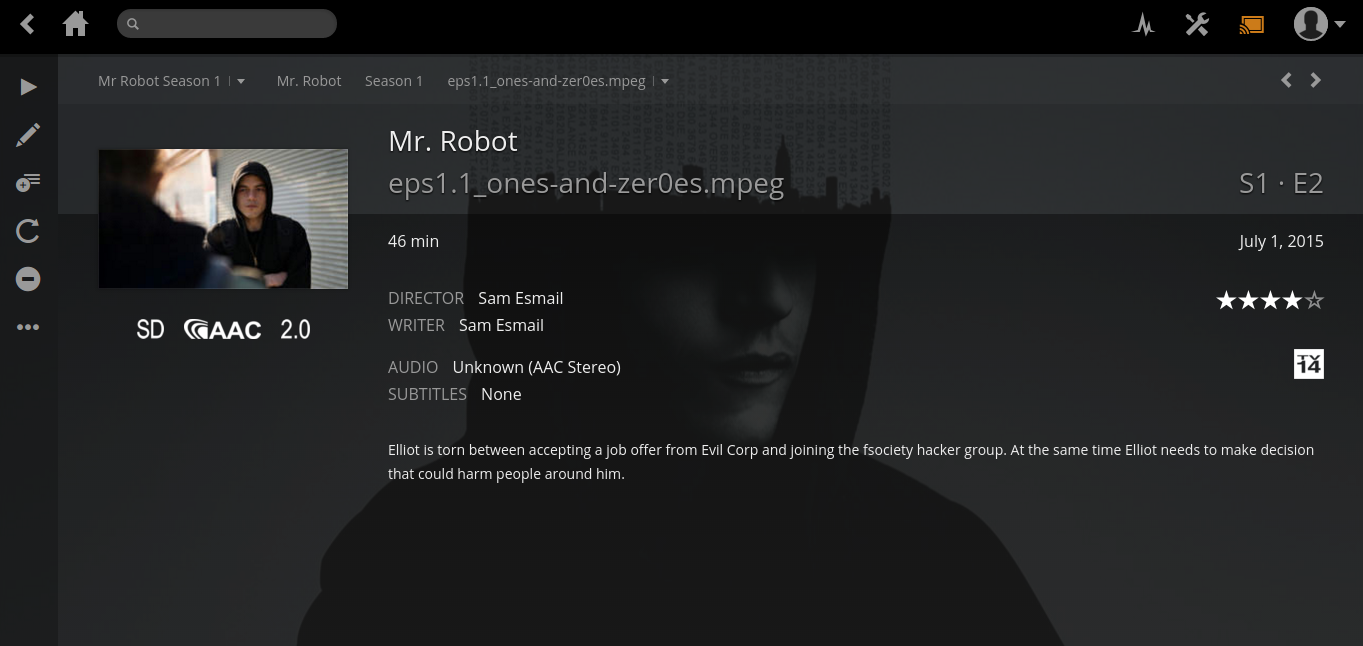
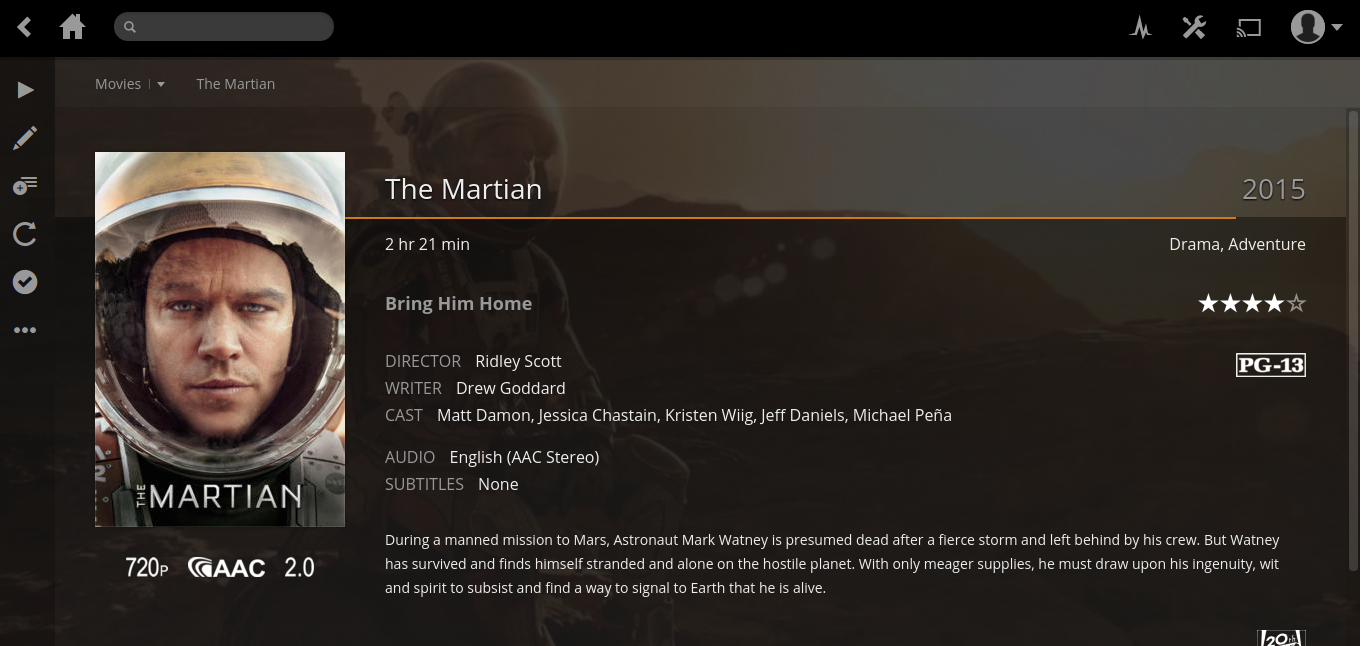
Depending on the amount of media that you have to import this process may take minutes or hours, so please be patient and wait for the process to finish. One thing we can confirm is that the Raspberry Pi 3 indexed our library in a significantly quicker time than the Pi 2.
When the media is imported, Plex will try its best to grab the metadata, the information about the content such as genre, IMDB data, actor details etc.
Music for all
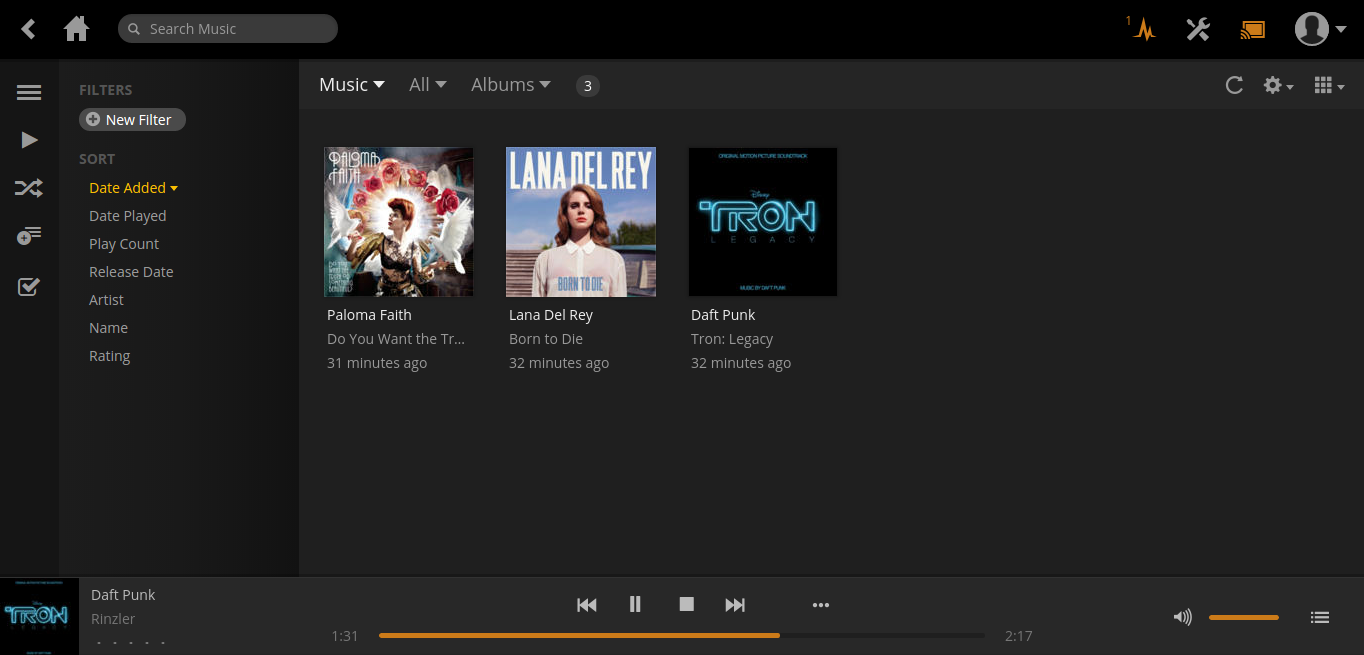
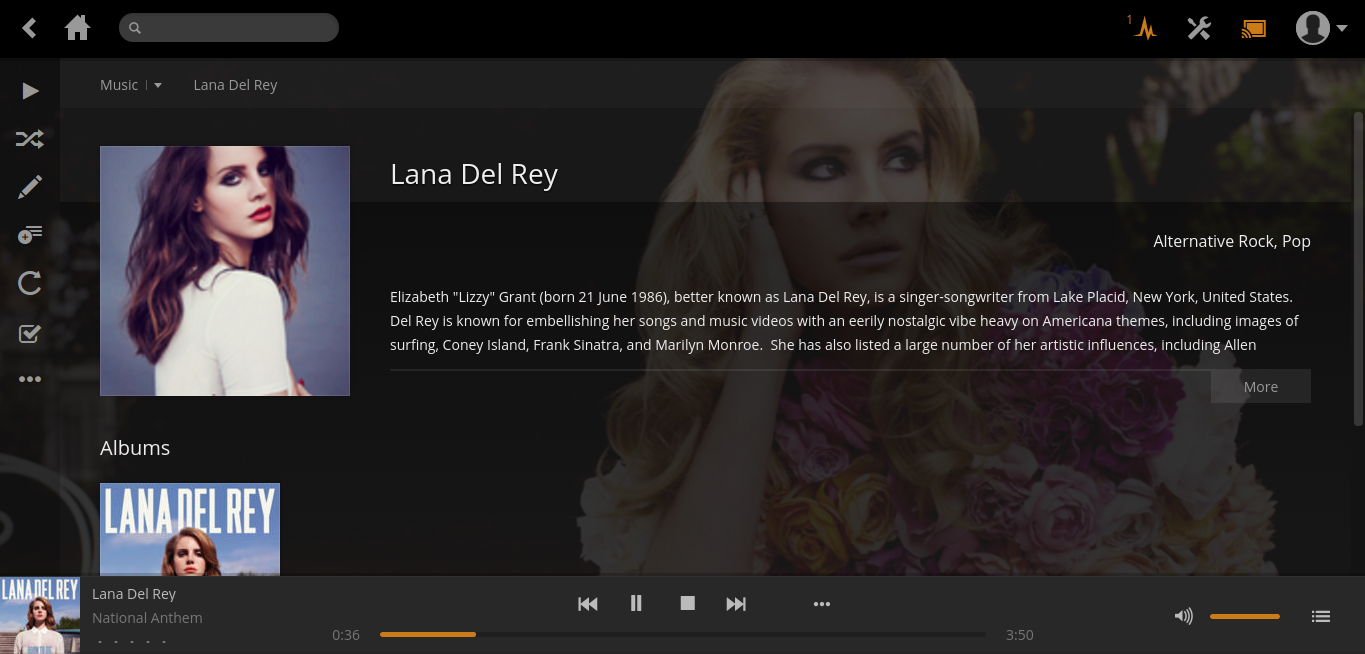
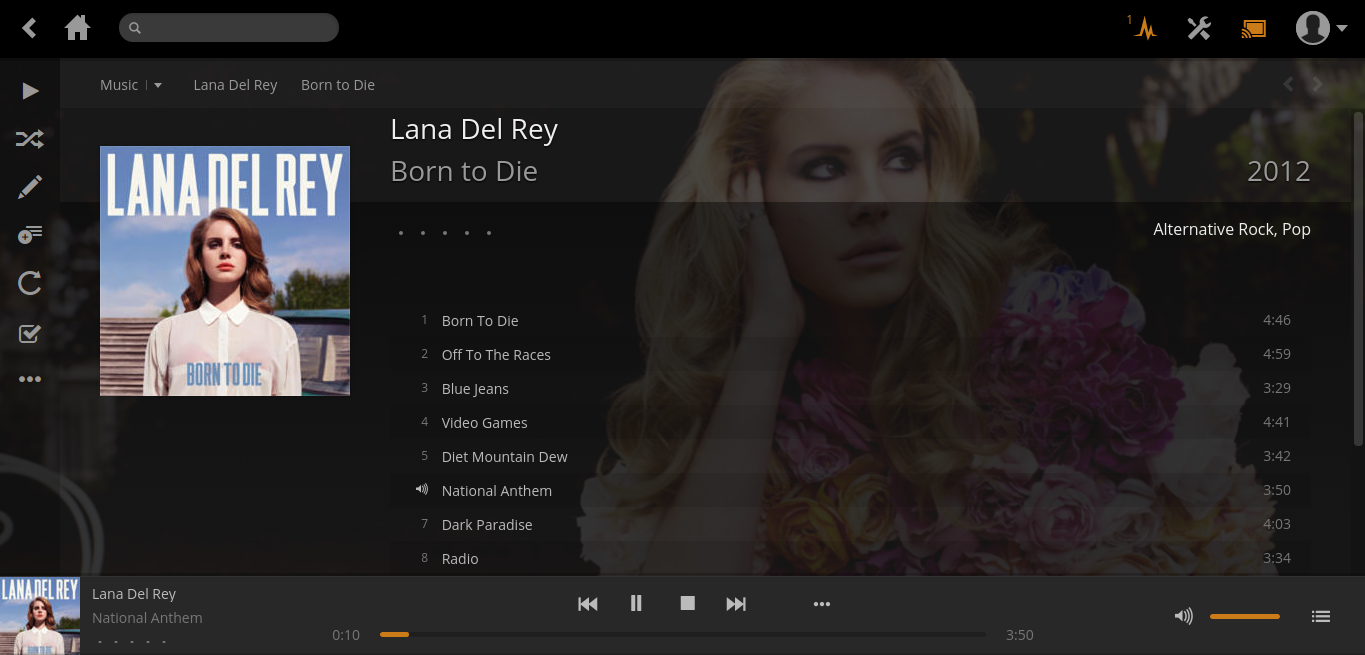
Importing a directory full of music is also made easy, it is just another library of content to Plex. Importing is handled in the same manner as video media, Plex will also search for the artists, albums and genres of your music, providing information on the album and artists thanks to meta data.
Multi User Access & Chromecast
Plex streaming to a Windows tablet
The huge benefit of Plex is that any user on the home network can access any of the media in the library. So children can watch their favourite films on the mobile device, parents can listen to music or podcasts or share their family photos on their laptops.
Plex can also be streamed to a chromecast device, enabling high definition movies to be enjoyed on the big screen.
Listen to all of your music across your entire home and all you need is a Raspberry Pi and a little Linux know how



Top Comments