With Christmas almost upon us it’s time for our annual Element 14 Christmas Project. Last year we built a Santa Trap that used a Raspberry Pi and camera to photograph Santa as he delivers presents around the globe.
For 2015 we are going to create an IoT (Internet of Things) Christmas tree that will accept commands via Twitter, so we can control our tree from afar.
For this project you will need
A Raspberry Pi A+ or B+, this project does not work with Pi 2.
The latest version of Raspbian
A breadboard
A selection of Jumper cables (Male to female, male to male)
2.1mm female barrel jack adapter
5v 4A power supply
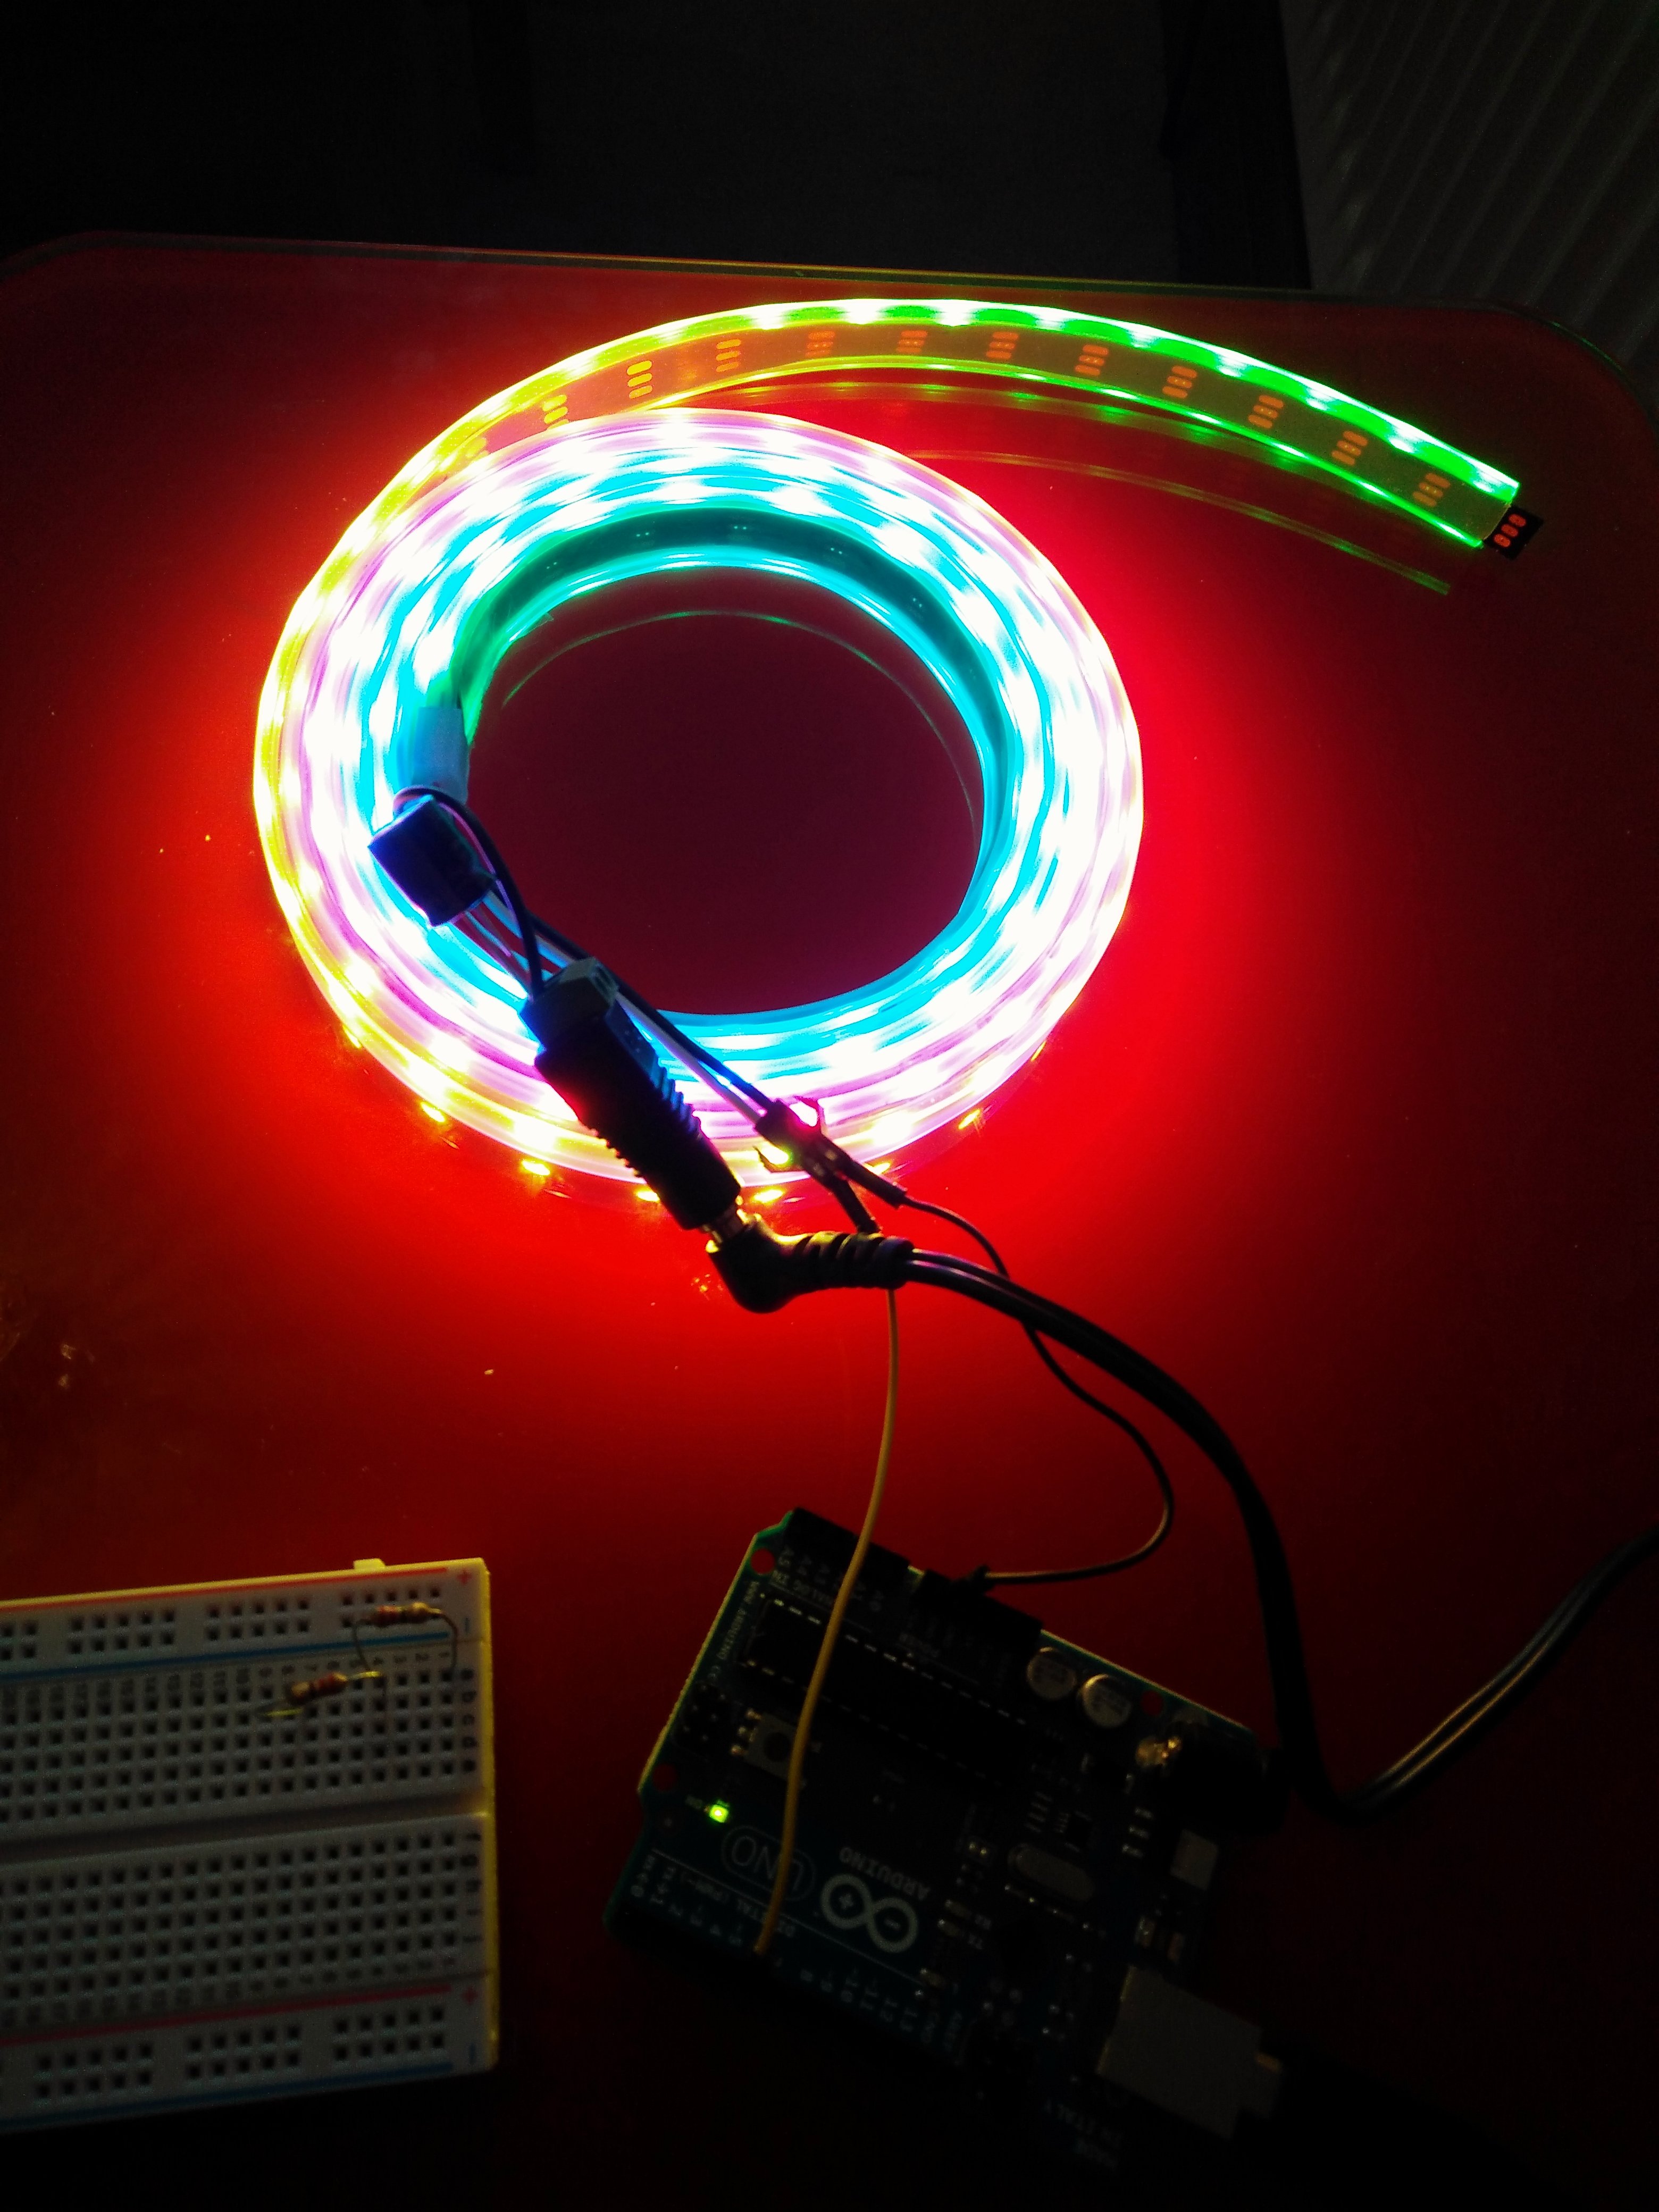
A Neopixel string
All of the code for this project can be found in a Github repository
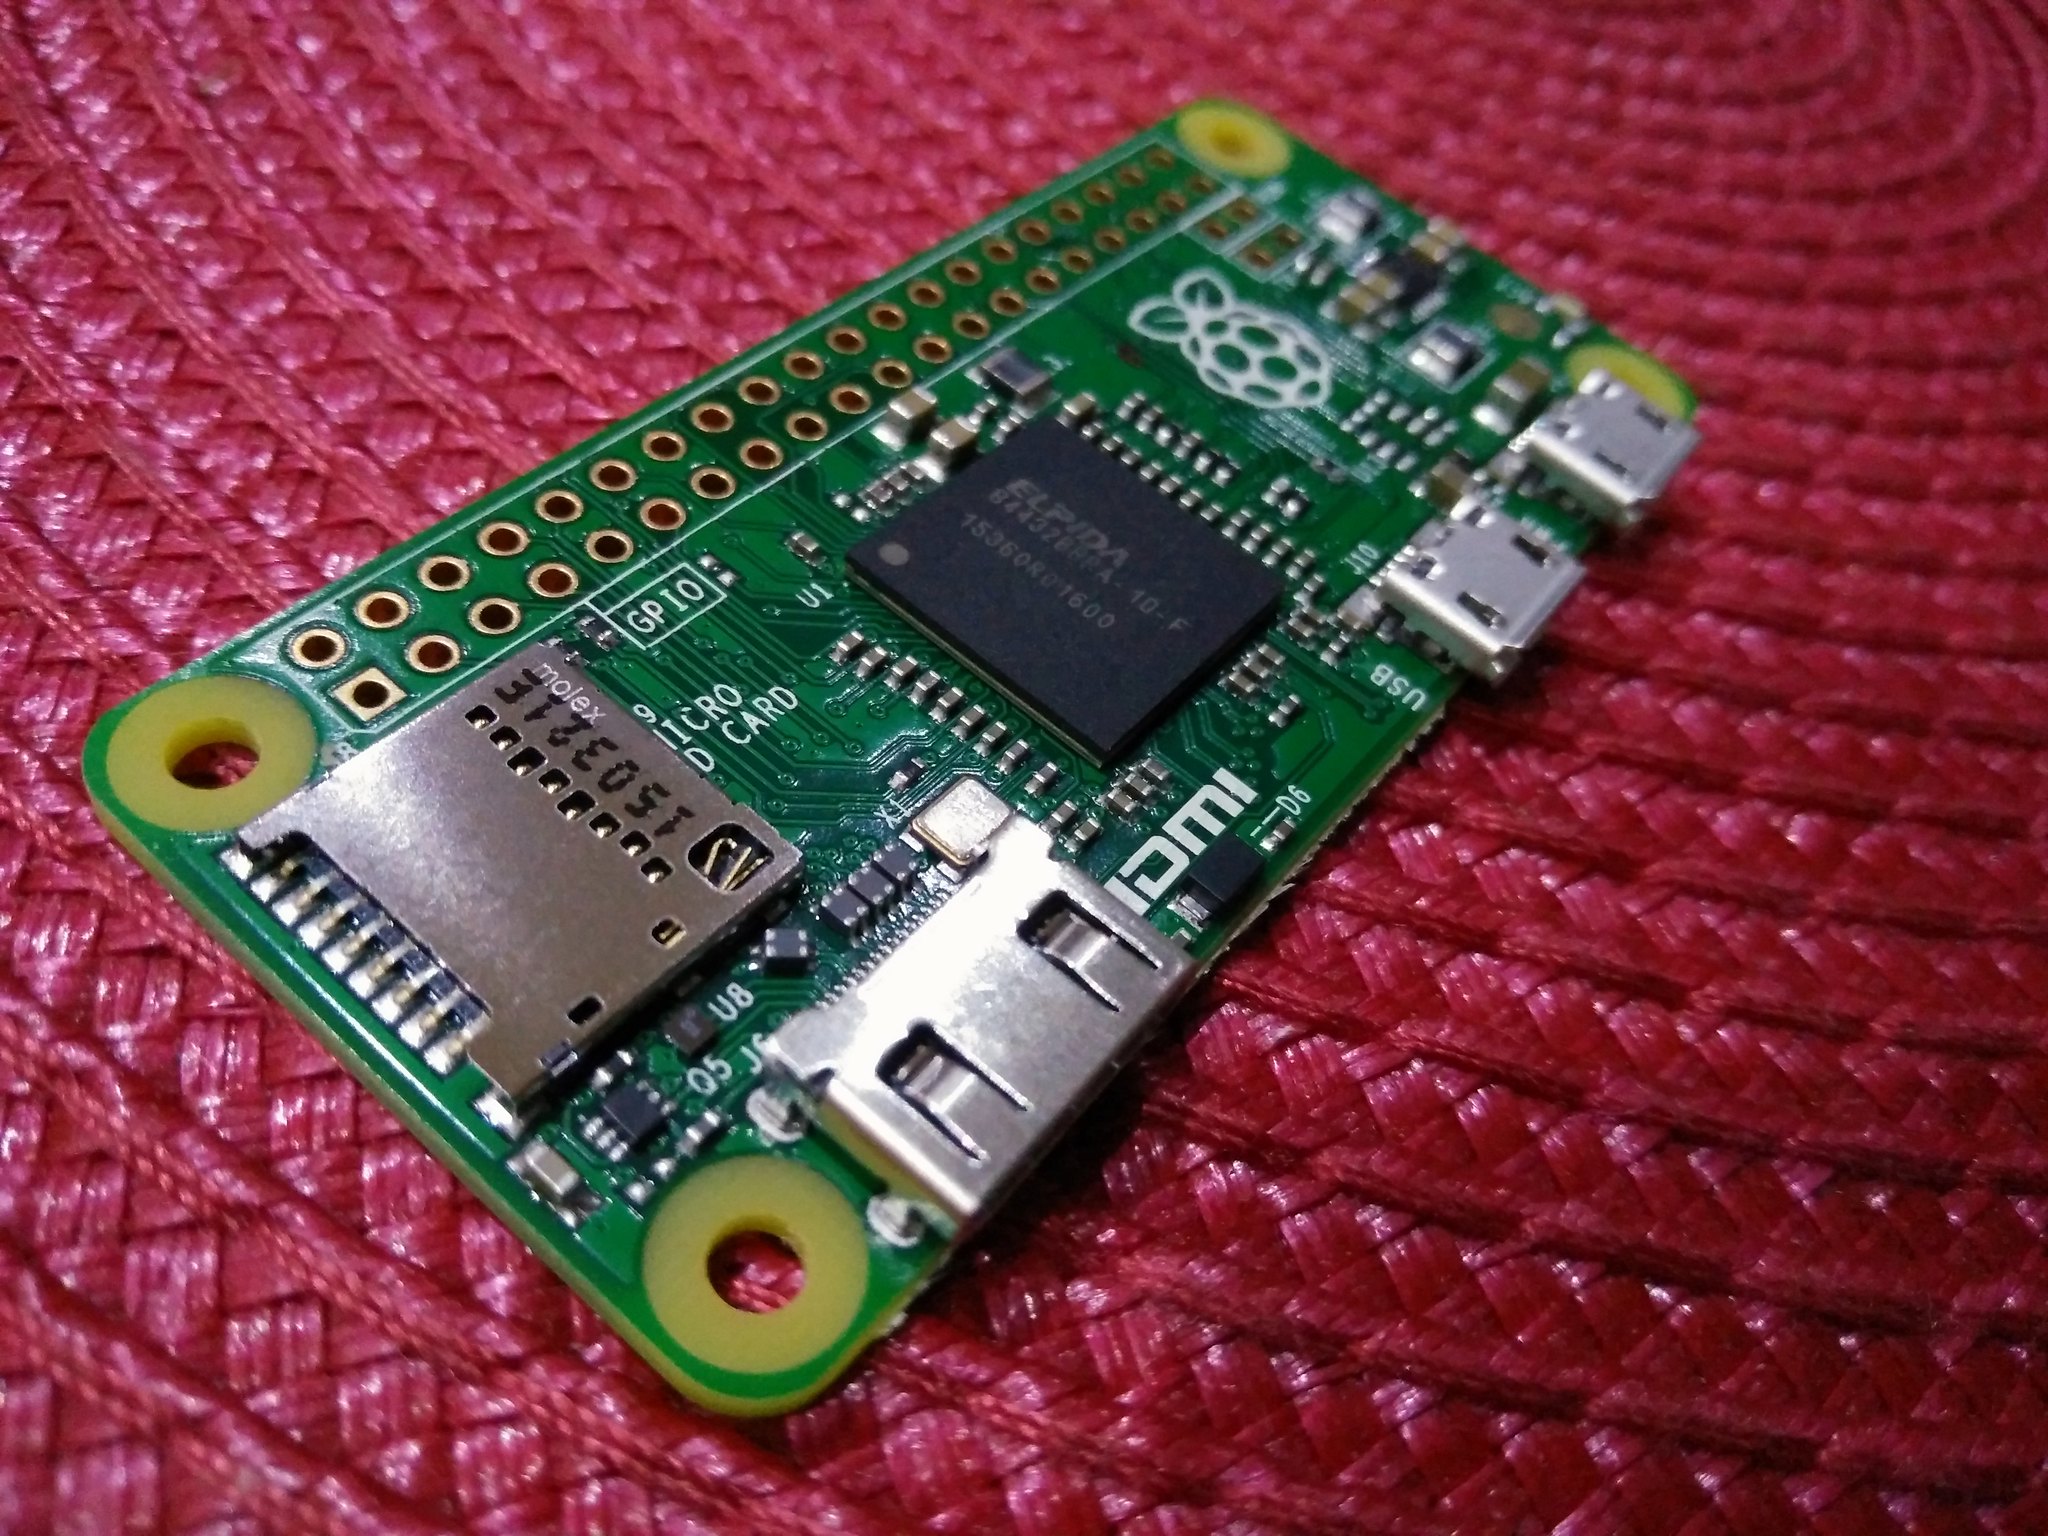
Raspberry Pi Zero Update
This project is compatible with the new Raspberry Pi Zero , enabling a truly low cost alternative that can be easily embedded.
Hardware Setup
Firstly we need to build the circuit for our Raspberry Pi. Firstly we shall connect our 74AHCT125 to a breadboard. Ensure that the pins are spread over the central channel of the board. You may also need to bend the pins so that they fit into the board, this can be done by gently pressing the chip against a solid surface.
Now we move to wiring up the chip and for this please refer to the diagram for more information.
Attaching the female barrel jack adapter to our power supply we now have two screw terminals, marked + and -. Unscrew each terminal and attach a length of wire or a male to male jumper cable. Insert the + wire into the + rail of your breadboard, likewise with the - wire. You will also have a spare black wire for your neopixel strip. This is a GND that will also need to be attached to your - rail. Attaching a wire from any of your Raspberry Pi ground pins to the - rail will complete all of the ground connections.
For now do not apply power to your neopixels and double check all of the connections made before progressing.
Software Setup
Power up your Raspberry Pi and boot to the Raspbian desktop. Firstly we will need to download and install a few extra software packages and for this you will need an Internet connection before you proceed.
To update and install the software open a terminal and type the following, then press Enter.
With that complete we shall now download the rpi_ws281x Python library. In a terminal type
Then navigate to the downloaded directory by typing
Next we shall compile the software library by typing.
We can now change directory into a new directory called “python” by typing
Our final install step for the ws281x library is to setup and install the Python library. Type the following.
Installation complete!
Hardware Test
Before we get into the project we need to check that our hardware is working. Ensure that all of the connection to the 74AHCT125 chip, Raspberry Pi and the power supply are correct before applying power to the neopixels. Power up your neopixel power supply, nothing will happen until we run a test. In the Raspberry Pi terminal navigate to the examples directory inside the Python directory.
Inside the directory is a file called “strandtest.py” and we will need to edit it before testing. Type the following to edit.
In the nano text editor you will see a line that reads
Change this to reflect the number of neopixels that you have, we have 120 in our 2 metre string. Looking further down the text we can see
This means that every neopixel will be at full brightness and will draw a significant amount of current, so let's reduce that to 1/8th of the power by changing it.
Save your changes by pressing CTRL + O, press Enter,and then exit by pressing CTRL + X
With the changes made type the following to test your neopixels.
Right now you should be dazzled by an area of colors and animations across the neopixels. When you are happy that everything is working, press CTRL + C to stop the code.
Our last task before continuing is to install the tweepy library for Python. Tweepy is a library that enables Python to use the Twitter API. To install open a terminal and type.
Our next step is to create a Twitter app which will enable our project to communicate with Twitter. To do this go to https://apps.twitter.com/ and sign in.
Once signed in you will see a “Create New App” button in the top right. Click on it and you will see the application screen.
Fill in the name of your application and a description. You can use an URL for the website, but if you have a site, put it in there. You can leave the callback URL blank. Lastly you will need to agree to the terms and conditions before continuing.
You will now see a screen, displaying your app, all we are need from this screen is our API keys, which are secret so don’t share them out. Click on “manage keys and access tokens” and you will be taken to a new screen.
You can already see your API Key and API Secret but we also need an access token. Scroll down the page and you will see the relevant section. Click on “Create my access token”. The page will update to show your access token, again keep this information secret.
Make a note of your API keys and Access tokens as we will need them later.
Our project
So now we can get down to hacking our IoTree (groan) into life. For this project you can use any text editor you wish but we shall be using IDLE for Python 2, which with the latest release of Raspbian Jessie, can now access the GPIO pins directly without sudo access.
As always we start by importing the libraries that will enable our project.
The main libraries are tweepy for our Twitter API, neopixel for our neopixels and time which is used to control the pace of the project.
Next we create a series of variables to store the API keys and Access Tokens that we created earlier.
We now reuse some of the code from the strandtest.py file that we tested earlier. Again we change the configuration to match the number of LED in our neopixel strip and set the brightness so that we do not exceed the max current available from our power supply.
We are also reusing the color wipe function from the strandtest.py example to produce a incremental change, pixel by pixel along the strip.
Next we create a class to listen to the stream of tweets on Twitter and act accordingly.
We create an if..elif..elif conditional statement that will check to see if one of three conditions is true. These conditions are the text “#E14XmasProject” followed by a color. If this is present then the color will be passed to the colorwipe() function we created earlier. So if we see “#E14XmasProject red” the colorWipe() function is told to use 255,0,0, which is red in the RGB color standards.
Next we create a function to capture any error messages and display them in the Python shell.
For our penultimate section of code we login to Twitter using our API key and Access Tokens before setting up our neopixels ready for use via the strip.begin() function.
Our last section of code is used to search Twitter for our hashtag “#E14XmasProject” and this will trigger the neopixels to change color. Of course you may wish to change your hashtag to something more personal, as if we all have the same hashtag then everyone’s IoTree will be changed at once…globally!
So with the code complete, save your project and click on Run >> Run Module to start. Nothing will happen until you send a tweet with your hashtag and color. So using your cell phone, tablet or computer send a tweet and your neopixels should turn on and change to the color your specified.
So there we have it, we have created our first IoTree device.
Happy Holidays
Many thanks to James Mitchell for his input relating to the Tweepy stream listener


