


Introduction
I had a thermal printer for a while now, but never used it as part of a project. Recently, I purchased the new Raspberry Pi Touch Screen and decided to make a kind of photo booth. The touch screen would be used for the user input, instead of using (mechanical) buttons. If the user is satisfied with the picture, it can be printed on the spot by the small printer.
It's certainly not a new idea, but I thought it would be a fun little project to try out.
The main components used in this project are:
| Main components |
|---|
| SBC, RASPBERRY PI 2, MODEL B, 1GB RAMSBC, RASPBERRY PI 2, MODEL B, 1GB RAM |
| RASPBERRY PI CAMERA BOARD, 5MPRASPBERRY PI CAMERA BOARD, 5MP |
| Raspberry Pi 7" Touch Screen Display with 10 Finger Capacitive TouchRaspberry Pi 7" Touch Screen Display with 10 Finger Capacitive Touch |
| DONGLE, WIFI, USB, FOR RASPBERRY PIDONGLE, WIFI, USB, FOR RASPBERRY PI |
| Mini Thermal Receipt Printer |
| Raspberry Pi Camera Wide-Angle Lens |
Raspberry Pi
For this project, I ended up using a Pi 2. Originally, I tried with the A+, but some software components failed to install (more on that in the "Kivy" paragraph).
For the OS, the latest version of Raspbian was used (2015-09-24 Jessie). It can be downloaded from the official Raspberry Pi website: https://www.raspberrypi.org/downloads/raspbian/
Getting the OS image on a microSD card can be done in several ways depending on your own operating system. In my case, in OSX, I used "dd" to get the image on the micro SD card.
Fredericks-Mac-mini:~ frederickvandenbosch$ sudo diskUtil list
Fredericks-Mac-mini:~ frederickvandenbosch$ sudo diskUtil unmountDisk /dev/diskX
Fredericks-Mac-mini:~ frederickvandenbosch$ sudo dd if=Downloads/2015-09-24-raspbian-jessie.img of=/dev/diskX bs=1m
Fredericks-Mac-mini:~ frederickvandenbosch$ sudo diskUtil unmountDisk /dev/diskX
Once the image has been written to the microSD card and the card has been unmounted, it can be removed from the PC and inserted in the Raspberry Pi.
Touch Screen
Connecting and getting the touch screen to work with the Raspberry Pi was super easy using the instructions found right here on element14: http://www.element14.com/community/docs/DOC-78156#installI
Using the latest Raspbian image (2015-09-24 Jessie), the touch screen was plug & play. I did install the additional virtual keyboard by executing following command:
pi@photobooth ~ $ sudo apt-get install matchbox-keyboard
WiPi
Getting wifi to work on the Pi is another one of those plug & play things. Just connect the wifi dongle, select the access point you wish to connect to in the desktop environment and enter the password. That's all there is to it.
Pi Camera
No photo booth without a camera, right? Let's see how to connect and enable the camera.
Connecting the camera
To connect the camera to the Pi, open the CSI slot located near the ethernet port and ensure the camera's flex cable is inserted with the exposed contacts facing away from the ethernet port.
Enabling camera support
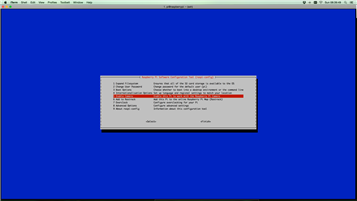
By default, the camera support is disabled. To get the camera to work, support needs to be enabled using the "raspi-config" tool.
Open a terminal and enter following command:
pi@photobooth ~ $ sudo raspi-config
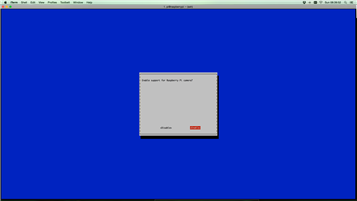
A menu will appear. Select option 5: "Enable Camera", and in the following step, select "Enable". Reboot the Pi.
Thermal Printer
To set up the printer, a complete guide is available over at Adafruit (https://learn.adafruit.com/pi-thermal-printer/overview), only a few steps are relevant for this project though and I will highlight them in the next paragraphs.
Connecting the printer
There are two parts to connect the printer:
- power, using an external 5V power supply (at least 1.5A for the printer only)
- data, using the Pi's GPIO serial interface (including GND)
To easily connect an external power supply, I cut off one end of the provided power cable and screwed on a female DC barrel jack connector. The data cable, even though not ideal, can be connected to the Raspberry Pi's GPIO.  Careful though, the the printer's TX pin (RX on the Pi's GPIO) should either be disconnected or have a 10k resistor added to compensate for the level difference (5.0V vs 3.3V).

You'll notice I moved the GND jumper wire from the touch screen to another GND pin, in order to accommodate the printer's data cable.
Controlling the printer
Start by installing the necessary software components.
pi@photobooth ~ $ sudo apt-get install python-serial python-imaging python-unidecode
In the cmdline.txt file, remove references to ttyAMA0 to avoid conflicts with the printer on the serial interface.
pi@photobooth ~ $ sudo nano /boot/cmdline.txt

#dwc_otg.lpm_enable=0 console=ttyAMA0,115200 console=tty1 root=/dev/mmcblk0p2 rootfstype=ext4 elevator=deadline fsck.repair=yes rootwait
dwc_otg.lpm_enable=0 console=tty1 root=/dev/mmcblk0p2 rootfstype=ext4 elevator=deadline fsck.repair=yes rootwait
Download the Adafruit python library for the printer, containing some example code.
pi@photobooth ~ $ sudo apt-get install git
pi@photobooth ~ $ git clone https://github.com/adafruit/Python-Thermal-Printer
pi@photobooth ~ $ sudo reboot
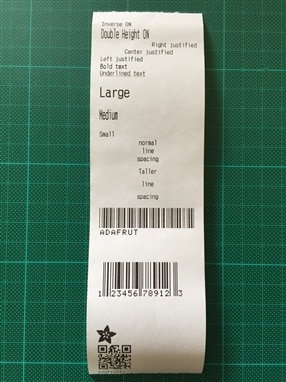
After the Pi has rebooted, it should be possible to make a test print.
pi@raspberrypi ~ $ cd Python-Thermal-Printer
pi@raspberrypi ~/Python-Thermal-Printer $ python printertest.py
The printer should then output something like this:
Kivy
Kivy is an open source Python library used for developing applications making use of user interfaces. Kivy's official website can be found here: http://kivy.org/#home
The installation steps and some example code are provided via Matt Richardson's tutorial, in which he used Kivy to control the Pi's GPIO using the touch screen: http://mattrichardson.com/kivy-gpio-raspberry-pi-touch/index.html
Some notes on my experience, performing the installation:
- I originally used the Raspberry Pi A+. However during the Cython installation step, it runs out of memory and starts swapping. The installation never finishes as the kswapd0 process takes 100% CPU. Using the Raspberry Pi 2, no problems were encountered.
- Originally, when trying to edit the Kivy's config.ini (~/.kivy/config.ini) in order to add touch support, the file didn't exist. After running an example (~/kivy/examples/demo/pictures/main.py), the file was there and could be edited.
Project
With all individual components working, it's time to move on to the project specific topics.
Code
The code is based on Matt Richardson's example application, which was then adapted to suit my needs. In addition, Adafruit's thermal printing python library was added to have printing support as well.
I've added comments in the code to make easier to understand.
Build
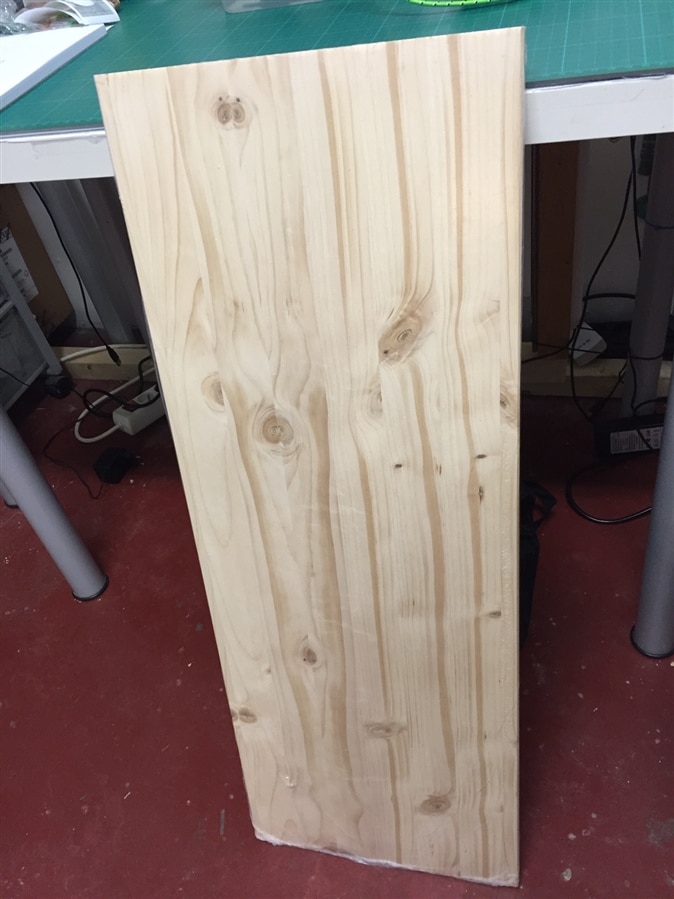
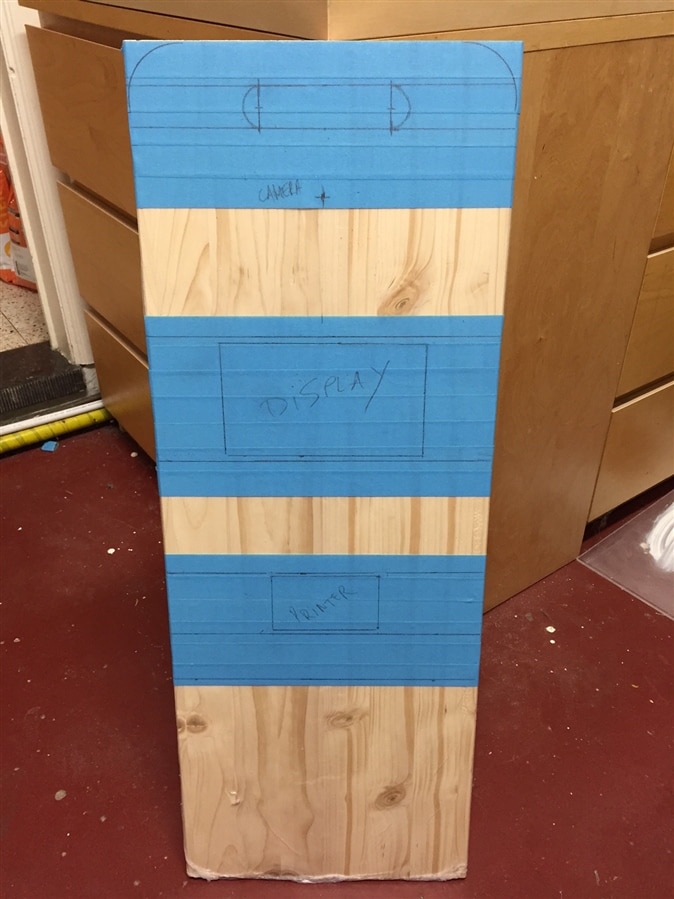
For the frame, I picked something simple: a wooden board holding all the components in place. The result would be a flat and portable photo "booth".
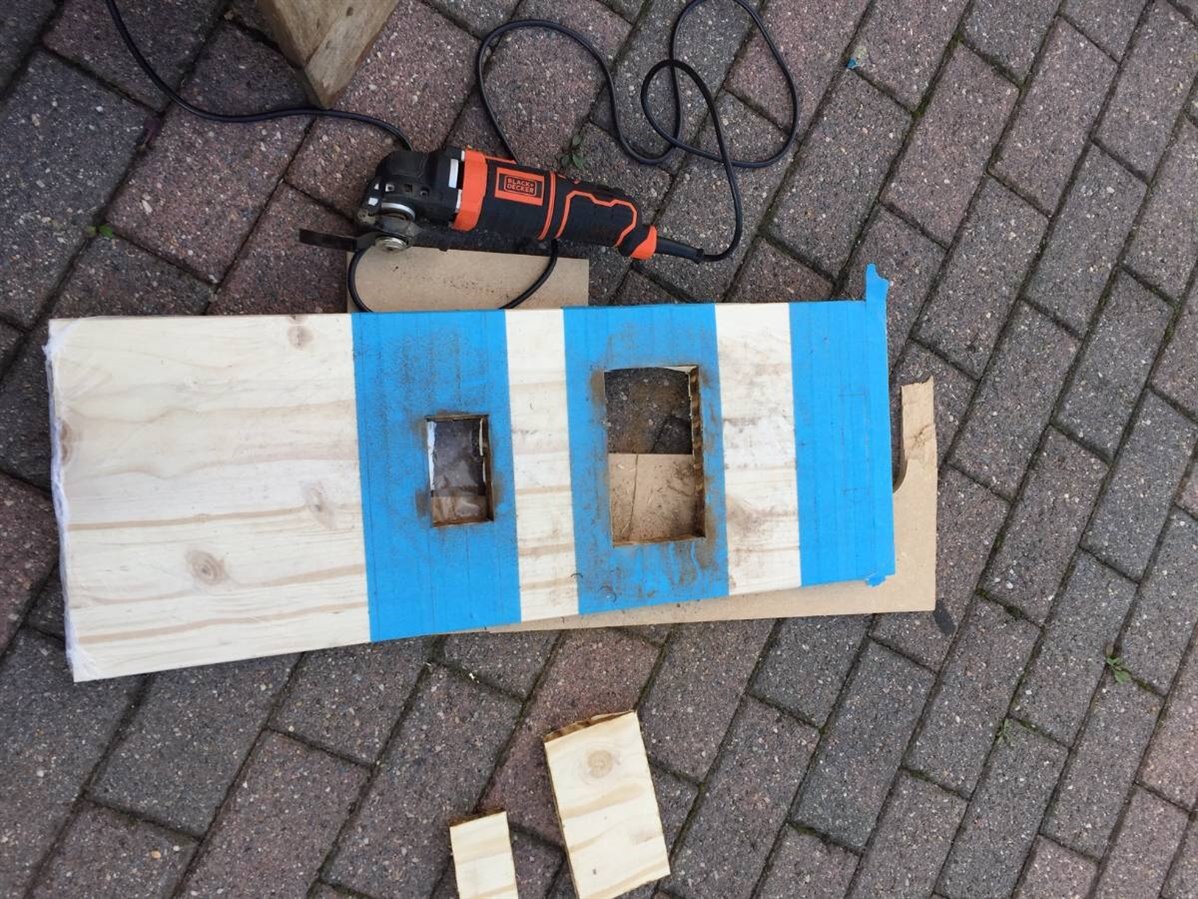
I started by using some tape to draw on and see how the result would be. Everything looked good, so I started cutting and drilling. A bit of sanding was required to make everything fit.
| {gallery} Build |
|---|
Board: the piece of wood before the cutting and drilling |
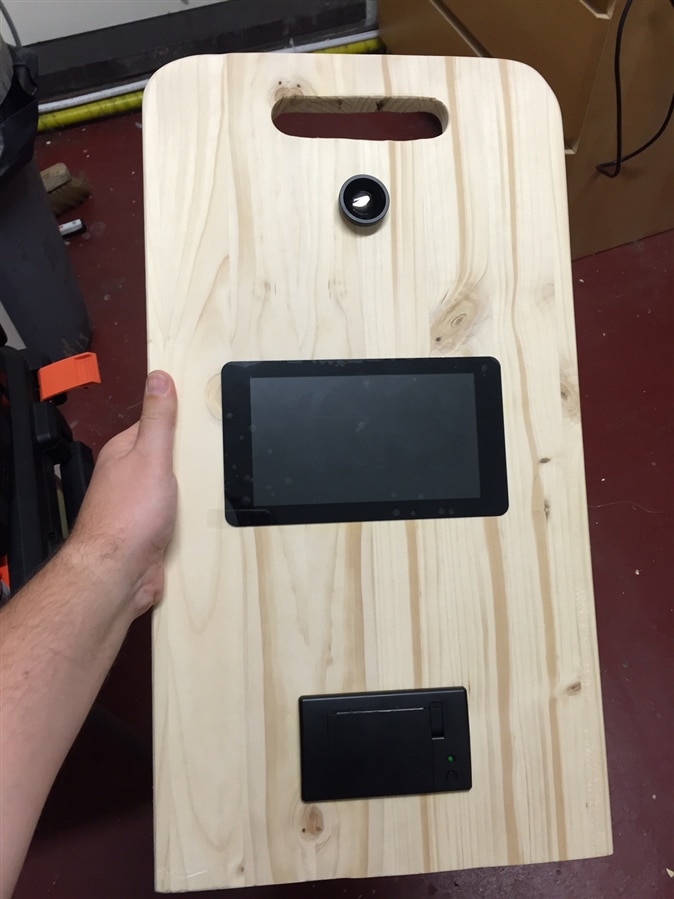
Layout: using tape and a pencil to decide where I'll put the different components |
Cutting: happy with the layout, I cut out the parts using an oscillating multitool |
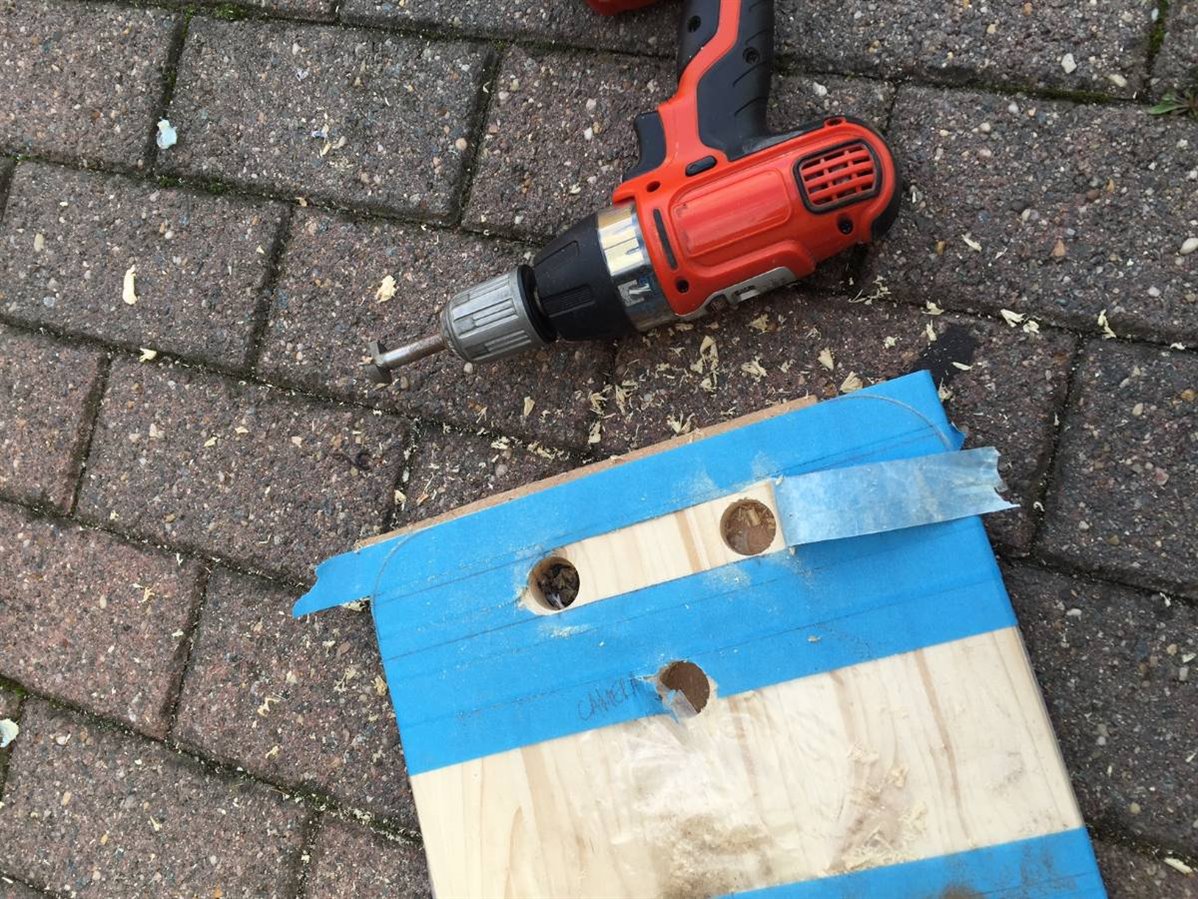
Drilling: some drilling was required for the camera and the handle |
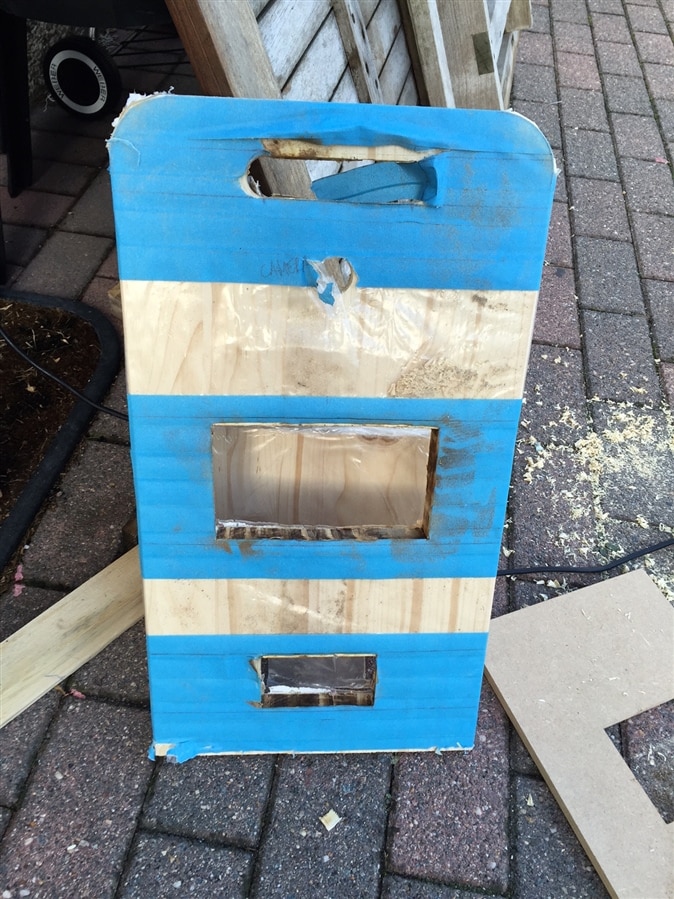
Edges: removed the top corners to make some rounded edges |
Fitting: test-fitting the parts |
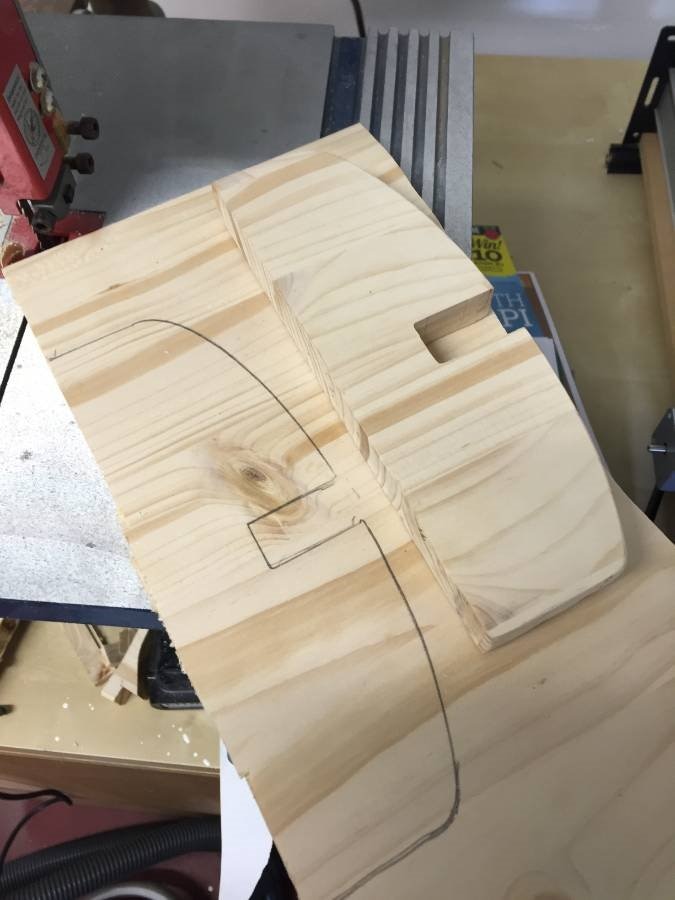
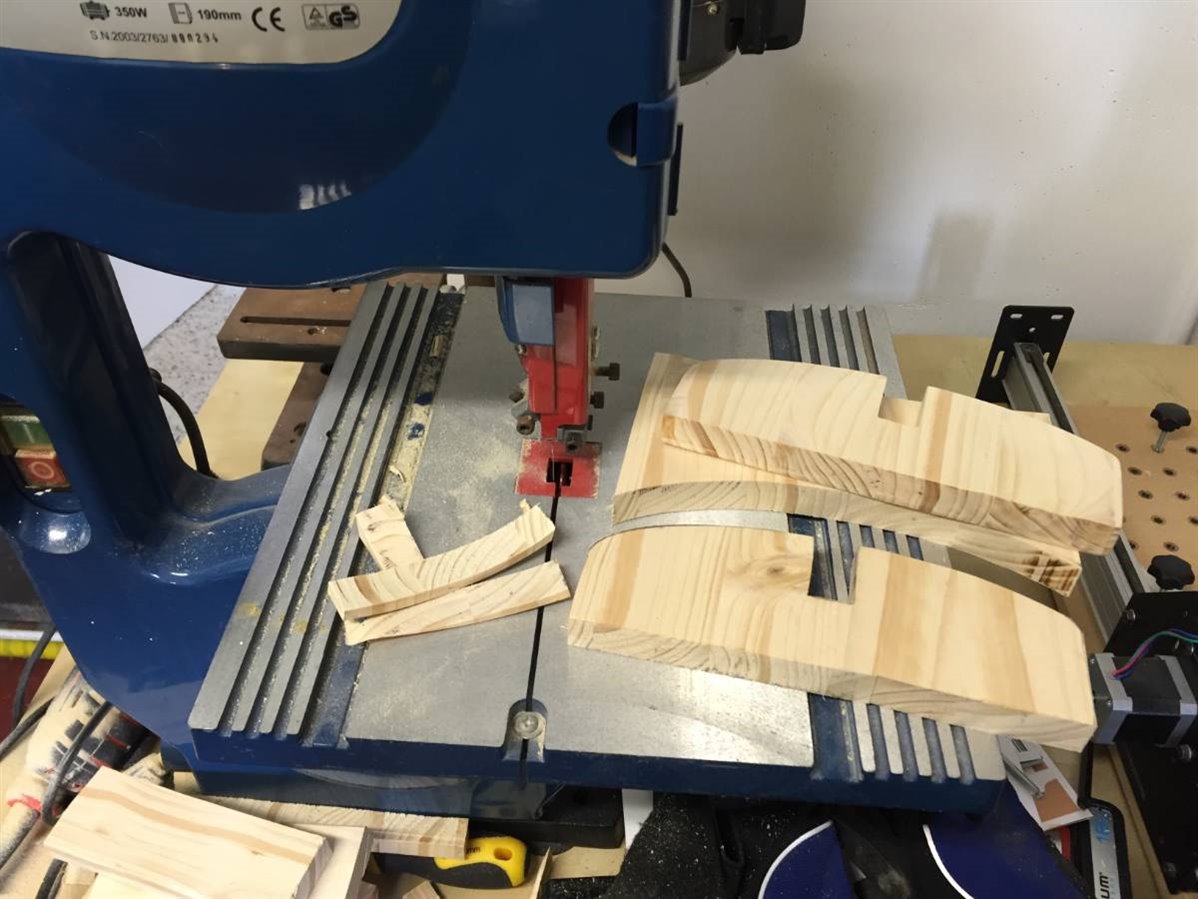
Feet: making some "feet" |
Bandsaw: using the bandsaw, the "feet" can easily be cut to the desired shape |
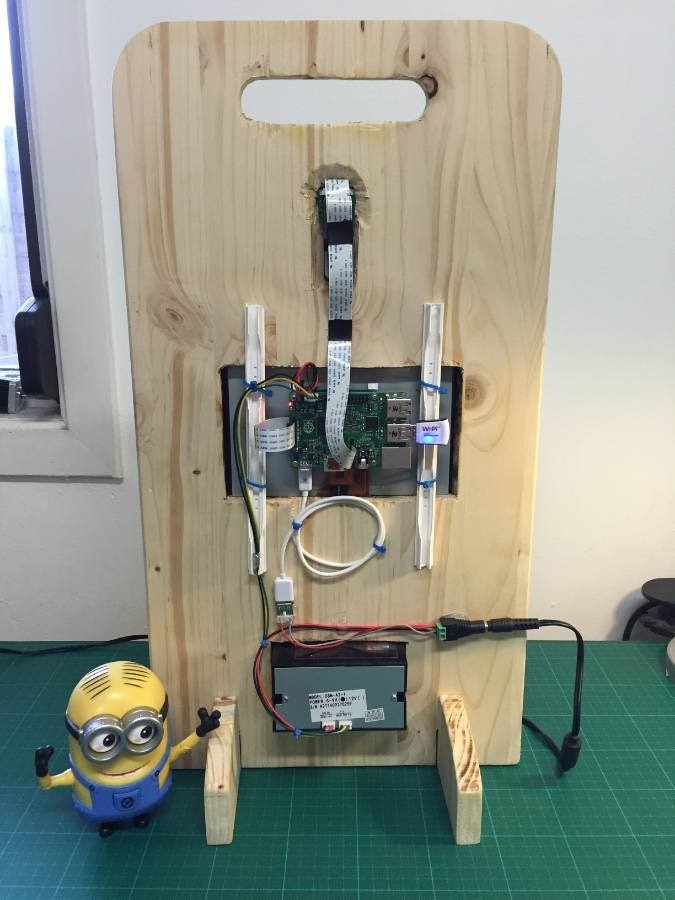
Cleanup: with everything in place, some tidying up was required |
Testing: my assistants testing the new gadget |

Demo
Hope you like the project!

Top Comments