


"HELLO WORLD":
My name is Xavi Lazaro and I live in Barcelona - Spain. As a fan of 80's computers I always dreamed to be in that garage era where one could build his own micro computer using some sort of kit and letting your imagination flow...
... So this was the idea, to build having fun an old looking computer as seen 30 years ago!
But, history says that you need a partner to end computer business with success so what better than my daughter Iris.
Hi I am Iris! Why did I take part in the making of the TOUKOMPUTER? I remember when I was like seven or eight, when my dad started showing me the world of retro computers. At first it seemed a little boring: why focus on old machines when you have brand new PCs and gaming consoles with a way more possibilities? But as I grew up, I started to think in the ''how'', more than in the ''what'' of Spectrums, Commodores, Amstrads... How could people make games in the 80's without any programmation platforms? Coding drew my attention. So I though it would be great to build one of that computers with my dad, learning new things about tech and about designing a machine!
BASIC IDEA:
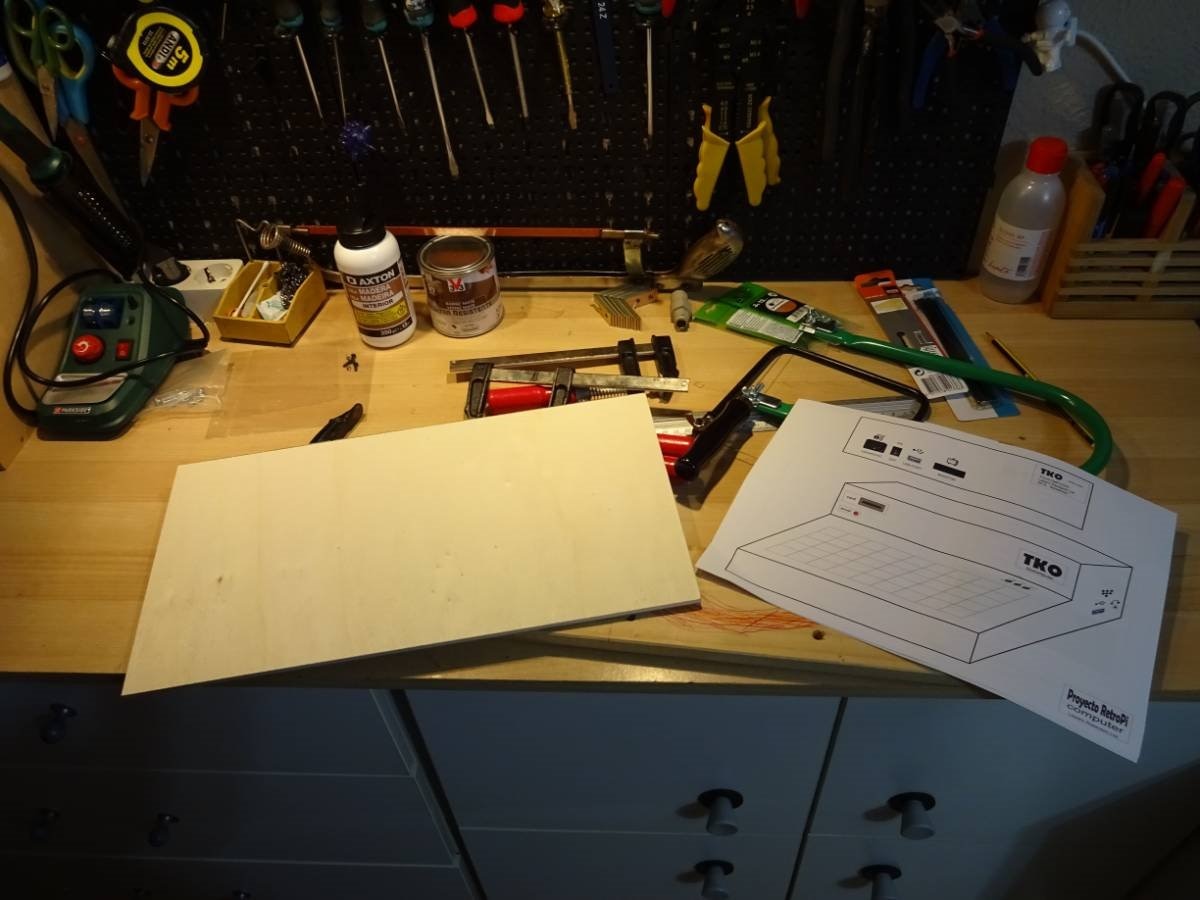
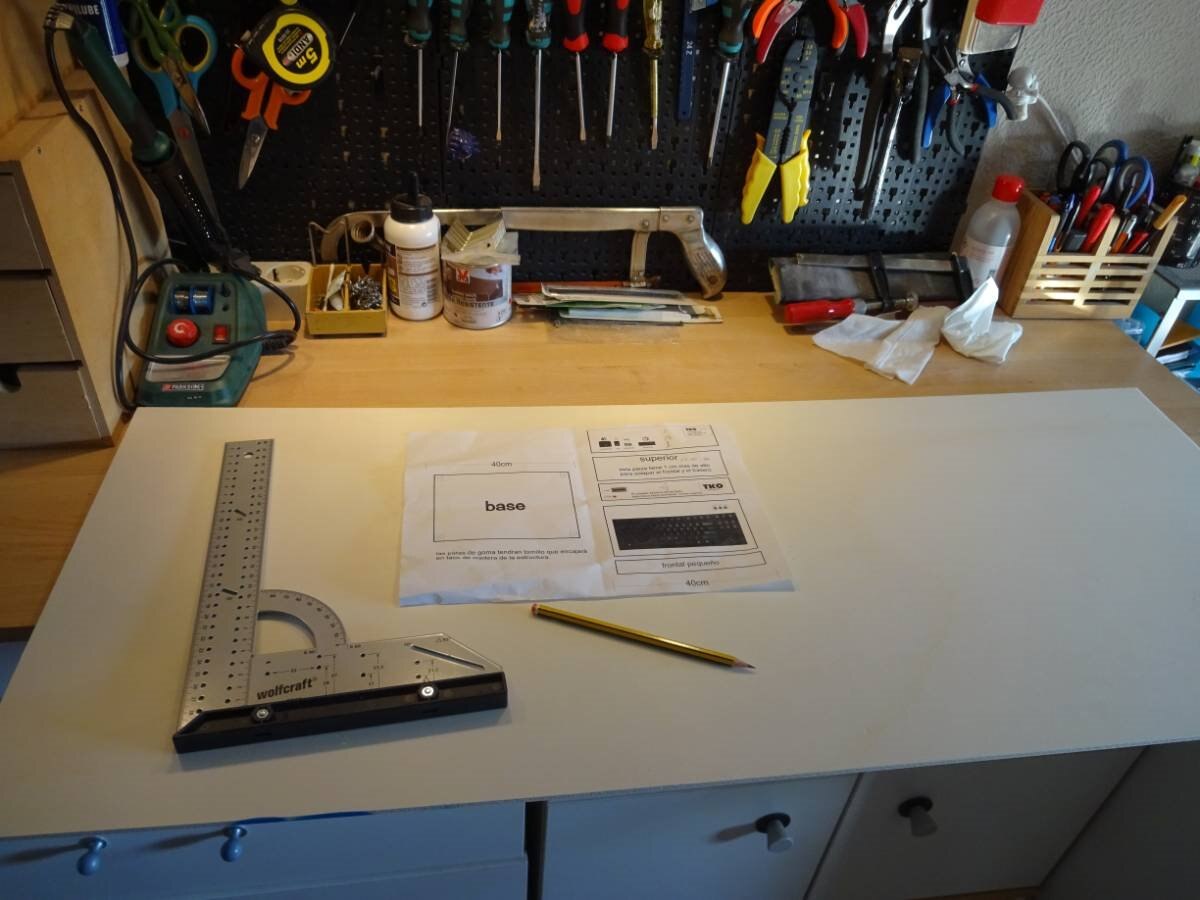
The first thing was to imagine and draw an old computer design:
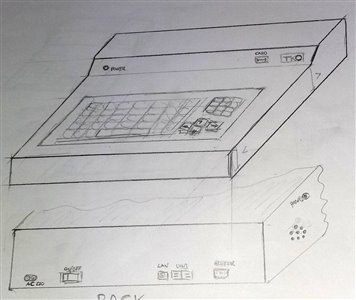
After some thinking design this ended up using Corel Draw,
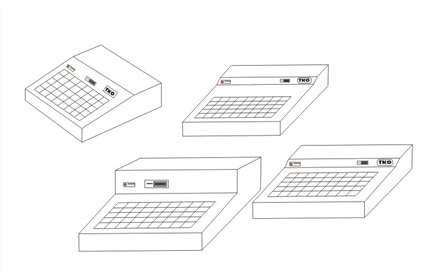
we chose this one as the final design:
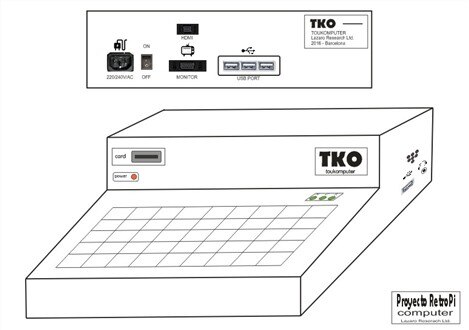
The goal was to have a retro style computer that featured all the connections needed to be a standalone machine, also with a Cartridge Port as seen in multiple 8 bit computers. This will be of great help to change between "ROMS" in this case SD OS Cards.
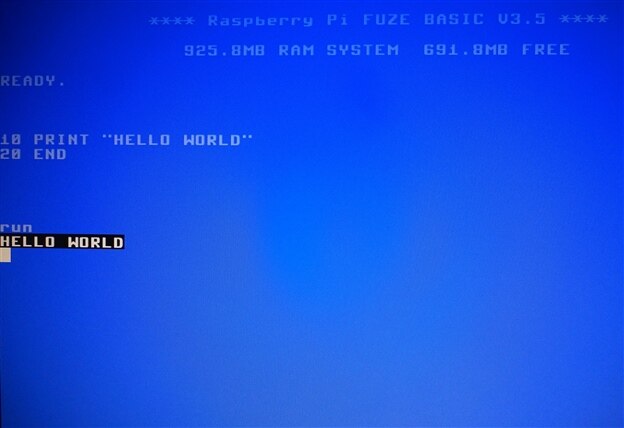
It had to have enough power to run some retro stuff like emulators and 8 bits old systems. So, the use of a Raspberry Pi 3 as a core was the better option.. We have in mind to have one OS card booting in some version of BASIC as the old ones, and we found a project called FUZE for raspberry with a BASIC emulator, so what more do we need?
It was important to be able to use this system with old VGA monitors and also with new HDMI Screens.
The machine had to be compact and portable (from room to room at least...) but always with an old flavour.
A good work isn't it??? So....Let's begin!
BILL OF MATERIALS:
Then it was time to acquire some materials, but with an idea of not spend so much and to recycle as much as possible.
- A Raspberry Pi 3: bought in Amazon/Element14
- Plywood wood, wood glue, fretsaws blades, wood screws: bought in a Hardware Store
- Ugreen
 HDMI extension cord male to female High Speed, Raspberry PI 3 compatible: bought in Amazon
 - Aukru - Heat Sinks for Raspberry Pi (aluminium, 3 units), color silver: bought in Amazon
- MicroSD to SD adaptador extensor flexible/SD rs-mmc/SDHC/MMC: bought in Amazon
- VicTsing Cable HDMI to VGA Adaptor 1080P with Audio and DC/5Vin: bought in Amazon
- 4x Kingston SDC10G2/16GB - microSD card 16GB (class 10 UHS-I 45MB/s) with SD adapter: bought in Amazon
- AC/DC 2A Adaptor - Recycled Material
- AC Outlet-connector - Recycled Material
- Red Led - Recycled Material
- ON/OFF Switch - Recycled Material
- Audio Jack female: bought in an electronic Store
- Audio Jack male and cable - Recycled Material
- USB HUB - Recycled Material
- USB cable extensor- Recycled Material
- Old PS/2 Keyboard - Recycled Material
- PS/2 USB converter - Recycled Material
BUILDING PROCESS:
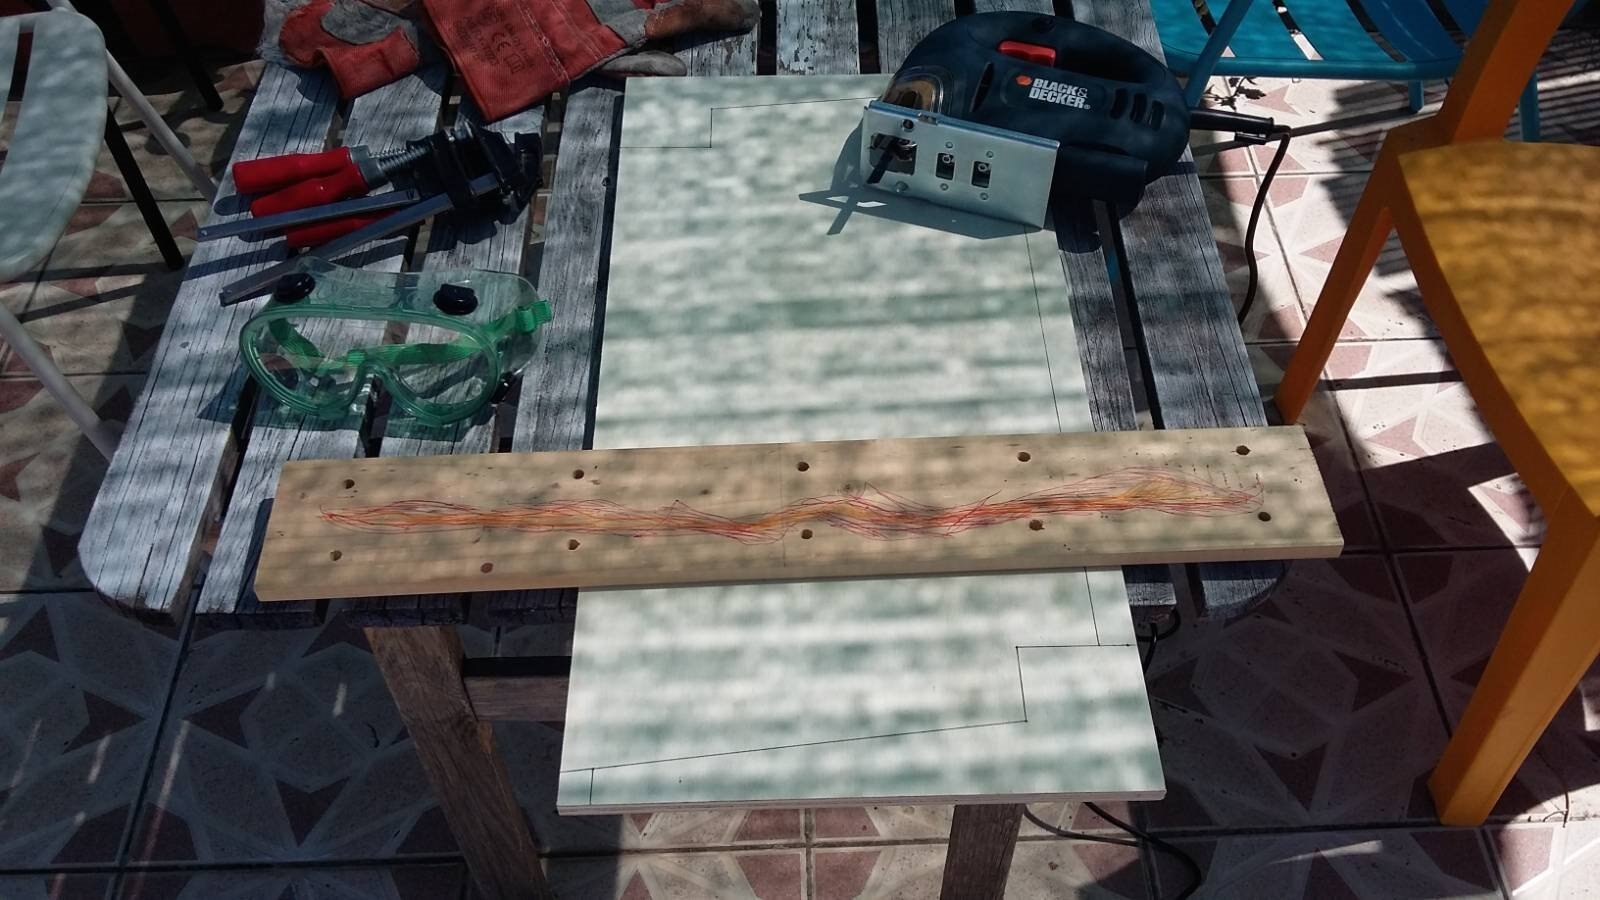
Here we have attached a lot of pictures (maybe too much...) with the object to visualize the building process:
There is no much explanation, the first thing is to build the sides with a desired measure and then use them as reference for the rest of the parts.
There is a little of information for every step:
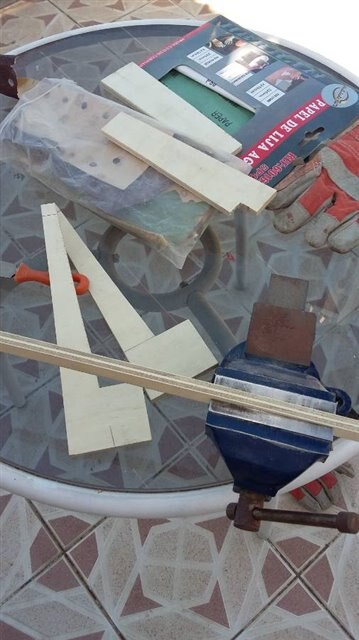
Sawing sides of 10 mm plywood:
Filing sides:
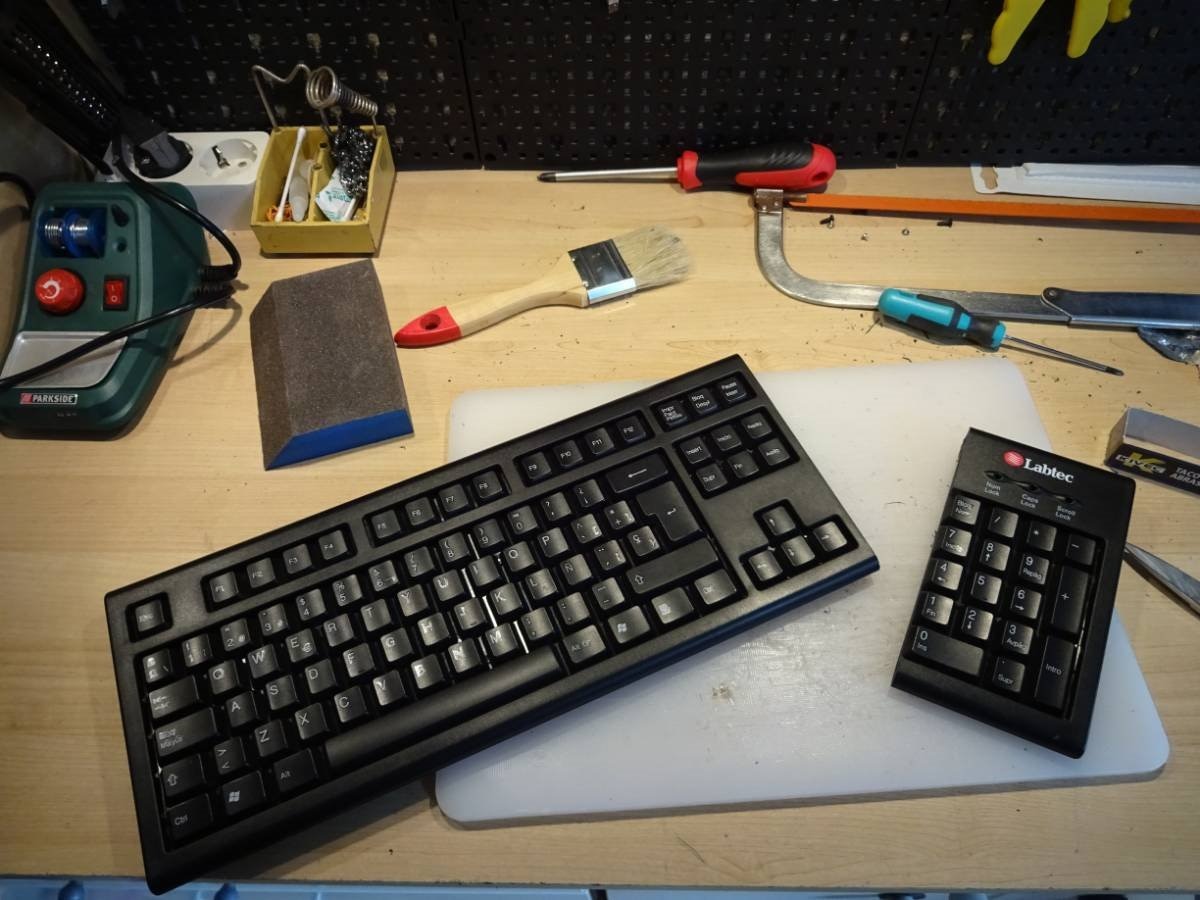
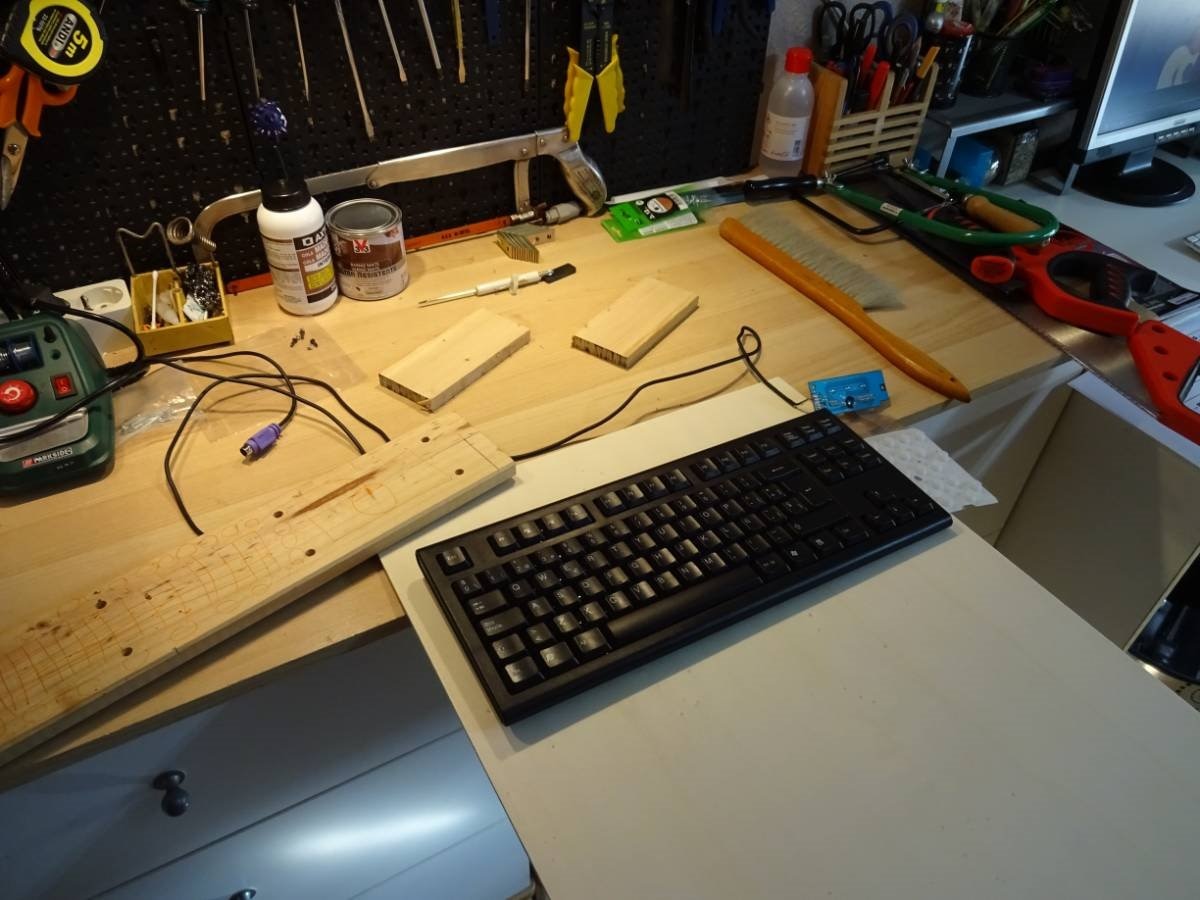
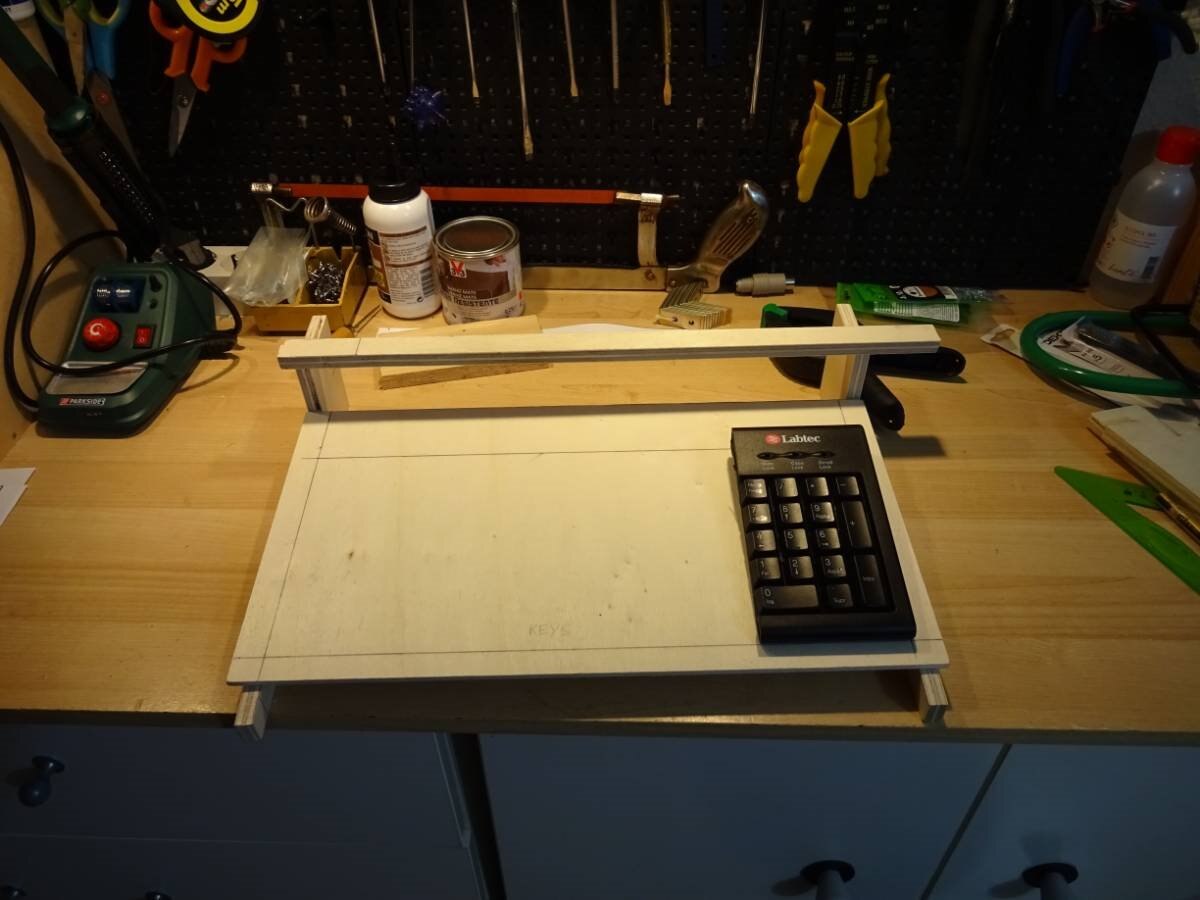
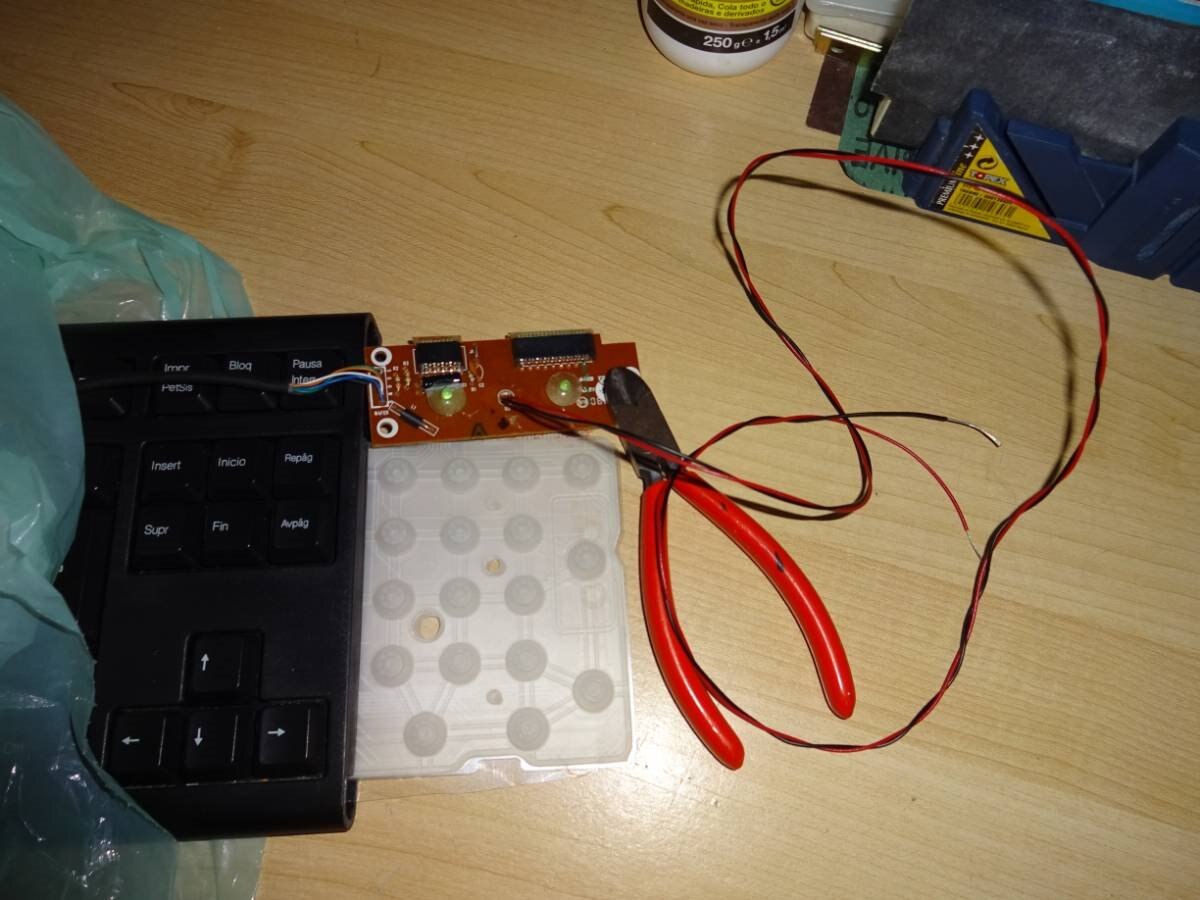
This keyboard is to large !!!, let's take an old keyboard and... wait!!!! oh... poor keyboard...!
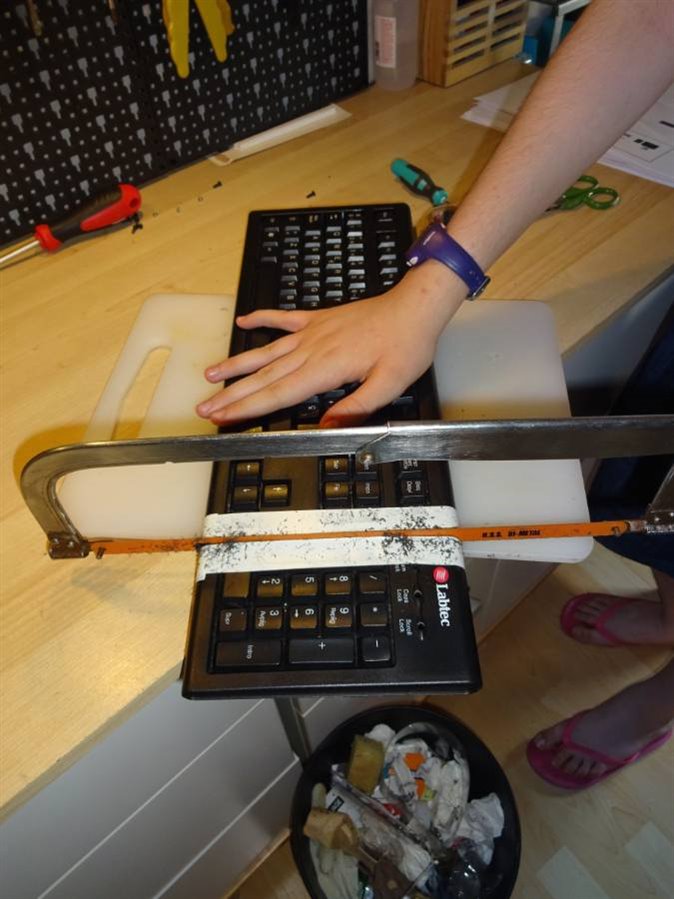
Now it is small and cute and it will fit in the box! Who wants numeric keys???? 
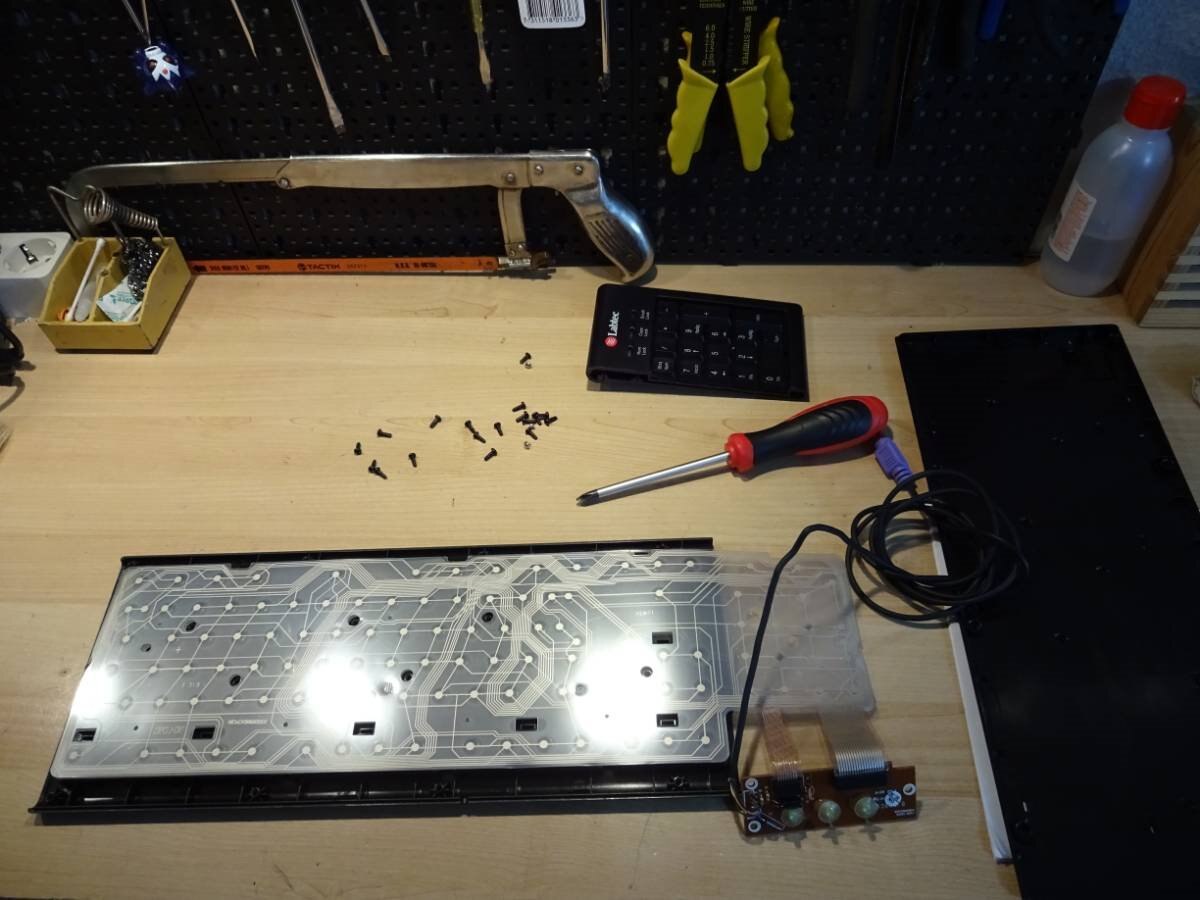
The membrane is respected in order to have a working keyboard...
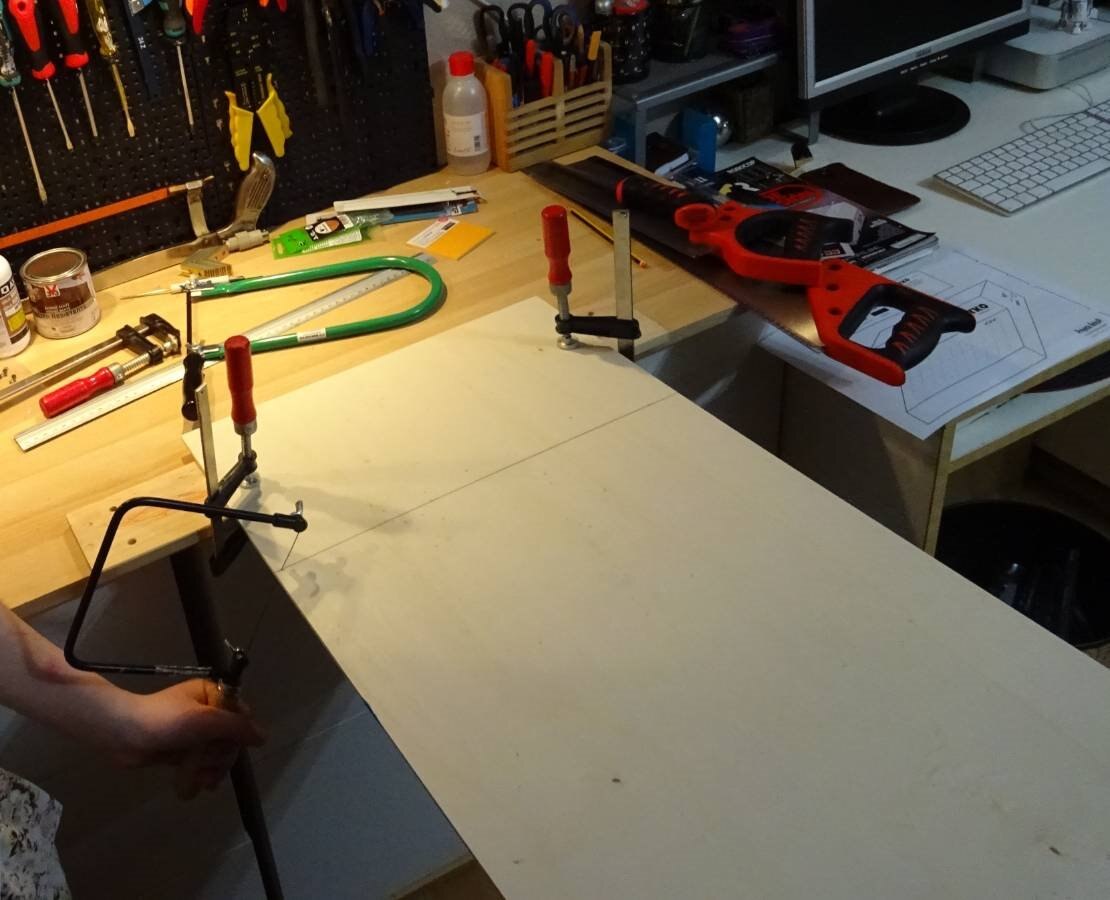
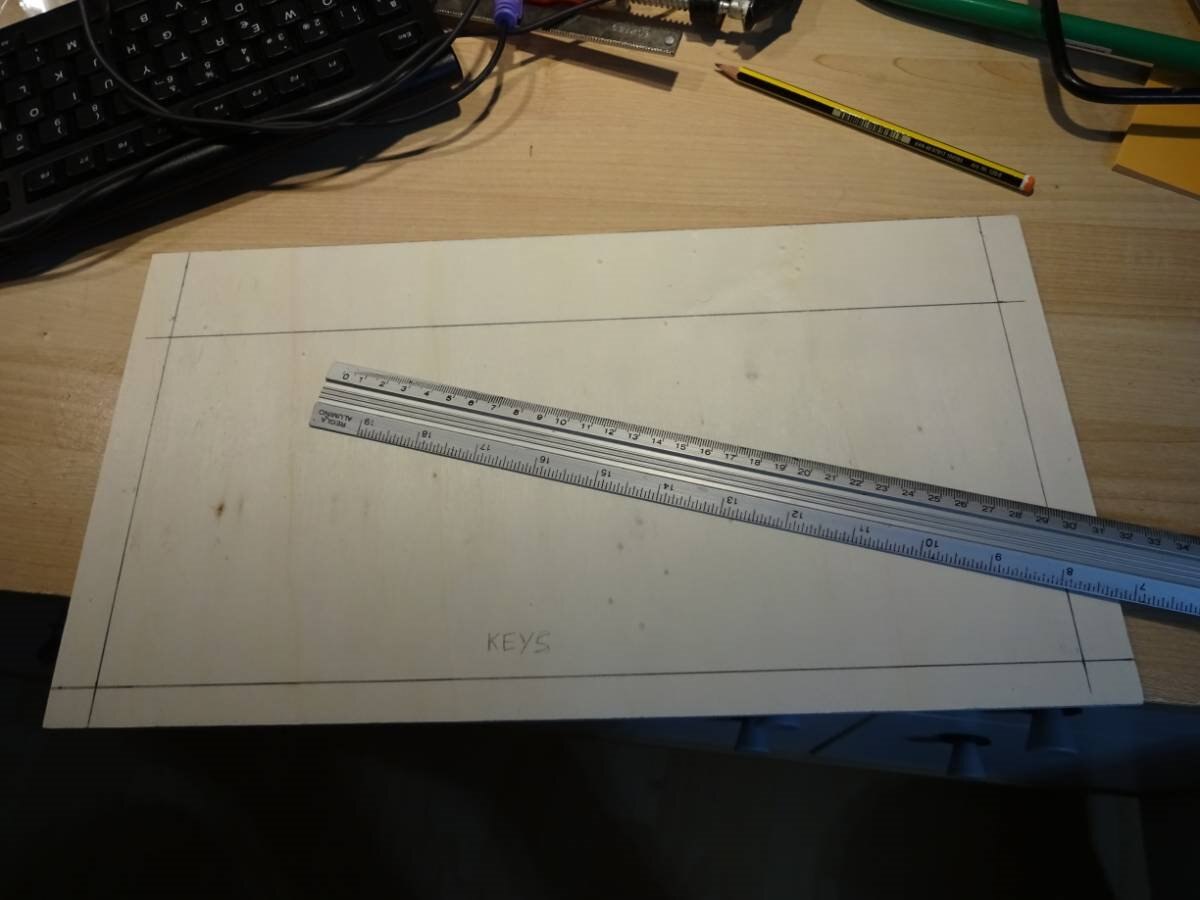
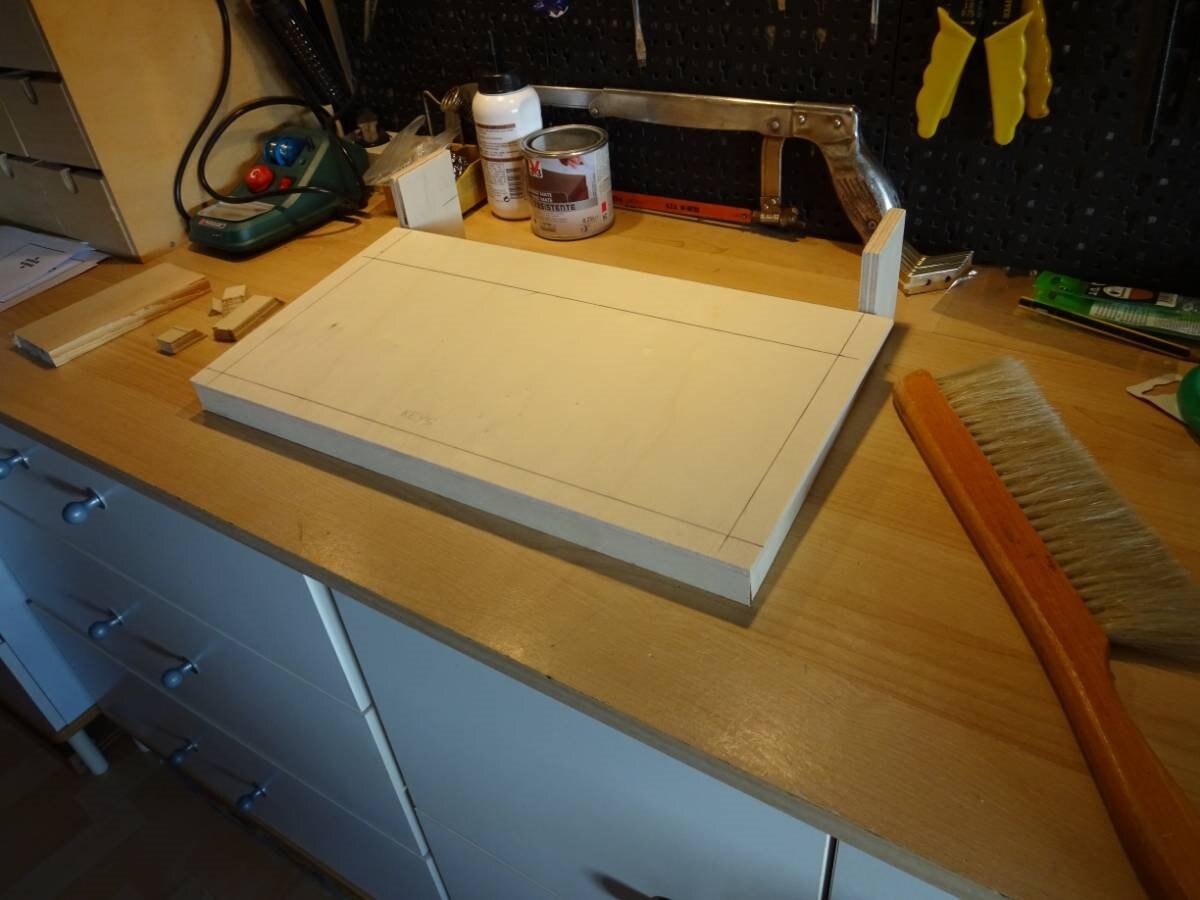
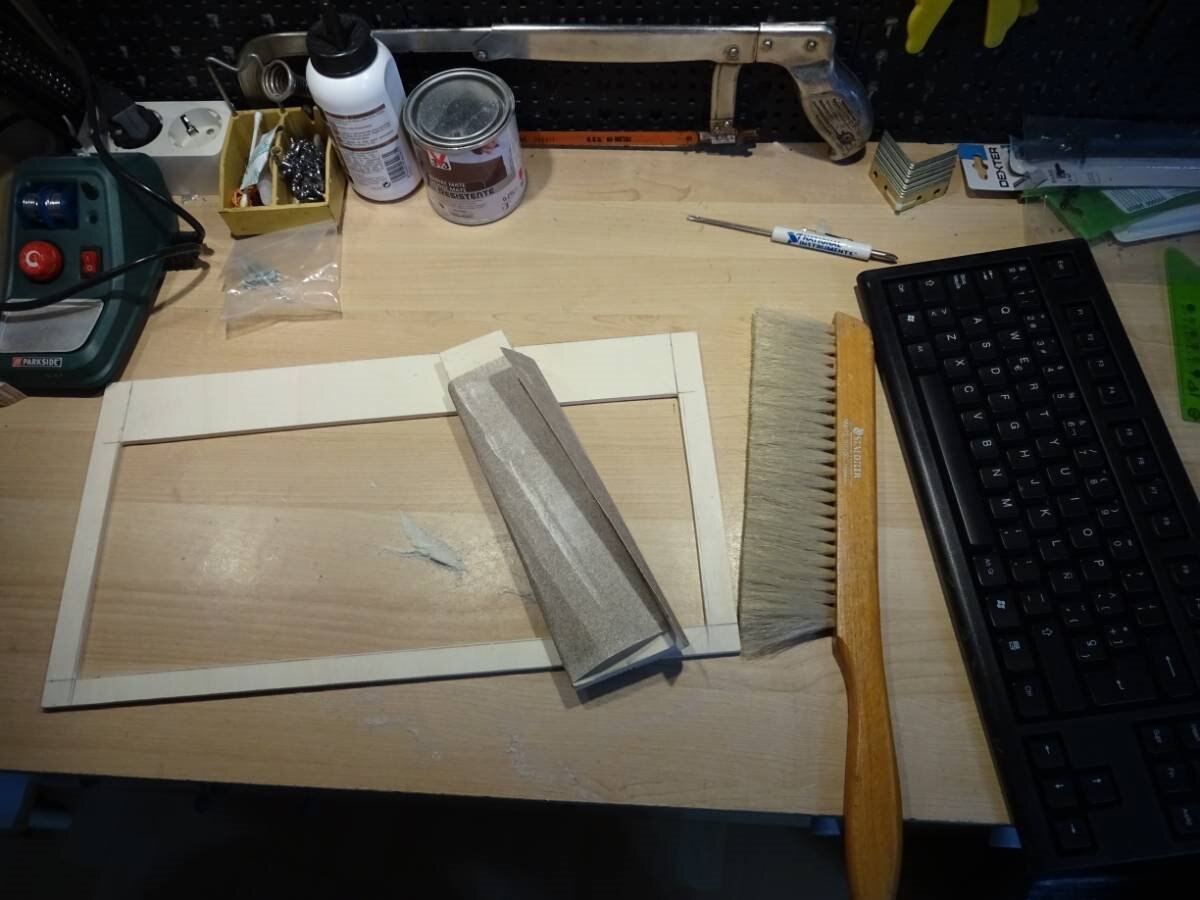
Placing and drawing the keyboard frame:
Sawing the keyboard frame, Iris is sawing straighter than a saw machine!:

Having measures again... or it could be too late...
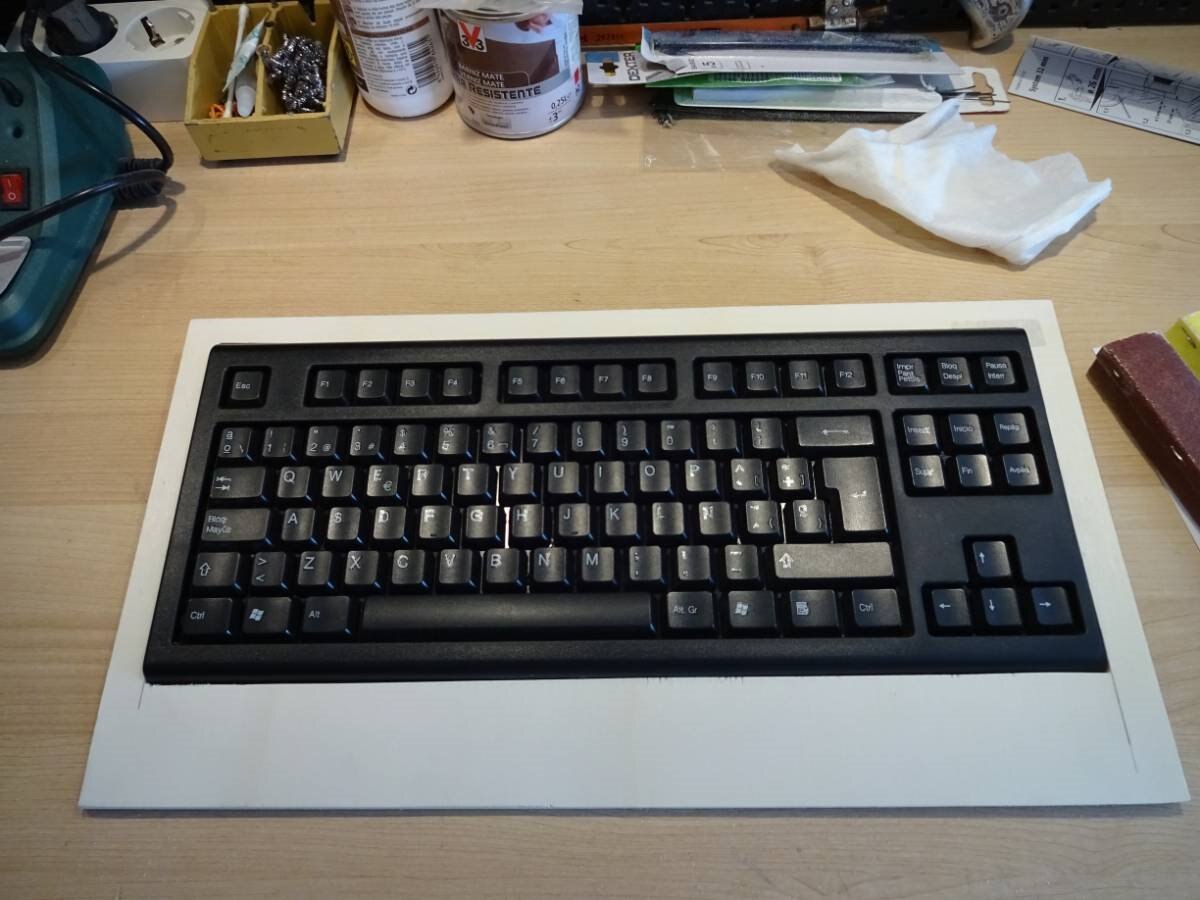
Putting together the keyboard's base and sides:
Filing the differences:
Now it's perfect!
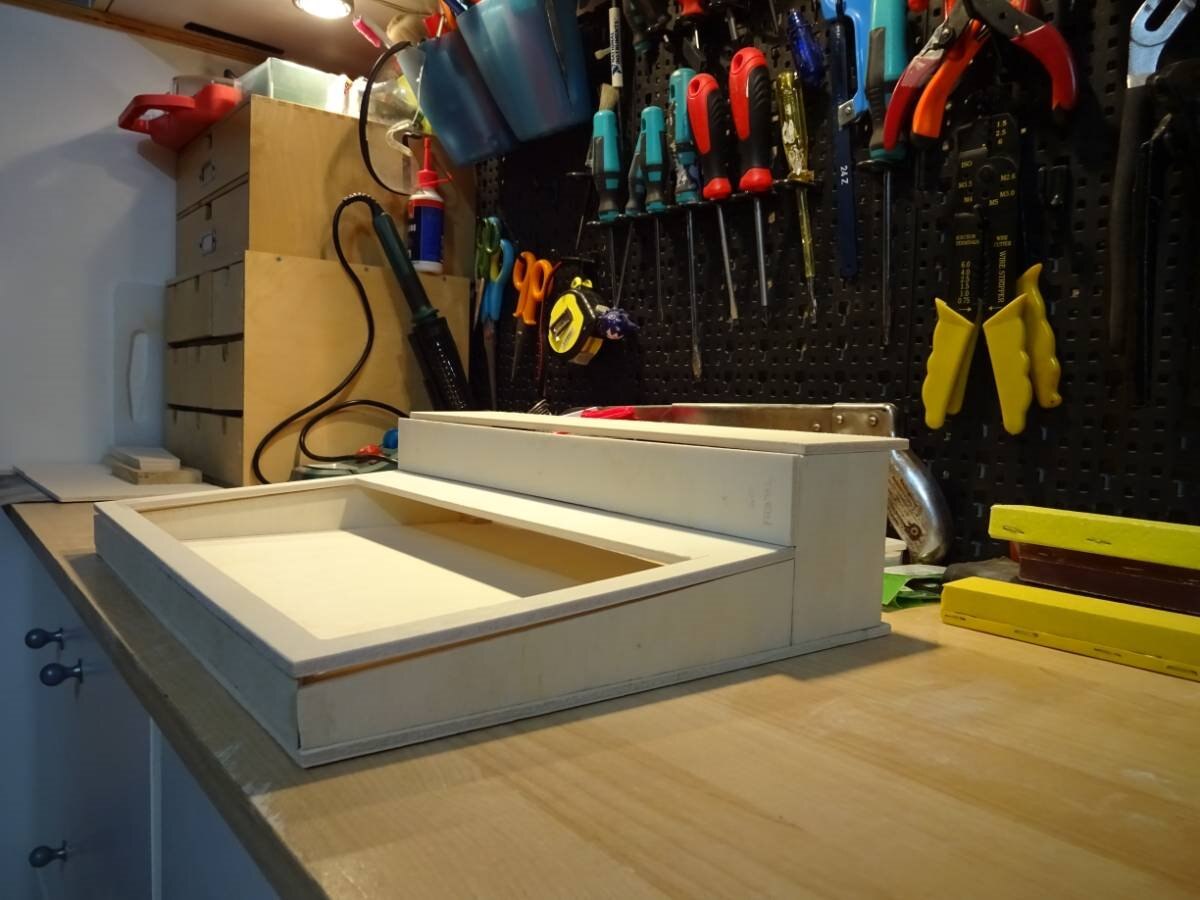
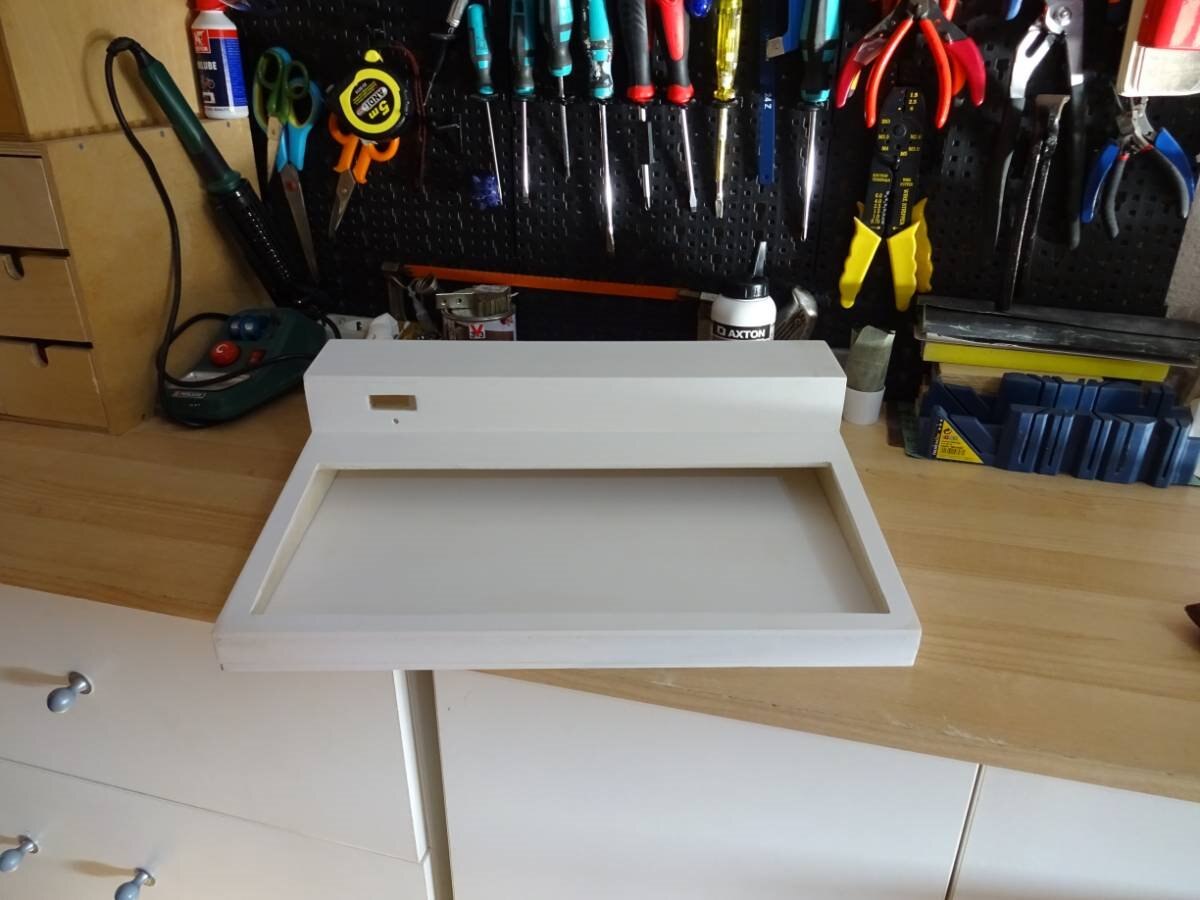
Let's go for the other parts of the box: front, rear and top! The wood is 5mm plywood.
All parts showed are sawed and filled:
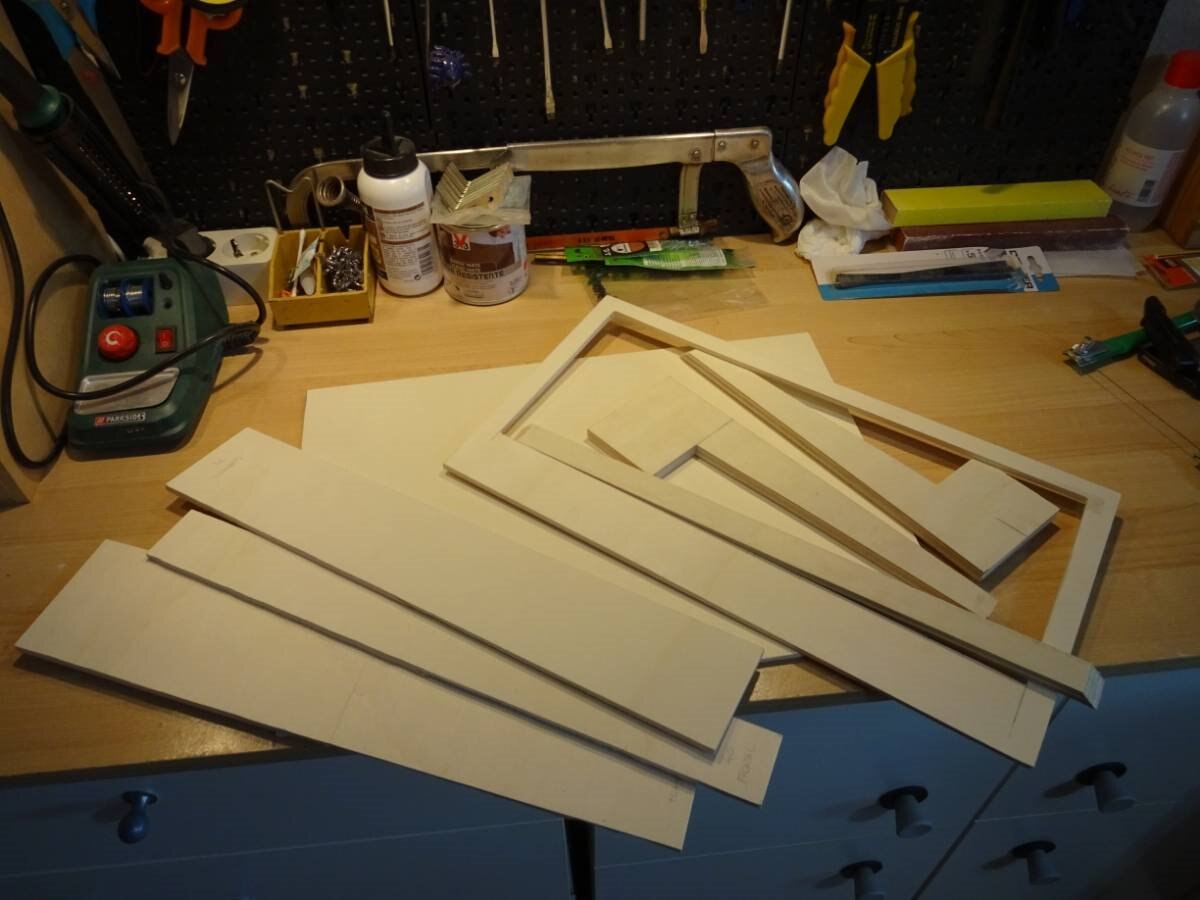
All parts mounted provisionally to have and idea....
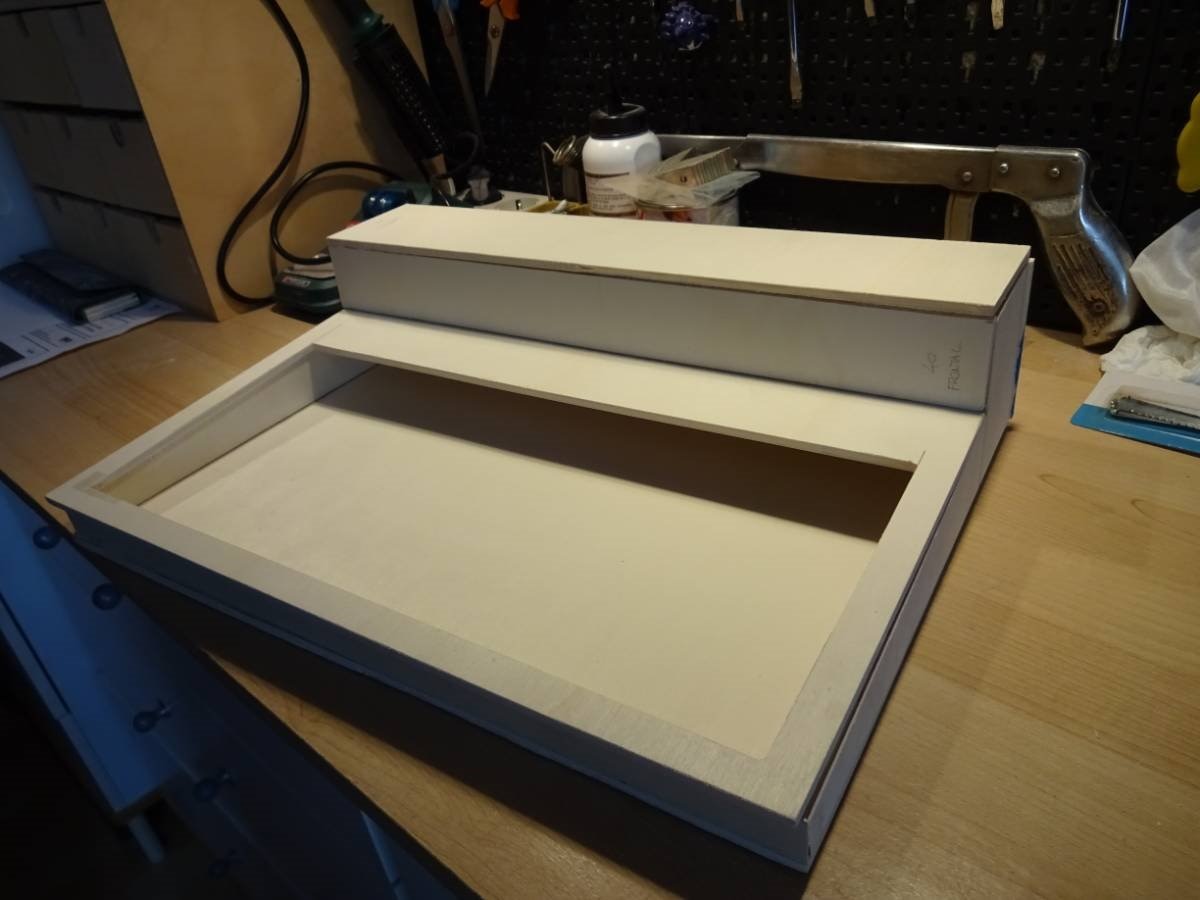
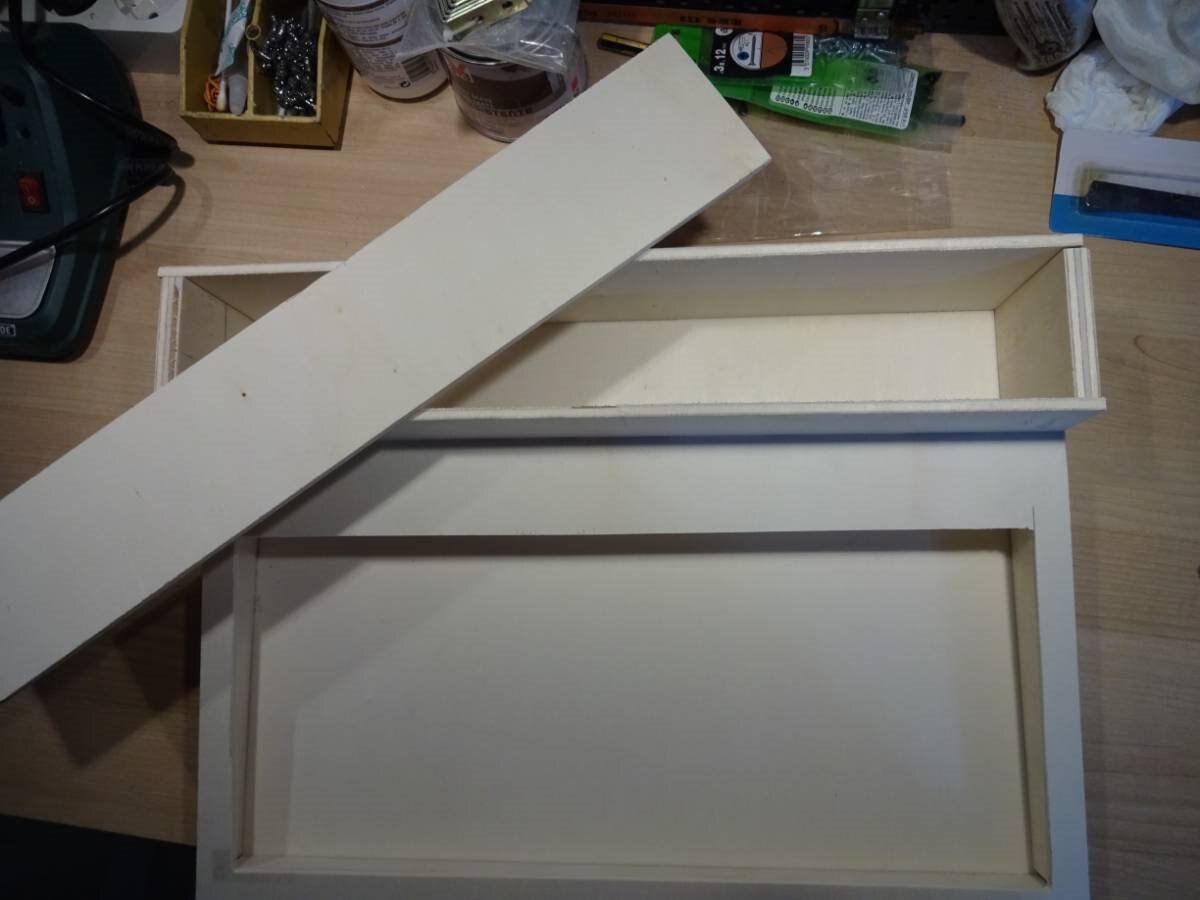
Details of the space inside for fitting the components:

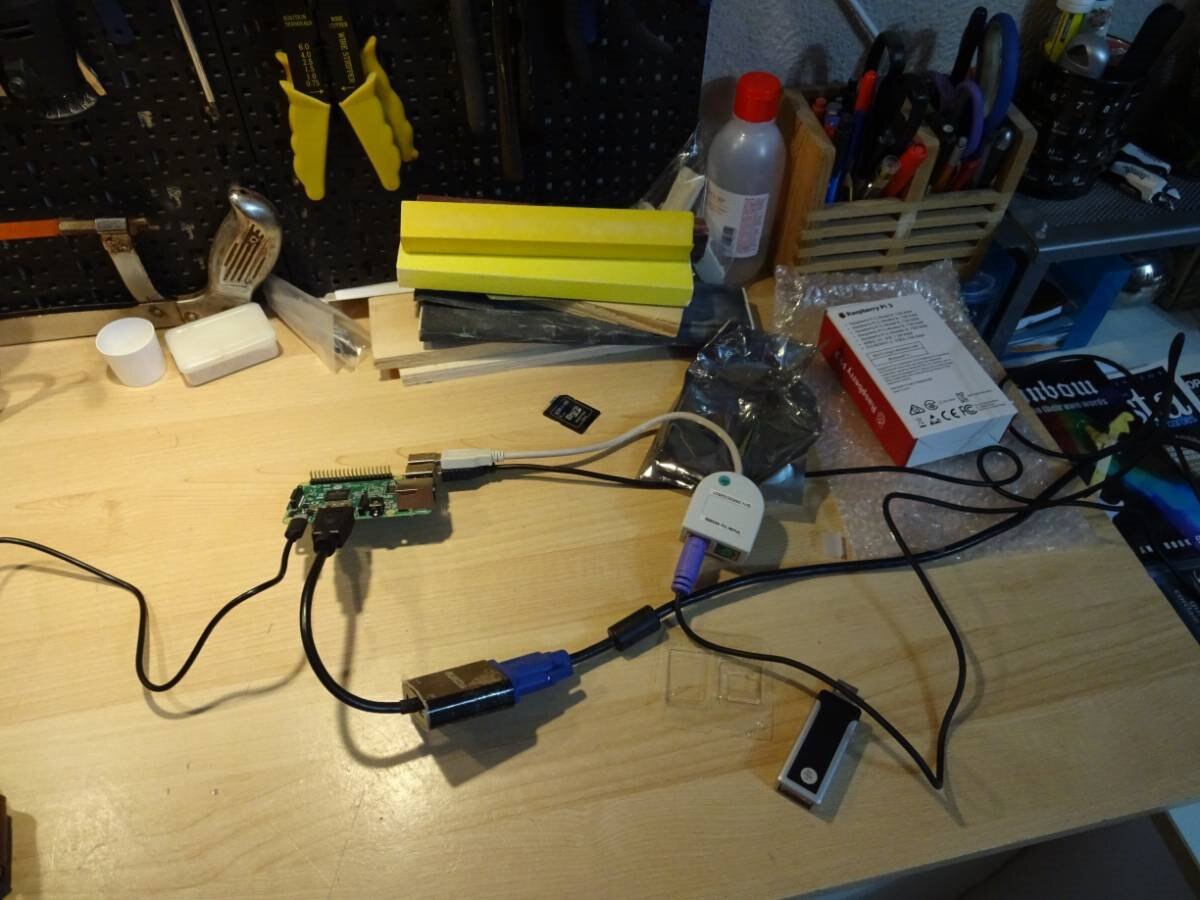
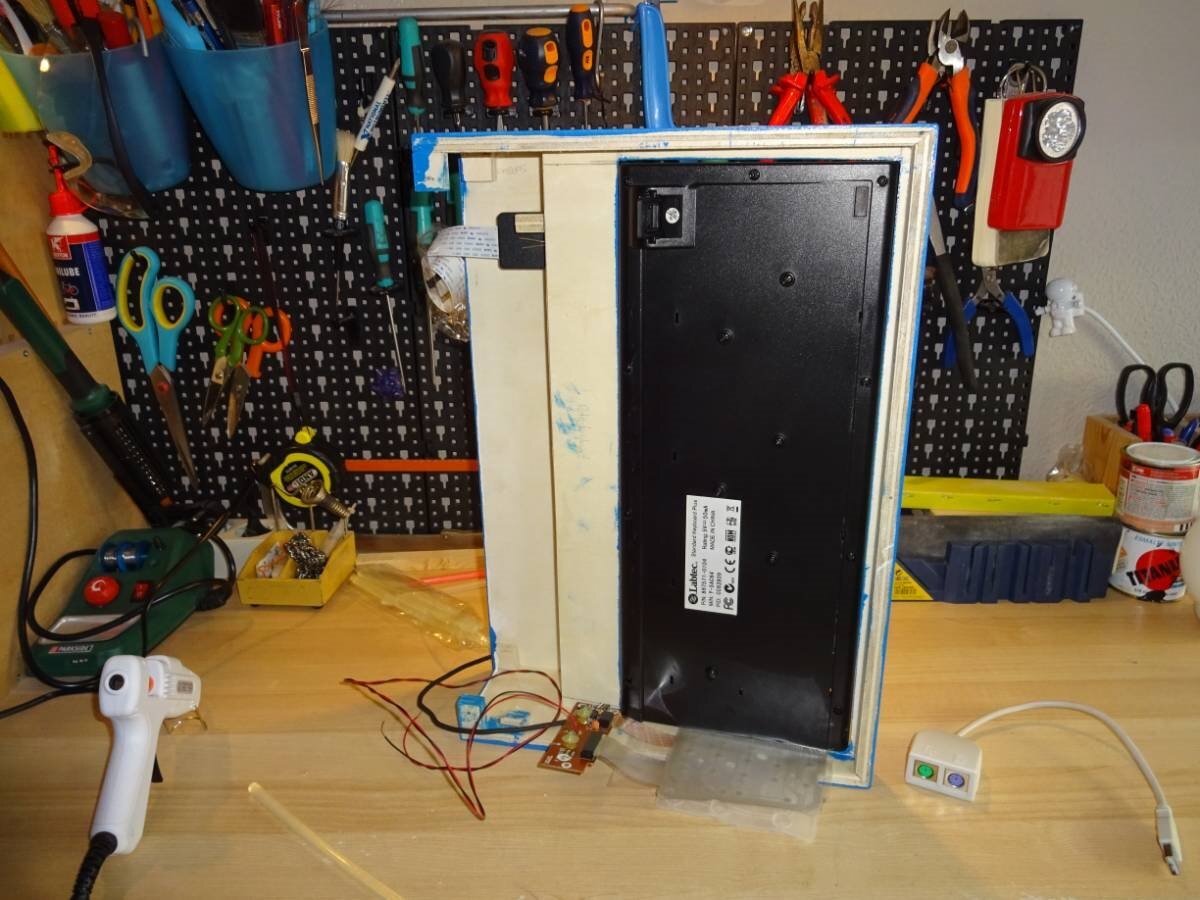
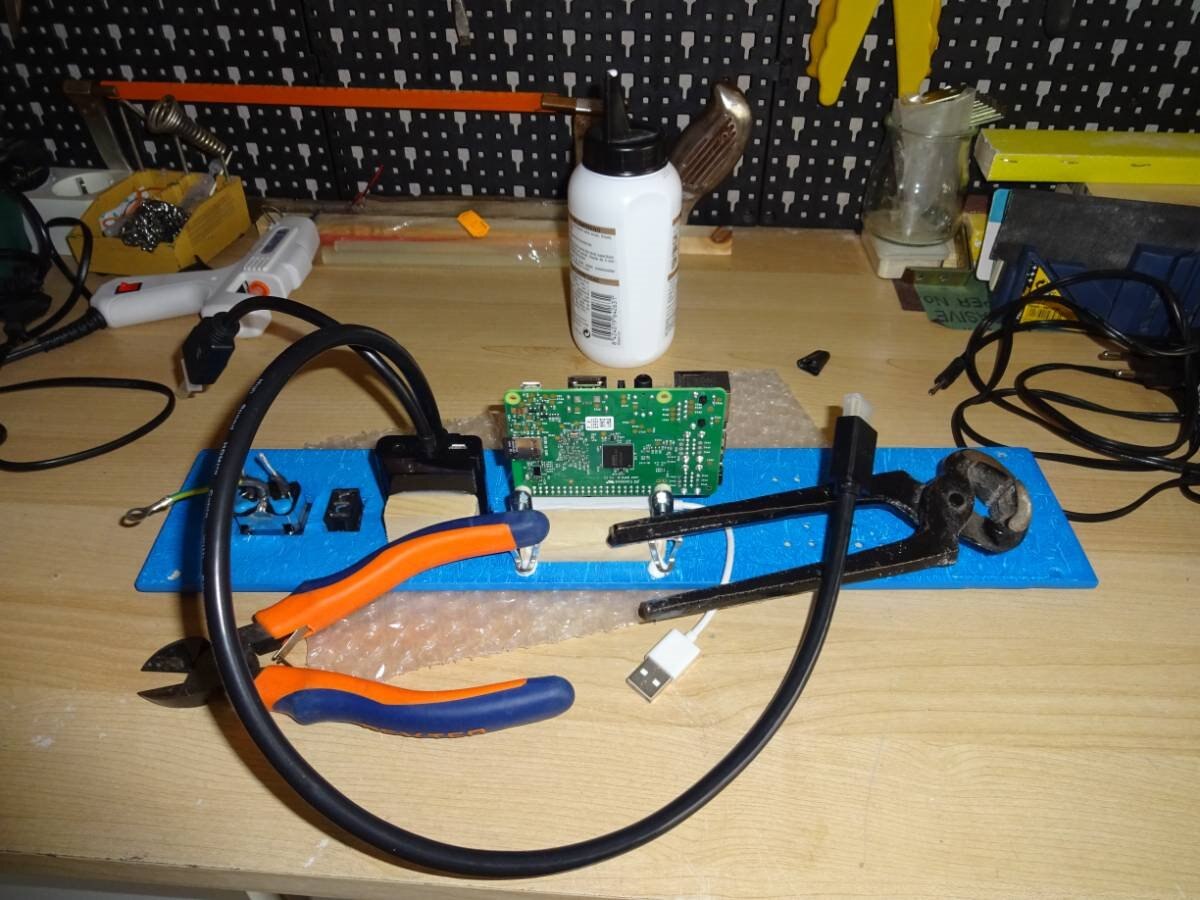
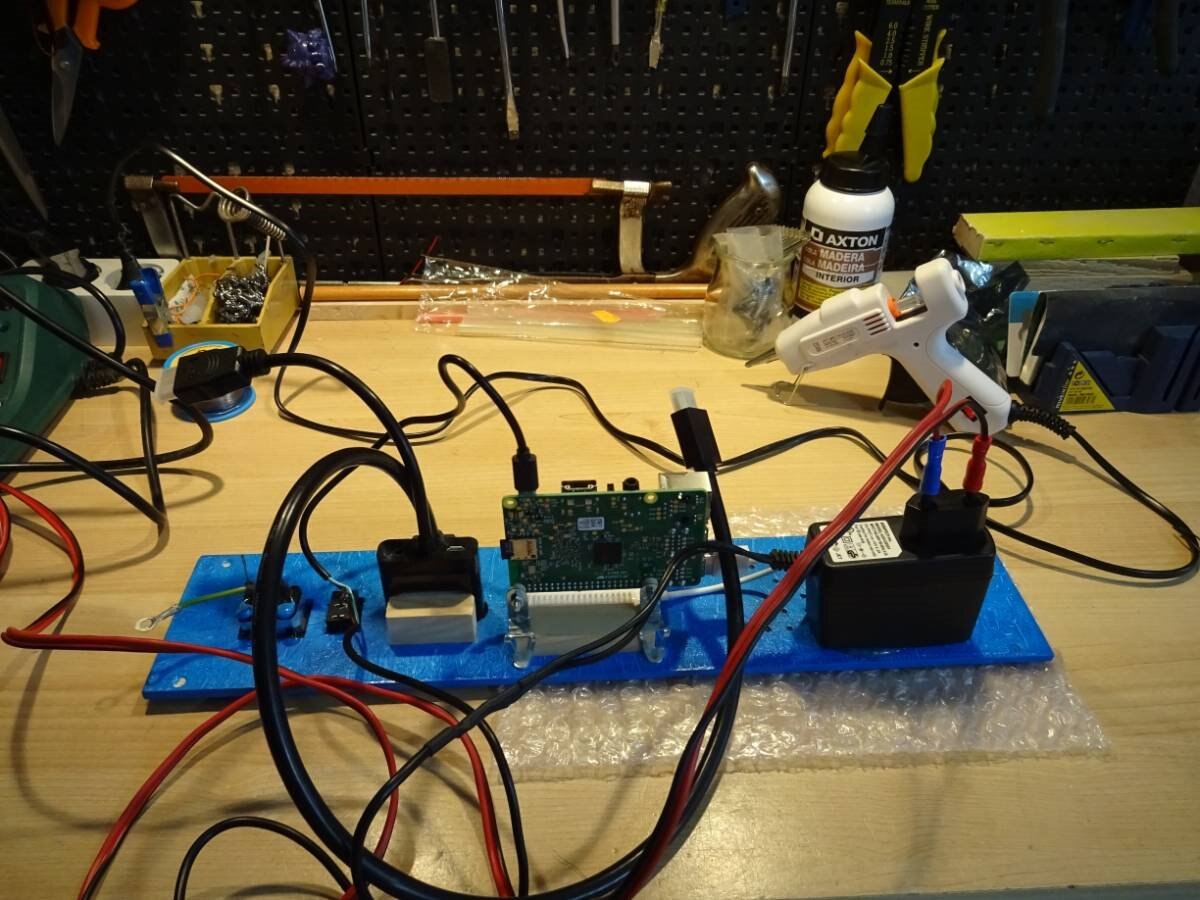
Now is time to test the Keyboard and the VGA converter. Please note that this converter needs a 5V DC input to work properly with a Raspberry.

:Testing the Keyboard without numeric keypad. We have put a slice of plastic between membrane and contacts of unused numeric keys to avoid unwanted touch:
It is time to make the holes for screws, leds and connectors. The back and the base are mounted using screws, this way it will be easy to access inside:
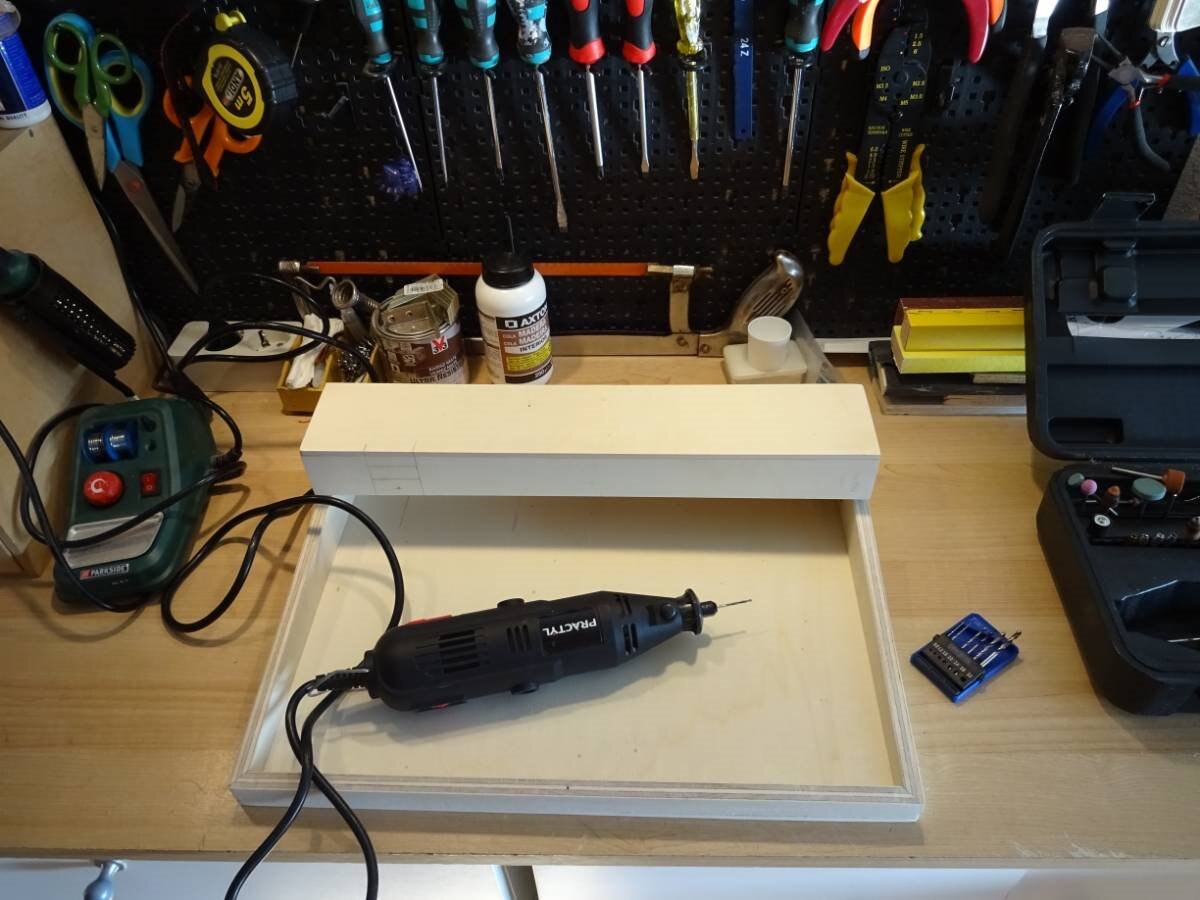
The cartridge hole, led and the rest of connectors are ready.
The process is done using a small drill and a lot of filing. We have drilled too some holes for ventilation:
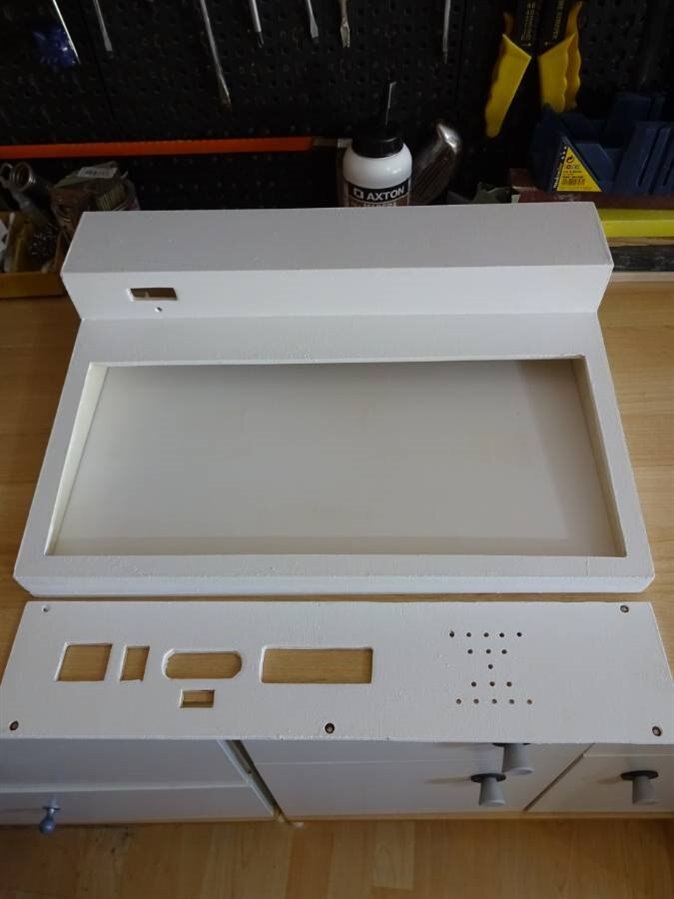
Here the box is glued and prepared with two coats of primer or undercoat paint:
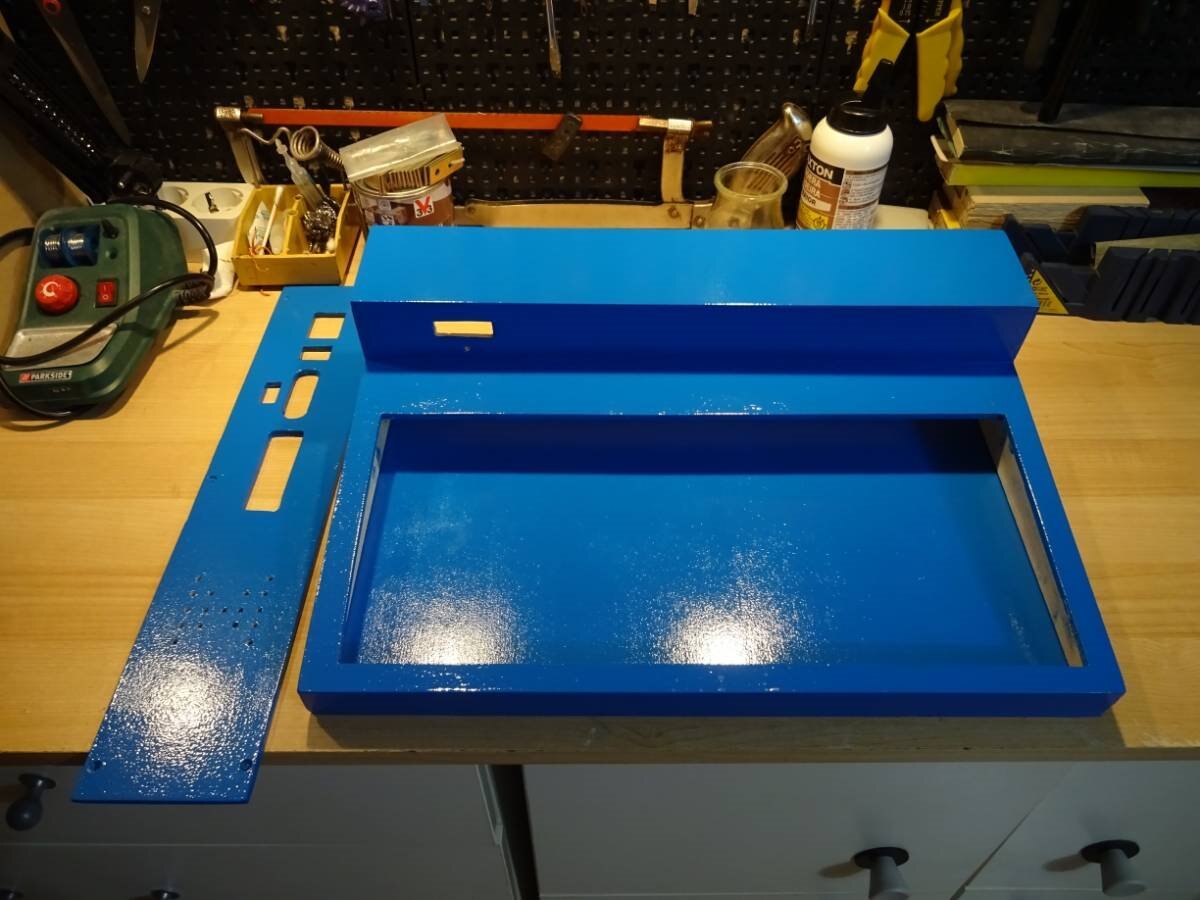
Now is time to choose Color....Wait...What!? Electric Blue!!!???
Yes dad this is what I want!

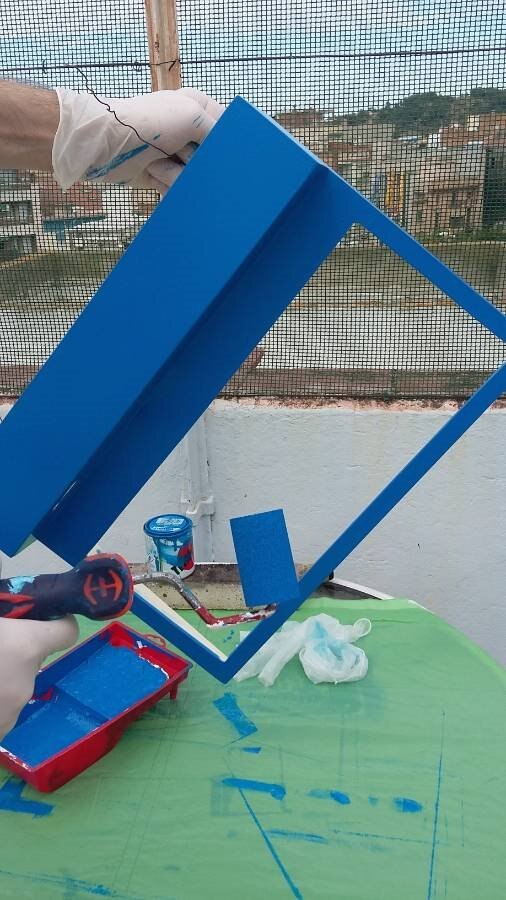
This computer shines!
Preparing decals using decal paper and Corel Draw as edition software.
The name of this computer will be... TKO... Please Iris, could you explain why....?
Sure! I have an OC (original character) called Touko, who loves retro computers. She was the main protagonist of a short manga I had in mind. After reaching a deadpoint in the story, I left the idea in a drawer in my mind, which remained closed for two years or so. When my dad told me about the retro computer and that we had to think a name for it, my bulb lighted: Touko (that old oc) + computer = TOUKOMPUTER (TKO)! A (is it really? XP) original name with sense! And I could also make Touko the mascot: tunning the case, making wallpapers, put her in the logo, etc.! (which I never did... sorry)
So that's all the story! Simple, isn't it?
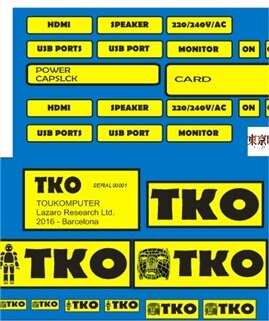
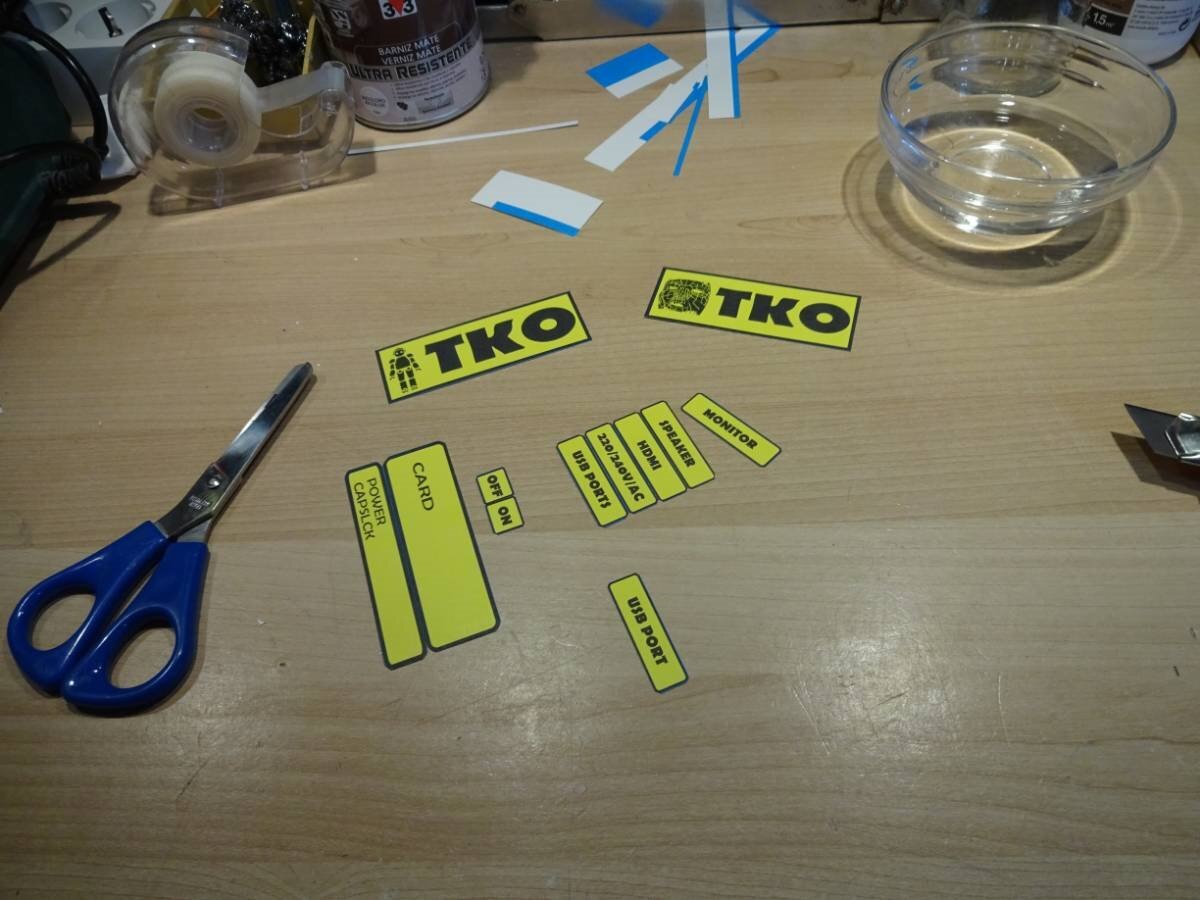
Logos for the Retro Computer Pi TKO:

All decals are in place with two coats of matte acrylic varnish to protect them:
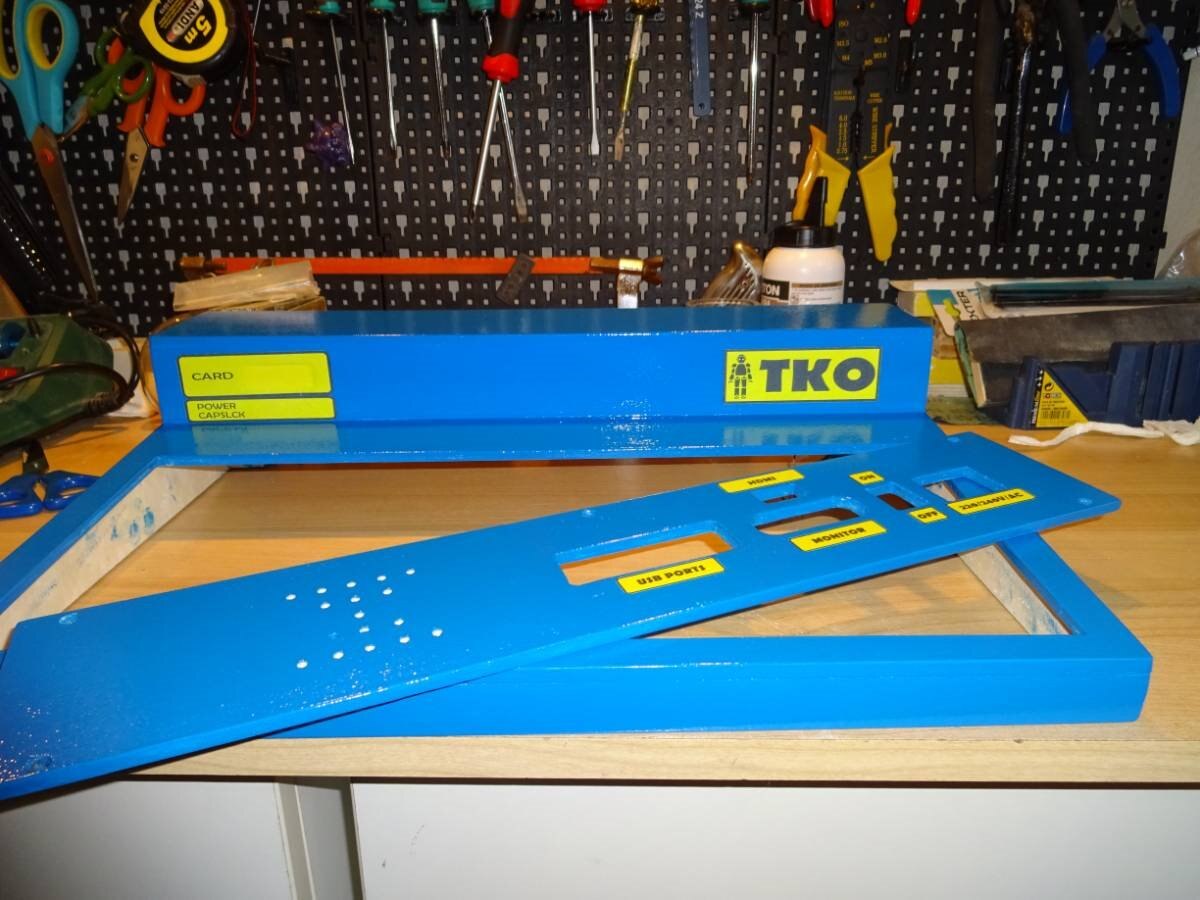
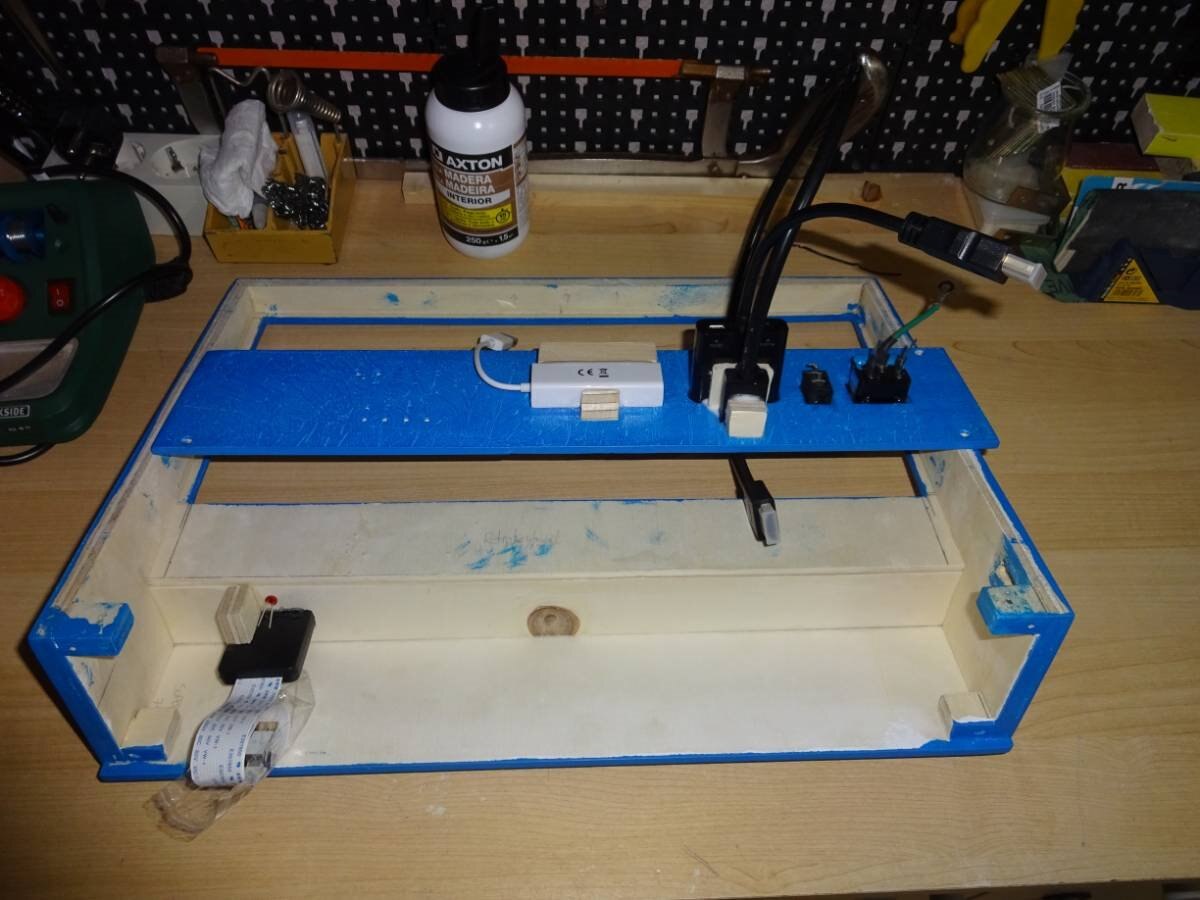
It is time to mount connectors.
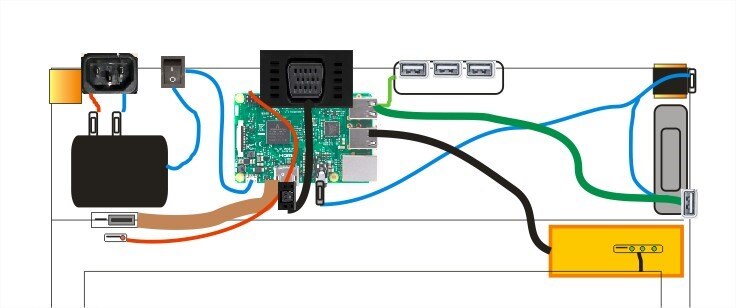
Proposed connectors and AC adaptor placement:
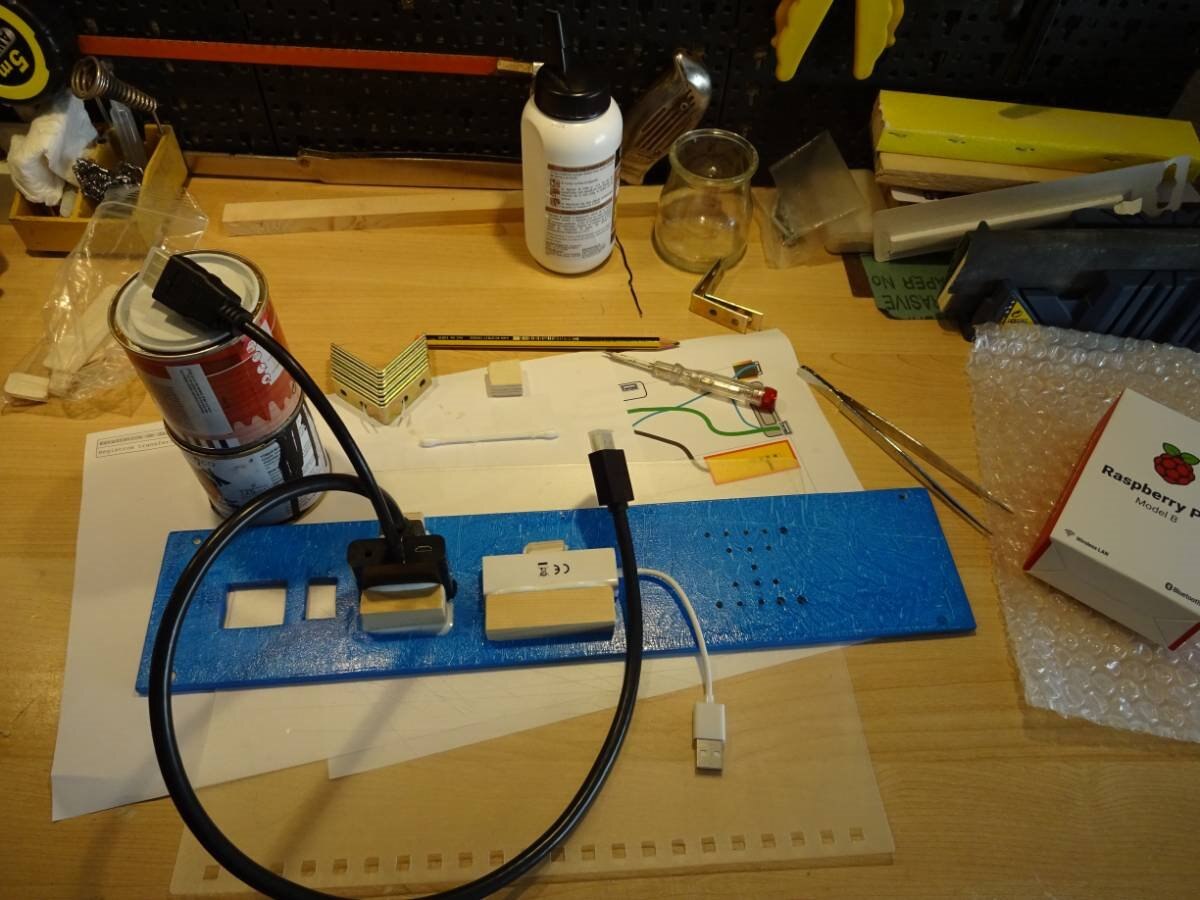
Some pieces of wood make a support for the large connectors.
There are installed two monitor adaptors, one for VGA and one for HDMI. Unfortunately It will be necessary to open the computer and connect one or the other to the Raspberry Monitor Output in order to choose between them:
Here we are extending the keyboard caps lock led, this will go directly to the front of the computer box:
The Keyboard is glued to the wood and ready to rock!
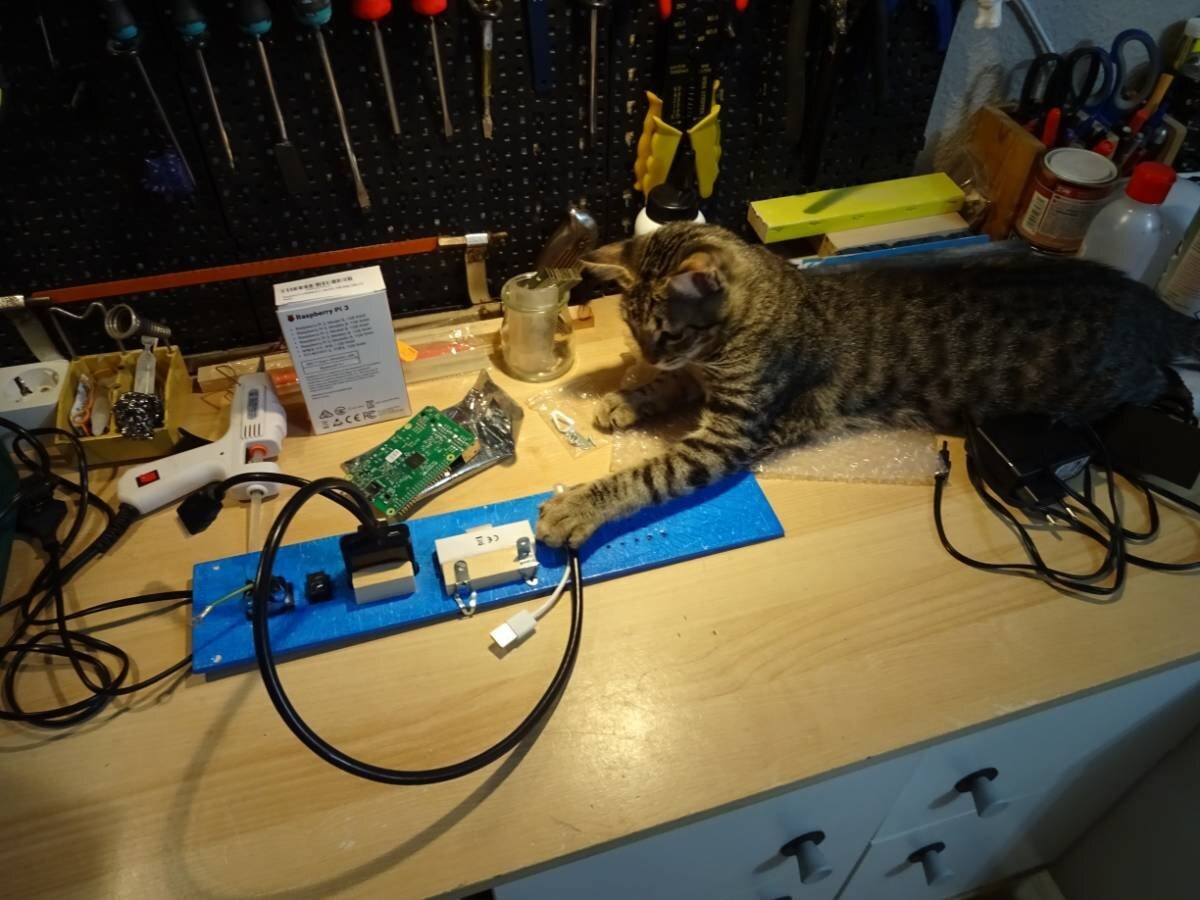
Here we have some external help...
Using two recycled washers we are holding the Raspberry to the computer box connector board:
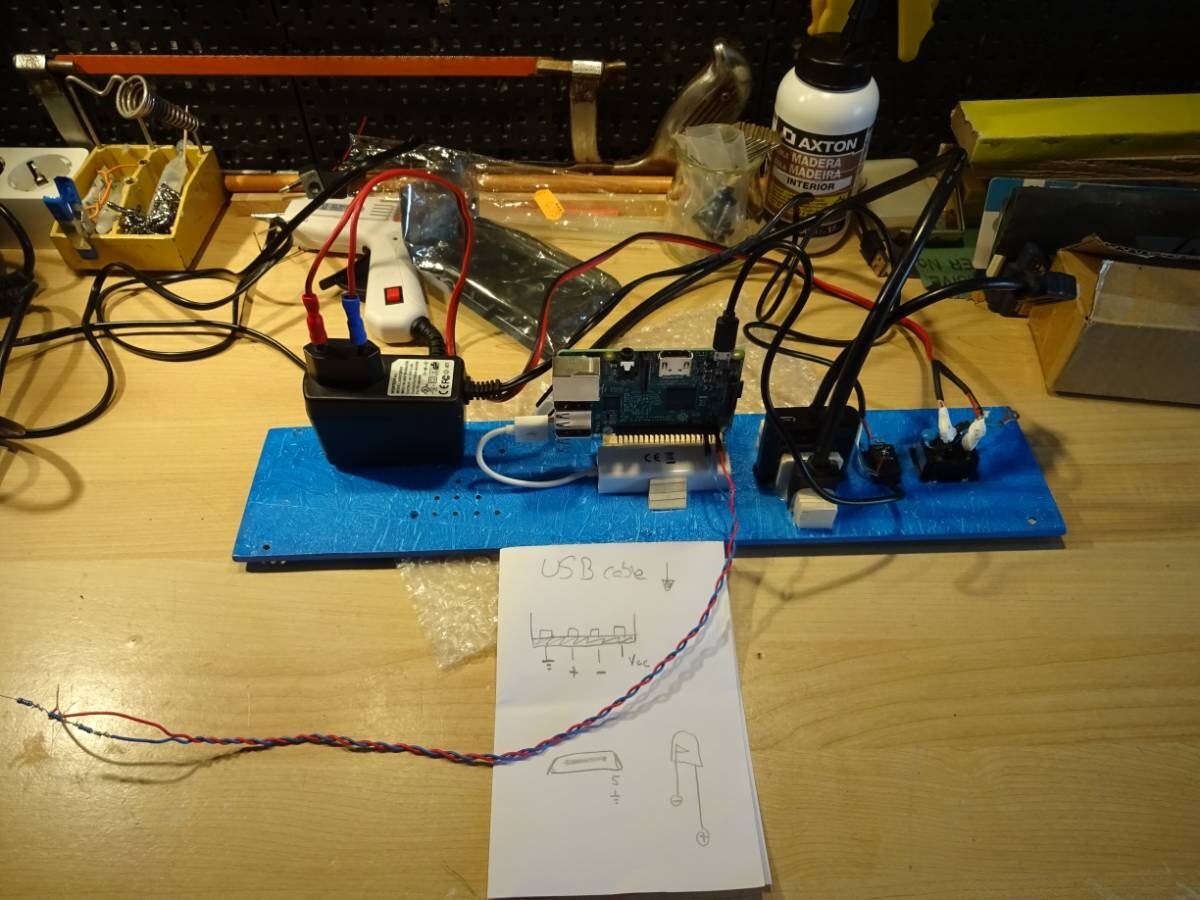
Now is time to bring power, here the AC Adaptor is glued to the board, then the 5VDC Output is connected to the on/off switch and finally to the Raspberry DC Input.
AC arriving to the AC outlet is connected to the AC/DC adaptor using a couple of Faston Terminals:
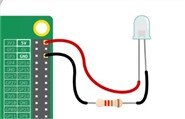
Here we see also a Power LED, it goes directly to the Raspbeyy PI 5VDC pin and ground respectively, using a 300 Ohm resistor
Also there is a double check in the AC ADAPTOR to assure that +5VDC is properly connected to the Raspberry DC Input:
For a properly operation we are Installing Heat Sinks to the Raspberry, 3 in total:
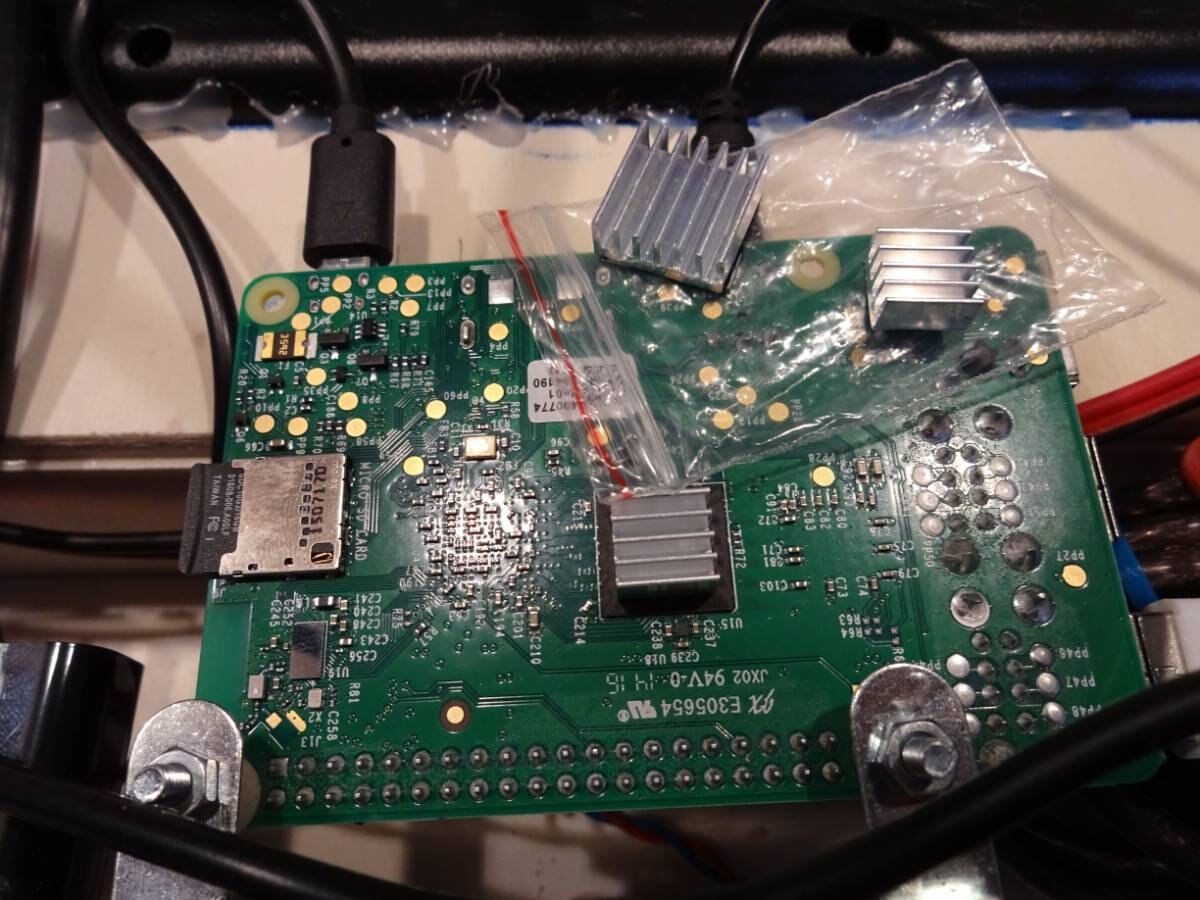
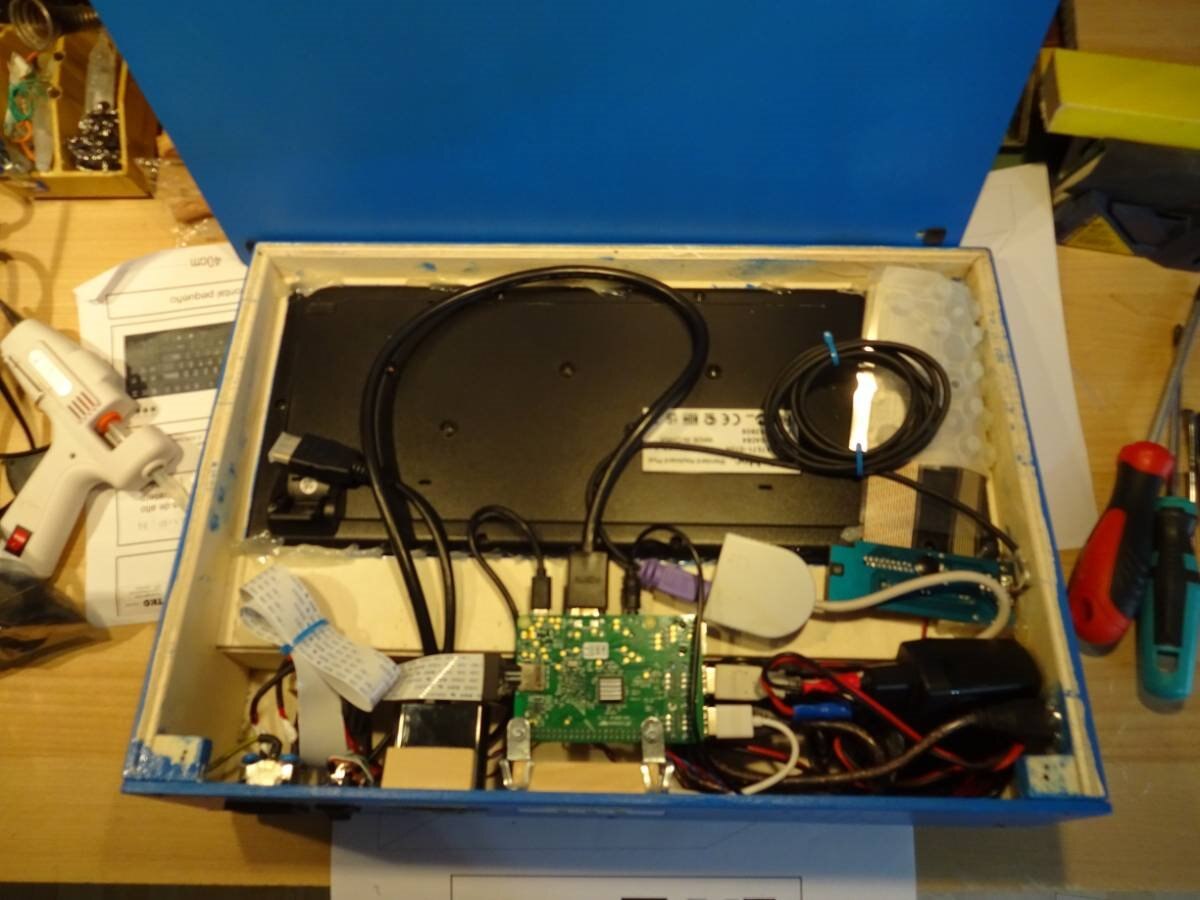
And with all connected the TKO is a little messy inside.... Observe the SD/MicroSD Adaptor Flat cable: the trick for the frontal cartridge port:
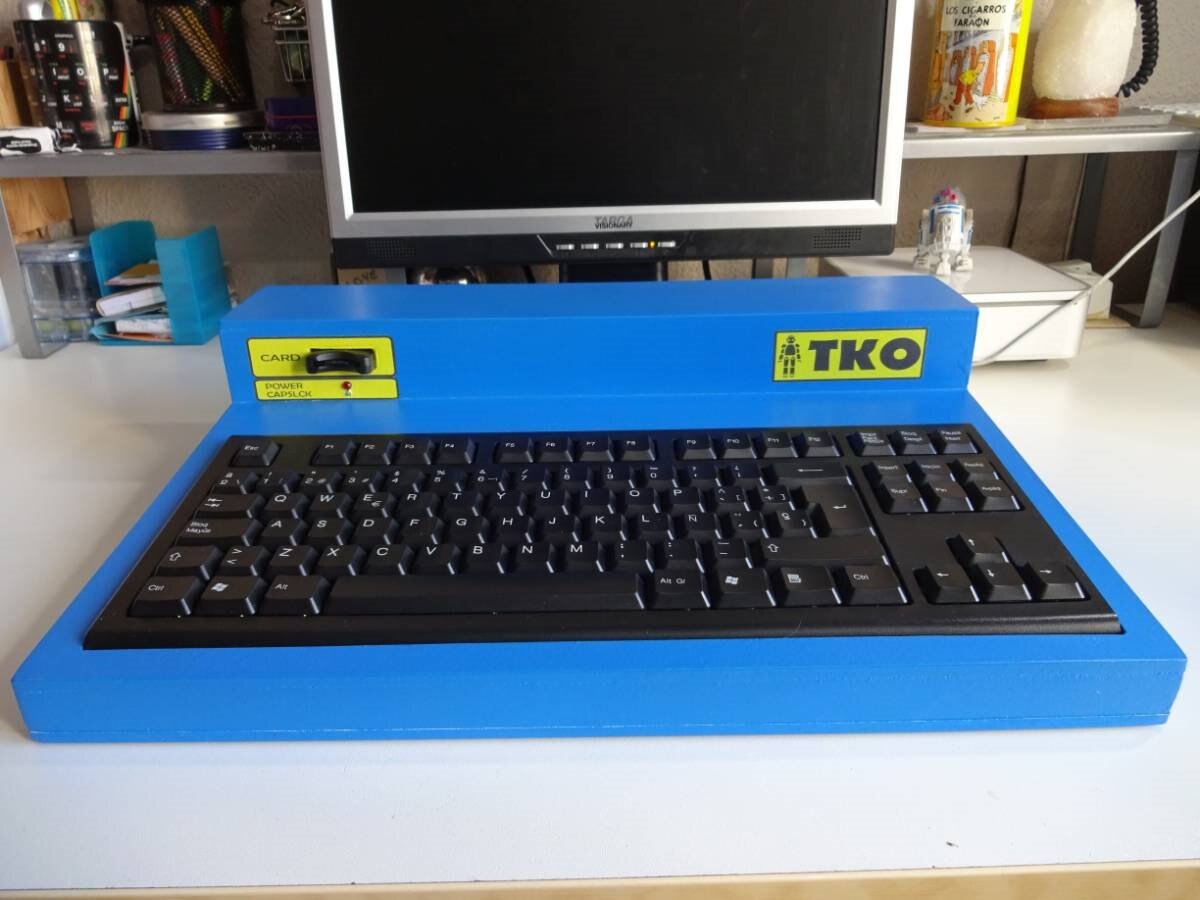
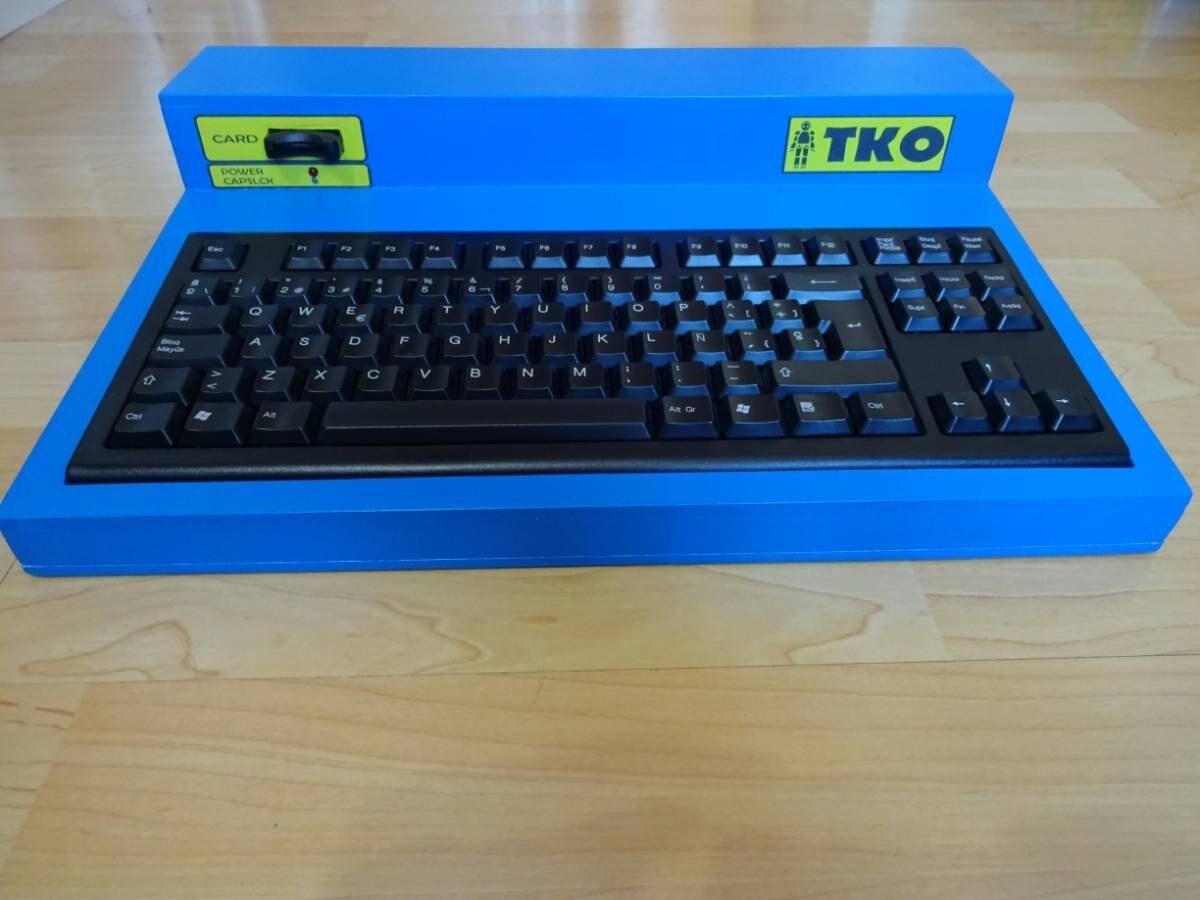
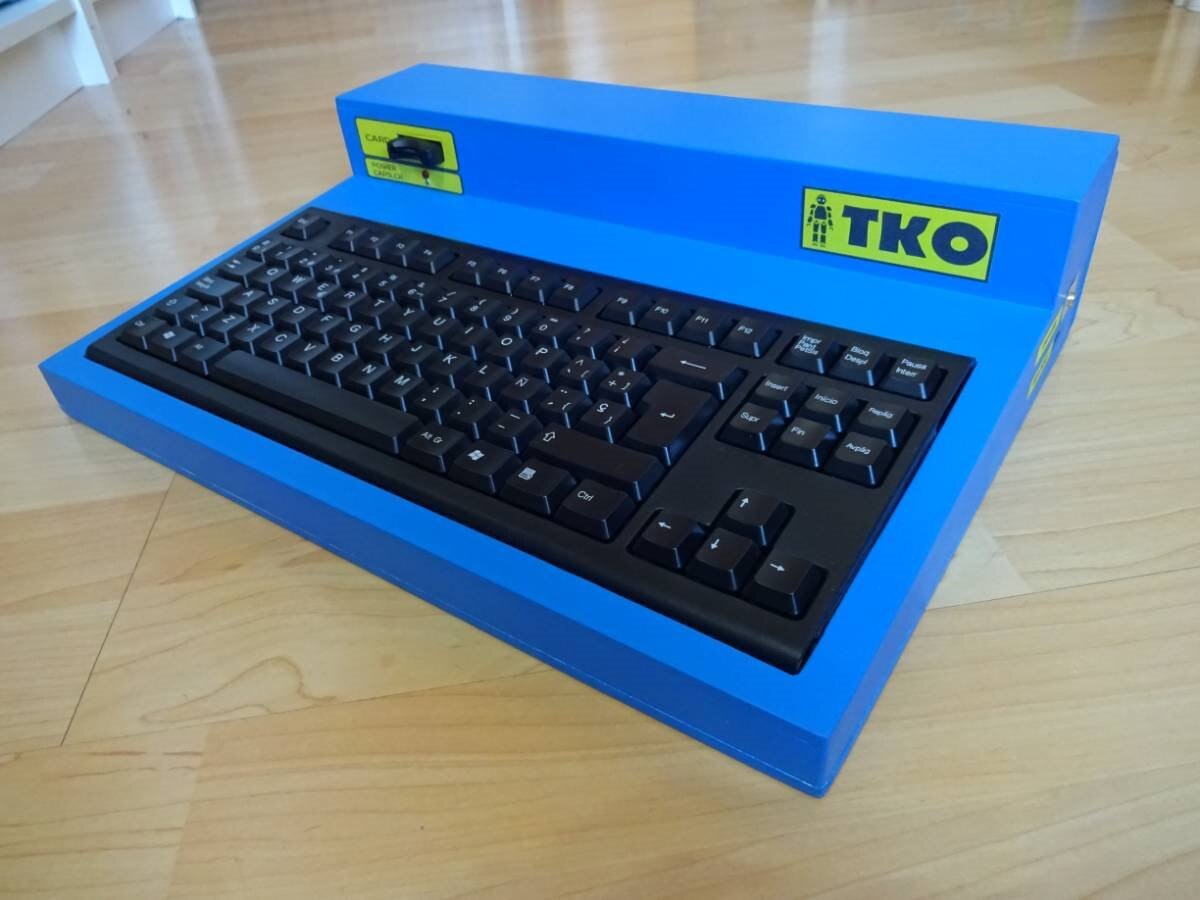
Ladies and Gentlemen... Let us introduce you the Retro Computer Pi TKO!
This is THE MACHINE!
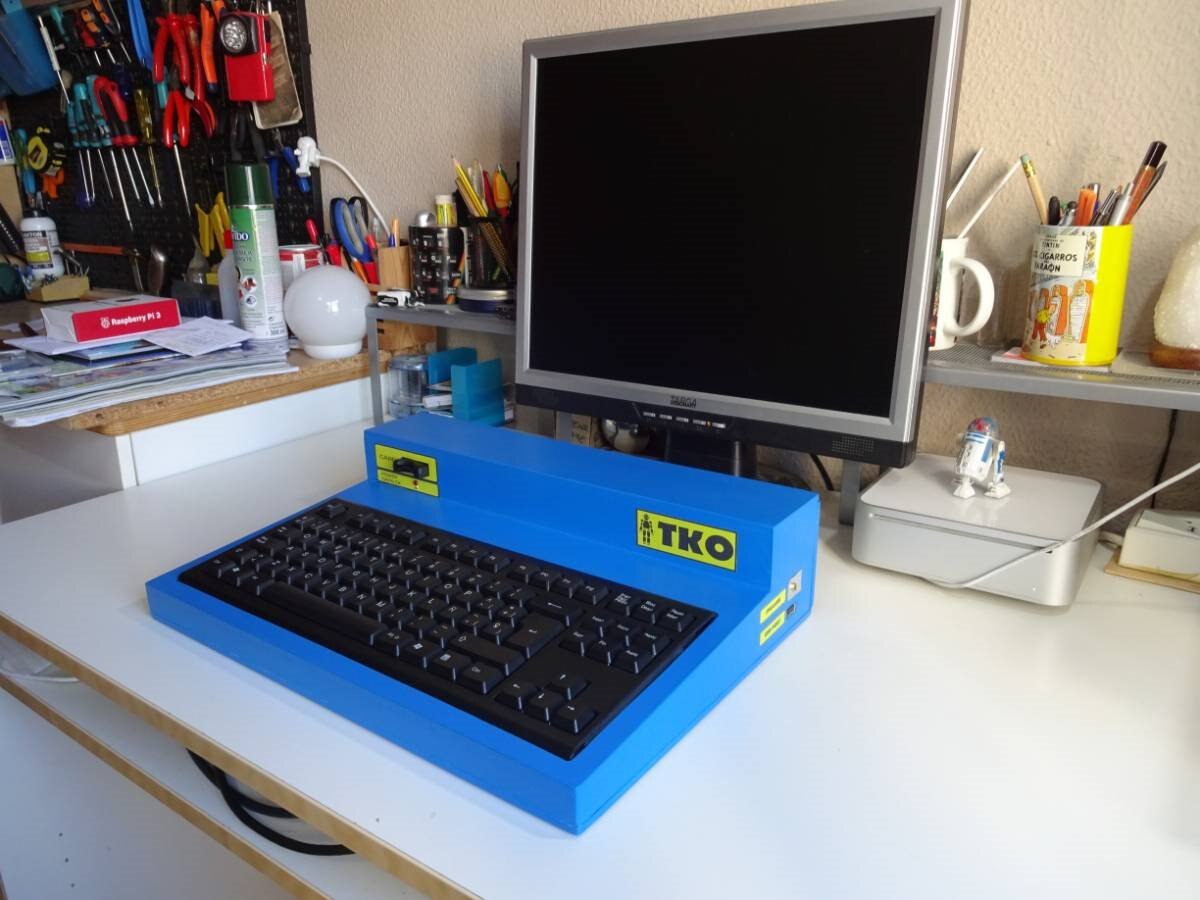
Computer size compared to a 19 inch monitor and to a Mac Mini...
Some more pictures in detail:
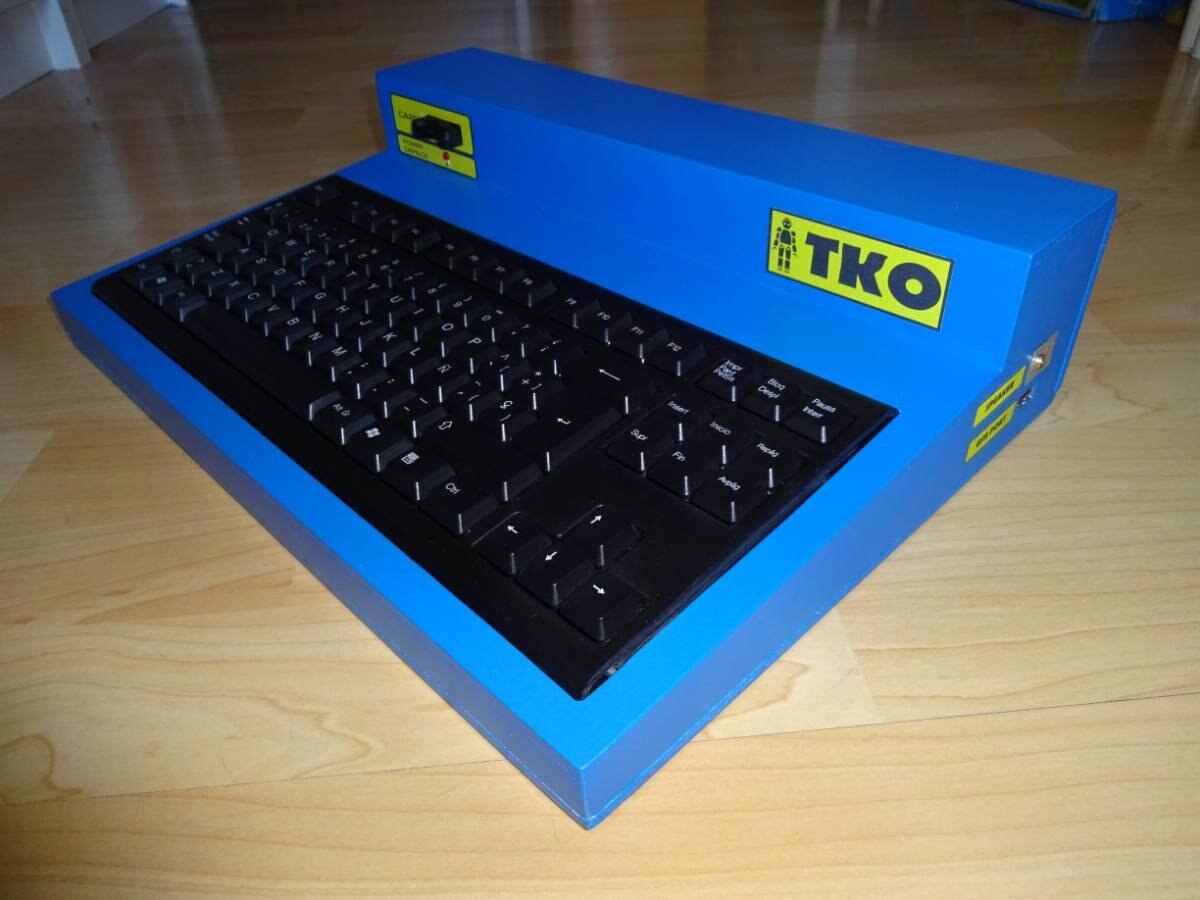
The Cartridge Port is a really good Idea, We have a lot of rooms ready... for OS images ; )

Photo of the OS Cards:
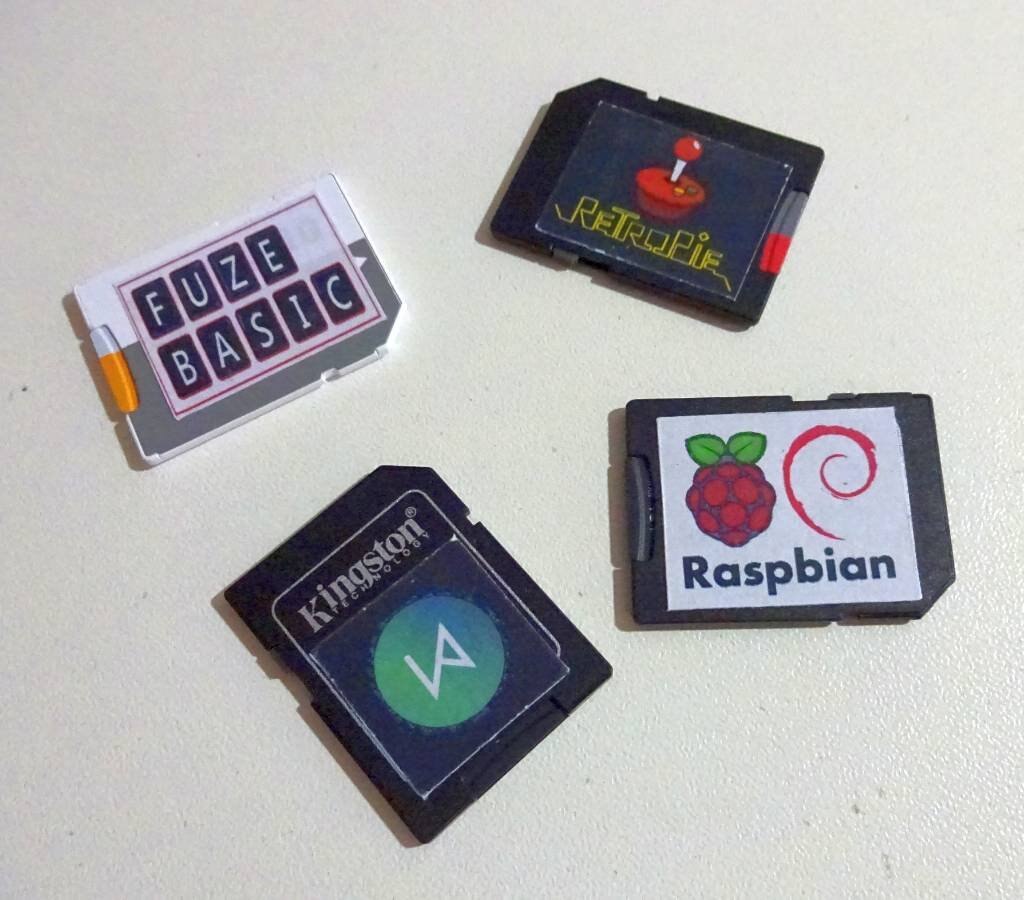
An easy way to change between operating systems (similar to a Nintendo 3DS!):

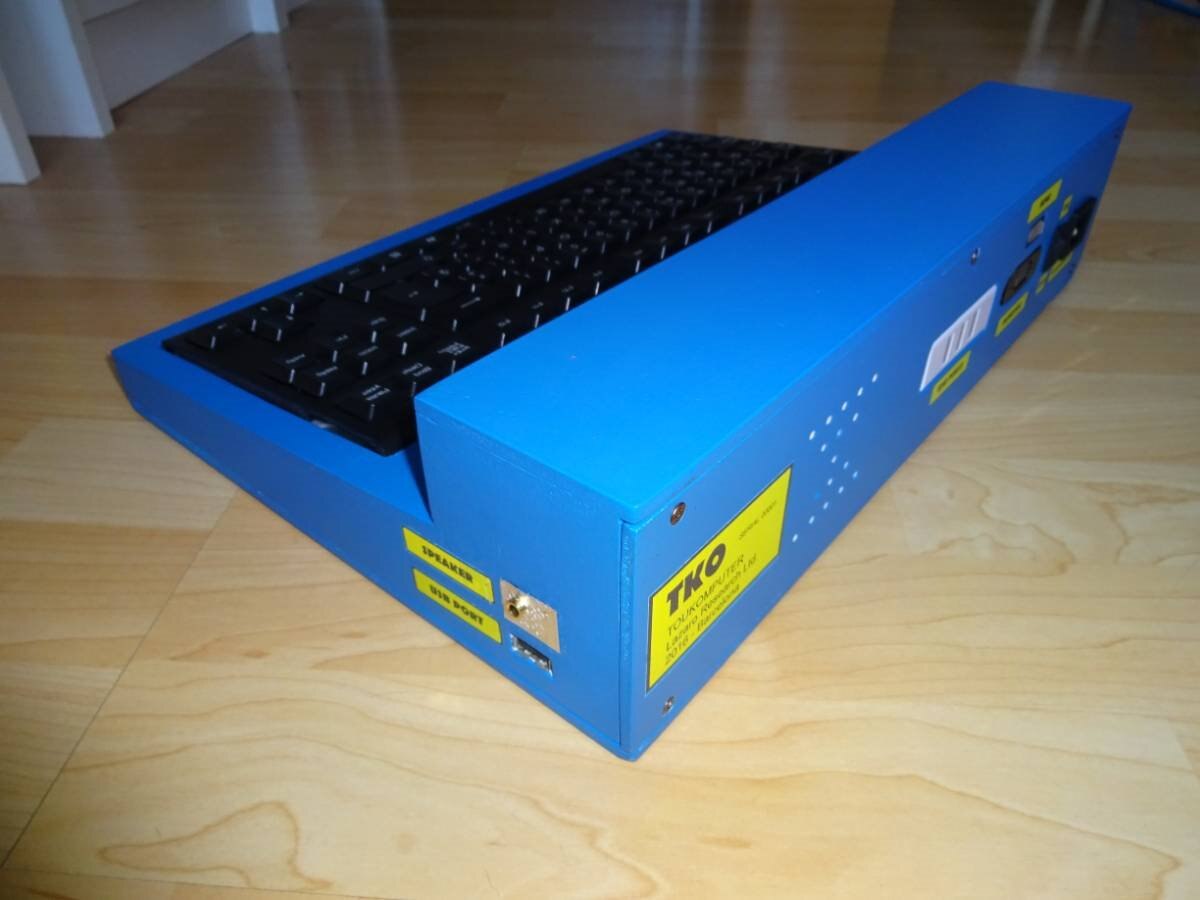
Look at the connectors at the back side:
At the moment, there is no need for Ethernet port being WIFI the only network connection:
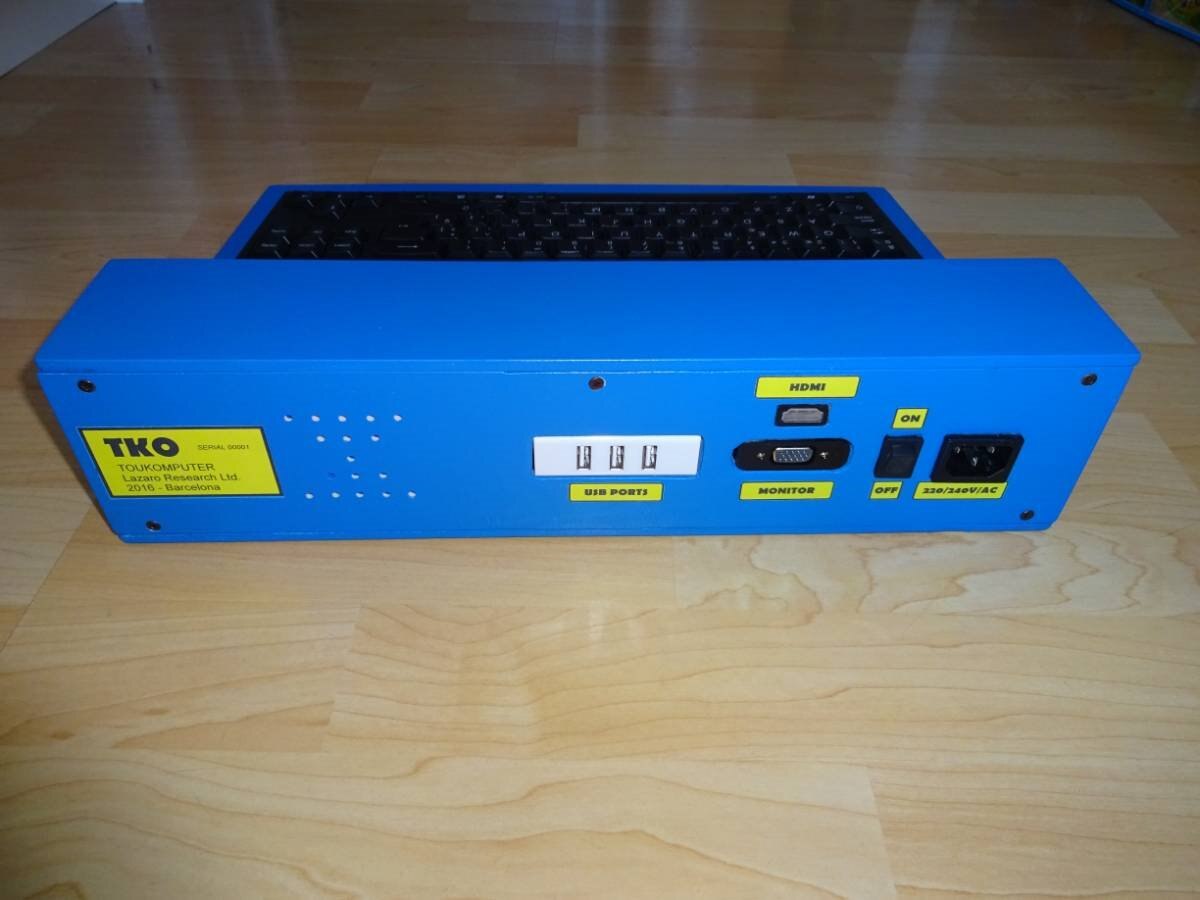
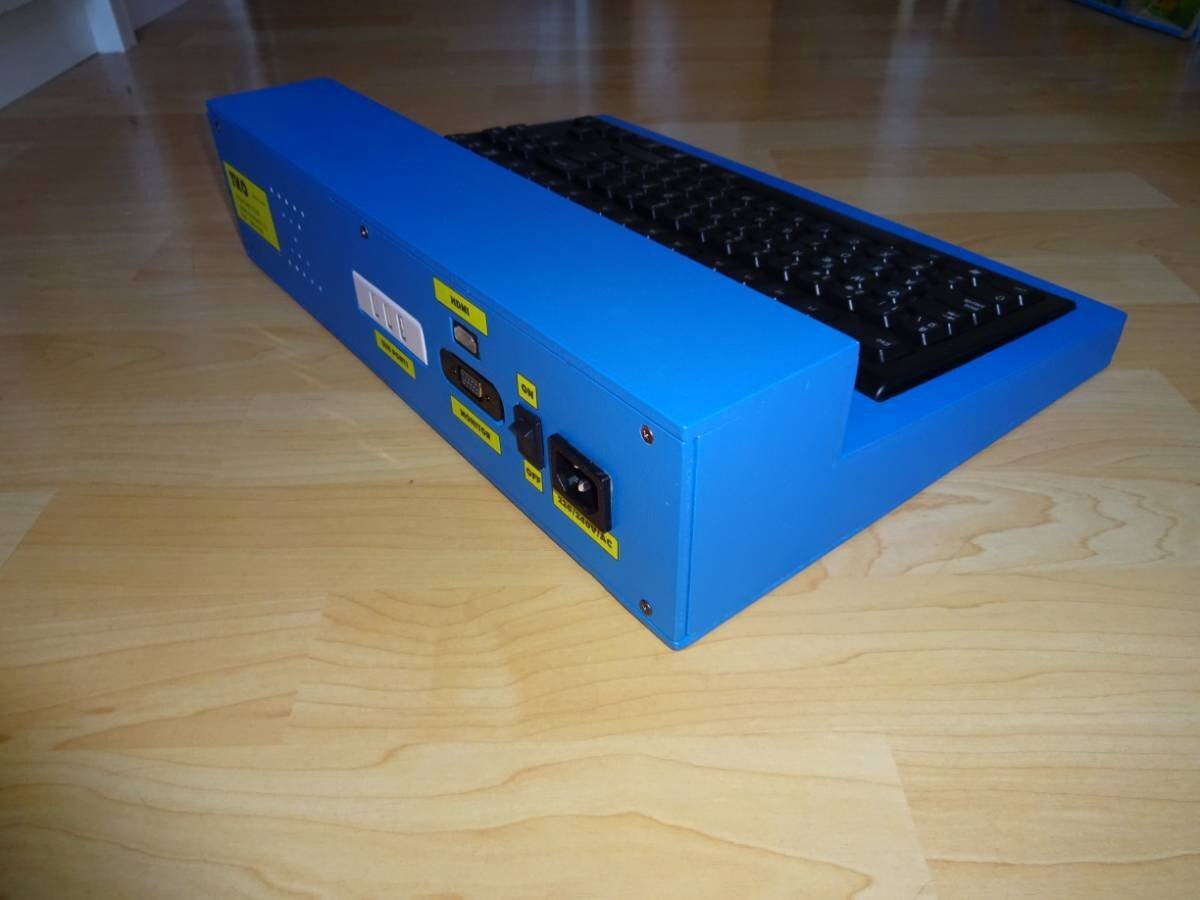
Look at the speaker out and additional USB Port ( using a USB cable enlargement). An easy way to connect USB devices.
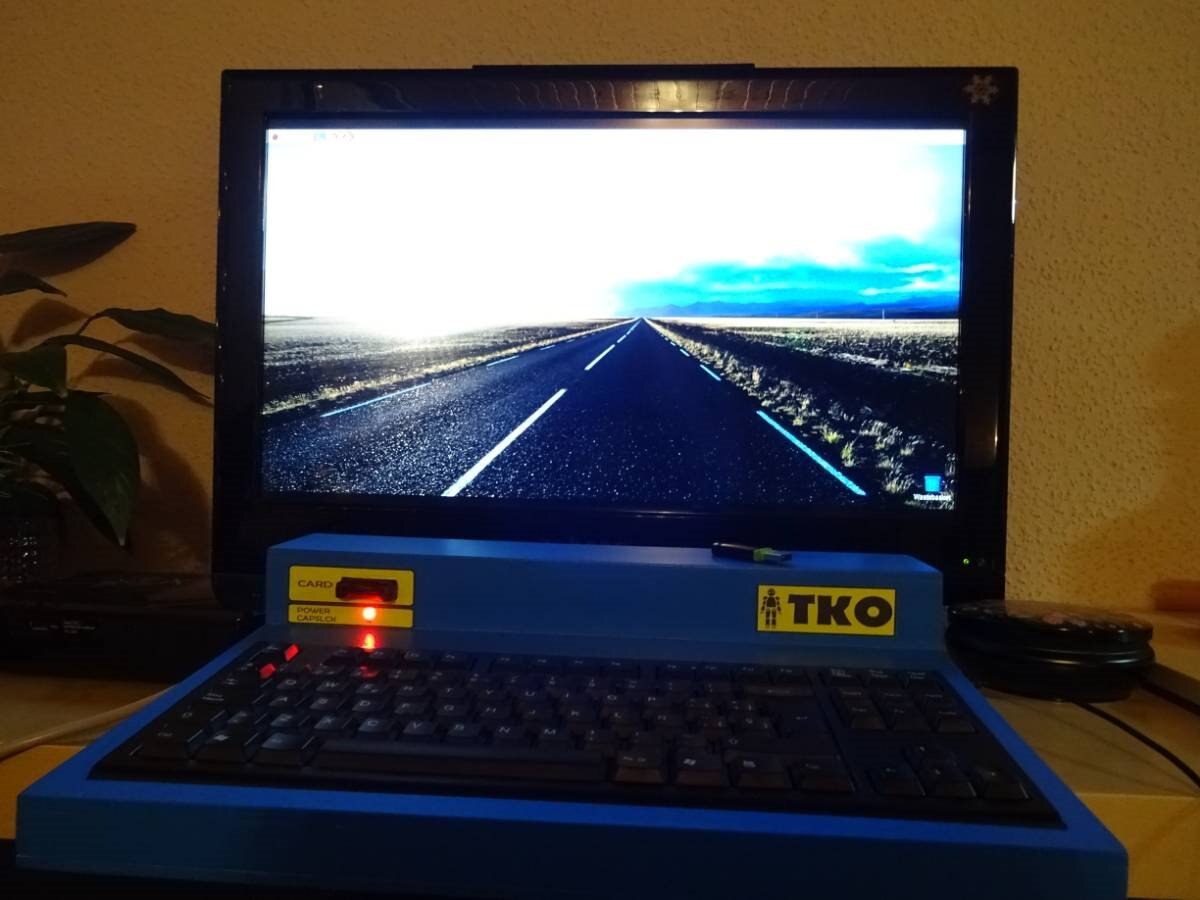
The machine is ready to work!
Using a 27'' HDMI Screen:
Using and old TFT 17'' Monitor:
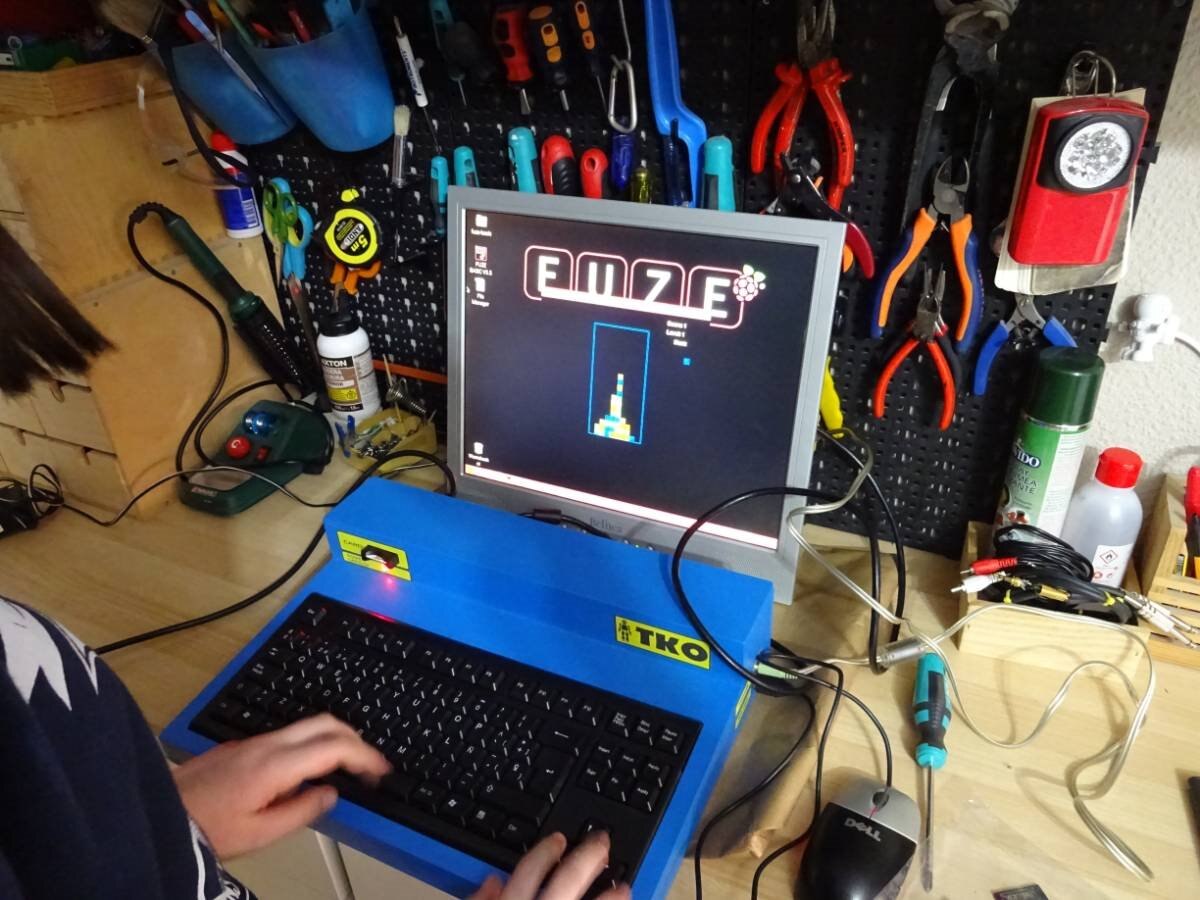
BASIC in ROM... no... in SD CARD....
So this is all. My daughter and I have enjoyed a lot in the process and we have learn some things, too. It is time to enjoy the system!
Thank you very much for reading!
Xavi Lázaro & Iris Lázaro
Barcelona - Spain 2017
Top Comments