


I've started blogging about my experience in Road Test reviewing the Ultimate Raspberry Pi Bundle. As a part of this Road Test I'm creating a Fridge/Freezer Temperature Alarm system for our local food shelf, Channel 1. You can see where this Road Test started for me here
Installing Raspian on the Raspberry Pi
That is a slightly misleading statement, as the Pi doesn't have any local storage. More precisely what I did (while the NFC playoff game was paused) was use the provided NOOBS SD card to select my choice of Linux flavor to run on my Pi.
NOOBS stands for New Out of the Box Software. It's meant to make setting up Linux on your Pi easy, and it avoids the need for a network connection. When NOOBS boots up, I was presented with the following options
- Archlinux, - very configurable linux distro, but probably not recommended for newbies
OpenELEC - Open Embedded Linux Entertainment Center (OpenELEC) is a small Linux distribution built from scratch as a platform to turn your computer into an XBMC media Center
- Pidora - Pidora is a Fedora Remix optimized for the Raspberry Pi computer
- RaspBMC (the XBMC interface I had been using in my last blog post),
- Rasbian (Recommended) Raspbian is a free operating system based on Debian optimized for the Raspberry Pi hardware
- RiscOS - RISC OS is a British operating system which was designed specifically for the ARM processor by the same team who created the original ARM
I'm still getting used to this wireless touchpad that came with the XBMC, so when I picked Raspbian I almost pressed proceed faster than I could read the reminder that my SD card was going to be formatted...but that's ok, that's what we're trying to do.
After the formatting I was presented with the configuration screen and I:
- Picked the Expand Filesystem (but found I didn't need to because NOOBs already configured things so my entire SD card can be used)
- Change from the default ID and password of pi / raspberry
- Did not enable boot to desktop, because I may use SSH to access this Pi for a while, and I can always run startx to start the desktop
- Used the Advanced options to enable ssh and check the system name
- After I picked finish on the config menu I ran startx to bring up the graphical desktop
- Next I wanted to configure the Wi-Pi device. I know I do this with the WiFi Config Icon...but oops the Wi-Pi is not currently plugged in...when I put the Wi-Pi in the USB, it caused the machine to reboot ..scary..why??
Configuring the Wireless Network
- This part should be easy, there is a WIFI Config icon, I used it to scan the networks, found mine and entered in the password information
- I kept getting an error Failed to initiate AP Scan- this message would appear when I would try to connect to any of the wireless connections I found when scanning. I'm not sure if I was typing the password wrong (verified it was typing correctly by typing it in a terminal window) or if I was choosing my authentication parms wrong
- When I came back to this again I decided to try using commandline and it worked...found this set of instructions on the Adafruit website.
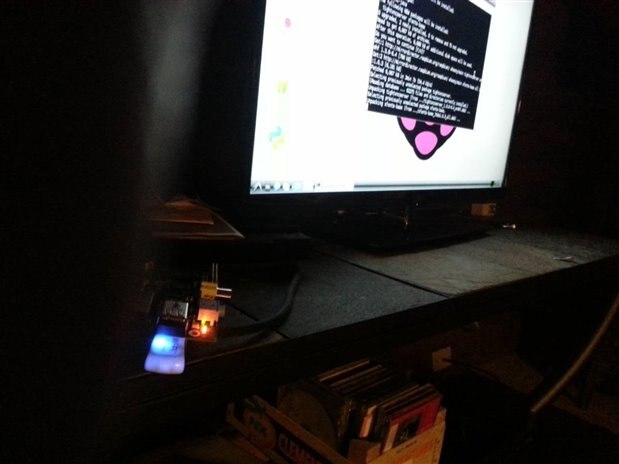
- And now the Wi-Pi works great, and it gives off a nice blue glow when it is communicating.
The blue glow of the Wi-Pi:
After the connection was made, I was able to surf the internet, and I also used Winscp to connect from my Windows 7 box to the Pi
Screen Options
Since I currently only have one TV that can use HDMI, I've ordered a HDMI to DVI cable, I'll soon be able to use my computer monitor
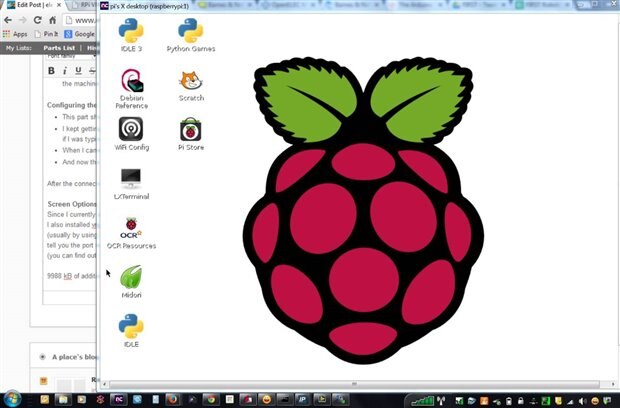
I also installed vncserver. Vnc is a process that allows me to use Graphical applications without connecting any screen up to the Pi itself. To use it we start the vncserver on the Pi (usually by using ssh or winscp to long on commandline style to the Pi). When you start the server, it will have you create a password that allows you to connect to the server and it will tell you the port number to connect to (usually 1 in this situation) Then from your PC, run the command vncviewer, when prompted, specify the ipaddress and port (ie 198.162.2.12:1 (you can find out your PC Ipaddress by running the command ipconfig) and finally specify the connection password when prompted.
To install vncserver on raspbian, you can run the following command from the Terminal window:
sudo apt-get install tightvncserver
When I ran it it warned me that it would use 9988 kB of additional disk space
Here's what VNCviewer looks like running on my Pc
Review Comments:
- It was very easy to use NOOBS, I like it. It might be nice to have some indication of what the various flavors are useful for.
- I wonder if I should have copied off the NOOBS SD card before I used it to make it easier to try another flavor? But I guess I can just download another copy from Downloads | Raspberry Pi
- Slight glitch trying to install Wi-Pi, the commandline technique worked very easily though.
- Super easy to install vncserver and connect via vnc
Next step....LCD display connection