


The Raspberry Pi camera is an awesome piece of kit and can really liven up your next project. But how can you get started with it? Well let’s grab a camera, Pi 2 and a few cheap components and build three projects based on the camera.

Setup
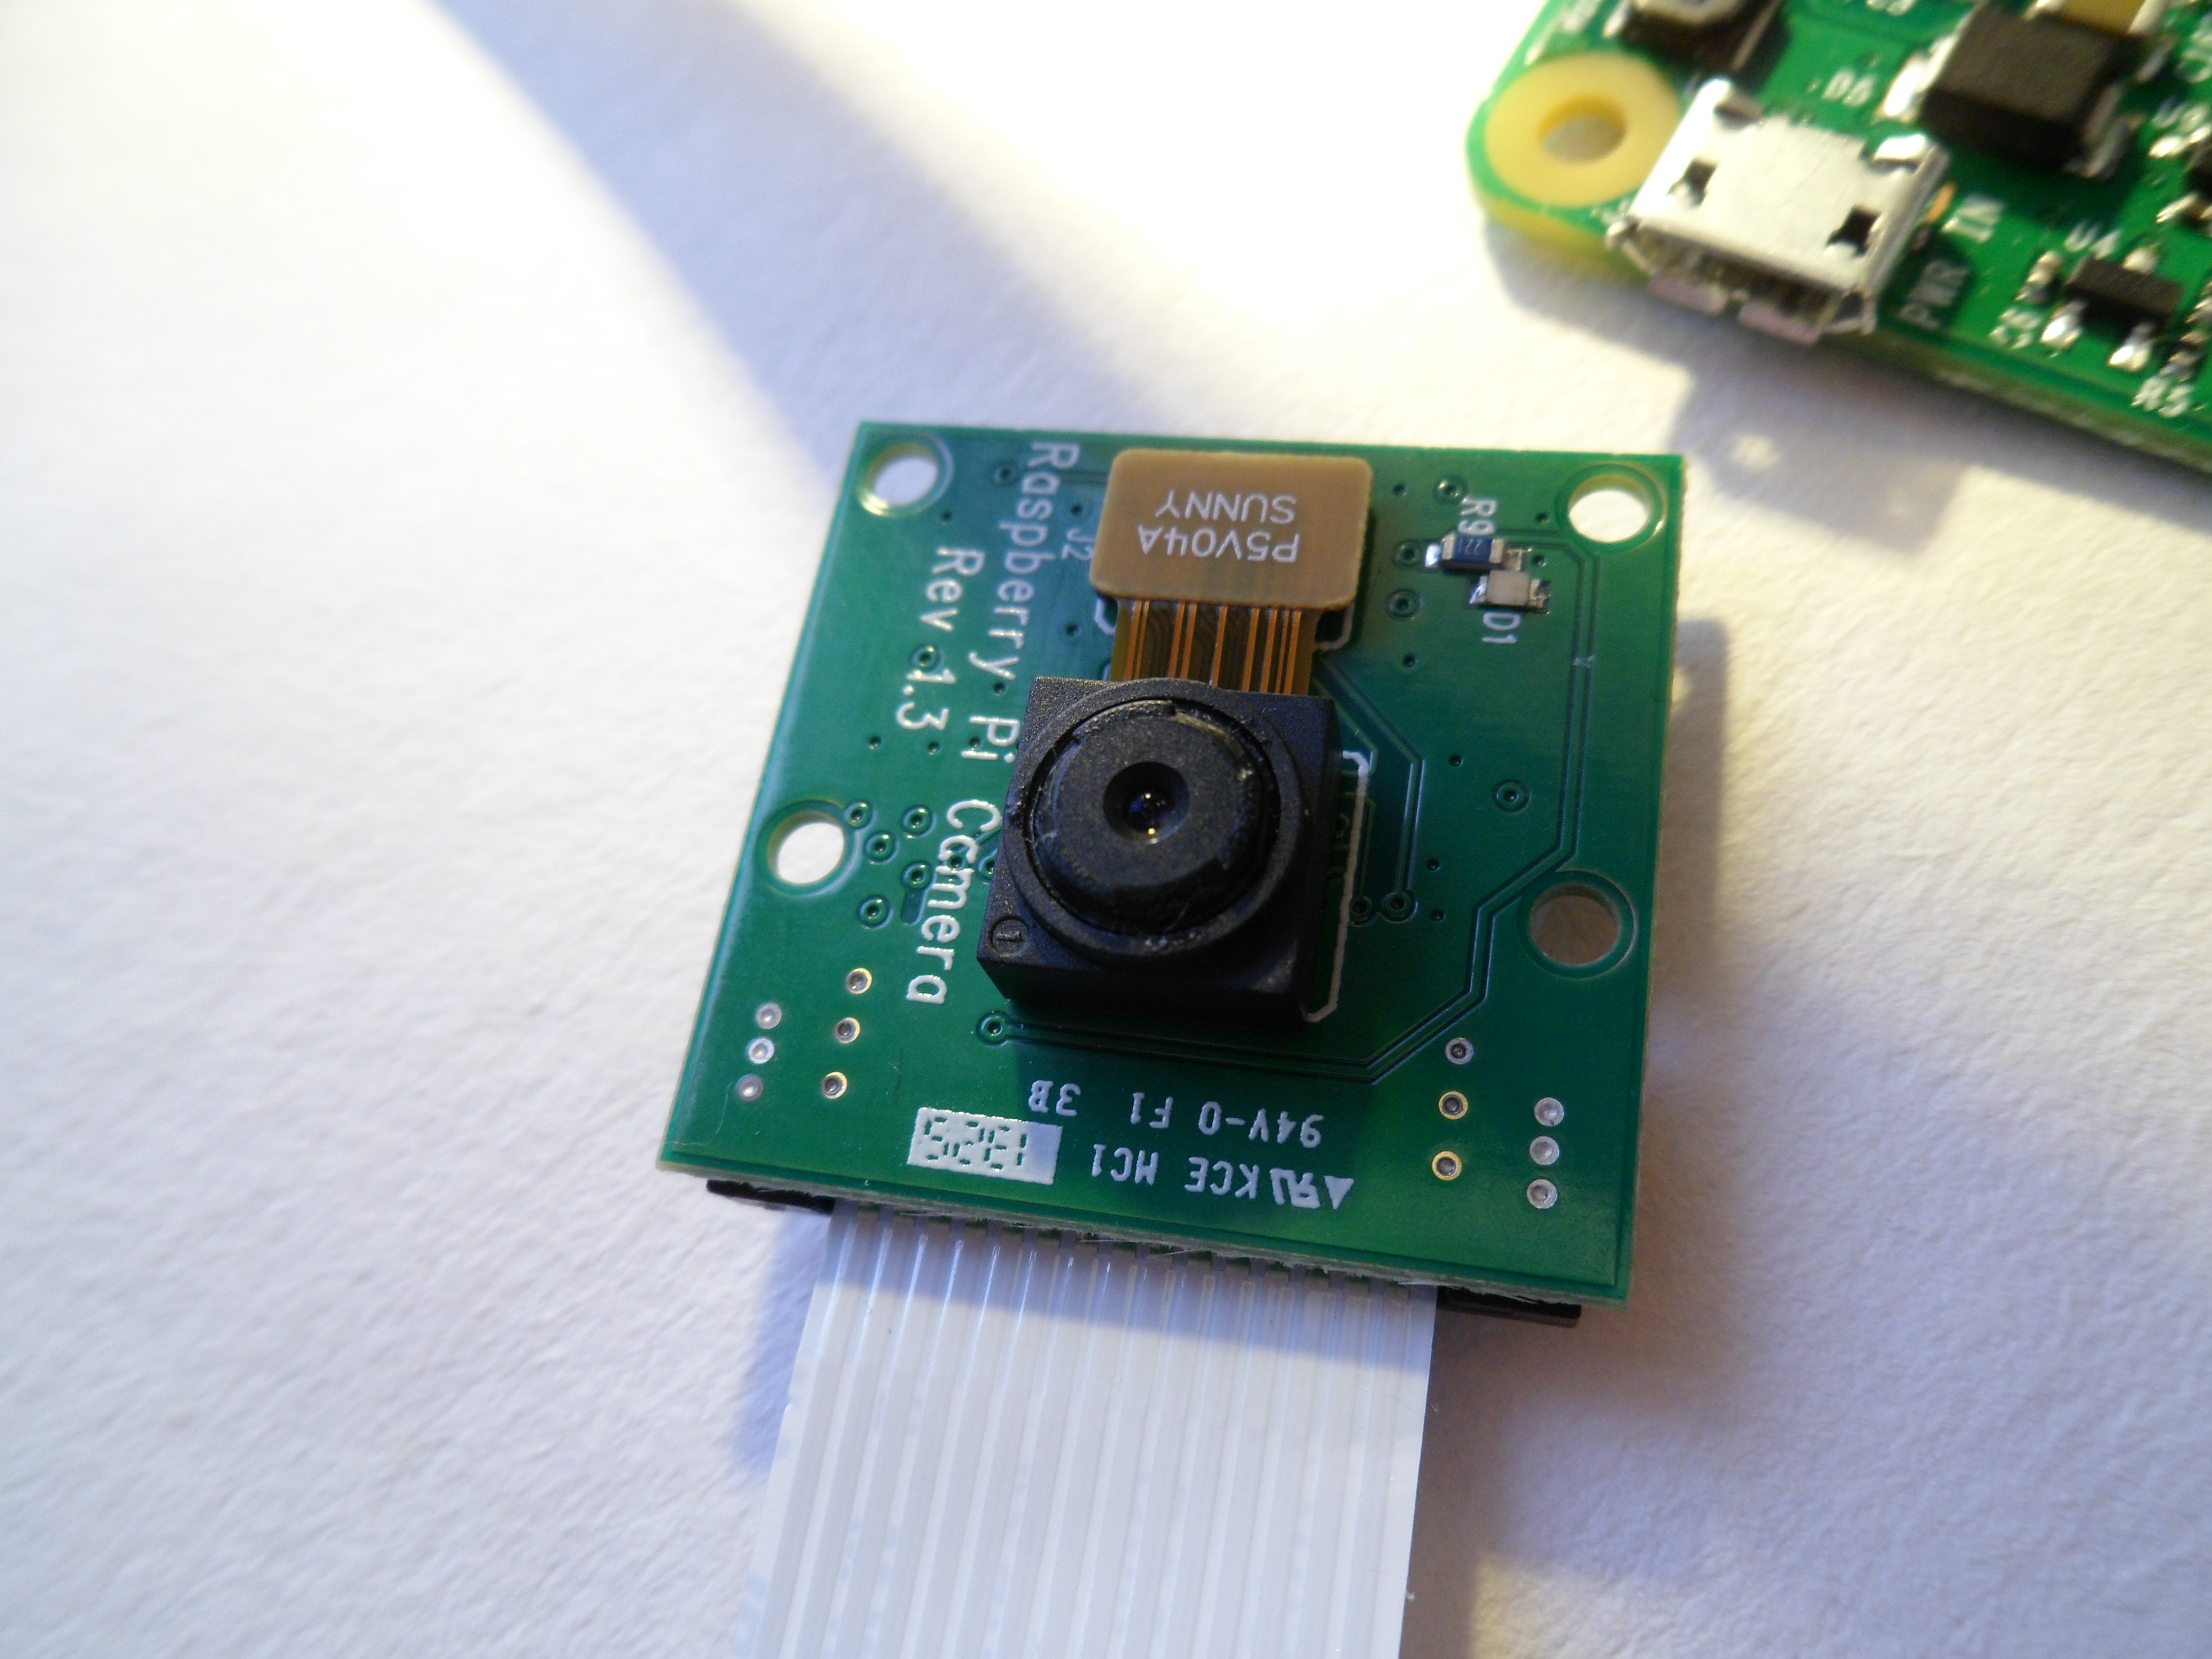
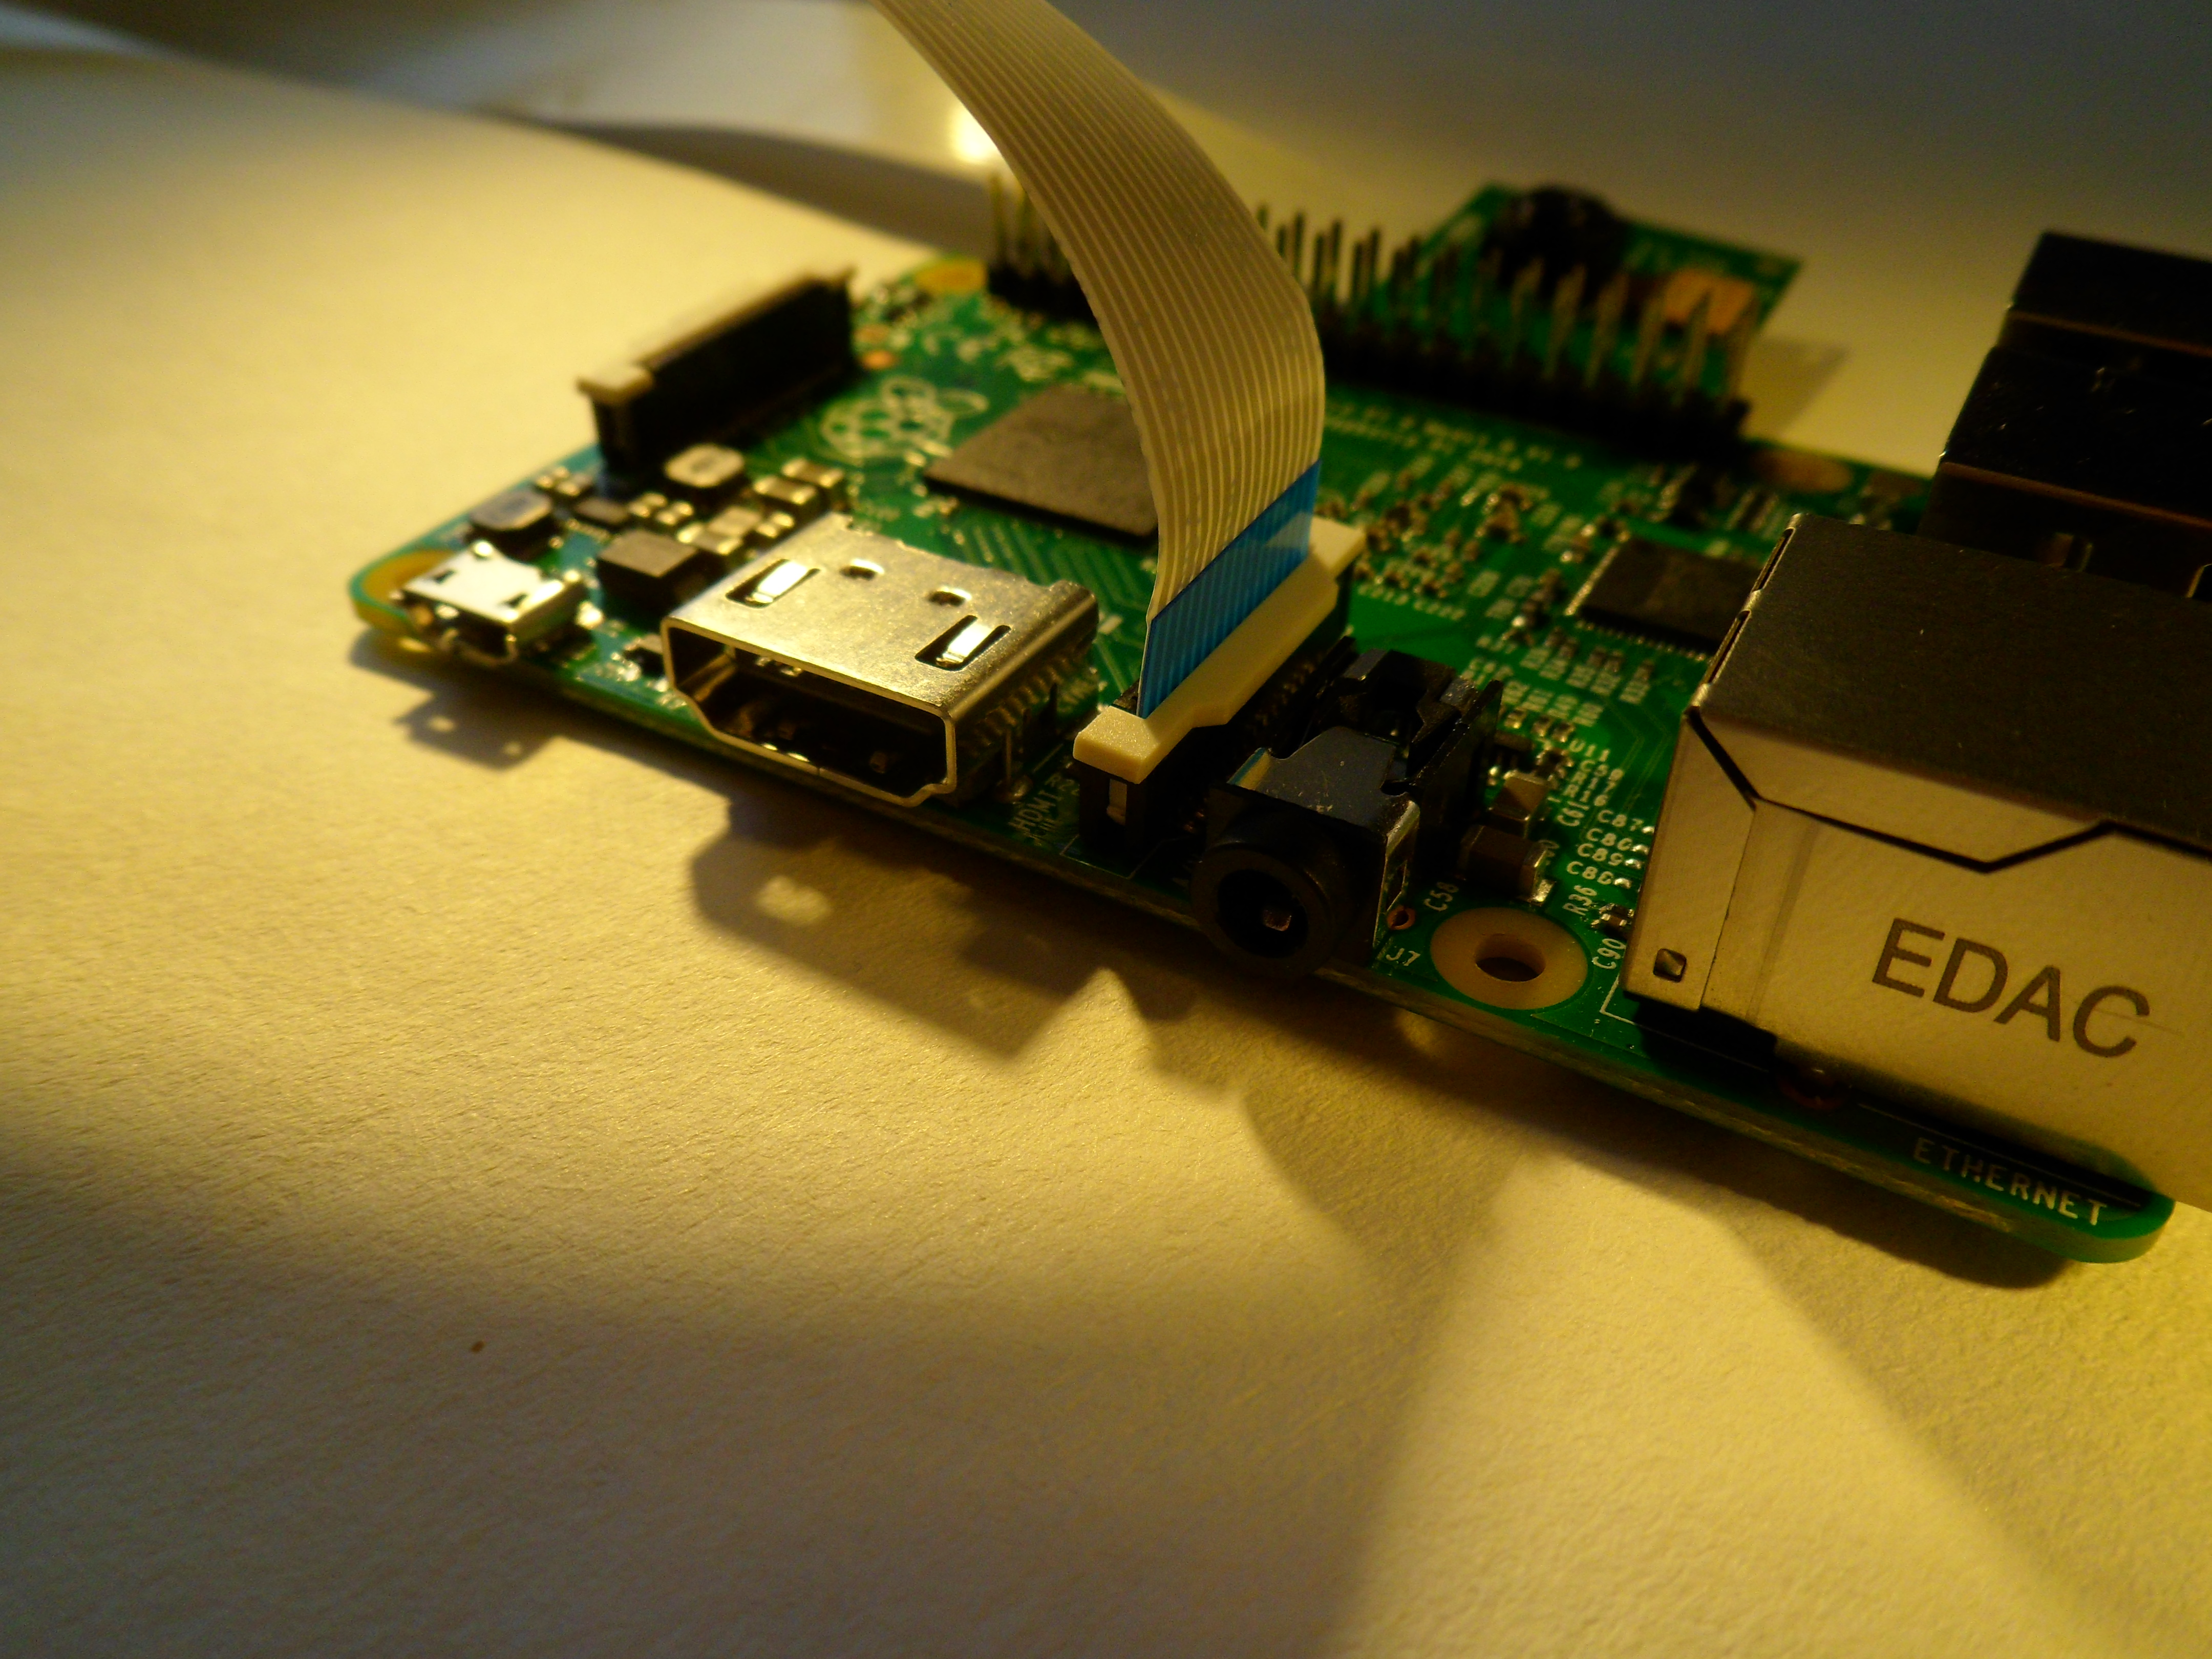
Installing the camera is quick and easy and to start the installation firstly you will need to locate the black connector marked CAMERA between the HDMI and Ethernet ports.
Carefully lift the top and bottom edges of the connector vertically, they will gently slide up and then stop when in place. Be careful as the CAMERA connector is rather fragile, you will only need to use a little pressure on the connector.
Remove your camera from the box and slide the ribbon connector into the CAMERA connector, ensure that the blue edge faces the ethernet port. Be careful handling the camera it is rather fragile and sensitive to static. With the ribbon inside the connector gently push the connector edges back down, locking the ribbon in place.
With the camera in place, boot up your Raspberry Pi and from the desktop open LXTerminal and type the following
At the menu navigate to Enable Camera and press enter. In the next screen select Enable, and then navigate to Finish, which will prompt you to reboot your Raspberry Pi. Do this and allow the Pi to reboot, thus enabling your camera.
With the camera enabled we next need to check that it has been configured correctly and to do that we use the command raspistill in LXTerminal.
This will launch the camera and show a preview on the screen for a few seconds, compose yourself and it will take the picture. You can then open the picture via the file manager. It should be in /home/pi or in the directory where you used the command. If this does not work, check that you have connected the camera correctly and that raspi-config shows the camera as enabled. Remember do not remove the camera from the connector while the Raspberry is on, it will cause damage to the camera.
For the last setup step we shall install the Python PiCamera libraries so that we can hack the camera using Python.
In LXTerminal issue the following command
Once this is complete in LXTerminal type
Project 1 - Take a picture with Python
Our first project is rather simple but it shows how to use the PiCamera library and gives us a quick introduction to the library.
What will you need?
At this time the application has opened the shell, where we can issue commands / test logic on a line by line basis. We really need to be in the editor, so click on File and New Window to launch an editor window.
As soon as the editor window is open, click on File and Save and name the file, anything BUT camera.py This is a good practice to get into as it means that any subsequent saves are handled quickly.
So we start our code by importing two Python libraries.
Time - To control the speed of our project
PiCamera - To use the camera with Python
So with the libraries in place we now turn our attention to creating the main body of code. We start by using
To rename the picamera library into something more manageable, in this case “camera”.
Then we create a preview of the image, in the same way that your mobile phone shows a preview of the scene before the image is taken. This preview stays on screen for 5 seconds before capturing the image to the Desktop, and lastly the preview window is closed, ending the project.
When ready, save the code as project1.py and then click on Run >> Run Module.
The code will start a preview of the picture to be taken, wait 5 seconds so you can compose yourself and then take the picture saving it to the desktop. Then the preview will end.
When the camera is active, you will see the red light illuminate in the corner of the board.
So how did your picture come out? Was it upside down? Too dark or light?
Well PiCamera has a few features that can be tweaked.
Rotation - You can easily rotate an image in 90 degree segments by using
camera.rotation = 180
This will flip the image upside down.
Saturation - Add more or less color to your picture, values can be between -100 and 100
camera.saturation = 50
Brightness - Tweak your image if it is too dark or bright. Values are between 0 and 100
camera.brightness = 50
Resolution - Create images at different resolutions. Values are entered by width and height, so an image 1920x1080 is 1920, 1080
There are loads of tweaks that you can make and for the full list head over to Dave Jones’ great resource http://picamera.readthedocs.org/en/latest/index.html
Project 2 - Take a picture using a button
What will you need?
Male to Female Jumper Wire x 2
Before continuing please ensure that you have followed the above setup instructions.
Taking a picture at the touch of a button is something that we take for granted thanks to mobile phone technology and cheap consumer electronics. But in this project we will deconstruct the process and create our own push button camera using a few common electronic components.
We start this project by attaching the hardware to the Raspberry Pi.

With the hardware attached our focus shifts to the code, more specifically the Python code that will power this project.
To start open LXTerminal and type in the following, remember to press enter at the end of the line.
This will open the Python 3 editor, commonly referred to as IDLE. At this time the application has opened the shell, where we can issue commands / test logic on a line by line basis. We really need to be in the editor, so click on File and New Window to launch an editor window.
As soon as the editor window is open, click on File and Save and name the file, anything BUT camera.py This is a good practice to get into as it means that any subsequent saves are handled quickly.
So we start our code by importing three Python libraries.
Time - To control the speed of our project
PiCamera - To use the camera with Python
RPi.GPIO - To use the GPIO pins with Python
With the libraries added, save your work before progressing.
Next we setup the GPIO, firstly we configure the pins to use the Broadcom pin mapping (see diagram) which is not a logical layout, rather it breaks out the pin numbering from the Broadcom System on a Chip (SoC) that powers the Pi.
We use a variable to store the pin number on to which our push button is connected.
Then we setup the button to be an input and to be set high, in other words turned on at the start of the project.
We now create an infinite loop to constantly look for the button to pressed and when that happens the camera code is launched.
Now we make a few configuration changes to the camera settings, firstly changing the resolution, and then the saturation and brightness.
Now we have the button detection code, this will look for a change to the GPIO pin attached to the button and when the pin goes from high to low the preview screen will come to life, wait for 5 seconds and then capture your photo before closing the preview and waiting for another button press.
With the code complete, save it as project2.py and then go to Run >> Run Module. Wait a few seconds and then press the button to trigger the camera to life. Project 2 is complete.
Project 3 - Take a picture using Minecraft
What will you need?
Minecraft is not only a great game, it is also a great source of Pi projects, and here is a camera triggered in Minecraft that you can code in less than 30 minutes.
For this project you will need to close any Python 3 windows that you may have open. Currently the Minecraft Pi API only works with Python 2.
Then open LXTerminal and type the following.
Then click on File >> New Window to open a new editor window.
We start as ever with importing the libraries that make this project possible.
Time - To control the speed of our project
PiCamera - To use the camera with Python
Mcpi - To link Python with Minecraft
Next we create a link between our Python code and Minecraft. We create a variable called “mc” and that stores “minecraft.Minecraft.create()”, so whenever we use “mc” it tells Python to replace it with the long string of text.
So we now reach the main body of our code, this is the loop that will constantly check our position in the Minecraft world. So we start with the loop, a simple infinite loop called “while True” and we then create a variable called pos and store the player's current position in the world.
Now we create a conditional statement, that will check our current position and compare it to the a hard coded value, in this case checking that our location on the X axis is -7.0 and when this is true a message is posted to the chat window before reusing the Python code that we wrote earlier to take a picture.
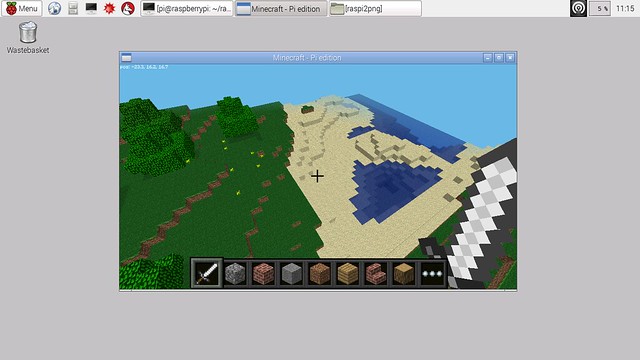
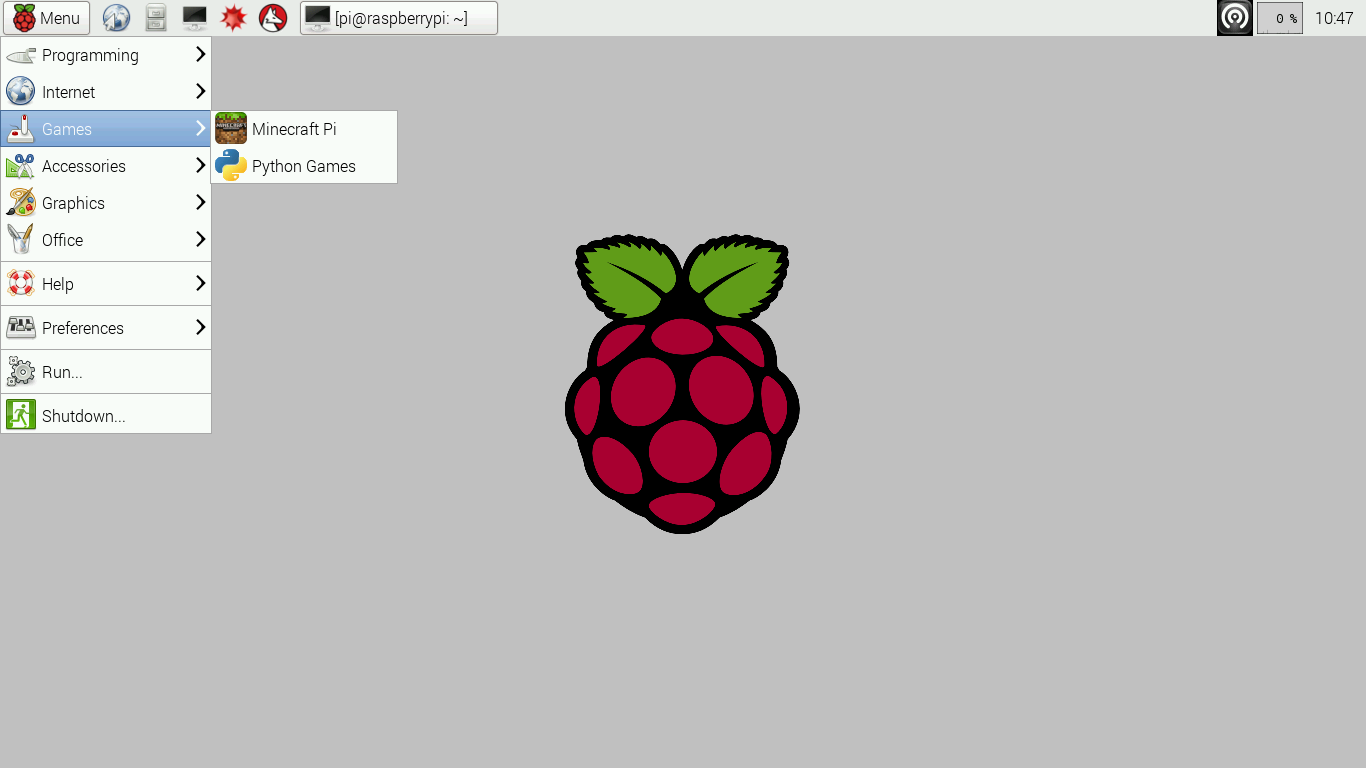
Save your code as project3.py but do not run it yet. Navigate to the Raspbian menu and go to Games and select Minecraft Pi.
After a few seconds Minecraft Pi will be on screen, go ahead and create a new game and then a new world. When the game starts you will be dropped near to the X Y Z coordinates 0,0,0. To move around use the W A S D keys, and to look use your mouse. Spacebar is used to jump. Get a feel for the controls and then head to -7.0, you can see your location as a co-ordinate in the top left of the window.
Once there, open the inventory by pressing E on your keyboard, then find the signpost tool and left click on it to use it. In the game world, drop a sign post to show where -7.0 is.
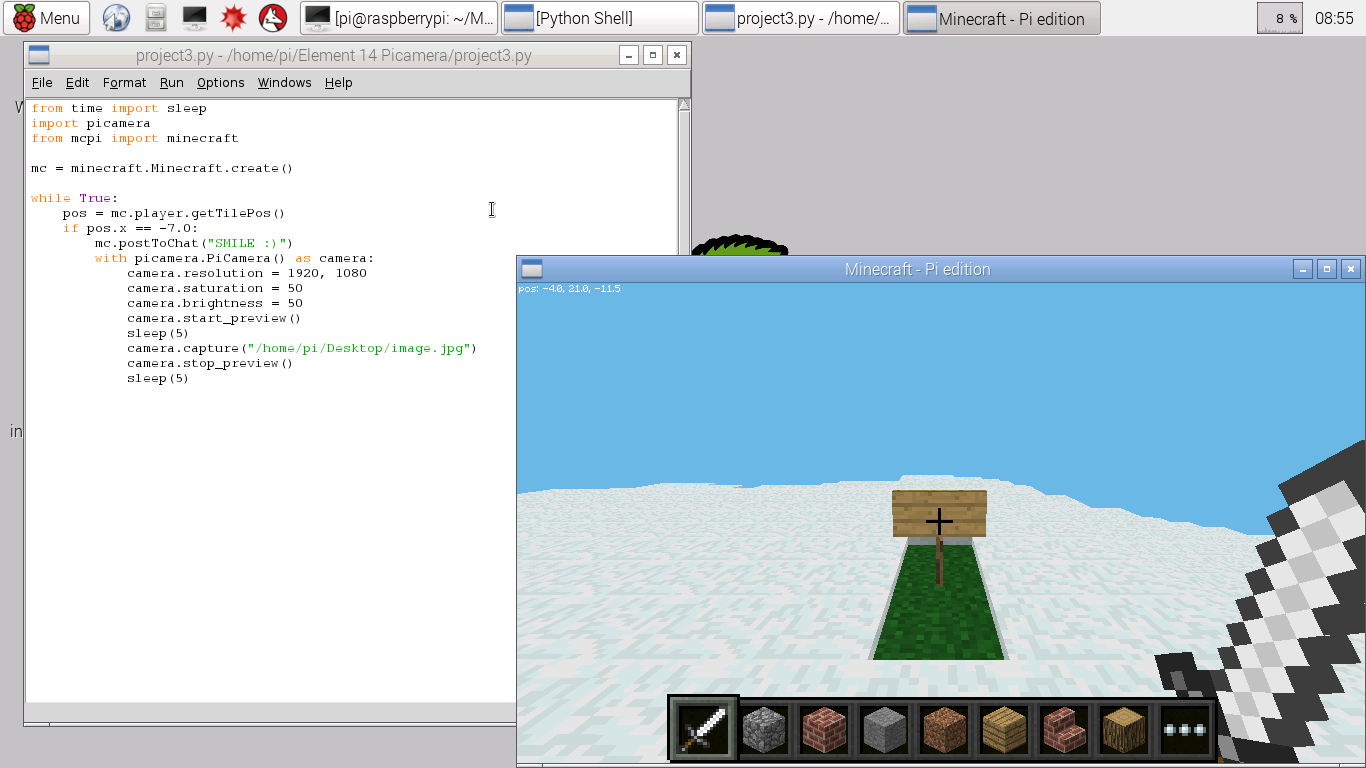
With that done, press TAB on your keyboard to release the mouse from Minecraft and navigate back to our Python code. Click on Run >> Run Module to start the project. Navigate back to Minecraft, the easiest way is to click on the window to bring it into focus.
Now move to -7.0 again and the camera should spring into life!
So there we have it. Three projects all using the PiCamera in a different way. What can you do with the PiCamera and the Raspberry Pi 2?
All of the code for these projects can be found at https://github.com/lesp/Element14_PiCamera