


Well, I've finished my main project for The Ultimate Raspberry Pi Bundle Road Trip, you can read about that here:
The Complete Channel One Temperature Monitor and Alarm Project - The Ultimate Raspberry Pi Bundle
But, that doesn't mean I'm done Road Trippin,
I still have a few more wonderful gadgets to test out....
In this post I'm go to explain how I used the Raspberry Pi, the PiFace Digital and the Raspberry Pi Camera to create a gadget that will catch sneaky people who try to peek into packages when they're not supposed to.
What's in the Box?
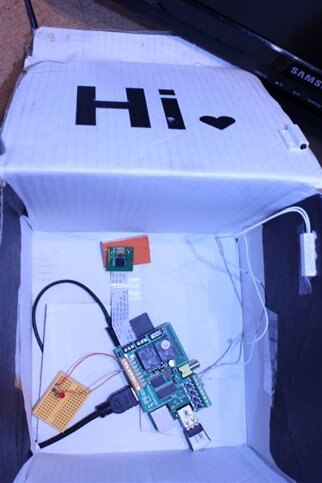
For this project I'll hide a Pi, Camera and PiFace Digital inside a box, we'll use a magnetic switch to detect when the box opens and snap a picture of the snoop. A follow on for this project would be to send a text message (as I did on my previous project the Channel One Temperature Monitor) or twitter or instragram the image....but I'll leave that for another day.
Parts needed:
- Raspberry Pi Model B (A would work as well, but a USB hub would be required)
- PiFace DigitalPiFace Digital - Daughter Card / Expansion board for the Pi
- Raspberry Pi Camera BoardRaspberry Pi Camera Board
- Magnetic Proximity switch - I had this one from Jameco on hand
- Optional LED - Breadboard and wires to act as an "on" indicator
The PiFace Digital:
The PiFace Digital is a shield designed to fit on the Rasberry Pi, and it adds many features to the Raspberry Pi including
- 8 Digital Inputs
- 8 Outputs
- 8 LED indicators
- 2 Relays
- Works in Python, Scratch and C
- There's even an emulator
Putting together the What's In the Box Project:
I'm going to skip the steps of installing Raspbian as I covered that in my previous project.
For this project I needed to:
- Install the camera and some code it requires
- Install code for the PiFace Digital and test it out
- wire up the switch and LEDs
- write the inTheBox.py script which runs everything.
Install and Configure the Camera:
Watch the video on the following page to see how the camera connects to the PiFace Digital
http://www.raspberrypi.org/camera
Be aware that the camera is sensitive to static electricity, the ribbon cable is fragile and the ribbon cable must be installed in the correct orientation
To operate the camera you need to
- run sudo raspi-config to enable the camera
- reboot
Now you'll be able to test the camera by running the command:
raspi-still -v -t image.jpg
This command will start the camera, show you a preview, prompt you on the commandline, when you press Enter the picture is snapped
There are many options and features available on the camera. It's worth it to take a look at the camera documentation found here
Installing the PiFace Digital:
Physically the PiFace Digital fits on easily, but since the Camera is part of this project, it would have been nice if there would have been more room for the ribbon cable. It seemed to work fine to run the cable under the shield, but I wasn't really happy about bending the cable that much.
For the software portion of the install, I thought a good place to get started on this project would be the piface getting started guide
The information on enabling SPI was good, but the instructions on installing the code and emulator used wget and were out of date. I eventually found the Install PiFace Software on the PiFace website and those instructions use apt-get and are up to date:
After installing the PiFace Digital code and Emulator (and rebooting) you can run a few things to test out the PiFace Digital
For example, test the PiFace built in LEDs with the following blink program
python3 /usr/share/doc/python3-pifacedigitalio/examples/blink.py
You can also test the switches virtually by running the PiFace Emulator
piface/scripts/piface-emulator
click on the Override Enable menu option
and now the virtual Output Pin buttons will operate the LEDs, even the real LEDs on the real board!
Code the inTheBox.py Script:
I wanted a program to monitor the door and then snap a picture when someone opened it. I thought it would be useful to have an external LED so I could optionally have a blinking indicator letting me know the box is "armed".
To accomplish this I used one of the 8 PiFace input ports to handle the magnetic proximity sensor. I used of the 8 output ports to power the LED.
I ran Fritzing to create a schematic, but sorry to so no PiFace ....But you can see the connections here:
The program is called inTheBox.py and here it is
#!/usr/bin/env python3
import pifacedigitalio
import pifacedigitalio as pfio
from time import sleep
import os  # os used to run camera commands

pfio.init(True,0,0)

pifacedigitalio = pifacedigitalio.PiFaceDigital()

while(True):
  pifacedigitalio.leds[1].toggle()
  print (pfio.digital_read(7))
  if (pfio.digital_read(7) is 0):  #wait till the box opens
    print ("Smile!")
    #TODO: get date and use as part of filename
    #todo: create thread to upload images and erase them, optionally twitter?
    os.system("raspistill -t 2000  -o image.jpg")
#    os.system("raspistill -t 1000 -n -o image.jpg") # no preview 1 second pause
  print (pfio.digital_read(0)) #read button S1
  if (pfio.digital_read(0)): # if button then quit
    pifacedigitalio.leds[1].turn_off()
    exit(0)
  sleep(1)
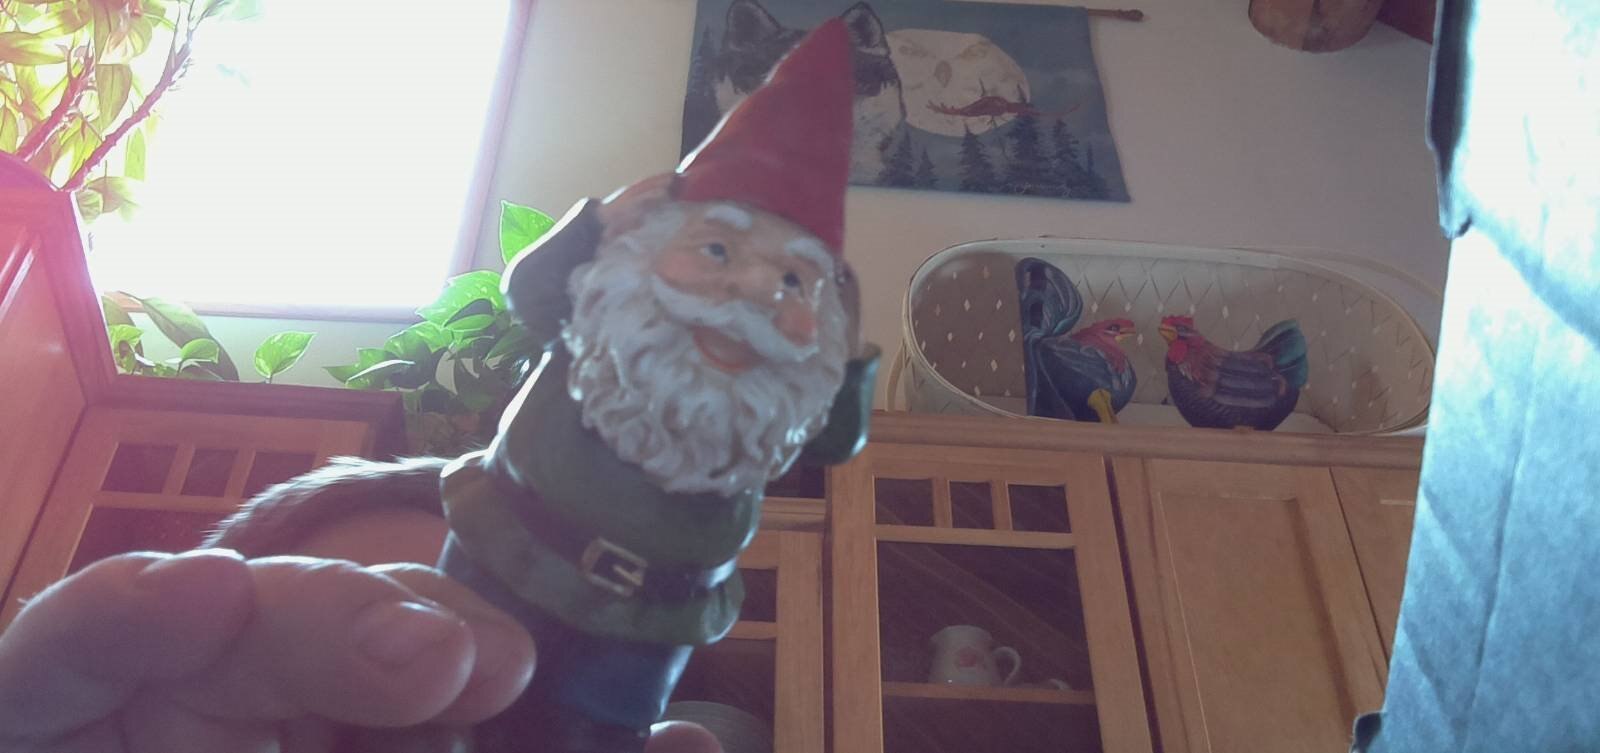
Here's a Video of the What's in the Box Project catching a snoopy Gnome in the act

