


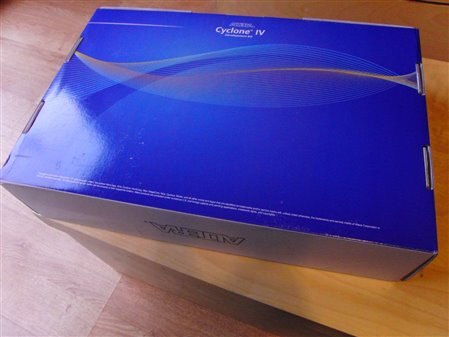
The board arrived to me in a big box inside a huge box, very well packed and protected. The packaging was of the professional grade expected from an expensive electronics kit.
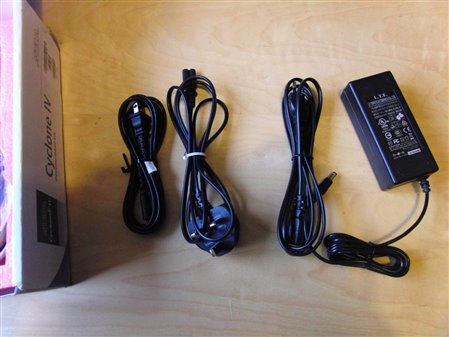
Inside the box, in separate cut-foam compartments there were an electrostatic-protective bag with board itself, a metal bracket to mount the card inside a computer case, a very high quality power supply, different AC leads for US/Japan, Europe and UK and USB and Ethernet Cables. Also a 4 page colour Getting Started guide and a letter from Altera.
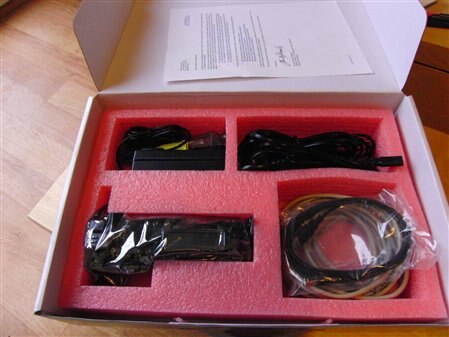
There were no CDs or DVDs included which might be a negative to those with low internet speeds- especially for downloading the huge Quartus II, but it was fine with me, since I always download the latest software versions for new devices.
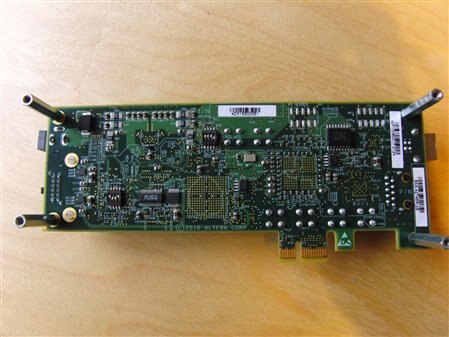
The board itself is smaller than what I was used to by other FPGA boards, which is a good thing, especially if you are planning to use the card on a PCI-Express bus (Low-profile PCI Express).
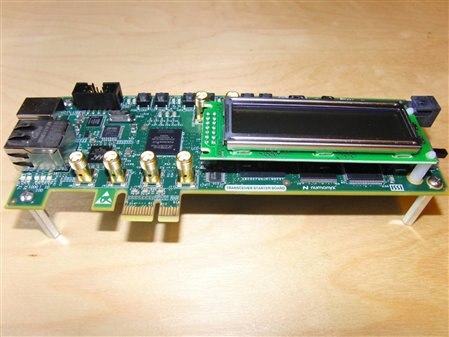
The first thing you notice when you start examining the board is the Gigabit RJ-45 connector and the PCI Express connector. There is the also a B Type full size USB Connector. A large part of the board is covered by the classic 2 line character LCD screen. Right next to it is the FPGA chip which is a Cyclone IV GX EP4CGX15.
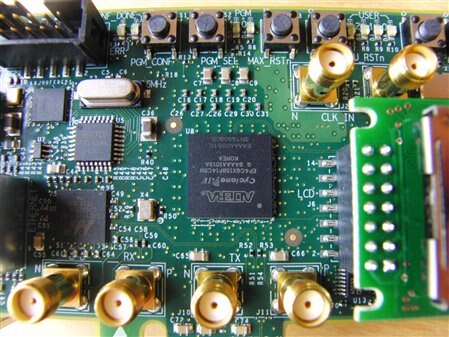
On the bottom of the board and right above the PCI-Express connector there are four SMA sockets market RX and TX connected to the transceivers. Two more SMA sockets are on the top left corner of the LCD screen for external fpga clock input (N / P).
On the right hand side of the board there is the DC power jack marked 9V-20V, although the user guide states that DC adapter +9V to 16 V, 33.75W should be used. Next to it is the power switch.
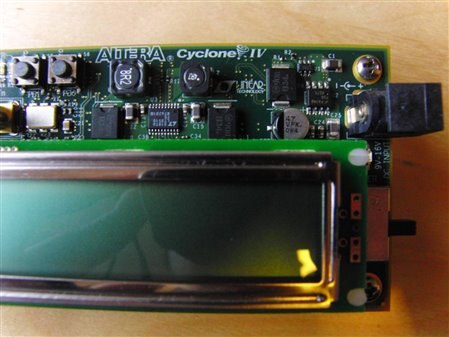
A closer look at the board reveals numerous peripherals. In particular a 50MHz and a 125MHz clock source, as well as three other on-board oscillators (6,24 and 25 MHz).
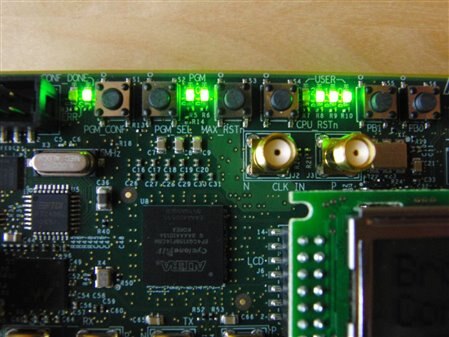
A series of buttons are situated along the top border with a few LEDs in between them. Four of these LEDs are general purpose “user” indicators while the rest are for the board’s vitals (power, programming etc).
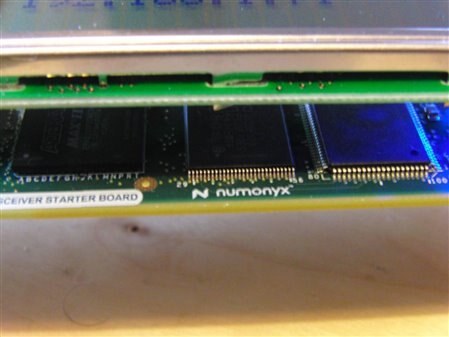
The typical JTAG socket can be found on the top left corner of the board. The board also includes integrated USB-Blaster circuitry for programming the FPGA via the USB socket. This however probably means that the USB socket cannot be used for a user application, which I found to be a big drawback. Underneath the LCD screen there are some memory ICs, for the numonix 16MB flash memory and ISSI 2MB synchronous SRAM, typical memory configuration on FPGA boards (although the SRAM is quite small in this case).
The board also hosts some Linear Technology ICs for power management and monitoring and also the LTC2418CGN#PBFLTC2418CGN#PBF, an 8/16 Channel (4/8 differential) 24-Bit “no latency” Delta-Sigma ADC.
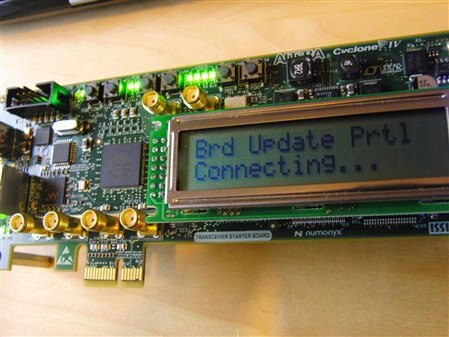
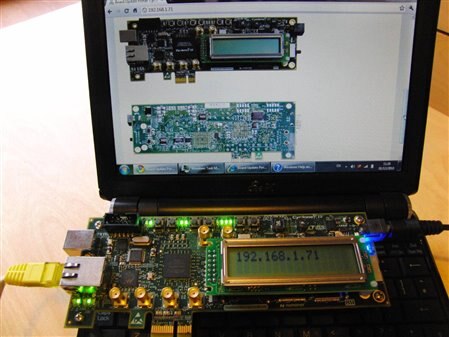
When the the board is powered on the appropriate LEDs turn on an the following message appears on display:
Next, when connected to the router the board first detects the network speed and lights on the corresponding LED...
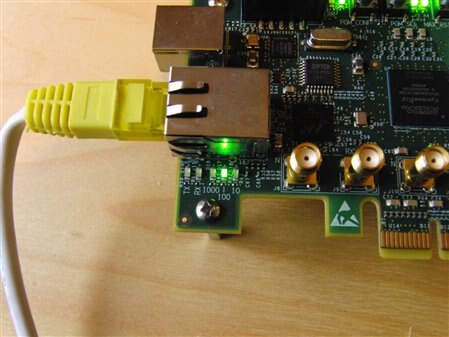
...and then gets an IP address which gets displayed on the LCD screen.
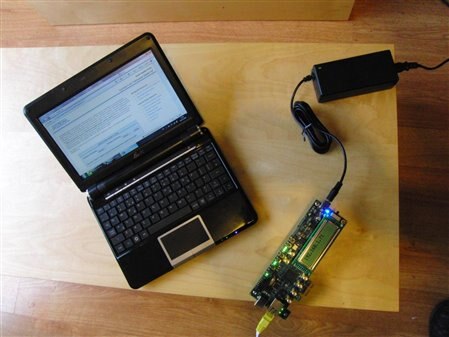
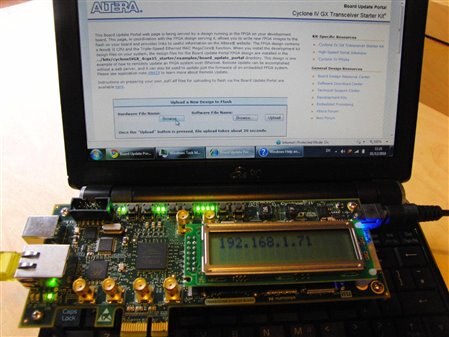
Now the board is ready to accept new bitstream files uploaded to its webserver. This was a quite impressive process for me and it was the first time I programmed an FPGA without installing any drivers at all.
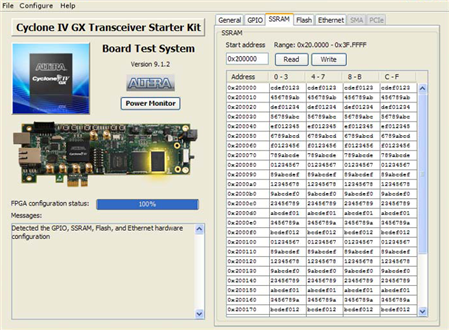
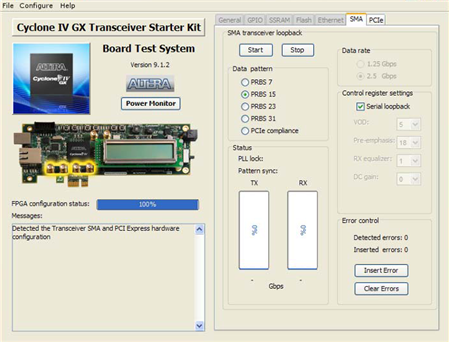
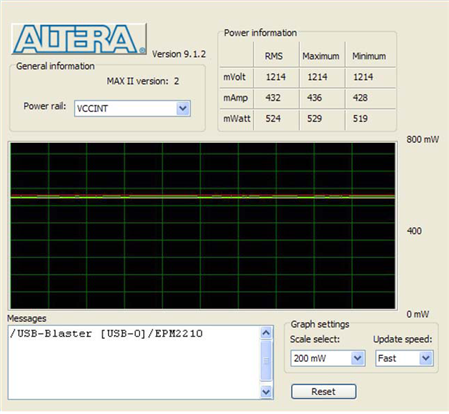
From here on you take the controls and it's your time to show off your HDL skills. But, be sure to play around with the demo application first, which nicely exhibits some of the features of the board (power consumption monitoring, pci-e/transceiver status, memory viewer etc)
CONCLUSION
I got mixed feelings from the board. It is very well made and has many little gadgets that will surprise anyone in the FPGA world - dominated by big unfriendly boards. This is, however, no starting kit. The fact that the board has no GPIOs whatsoever, makes it impossible to use it for anything other than ... surprise... a transceiver. Most development boards and starter kits route the fpga I/Os through the peripherals to some kind of connector that allows for user interface.
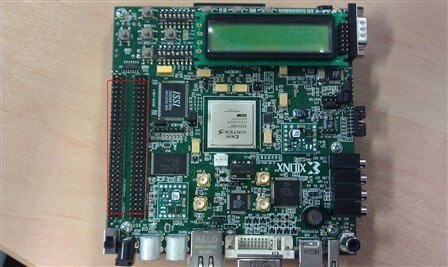
(Marked with red the GPIO headers on my ML501 board)
This is not the case here. Thus, I believe that the name of the board is a bit misleading. This is not a starter a Starter Kit. Not even a Development Board. This is clearly a Demo board. Therefore, it didn't work for me. I donated the board, however, to some postgraduate EE students looking for exactly this for their final project, so I will hopefully post here their point of view soon.

