RoadTest: Review the Arduino Plug and Make Kit
Author: MARK2011
Creation date:
Evaluation Type: Evaluation Boards
Did you receive all parts the manufacturer stated would be included in the package?: True
What other parts do you consider comparable to this product?: for the board: ESP8266; ESP32 Dev Boards; Arduino MKR WiFi 1010; Raspberry Pi Pico; for Plug-and-Play modules: SparkFun Qwiic Starter Kit (the same), Grove Beginner Kit for Arduino, ELEGOO Super Starter Kit; Boards with Built-in LED Matrix: Micro:bit v2, Raspberry Pi Sense HAT
What were the biggest problems encountered?: Arduino UNO libraries uncompatible with new Arduino UNO R4 -other architecture, timers etc that cause some issues or faults during implementation my old Arduino UNO/NANO projects in the new UNO R4. There were some strange errors during compilation, such as loss of connection. A double reset was enough to fix it.
Detailed Review:
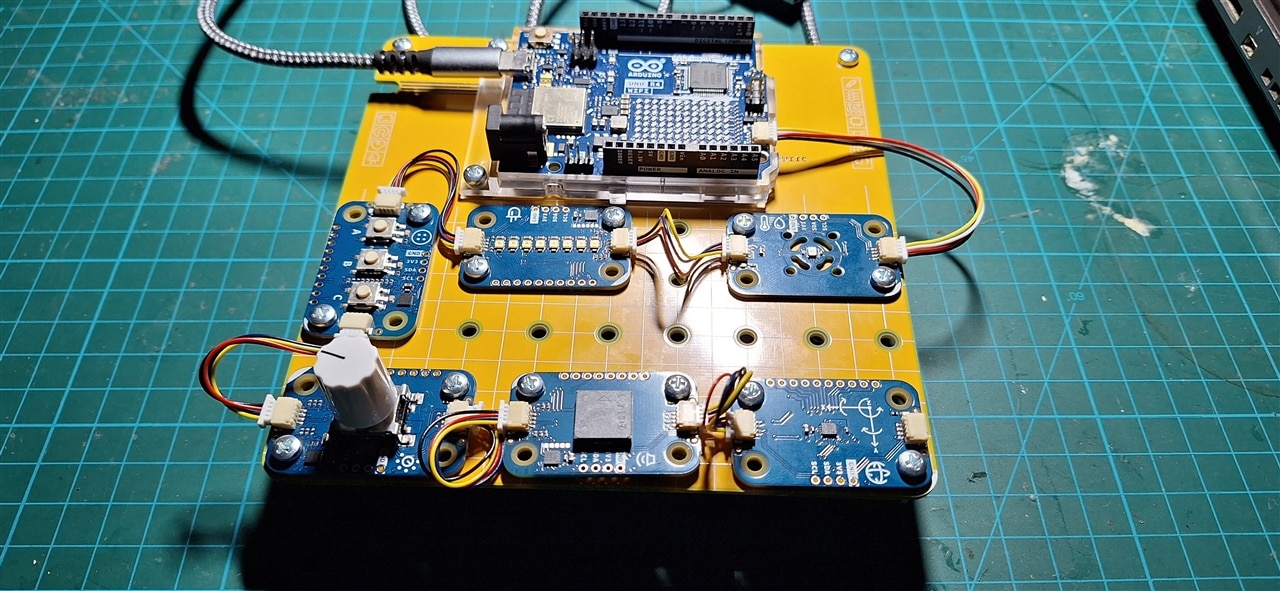
Before I discuss the course and results of this ROADTEST, I would first like to express my gratitude for being invited to participate in this project.
Not only on my own behalf but also on behalf of my daughter, with whom I had a lot of fun exploring the Arduino Plug and Make Kit with the Arduino UNO R4 WiFi and Modulino modules.
A heartfelt thank you to the Element14 team, the sponsor – Arduino – for their trust,
and to you, the Element14 community, for your understanding (and patience) in reading this report.
Key Goals of the comprehensive RoadTesting and evaluation of the Arduino Plug and Make Kit and the objective was to test and evaluate the functionality, usability,
and potential applications of the Arduino Plug and Make Kit, focusing on its integration with existing systems,
ease of use, and real-world project implementation.
In this RoadTest, I wanted to limit words and primarily showcase the process and results through photos and screenshots.
The Arduino Plug and Make Kit is an intriguing set that allows for the creation of many projects,
and it captivated us to such an extent that we had to carefully select the topics and materials to include in this report.
But let’s go step by step.
Let's start with: ...

At this point, I want to emphasize how much joy the packaging aesthetics bring to young Arduino enthusiasts,
along with the revolutionary "Plug and Make" concept that enables project building without the need for soldering,
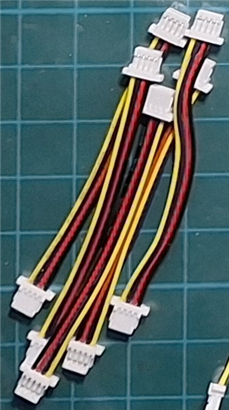
thanks to Qwiic connectors and cables.
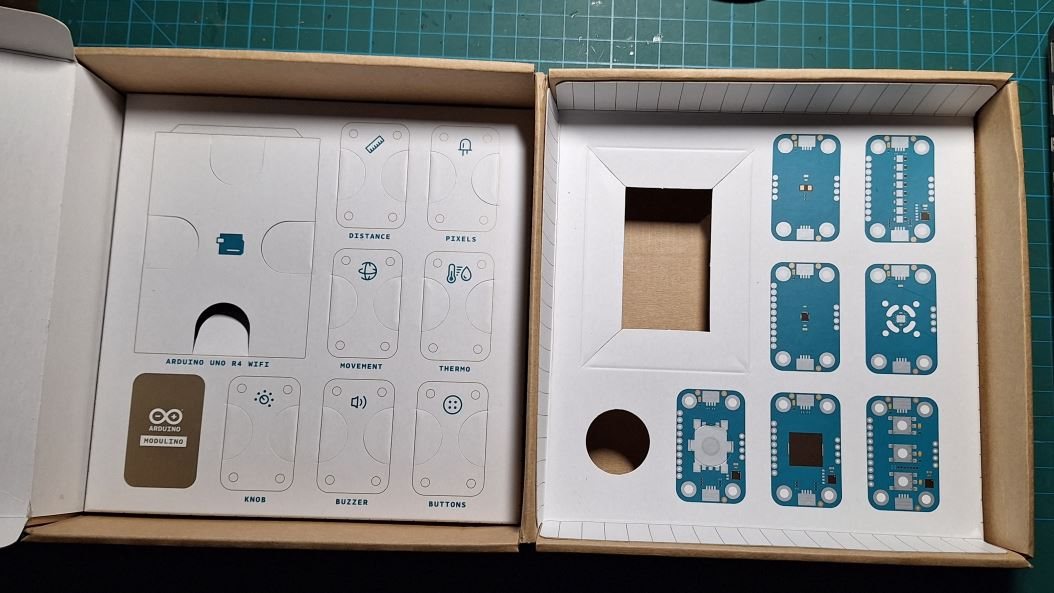
Additionally, the practical storage box for the UNO R4 WiFi board and modules is a great touch.
...last not least...
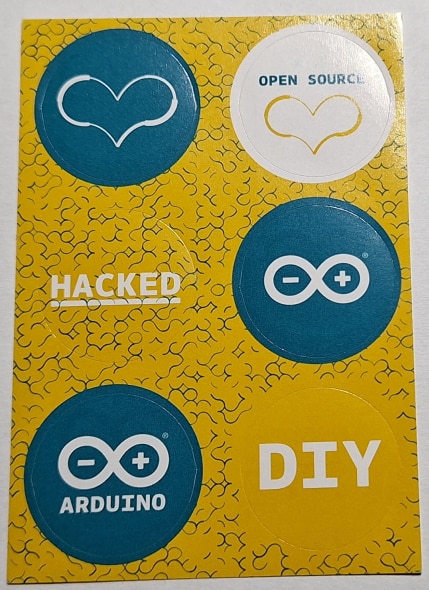
THE ARDUINO STICKERS
I also can't overlook the joy on my daughter's face when she saw the practical Arduino stickers included in the set.
Alright, let’s briefly go through the documentation. Everything is excellently described. Essentially,
just one link is enough https://docs.arduino.cc/hardware/plug-and-make-kit/
—it opens the door to both detailed technical and design information, as well as examples of how to use the kit
and the Arduino UNO R4 WiFi board, ranging from beginner-friendly to advanced projects.
I'm tempted to describe all the features and advantages of the entire kit,
but I don’t want to simply copy the documentation or the internet.
After all, even if some details are missing from the official documentation,
the Arduino user forums come to the rescue. We had to rely on them a few times,
and finding solutions took only a moment.
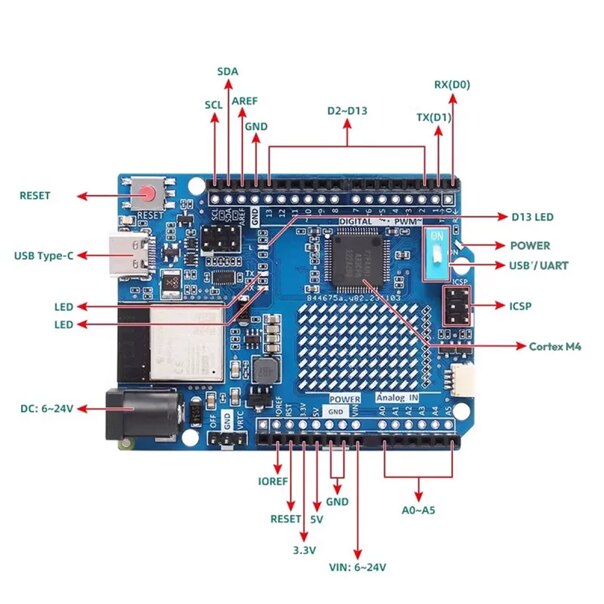
I will only mention the key innovations in the main board—this is not your ordinary UNO,
but the Arduino UNO R4 Wi-Fi, a powerful advanced system based on the (Renesas) RA4M1 MCU, a 32-bit 48MHz Arm Cortex-M4.
The board enables Wi-Fi communication, is equipped with an LED Matrix, Real-time Clock (RTC),
and even an OPAMP. The communication capabilities make it possible to integrate with the Arduino Cloud platform for projects.
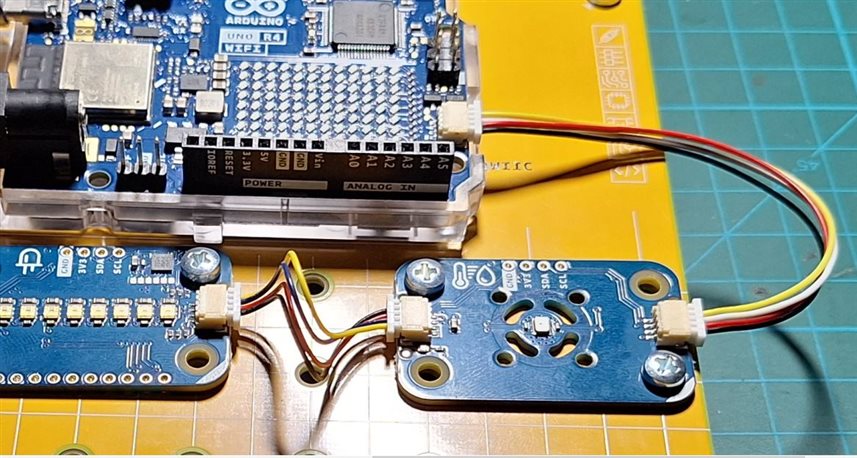
And of course, the entire kit is a true plug-and-make kit. The Qwiic connectors and cables used allow for easy expansion of the project
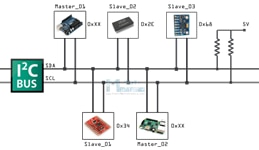
based on the I2C bus. The solder-free idea makes designing and debugging easier and faster,
and it is also an encouragement for younger users or those who are not passionate about the smell of soldering flux.

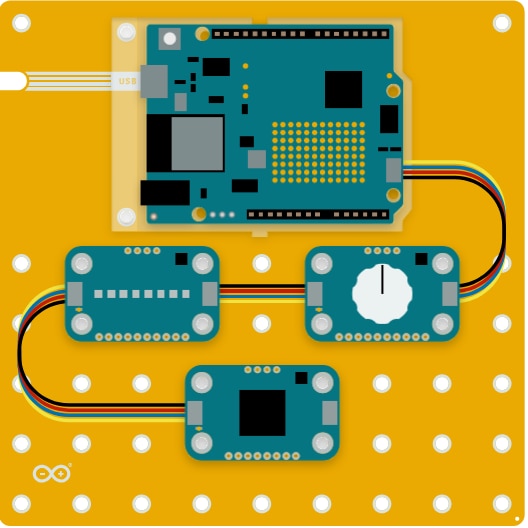
The AKX00069 Arduino Plug and Make Kit features the UNO R4 Wi-Fi, enabling seamless wireless integration with the Arduino Cloud.
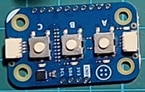
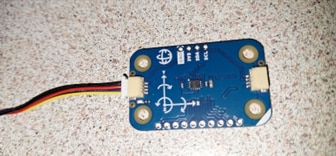
It includes seven Modulino® nodes, easily connectable via I2C Qwiic cables for a fully solder-free experience.
This kit provides an intuitive introduction to IoT and electronics, allowing effortless project customization.
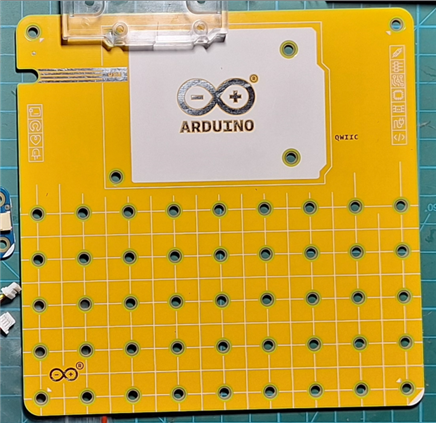
It’s hard to overstate the advantages of using the Modulino Base Plate and Modulino nodes.
The seven modules included are:
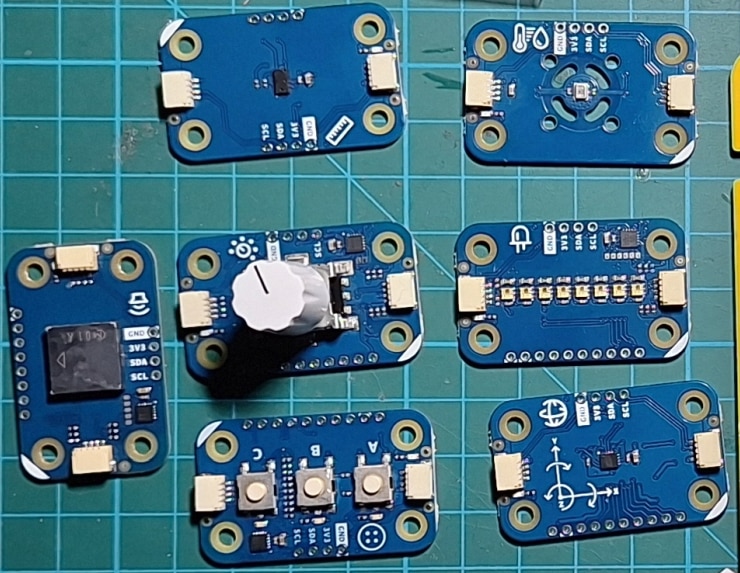
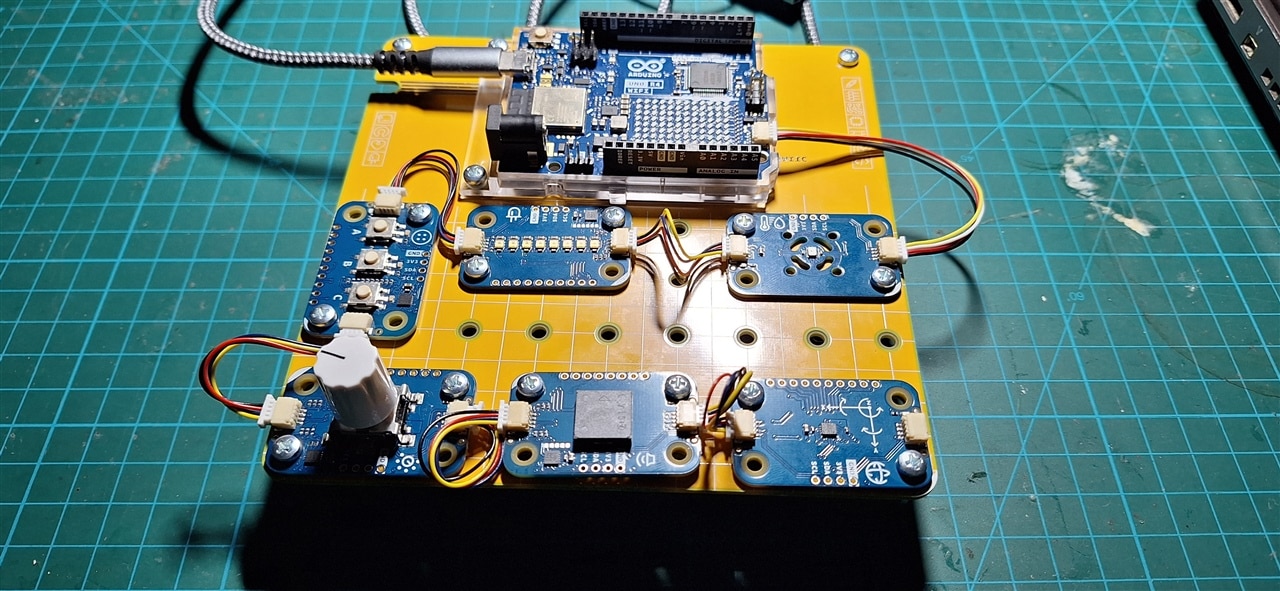
The Arduino Plug and Make Kit simplifies prototyping with seven Modulino® nodes using SparkFun's Qwiic standard for modular I²C devices.
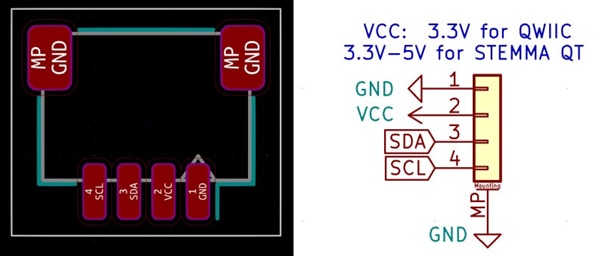
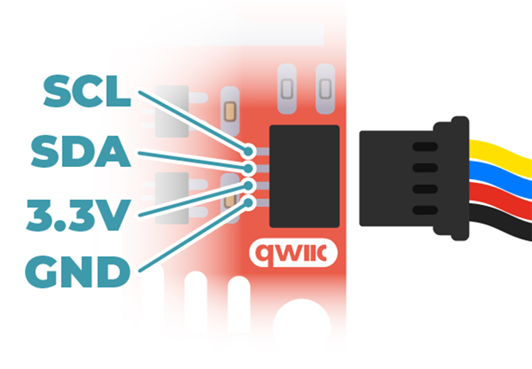
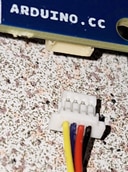
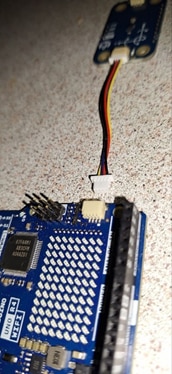
This solder-free system allows quick and secure connections via a single Qwiic cable, eliminating wiring errors with polarized 4-pin connectors (JST-SH raster 1mm).
The 1 mm-pitch Qwiic connectors save space, and the daisy-chaining capability enables seamless I²C bus expansion, making it ideal for scalable projects.
SparkFun Qwiic Connect System: https://www.sparkfun.com/qwiic
Qwiic Overview and FAQ: https://forum.digikey.com/t/qwiic-overview-and-faq/44944
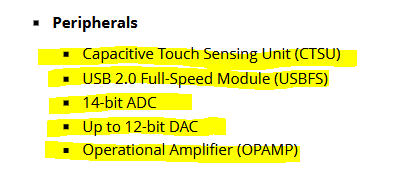
- Capacitive Touch Sensing Unit (CTSU) in Arduino UNO R4 Wi-Fi
Arduino R4 hidden easter egg!
https://www.youtube.com/watch?v=5cS-ShyYW_k
The Arduino UNO R4 Wi-Fi includes a Capacitive Touch Sensing Unit (CTSU), though it is not widely documented.
The R4_Touch library by delta-G facilitates its use, available on GitHub.
Touch Pads: Attach touch pads directly to supported pins, ensuring proper routing to minimize interference.
Compatible Pins: 0, 1, 2, 3, 6, 8, 9, 11, 12, A1, A2, and LOVE (pin 20).
This feature enables touch-based interactions without additional complex circuitry.
Arduino R4 Capacitive Touch Sensing
- Arduino UNO R4 WiFi OPAMP
https://docs.arduino.cc/tutorials/uno-r4-wifi/opamp/
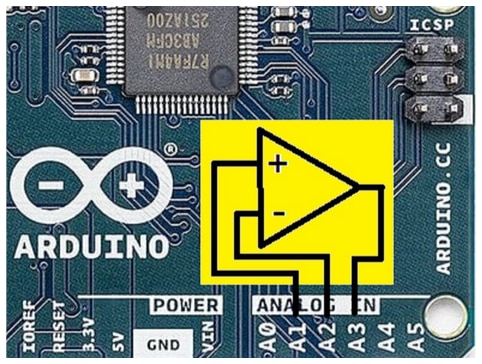

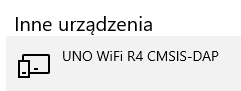
Device recognized in windows system smooth and without problem
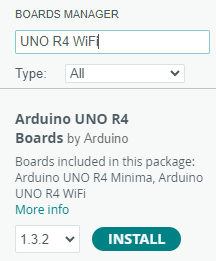
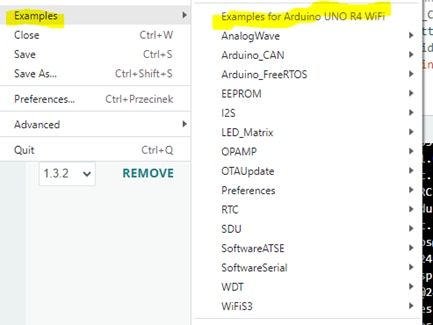
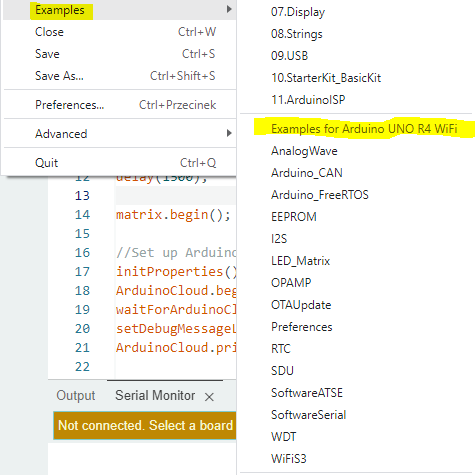
The sketches are available in DEMO examples in Arduino
Select the proper board in Arduino IDE

go to examples

Tetris Animation Sketch
The UNO R4 WiFi comes preloaded with a Tetris animation
vid1 R4 Tetris animation
I tried to implement old example for Arduino UNO
After a few minor adjustments, the program works.
Here is the next simple example of full integration with the old UNO and utilizing the capabilities of the R4 and its LED MATRIX below:
GAME OF LIFE example
As seen in the previous tests, I wanted to revisit some old Arduino projects with my daughter, who is also participating in the roadtest.
I decided to check the compatibility of the R4 with my old "Shields" extensions. This wasn’t as straightforward.
The old programs required modifications, and I couldn’t manage on my own everywhere, but thanks to help from online forums,
I can confirm the compatibility of the Arduino UNO R4 WiFi with old systems and projects. Below is the "MultiFunctionShield" example.
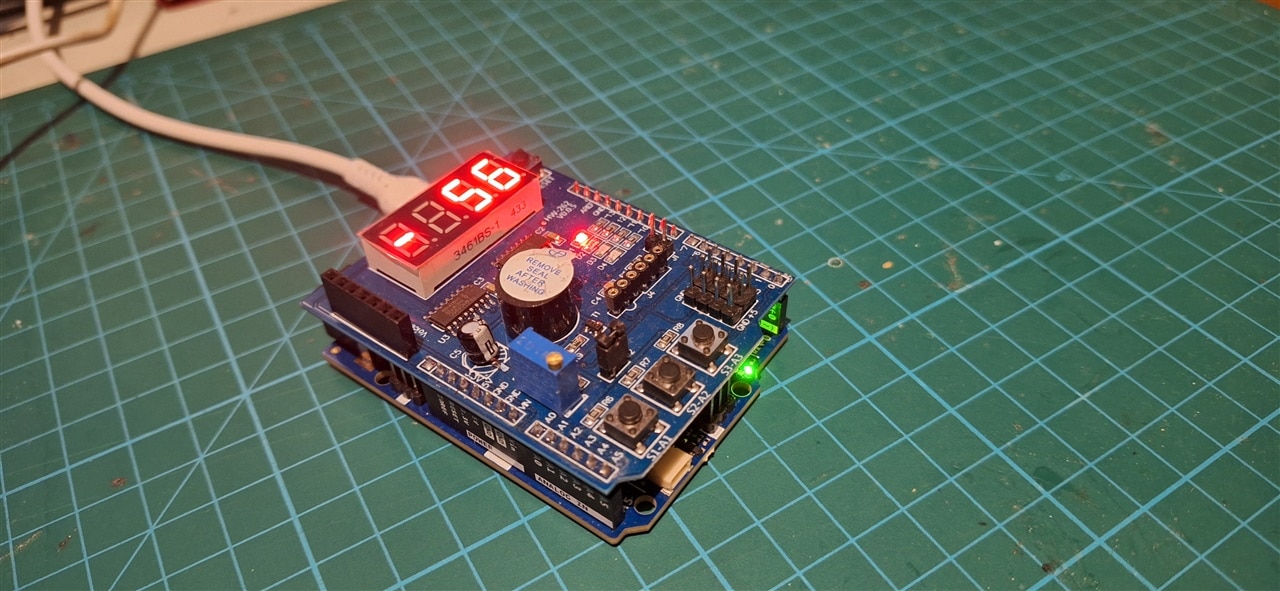
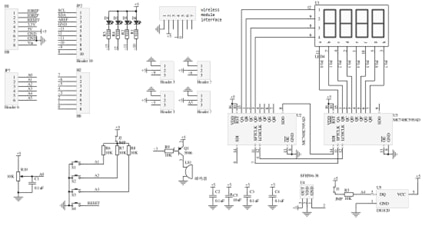
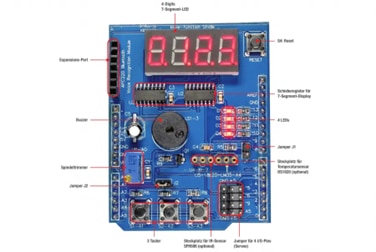
I used the solution described on the website:
https://www.elektroda.pl/rtvforum/topic3997354.html
Used library: MultiFunctionShield
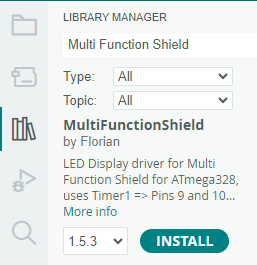
Without library modification I had an error : Library only for Arduino Uno, Nano and so on with ATmega328
WARNING: library MultiFunctionShield claims to run on avr architecture(s) and may be incompatible with your current board which runs on renesas_uno architecture(s).
- only for ATmega328
Modifying the "architecture" in the library allowed the project to work with a different MCU.
And yet another famous and popular extension module for the old Arduino turned out to be compatible with our new UNO R4.
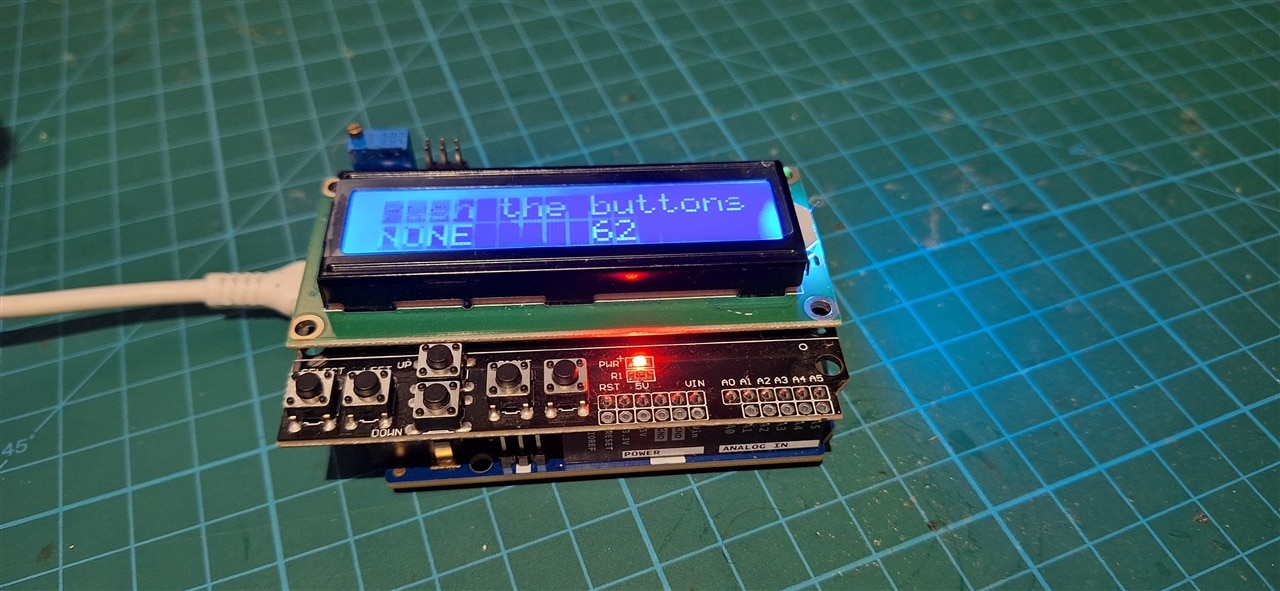
I ran it thanks to: https://www.elektroda.pl/rtvforum/topic4006031.html
libraries used LiquidCrystal and AnalogMultiButton
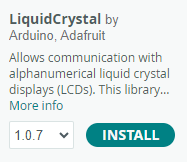
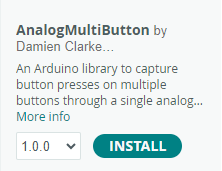
That works fine!
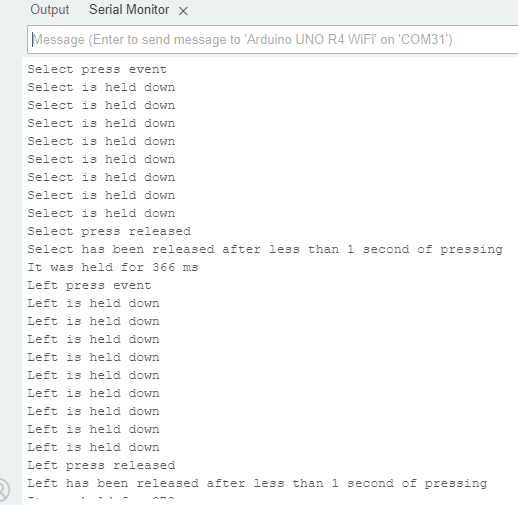
My memories of past attempts to create a gaming system on Arduino were revived: the Joystick shield.
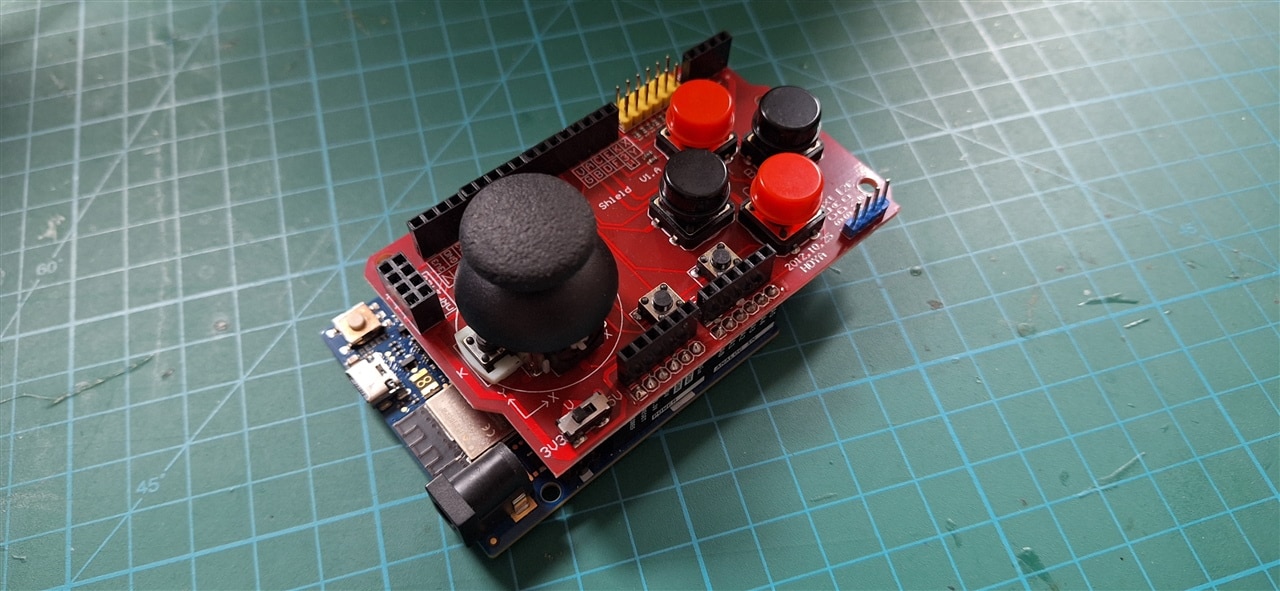
I used JoystickShield Library with examples
https://github.com/sudar/JoystickShield



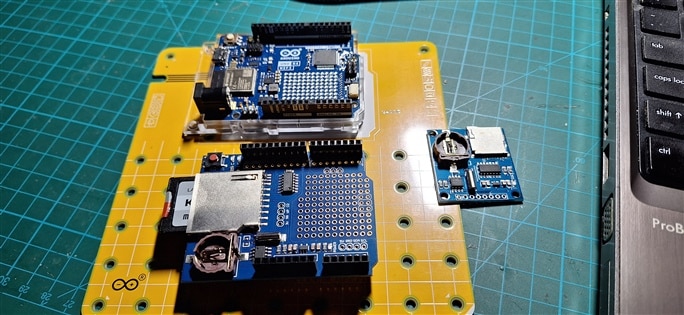
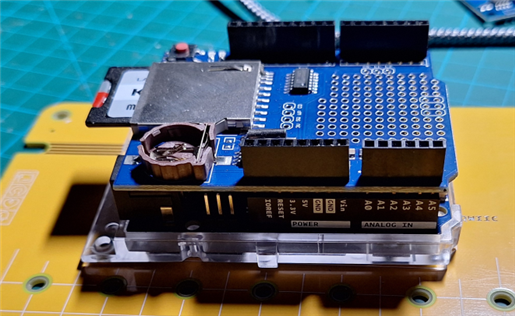
I dug up one more old board that was once used for data logging when Arduino didn’t have many communication capabilities.
It has an SD card port and an RTC with battery backup. I didn’t expect the integration to be so simple.
The “Adafruit Data Logger shield” has stood the test of time and proved to be trouble-free to use with the Arduino R4 WiFi.
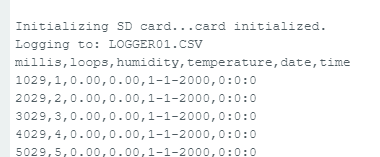

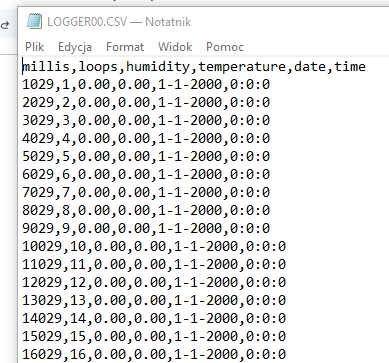
Additionally, I was pleasantly surprised by the DHT11 sensor library, which, although not updated for years, is written in such a way
that it still works with the R4 (as well as with other platforms). A simple temperature logger to the SD card was successfully set up without any issues.
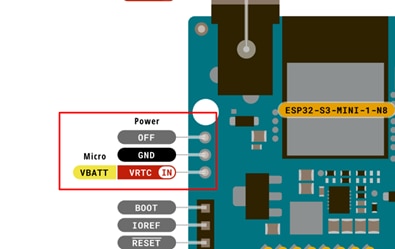
And by the way, the UNO R4 WiFi has its own RTC (Real-Time Clock). To use it, it’s necessary to connect the battery according to the schematic.
Demo examples for wimple wifi communication
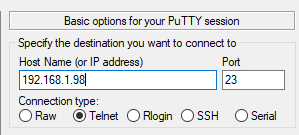
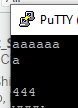
I am an enthusiast of the smart home system 'Home Assistant,' so I wanted to check if Arduino R4 WiFi could integrate with my setup.
It turned out to be very simple. I didn't create a large project. I decided to set up communication via MQTT, and the results were very satisfying.
using
[ArduinoMqttClient]
connected via WiFi
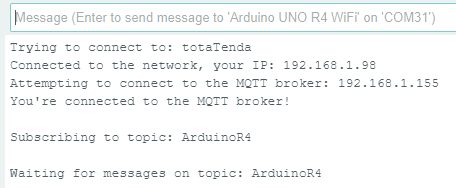
and talking via MQTT using the broker

on HomeAssistant MQTT terminal:
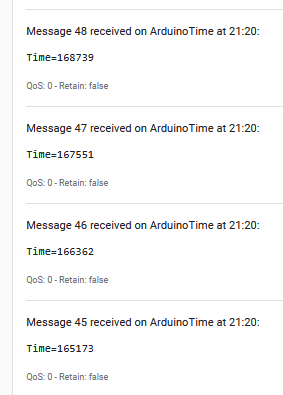
sending message to Arduino UNO R4
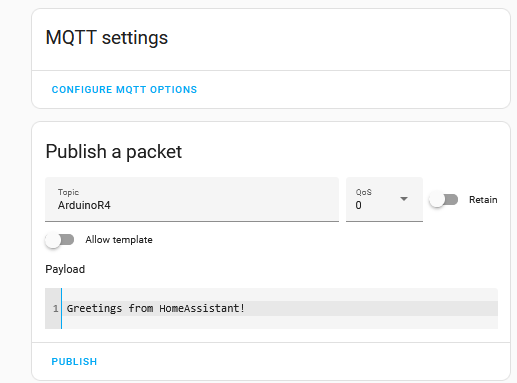
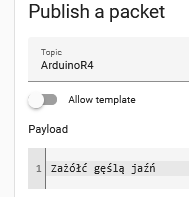
results on the serial terminal (Arduino) :
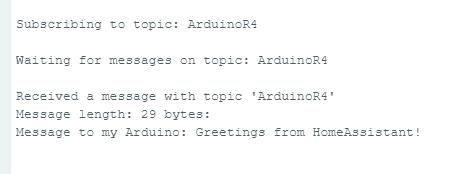

clever boy - no mistakes in communication!
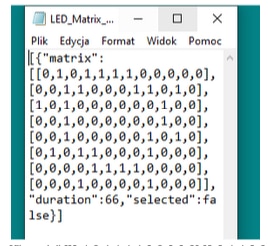
Convenient tool - LED matrix editor

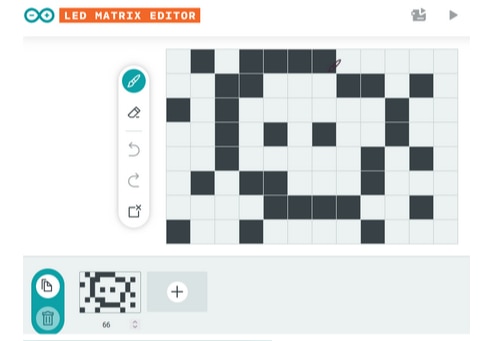
binary result of the above
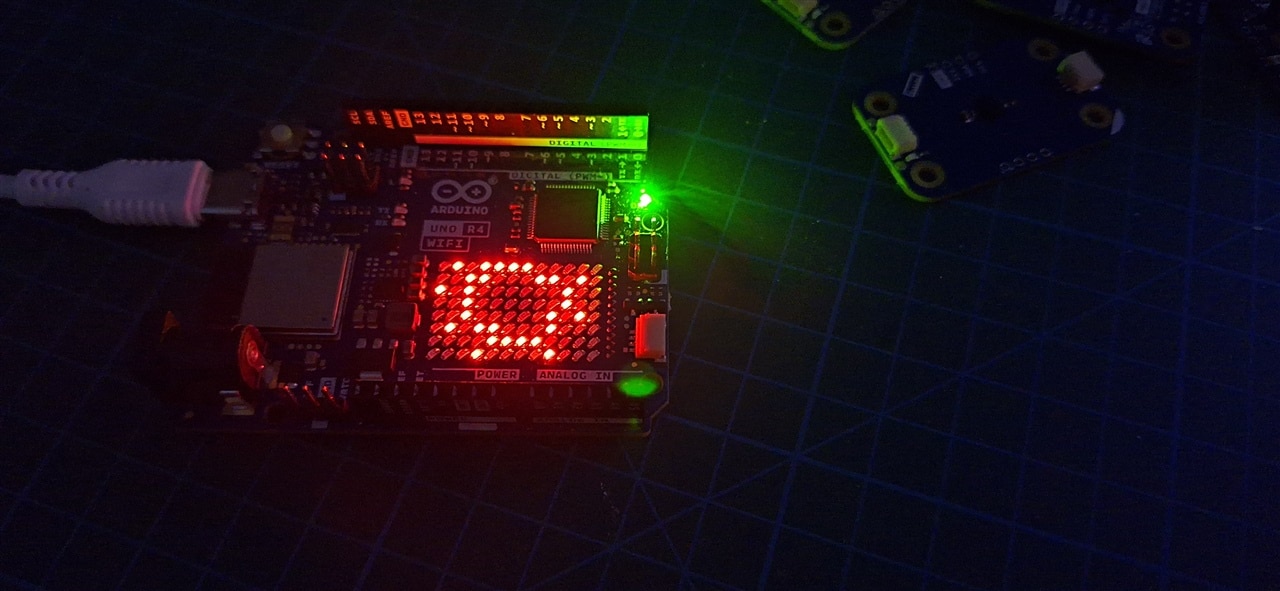
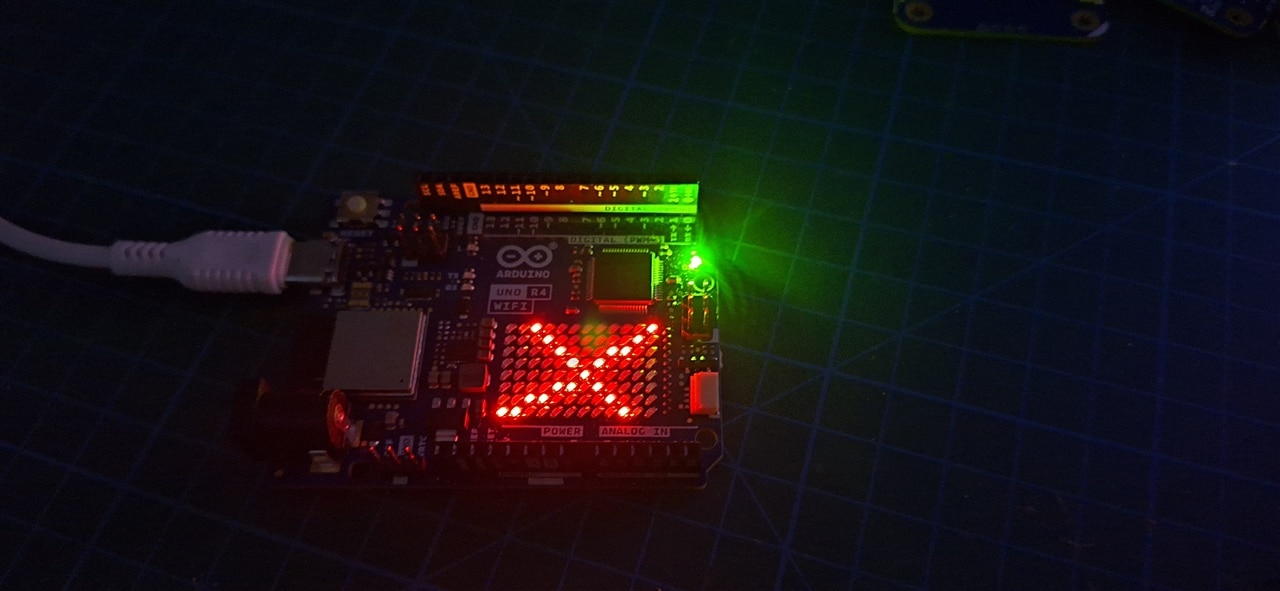
Displayes on the LCD MATRIX
In addition to using the temperature and humidity module from the kit, I wanted to check the communication with other popular sensors.
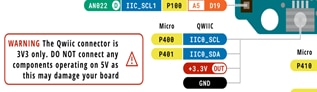
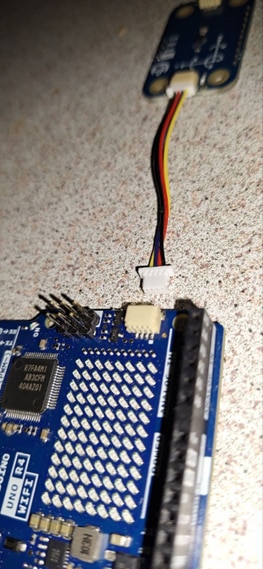
Additionally, we learned how to use the Qwiic connector. This wasn’t so easy at the beginning. The instructions refer to projects in the Arduino Cloud,
but I couldn’t immediately find the description for programming the second I2C bus. But more on that in a moment.
AHT20 and BMP280 sensors
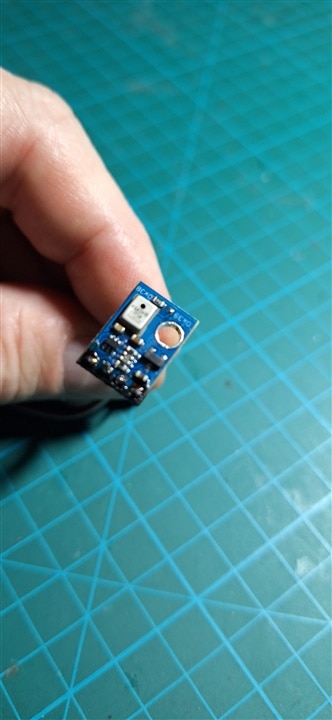 AHT20
AHT20
 BMP280& AHT20 combi module
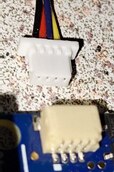
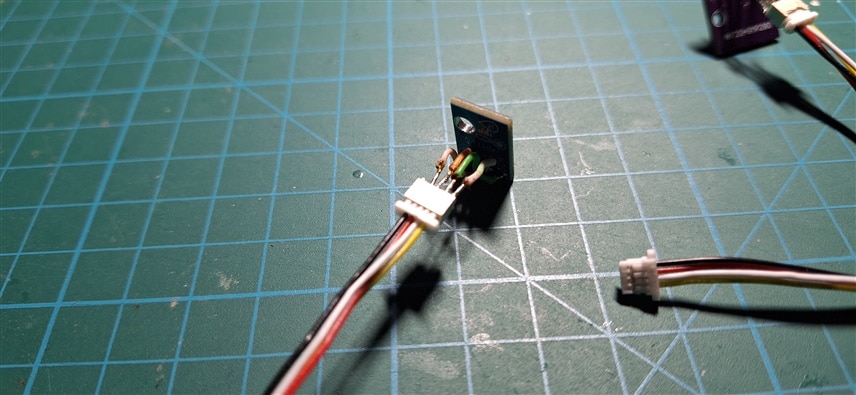 my QWIIC sockets
According to:
https://gist.github.com/maxpromer/a8448e843a924ad8fcb0ed2a0f69a302
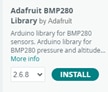
library: Adafruit_BMP280
https://github.com/adafruit/Adafruit_BMP280_Library
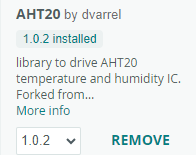
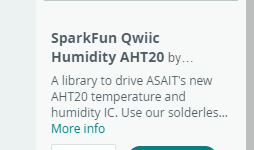
Arduino library for AHT20 Humidity product
https://github.com/dvarrel/AHT20
library: AHT20
Compilation faults
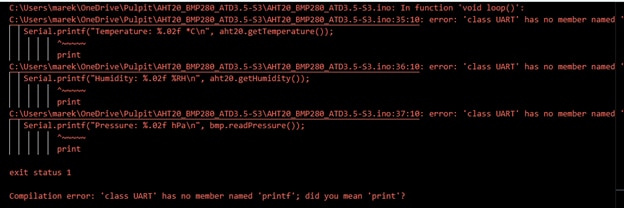
Seems to be Incompatible with the Arduino UNO R4
Example from library Adafruit_BMP280
no sensor?
Example from library AHT20
no sensor?
attempts failed
I knew I had to properly program the second I2C bus used when using Qwiic. However, I couldn't find a simple guide or example.
First tried some libraries and modifications
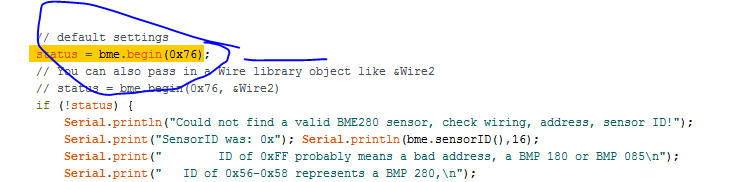
Finally, I decided to check if the sensors were even detectable. For this, I used the 'I2C-Scanner for Two Buses' project.
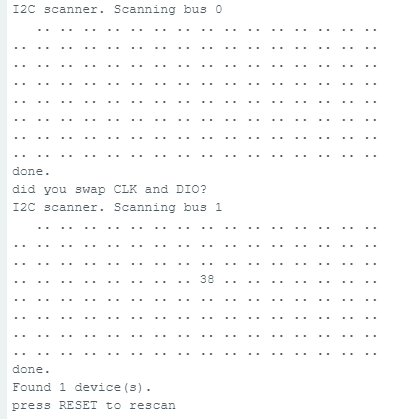
I even ran a program to display the I2C sensor addresses on the LED matrix.

Ultimately, I managed to find a solution. Someone had already dealt with it on the forum: https://forums.adafruit.com/viewtopic.php?t=205037.
It's important to remember to declare the second bus using Wire1.begin();.
Additionally, in the case of the BMP280 sensor, I had to correct the line of code: Adafruit_BMP280 bmp (&Wire1);.
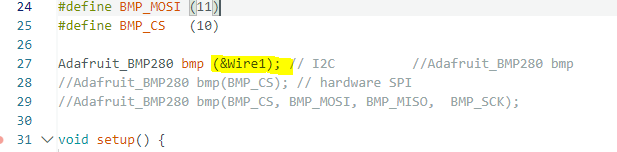
And for the AHT20 sensor, in addition to Wire1.begin(), you need to use aht.begin(&Wire1).
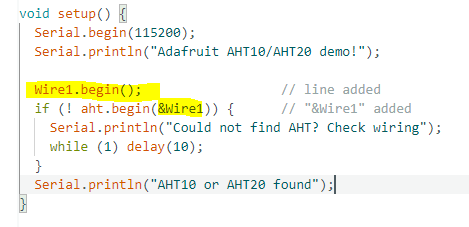
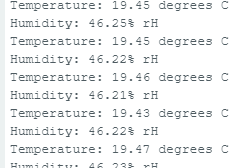
And that was all it took.

On the other hand, I couldn't get the Modulino modules to work in projects built in the Arduino IDE.
I couldn't manage to use the Modulino libraries correctly, or perhaps something else was missing.

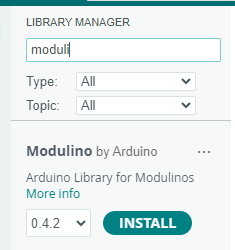
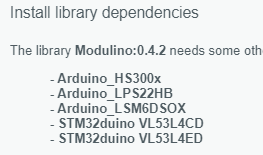
again and again:

Compilation error: thingProperties.h: No such file or directory
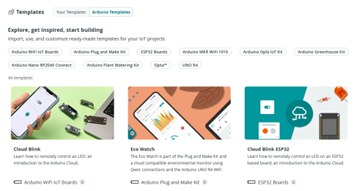
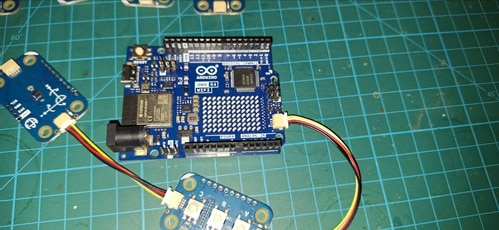
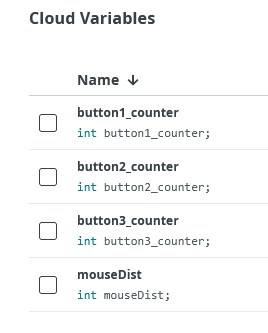
And at that moment, I decided to switch from testing in the Arduino environment to ARDUINO CLOUD.

https://create.arduino.cc/editor
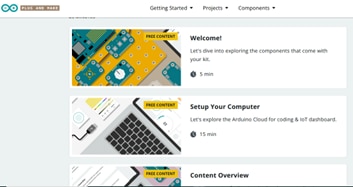
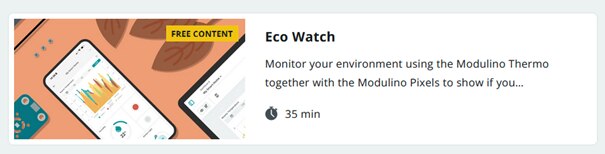
https://courses.arduino.cc/plugandmake/lessons/project-eco-watch/
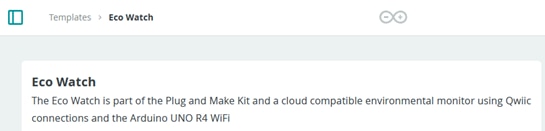
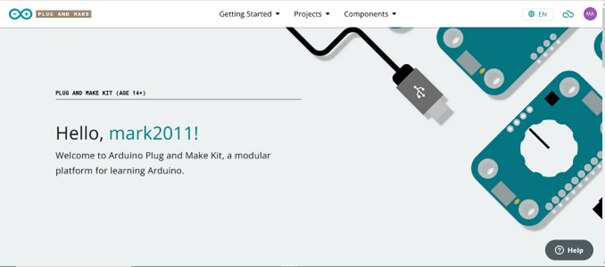
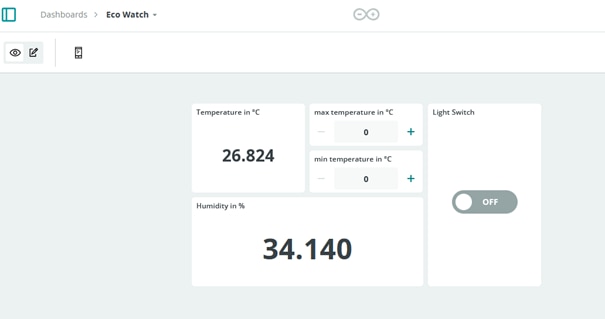
But sometimes also some errors occurred HARDWARE issue/ firmware????


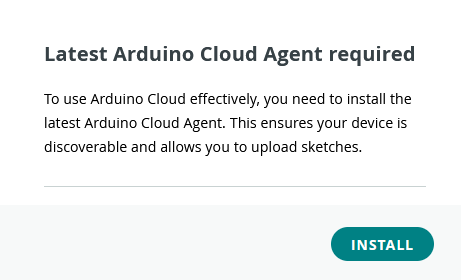
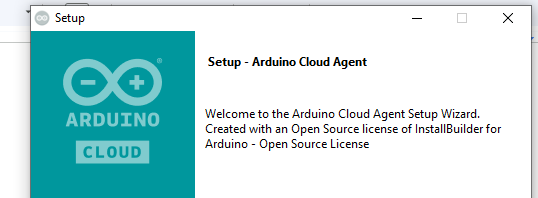
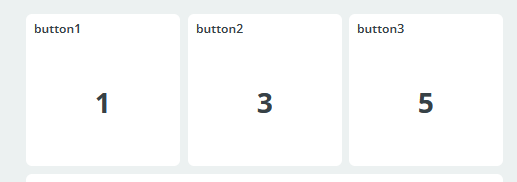
The solution:

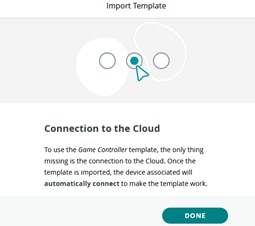


I selected only a portion of the projects that could be run using the Arduino Plug and Make Kit, and there wasn’t enough time for many other interesting ones. The kit is so fascinating that I will definitely spend many more enjoyable hours with it. I believe I may have overlooked some of the modern capabilities of designing applications in Arduino Cloud, which I will surely catch up on soon. I am also unsure whether it will become a permanent part of my home project or serve as a test and development board.
My daughter really enjoyed building projects with the Arduino UNO R4 WiFi, and she confirmed that the convenience of Modulino and Qwiic is invaluable.
We can highly recommend this kit for beginners, as well as seasoned Arduino enthusiasts.
Good luck and have fun!
Once again, we sincerely thank you for inviting us to participate in such an exciting ROADTEST: 'Review the Arduino Plug and Make Kit.