


Ludwin created four versions of the 3D-printed wide breadboard for different microcontrollers. (Image Credit: Ludwin)
I love this. A brilliant idea. And, I so want these.
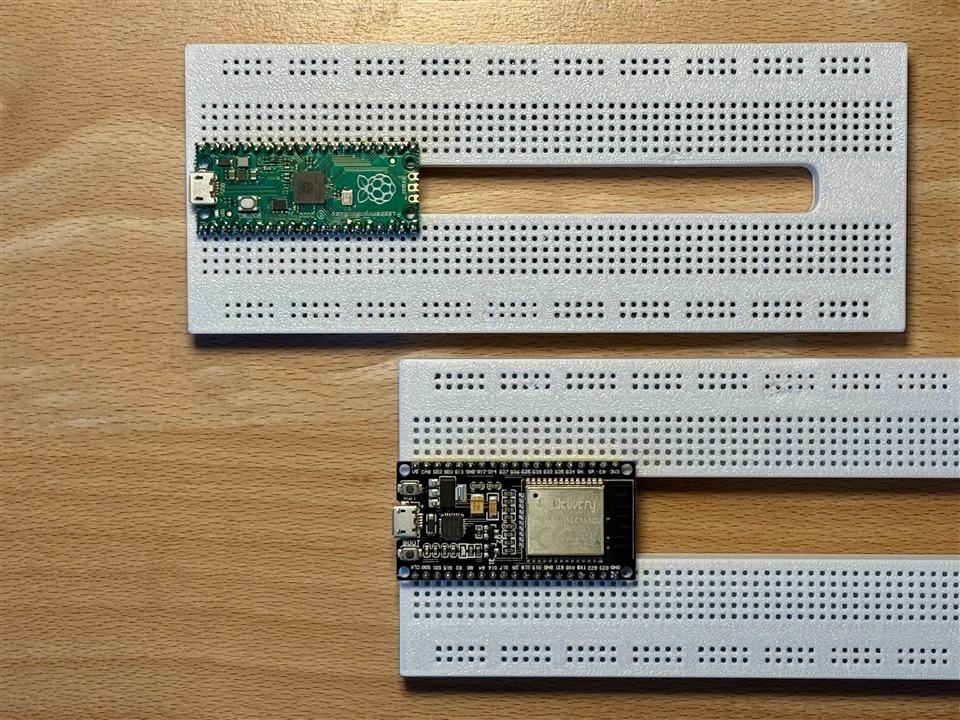
Breadboards are useful for testing electronic projects. But they can’t support Raspberry Pi Pico or ESP32 development boards due to their width. If you place them on a standard breadboard, they occupy several connection points. In this case, the Pico leaves two accessible holes per pin for use, whereas the ESP32 leaves no space on either side. As a result, prototyping turns into an inconvenient or impossible task. Ludwin solves that problem with the 3D-printed breadboard that reuses metal spring contacts to accommodate wider boards.
Ludwin's board has the same contact layout (63x5) as a traditional breadboard, featuring two vertical power rails on both ends. Users connect the MCU in the inner rows (5-pin groups), making four holes per pin available for jumper wires and other components. This setup is perfect for prototyping and experimentation. Ludwin also developed four different versions for three microcontrollers.
- Pico versions: fit Raspberry Pi Pico (7×2.54 mm pin spacing)
- ESP32 standard versions: fit ESP32 Dev Board (10×2.54 mm pin spacing)
- ESP32 narrow versions: fit ESP32 narrow Dev Board (9×2.54 mm pin spacing)
- Nano version: fits Arduino Nano (6*2.54 mm pin spacing)
For this project, Ludwin had to be very precise. The plastic webs separating each contact hole measured barely 0.5mm across. Each opening for the metal contacts measured under 1mm in diameter. At this scale, minor printing imperfections became problematic. Slightly extra material risks sealing the hole shut, while under extrusion, made the contacts wobble loosely.
Achieving the right tolerance didn’t happen on the first try. It required several test prints before the contacts fit in securely. This was tight enough for a firm hold, yet not so tight that insertion risked damage. The process underscored the importance of a well-calibrated printer and finely tuned extrusion settings. An over-extruding configuration distorted or closed the tiny openings.
Ludwin completed this project using a Bambu Lab X1C with a 0.4mm nozzle, which automates optimization steps and delivers consistent results on complex shapes. With other printers, achieving this level of precision may require fine-tuning the flow or extrusion multipliers, print temperature, reduced speeds for finer detail, and horizontal expansion or hole-compensation settings.
Besides addressing the “too-wide-for-a-breadboard” issue, this project preserves the standard breadboard experience. It ensures a solderless, fast, and quick-to-assemble configuration, while making it easy to work with wider MCU boards.
Have a story tip? Message me here at element14.
Top Comments