


Now we have a running 1-Wire Weather Station on the SPARK Core, as described in Old meets new, the 1-Wire Weather Station on the SPARK Core. (part 5), we now come to the next step, as the station needs to be powered outside. We need to put the weather station somewhere in the backyard, where no external power is available. Commercial wireless weather stations mainly use a low power 433 or 868 link which transmits weather data once per minute or less and runs for months, if not years on a pair of AA batteries. Compared to this the power need of the SPARK Core is huge. Therefore I decided to use a solar panel for powering.
A small panel of 5 Watt should be enough. Some electronics between the bare solar panel and the SPARK Core are needed since the Core needs to be powered with 5V DC. Also a battery and a charger circuit is needed for operating when no sunlight is available.
Parts list:
- Solar panel 5W
- SPARK Battery Shield (mustache board)
- Richtek EVB_RT7275GQW Evaluation Board, modified for 5V.
Solar Panel
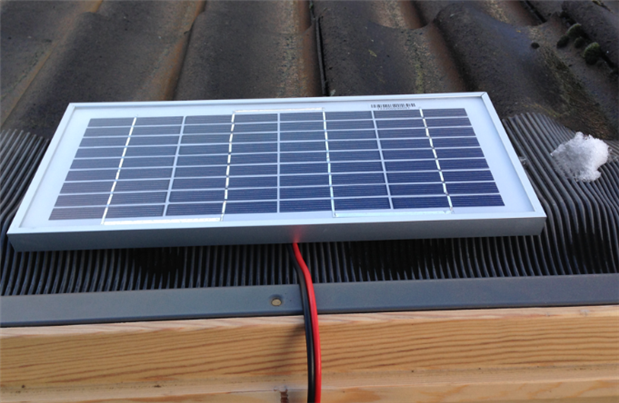
The solar panel I planned to use for this project is a small 5W panel with a Voc of 21V and Vpm of 17V.
SPARK Battery Shield (mustache board)
For powering the SPARK Core the SPARK Battery Shield (Spark Docs | Shields and kits) is used. The battery shield is a LiPo battery charger and voltage regulator combined into one pcb with a weird form factor. You can use it to power your Core with any 3.7V LiPo battery and charge it at the same time via the USB port. The shield is built around Microchip's MCP73871 battery charge management controller and TI's TPS61200 boost converter for up converting 3.7V to 5.0V. The battery shield comes with a small 3.7V 450mAH battery.

Input for this board is 5V mini usb, designed for connecting to a 5V power outlet. This will not work with the voltage provided with the solar panel, so a second circuit is needed to convert the varying voltage output of the solar panel to a steady 5V. A traditional 7805 voltage regulator should work, but then to much power will be lost into heat. Luckily I recently did a review of the Richtek EVB_RT7275GQW Evaluation Board , which is perfectly suitable to do the job.
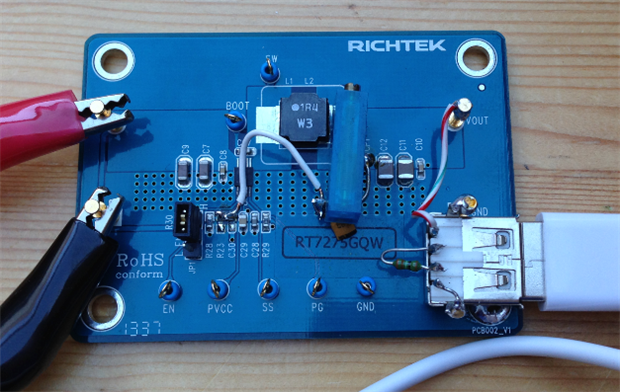
Richtek EVB_RT7275GQW Evaluation Board
Originally the evaluation board is designed for 1.05V output. In my review (Richtek EVB_RT7275GQW Evaluation Board), you can find a description of the modification to 5V output by replacing one of the resistors by a potentiometer, as can be seen in the picture below. An USB connector was added to connect to the battery shield. A 100Ω resistor connects D+ and D-. This is according to the USB battery charging specification, which requires a resistance of less than 200Ω between the data pins to indicate the USB port can be used for charging.
First tests
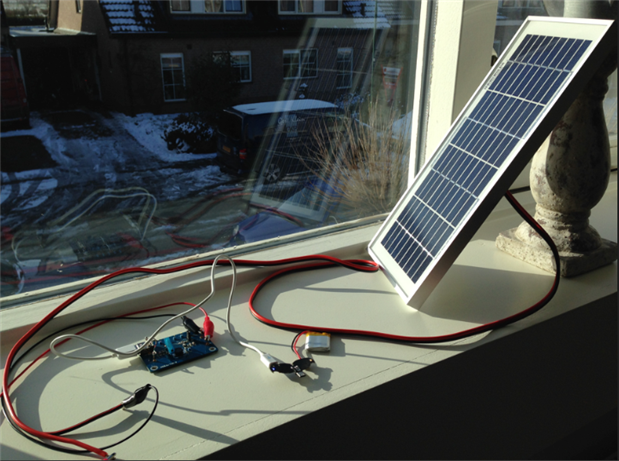
After these modifications All components were connected and the solar panel was placed in the window for some initial testing.
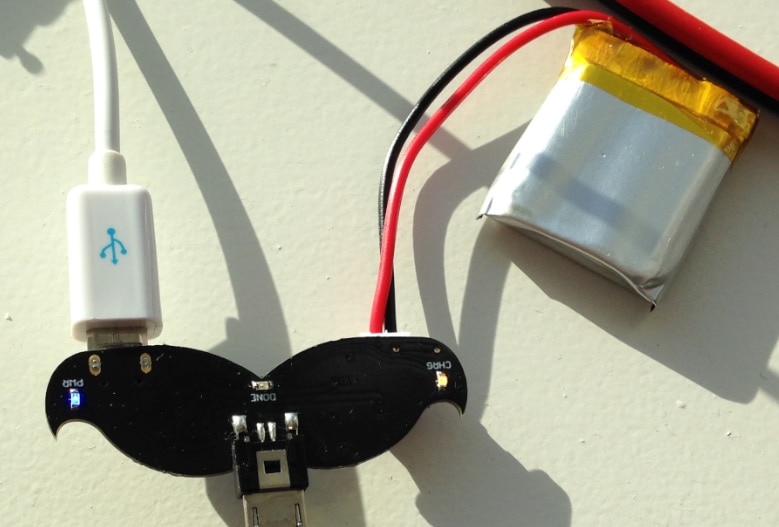
As can be seen in the picture above, the power and charge leds lights up, indicating that everything works as expected. The same is the case for the voltages measured at the input and output of the Richtek evaluation board.
As you can see in the image above the tests are taking place in winter conditions, meaning a long period of dark, and a short daytime period and low solar elevation. Furthermore we have lots of dark cloudy days during winter.
For the final setup the 450mAH battery will be replaced with an 1300 mAH version. Hopefully sunlight during daytime will be enough to charge this battery fully, and optimization of the software on the SPARK Core will make it run a full night on this capacity.
Stay tuned for further experiments and results.
Please let me know when you have any questions.
Top Comments