


So, in the previous blog, we discussed the problem statement that my project tries to resolve.
Now, we will develop an Accident and Jerk Detection system to possibly find a solution to the discussed problem statement, ie to reduce motor accident mortality rate.
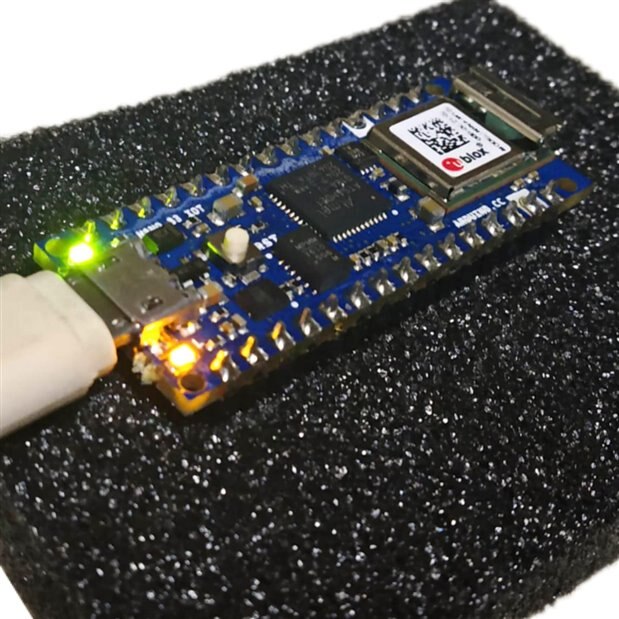
Arduino Nano 33 IoT Unboxing
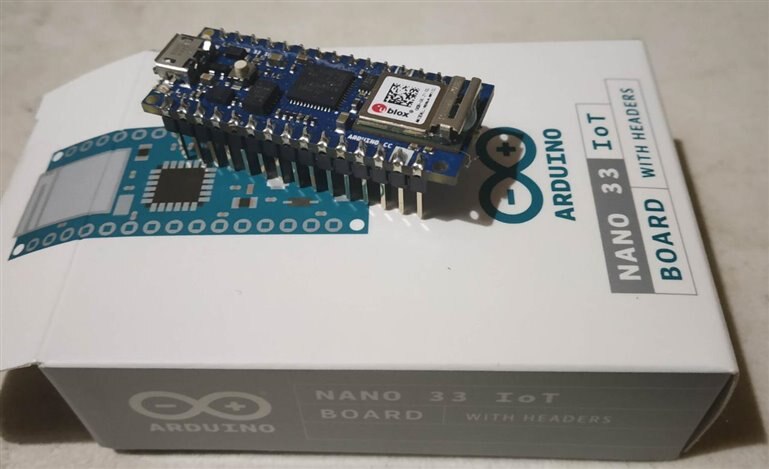
Arduino Nano 33 IoT is a small, robust, and powerful board that has WiFi and Bluetooth connectivity that combined with its low power architecture makes it a practical and cost-effective solution for your connected projects.
It is fully compatible with the Arduino IoT Cloud and supports full TLS secure transport: the ATECC608A crypto chip stores the cryptographic keys in hardware, offering a very high level of security for this class of products.
The integration with the Arduino IoT Cloud offers also a very efficient way of setting up online dashboards with little coding and minimal effort.
In the same iconic size as the Arduino Nano, the Arduino Nano 33 IoT hosts an Arm Cortex-M0+ SAMD21 processor, a WiFi, and Bluetooth module based on ESP32;
a 6 axis Inertial Measurement Unit (IMU), and a crypto chip that can securely store certificates and pre-shared keys.
The board can either be used in a breadboard (when mounting pin headers) or as an SMT module, directly soldering it via the castellated pads.
From the data, Arduino Nano 33 IoT only supports 3.3V for inputs and outputs (IO pins) and it is not 5V tolerant like most of the other Arduino boards.
Connecting more than 3.3V on IO pins would damage the board.
The pins are compatible with the classic Arduino Nano pinouts. But the classic 5V pin is not wired by default and doesn't provide any power VUSB jumper is not used.
To have 5v, you just have to solder the VUSB jumper on the board.
Arduino Nano 33 IoT Setup
The Arduino Nano 33 IoT is programmed using the Arduino IDE.
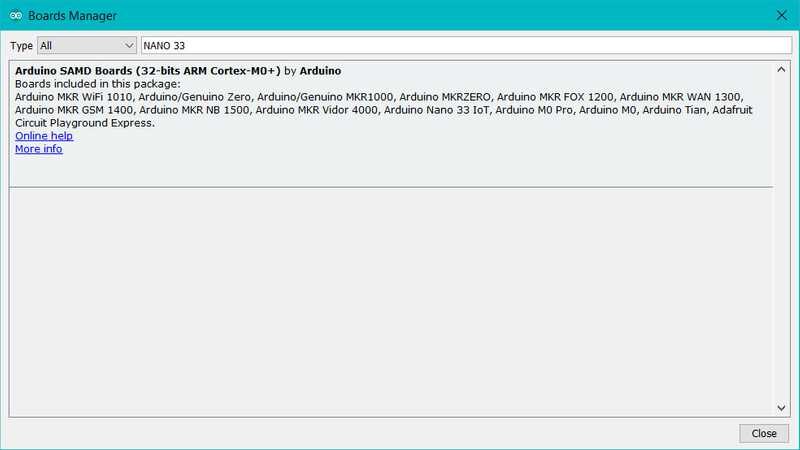
We need to install the Arduino Desktop IDE and add the Arduino SAMD Core to it.
This can be done by selecting the Tools menu -> Boards -> Boards Manager.
Search for Nano 33 and install the core.
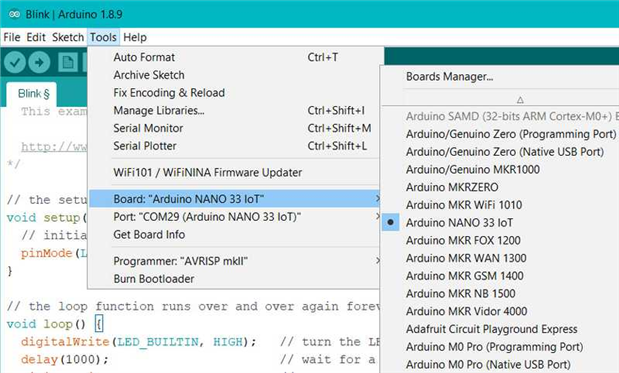
Select the entry in the Tools -> Board menu that corresponds to your Arduino Nano 33 IoT.
Select the serial device of the board from the Tools -> Serial Port menu.
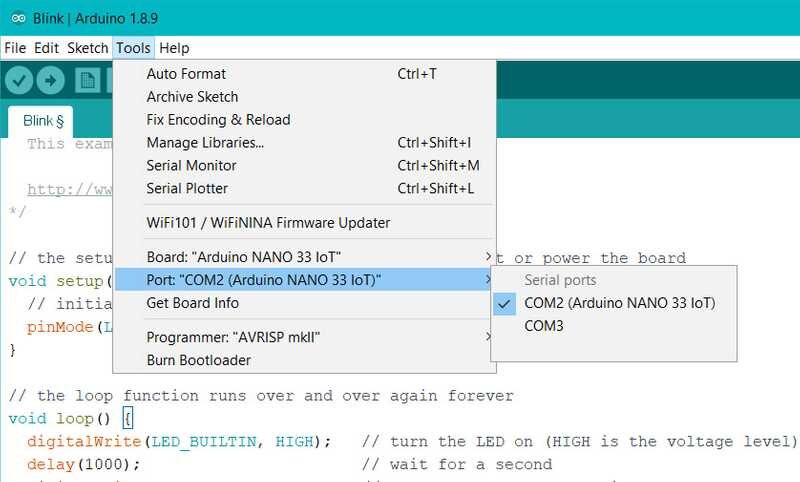
Upload the program.
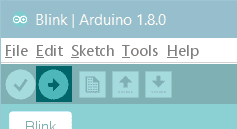
As simple as that.
The board can also be programmed using micro-python, which is something we could explore later.