


Over the weekend just gone by I managed to create an Ubuntu boot disk and get the SAMA5D4 running with an operating system that provides me with
features I am a little more used to vs the Poky build that Atmel provide.
What I built was Ubuntu 14.04.1 LTS compiled and running on the SAMA5D4 Xplained Ultra board. Along with supporting root file system.
Thankfully this include apt-get and I have been able to install all my favourite tools, including a GCC compiler tool chain directly to the
board. I really enjoying developing directly on single board computers so this is pretty useful for me.
I used a lot of web references to help me along my journey.
Prior to visiting the site below I set up an Ubuntu virtual machine, installed the Ubuntu kernel source and installed the gnu toolchain cross
compiler for ARM. That was all without references and actually managed to create a zImage file in a little under an hour. Most of the time
was spent downloading the AT91 source code.
The most useful site which gave me a lot of clues was the page for Robert Nelsons EEWIKI website that contains the info for the SAMA5D4EK.
Prior to finding that site I was a bit hooked up on the boot manager and couldn't make it work terribly well.
So his U-BOOT section was a great guide into getting things rolling a little more smoothly.
I could only get so far in the process until it hung and would go no further.
I won't replicate his site here as the steps are quite easily to follow and I've been through his entire process and got it working as well.
The process is quite lengthy though if you want to build your own kernel image, put a couple of hours aside to do it.
One of the most important files to modify was uEnv.txt
It contains a large number of boot parameters, but one line in particular was very important in getting this board up and running.
It was the primary board identifier for the device tree.
you have to make sure you include the line
fdt_file=/dtbs/at91-sama5d4_xplained_hdmi.dtb
<youtube video coming soon for the actual boot process>
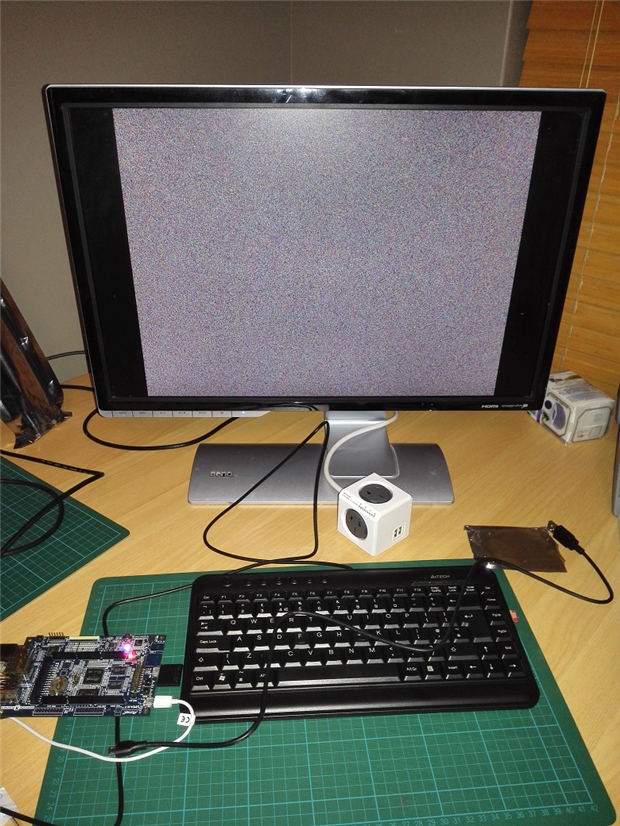
You don't necessarily need to use the hdmi device tree, but it will add the framebuffer to /dev for you, which means you can tinker
with getting the HDMI screen running. I admit I have had it working, but not as a console display its not easily plumbed into place like on a Raspberry Pi.
I managed to draw a lot of colourful pixels to it using the command cat /dev/urandom > /dev/fb0
I found I needed to sometimes plug and unplug the HDMI cable to make it recognize the monitor was there.
Now that i have Ubuntu on the board I'll be able to continue with my project and install RabbitMQ, as this will be the crux of my message bus/handler for
my IoT cloud based edge router and it will be processing all the data from my IoT devices.
If you would like to get hold of the Ubuntu image I created, you can download it from Dropbox.
It's designed to fit onto an 8GB SD card. Just use your favourite image burning software to burn it to the card.
On Windows I use Win32 Disk Imager for Ubuntu, dd also works just fine.
-

Workshopshed
-
Cancel
-
Vote Up
0
Vote Down
-
-
Sign in to reply
-
More
-
Cancel
Comment-

Workshopshed
-
Cancel
-
Vote Up
0
Vote Down
-
-
Sign in to reply
-
More
-
Cancel
Children