


#2 Home Assistant on Raspberry Pi Compute Module 4 (CM4)
For Extreme Environment Home Assistance Sensors
Table of Contents
1. Raspberry Pi Compute Module 4 (CM4) and Compute Module IO board
Raspberry Pi Compute Module 4(CM4) include a high-performance 64-bit quad-core processor, 4GB of RAM, No onboard eMMC, and SD card interface for SD card, together with Gigabit Ethernet, USB 2.0, dual camera interfaces, and PCIe Gen 2 x1 interface. The CM4 is small in size with same capability of Raspberry Pi 4B. Raspberry Pi Compute Module 4 (CM4) and Raspberry Pi 4B share same Software Image. Therefore they both can switch-off with-ease, only change the SD card in card slot.
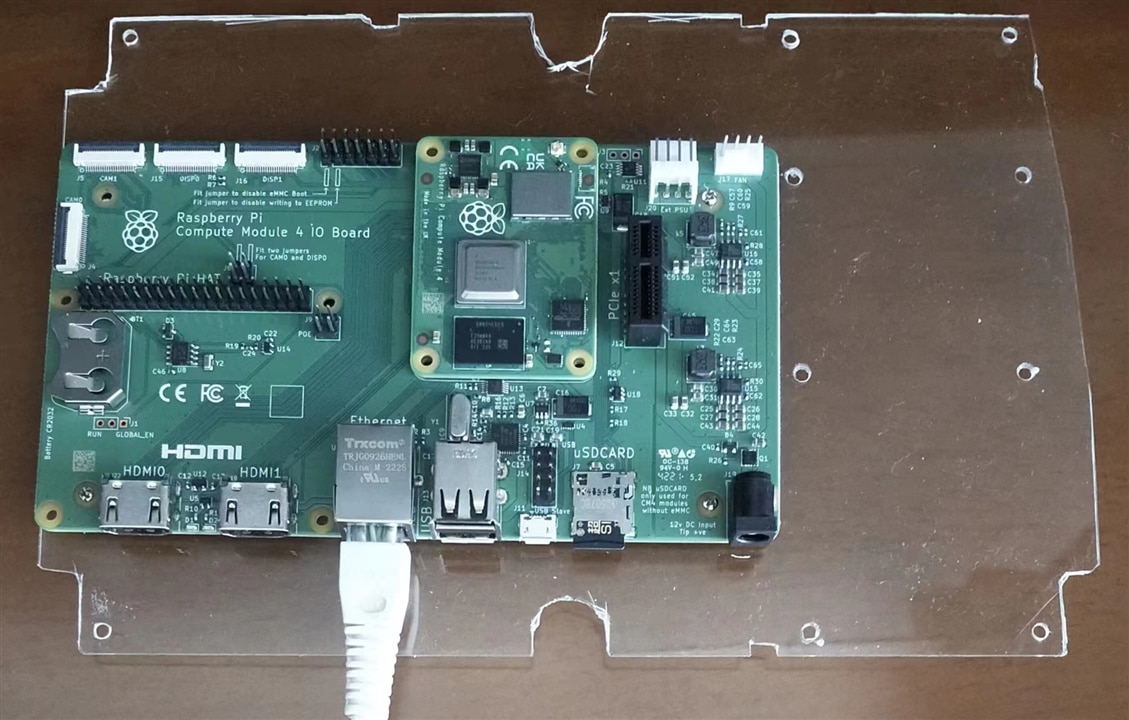
The hardware design of CM4 IO board is as follows,

The function diagram is as follows,
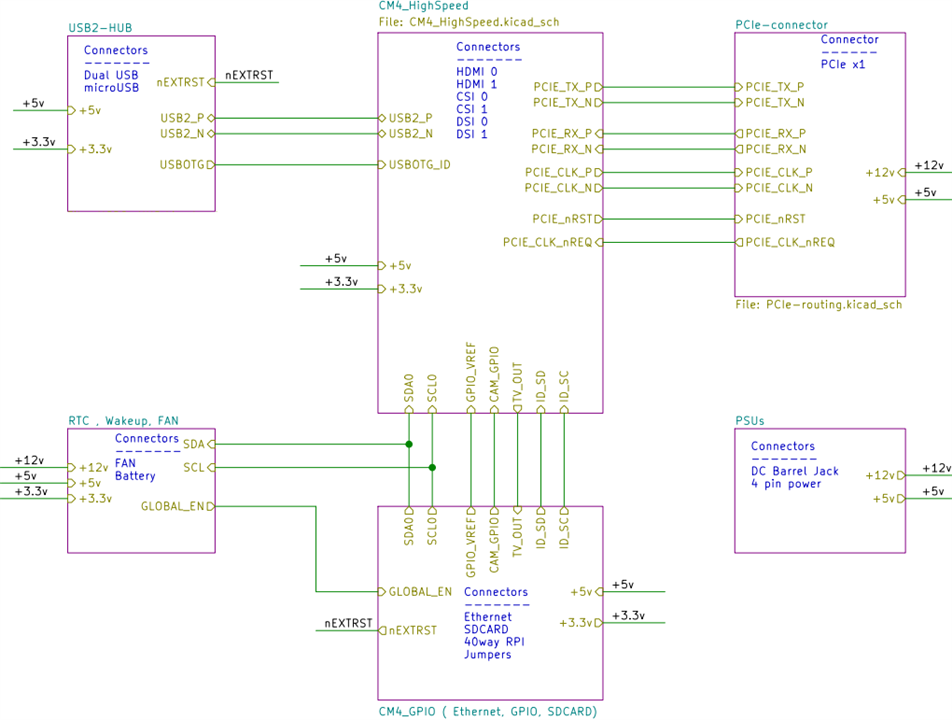
There are special features in CM4 IO board to be used in this experiment,
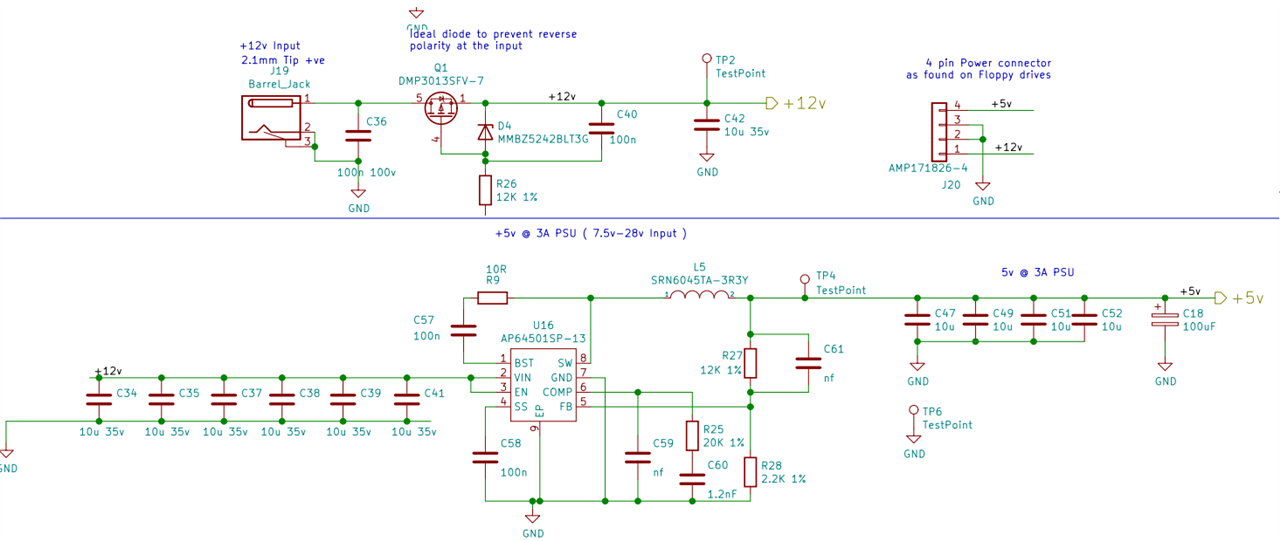
- The PSU
The main PSU input (J19) is a 2.1mm DC tip positive +12V input. There is a +12V to +5V DC-DC converter to power the CM4. There is also an on-board +12V to +3.3V DC-DC converter PSU which is only used for the PCIe slot. the external PSU connect and the FAN connector directly ( J20, +5V, +12V ). Compute Module 4 IO Board is recommended to budget 9W. This can be used to power up auxiliary board in sameIP68 enclosure.
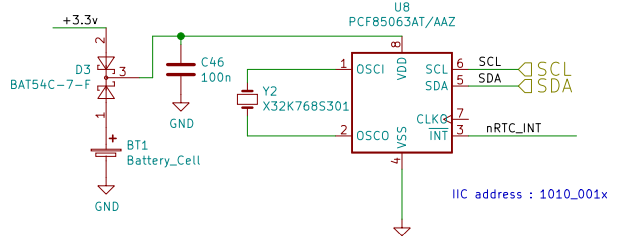
- The RTC
For the Raspberry Pi 4B, the system time shall be set every start-up time via NTP server. The CM4 can solve the problem with this RTC feature if I2C is properly set in software.
- The USB hub
The USB goes into device mode if USB cable is plugged. This shall be taken care of if Host mode is needed.
- The Ethernet
The POE is possible to power-up the board with RJ45 cable alone.
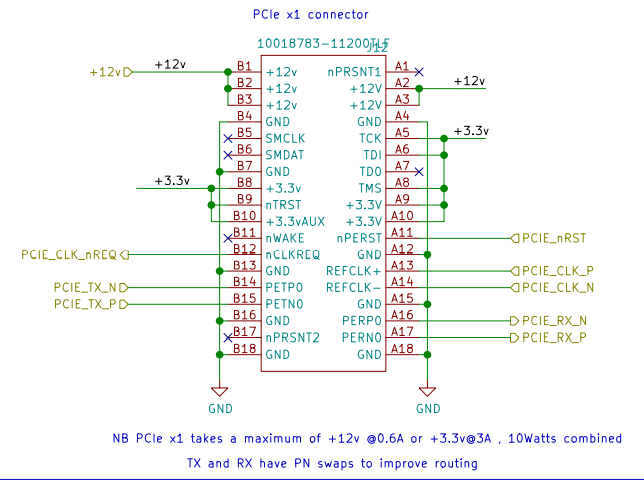
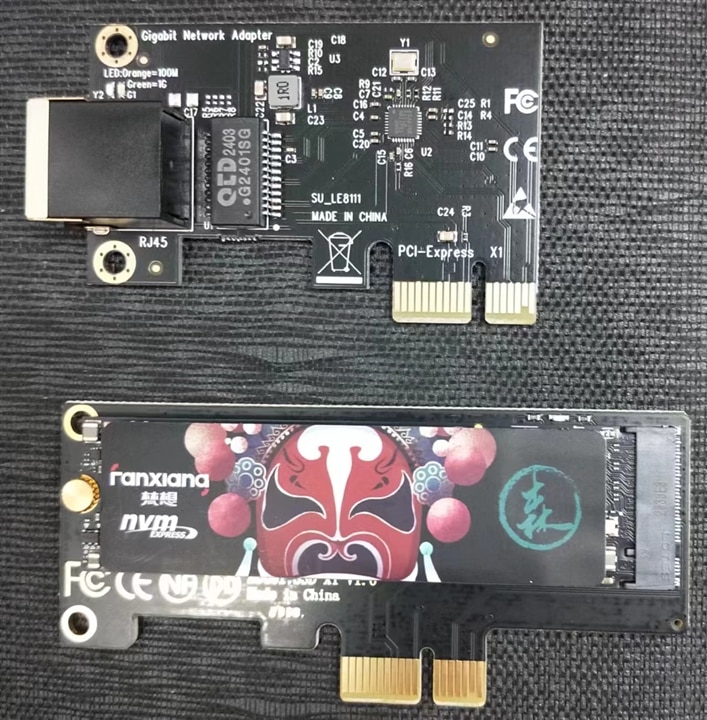
- PCIe Gen 2 x1 Slot
The PCIe slot is available for function extension in CM4 while Raspberry Pi occupies this as USB 3.0 hub.
2. Home Assistant
Home Assistant Operation System (HAOS) is open source home automation that puts local control and privacy first. Perfect to run on a Raspberry Pi or a local server. In this Experiment on Extreme Environment, both Raspberry Pi Compute Module and Raspberry Pi 4B shall be used for comparation. Other applicable hardware platform such as Home Assistant Green, Home Assistant Yellow are similar platform as Raspberry Pi does. As Installation - Home Assistant (home-assistant.io) shows.
HAOS is perfect in scenery full of sensors, with Automation Integration and smart control.
3. Getting start
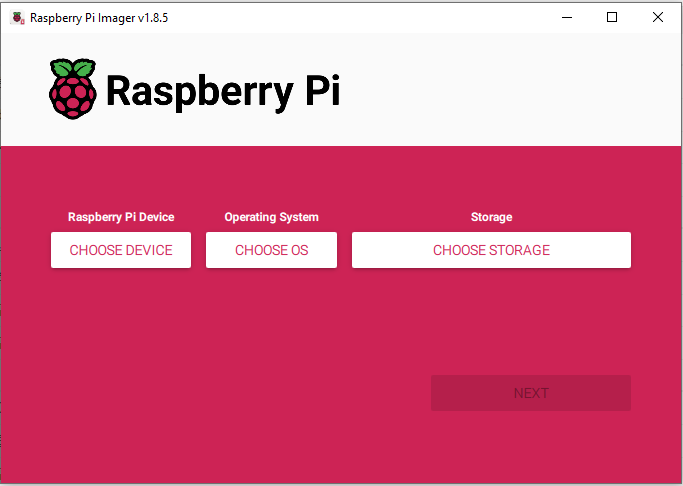
Install Raspberry Pi Image Writer and open it,
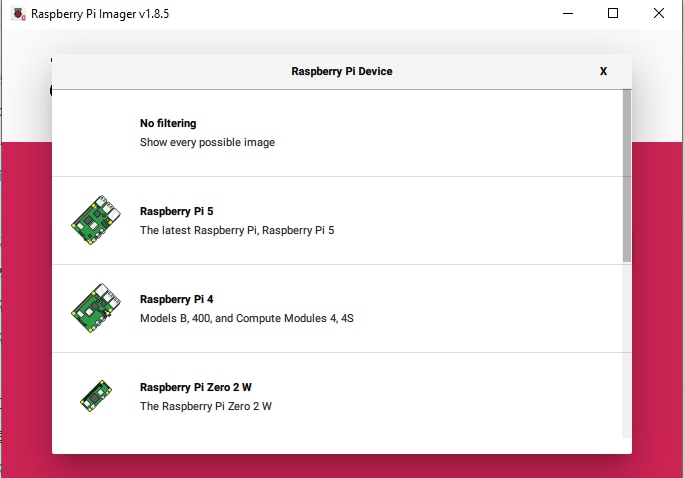
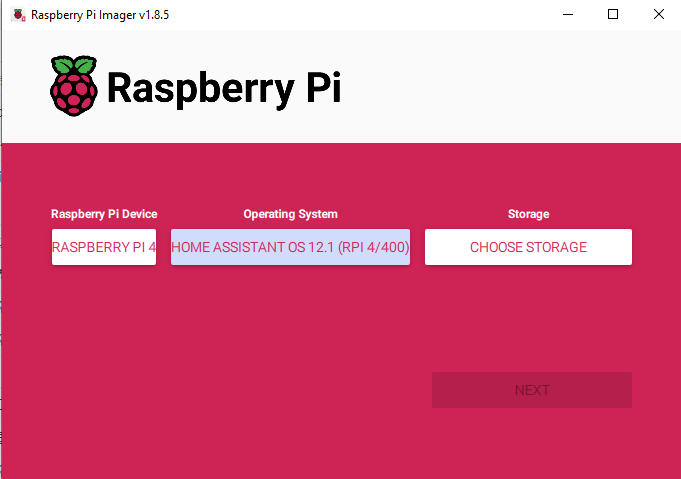
select hardware, with raspberry Pi, 4
choose Operation System (OS) to download and install

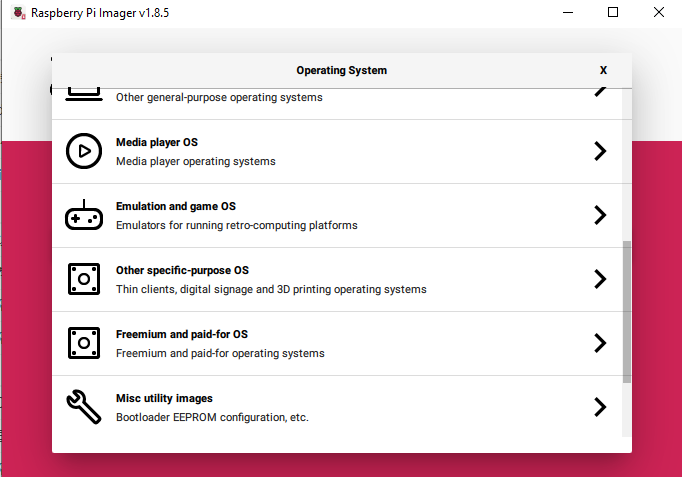
go to opther specific purpose OS
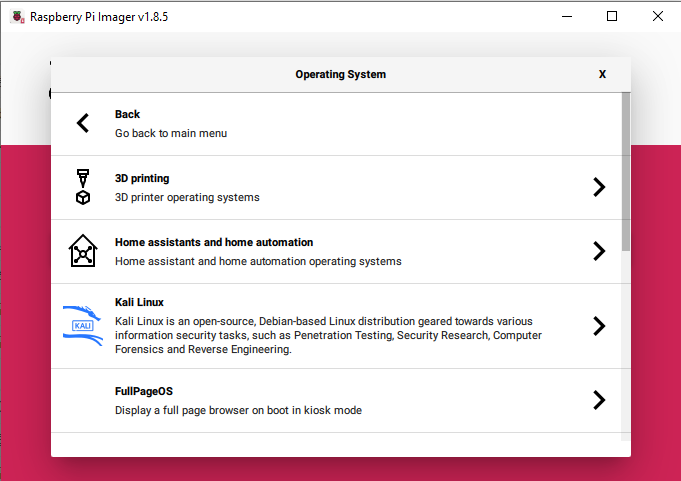
select Home assistant and home automation
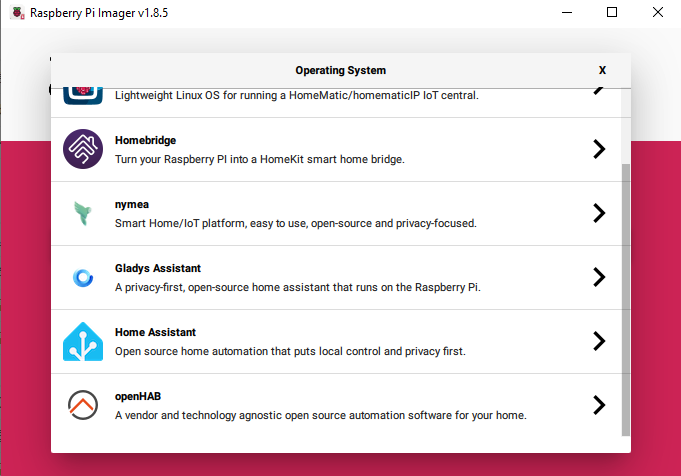
go to Home Assistant
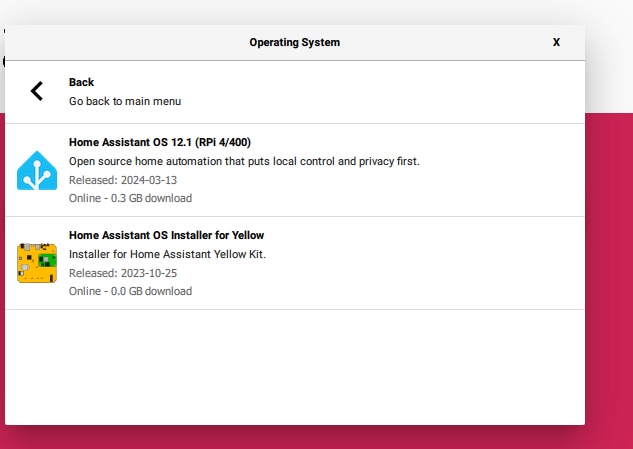
Select latest Home Assistant OS 12.1
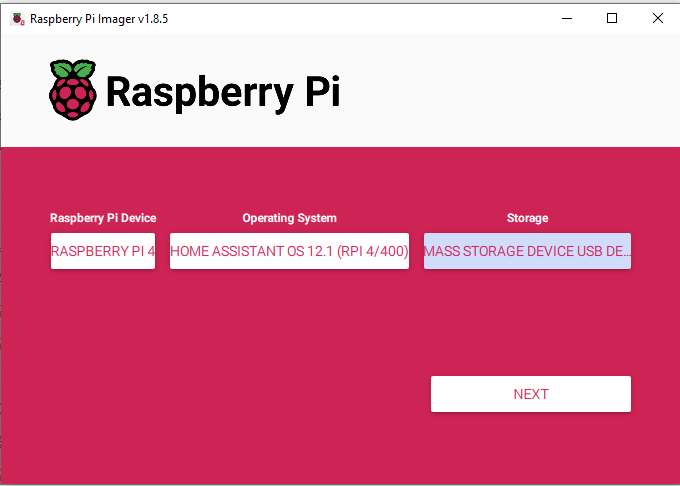
then choose storage
with detected 32G SD card

Press next
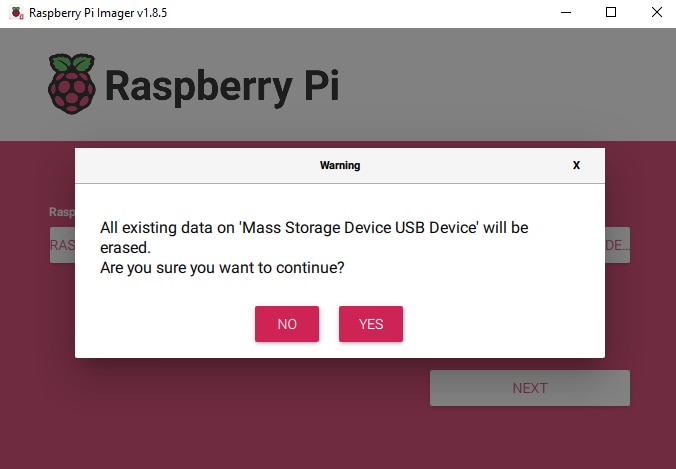
confirm the selection
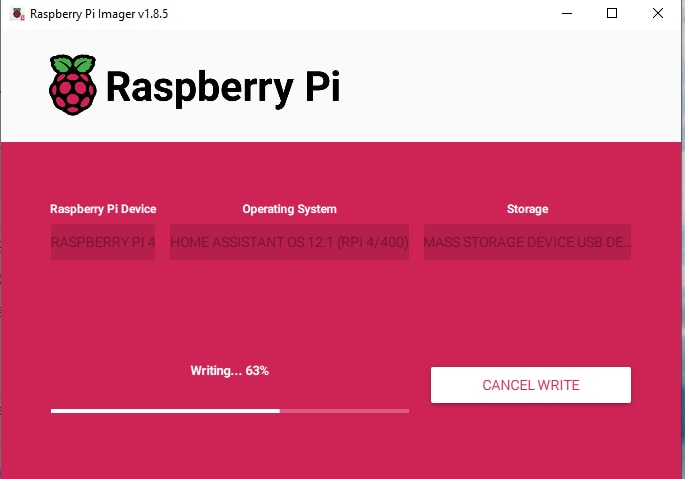
Press Next to start download and flash the SD card. Download first, it takes a while,
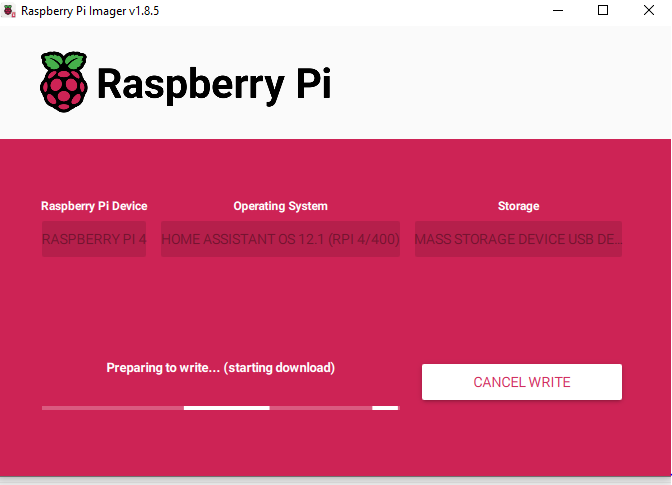
Then flash the SD card
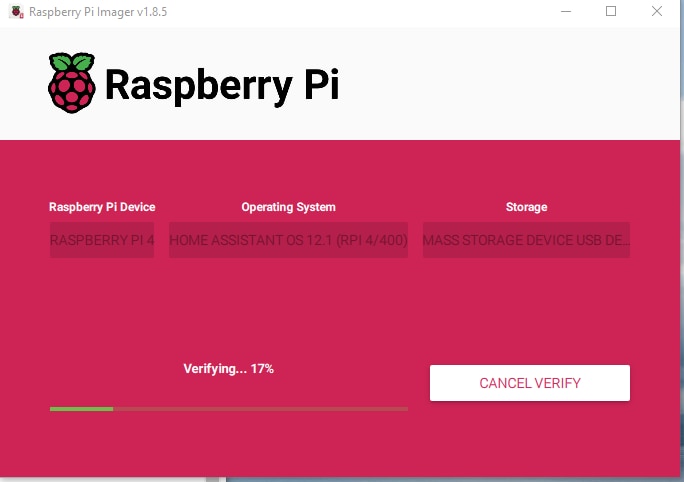
The the image is verified
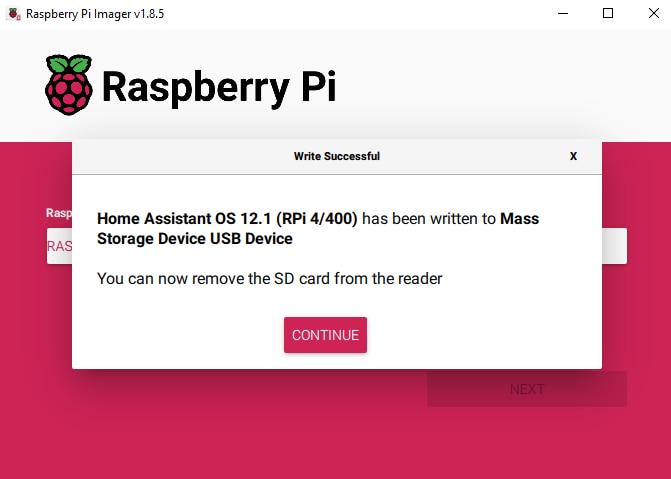
In the end pop the note with success.
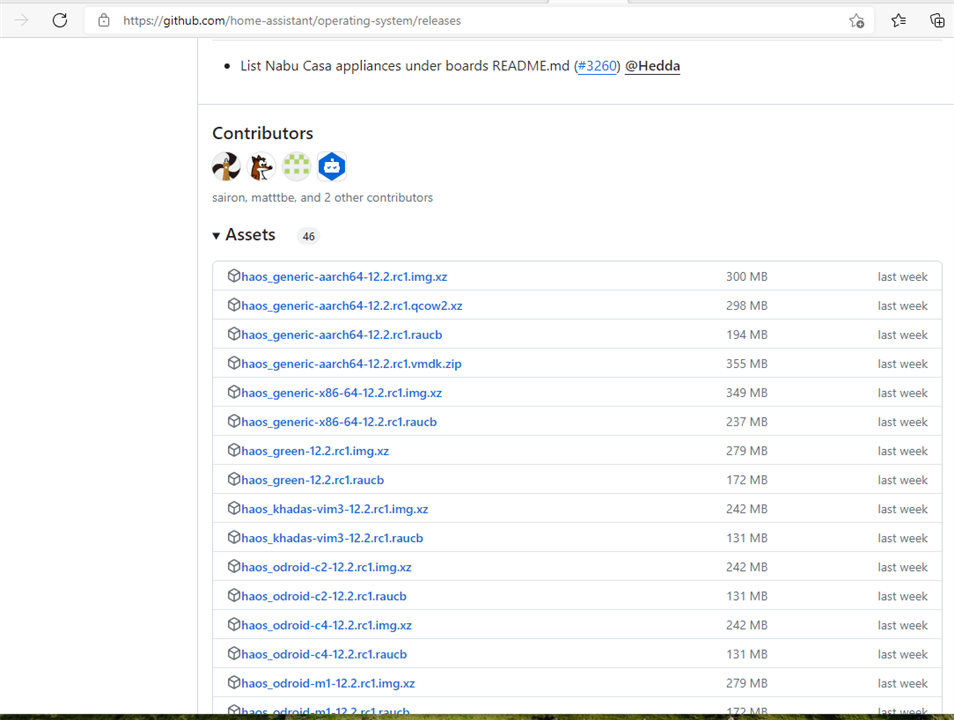
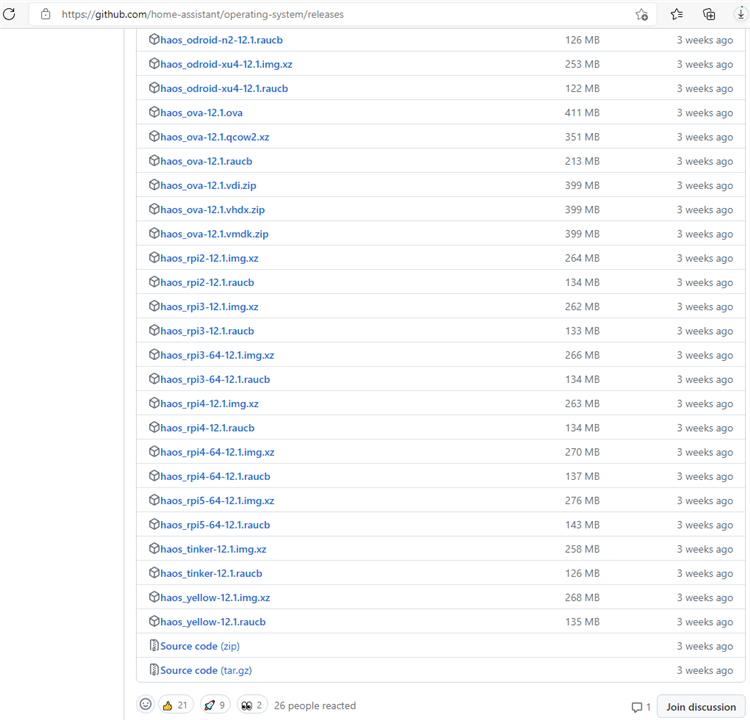
If prefer to flash SD card with other tool, go to open source github page for latest release, download it
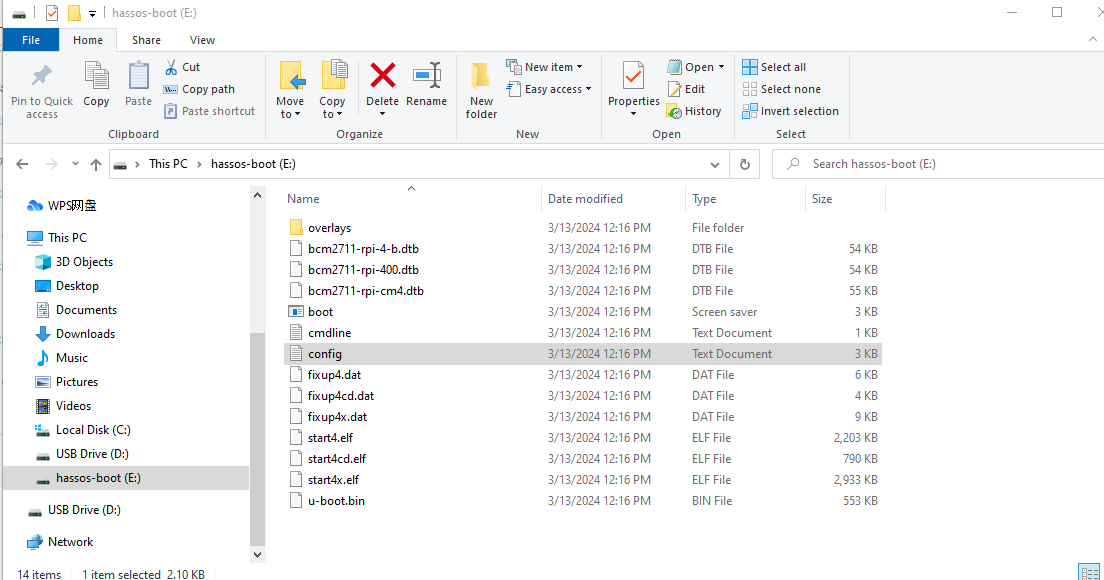
Here is what in the SD card,
4. Installation
Insert the SD card in slot and power the Raspberry Pi Compute Module 4 (CM4)
Plug in an Ethernet cable and make sure the Raspberry Pi is connected to the same network as your computer.
Connect the DC 12V power supply to start up the device.
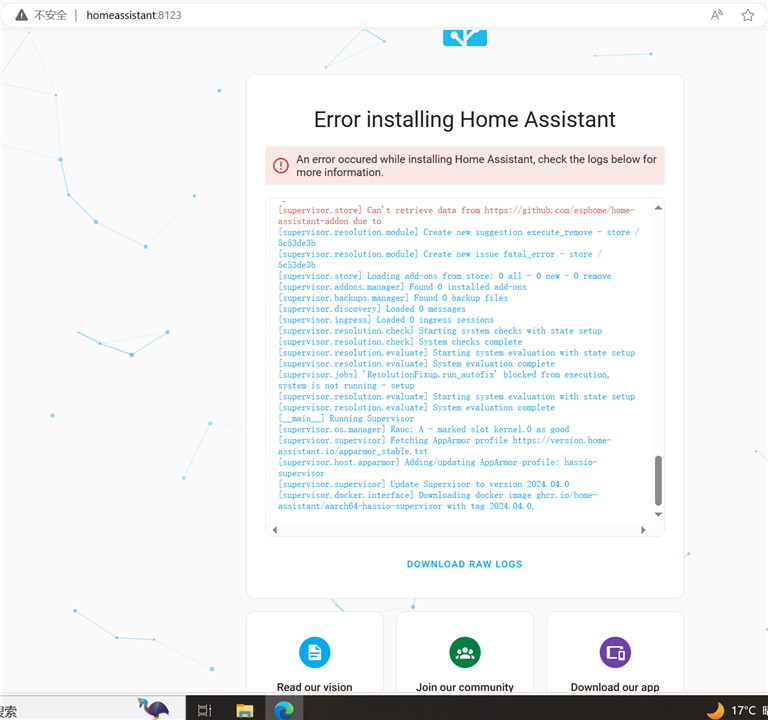
After a while, access the Home Assistant Installation Interface by web Browse from computer with local address :homeassistant:8123
If there is any errors, power up the Raspberry Pi Compute Module 4 (CM4) again until every thing is right
until login page appears
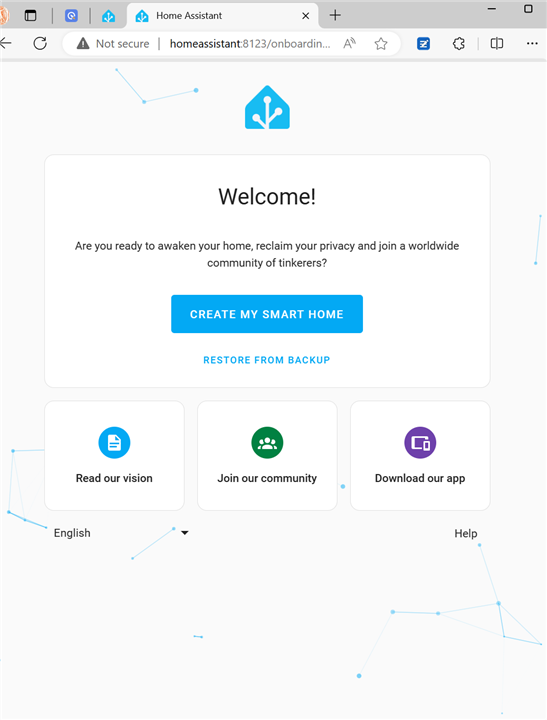
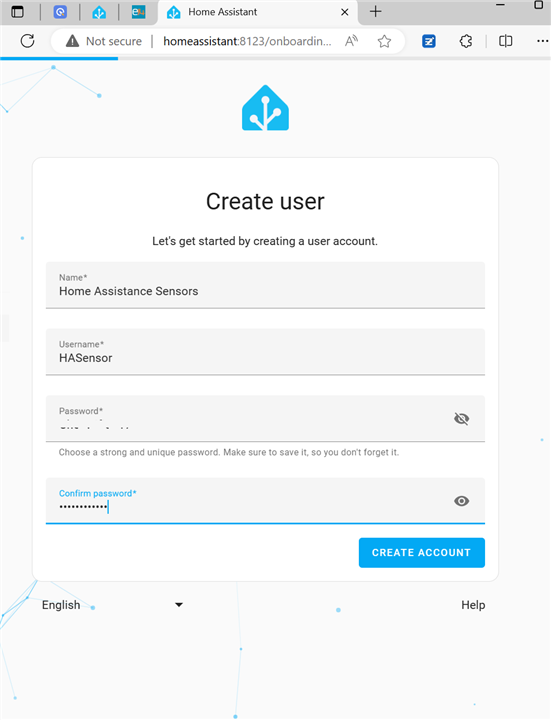
create user with new password
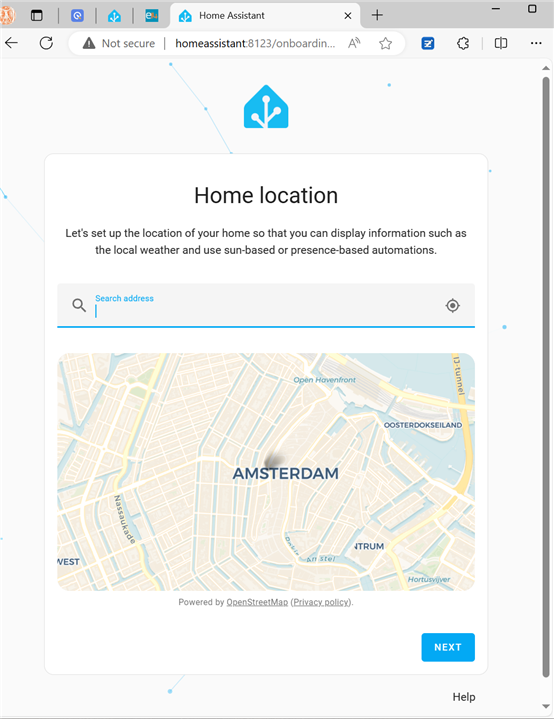
location selection
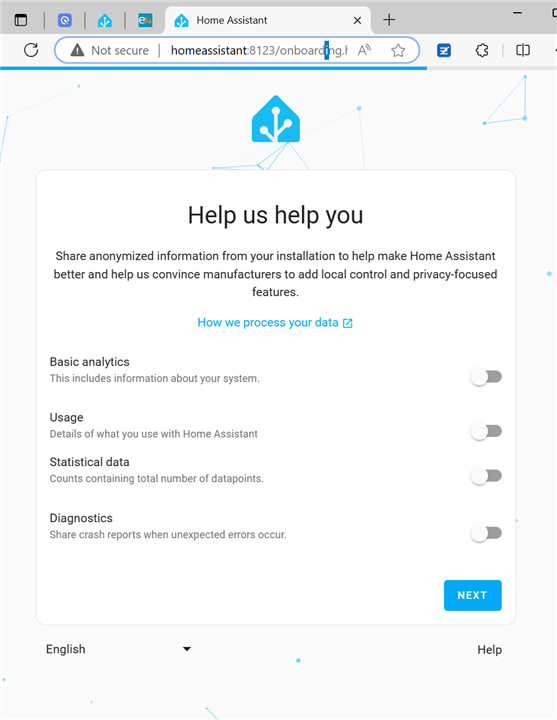
feedback data if choose to,
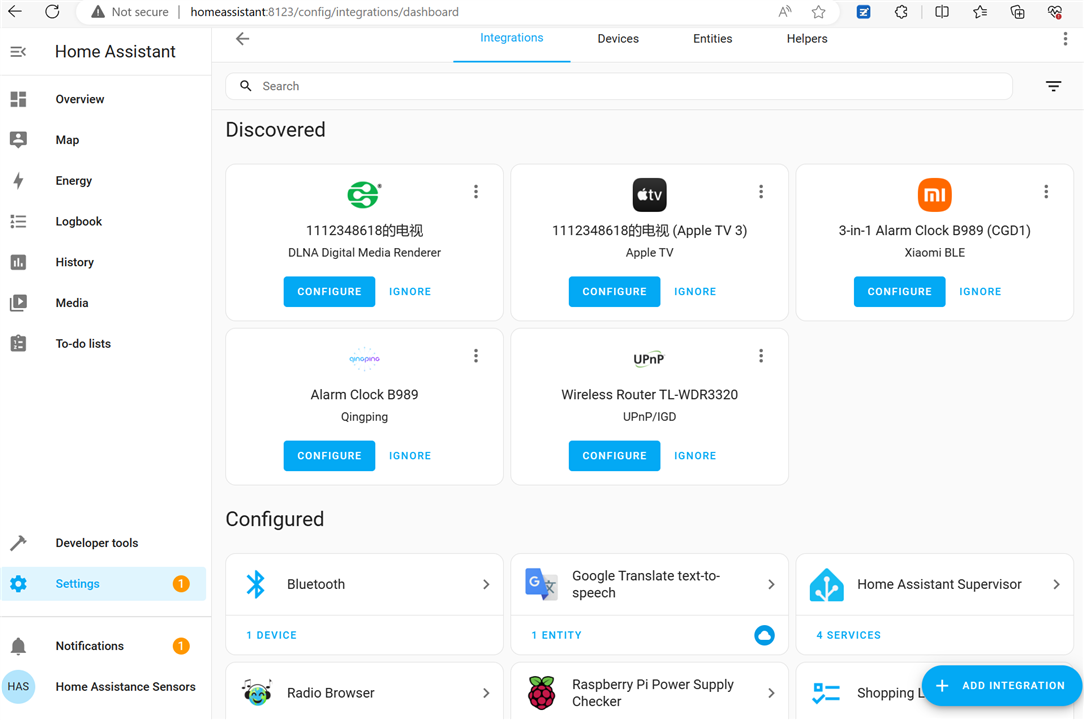
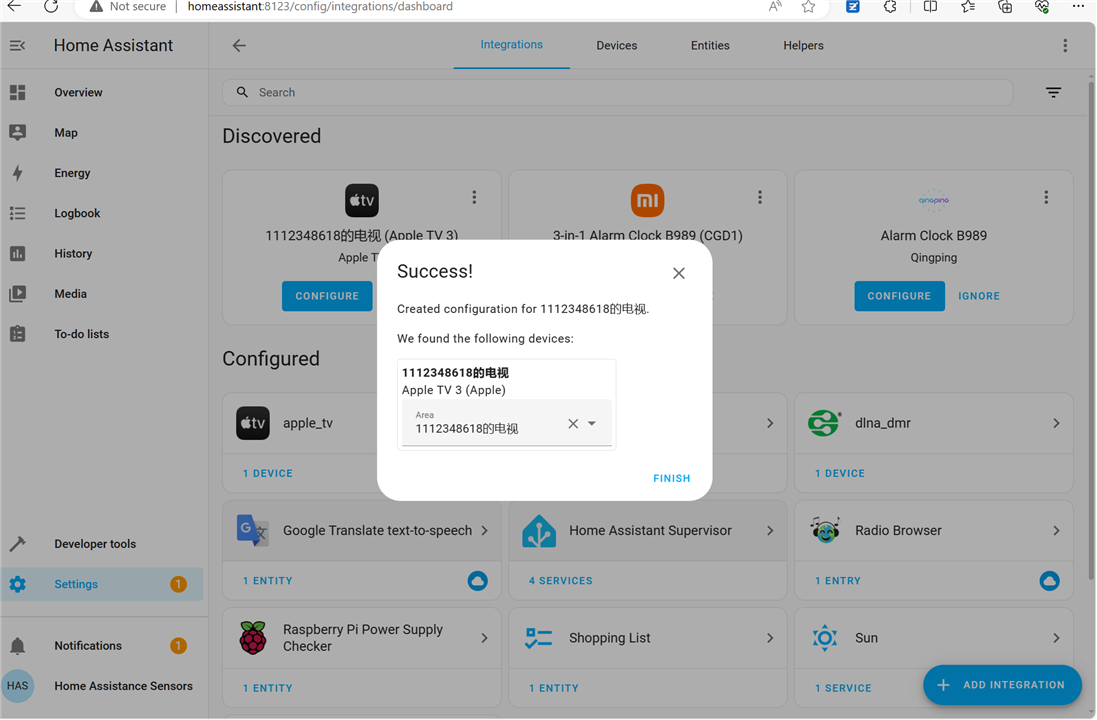
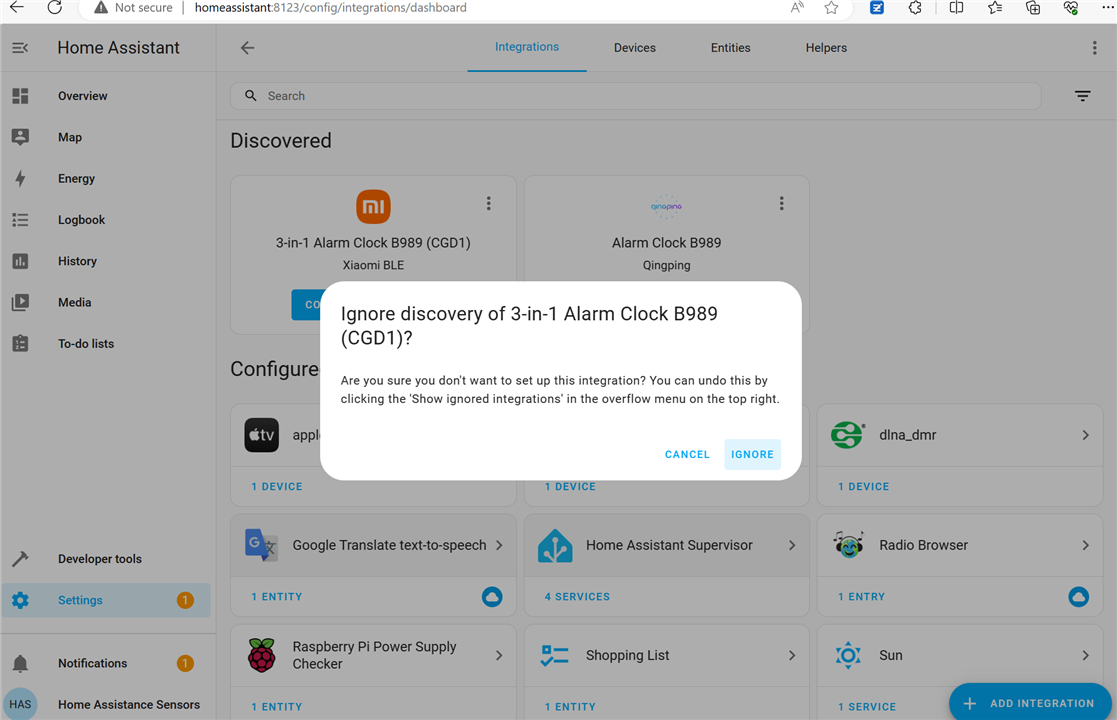
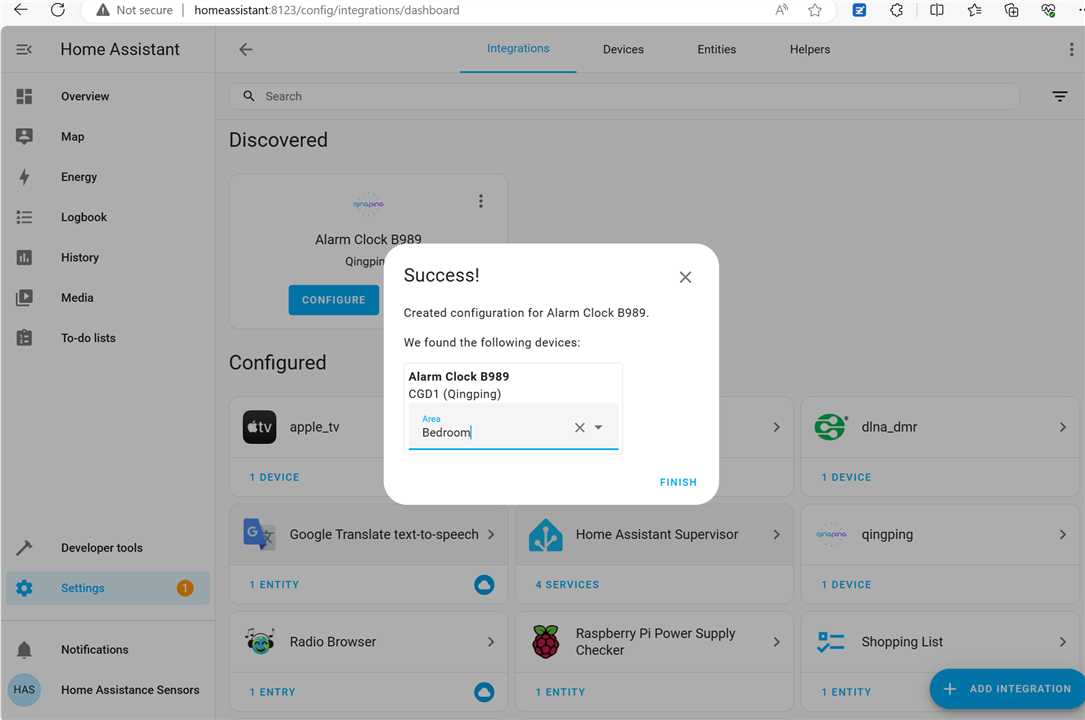
After HAOS installed and user login , the HAOS scan local area for compatible devices, such as smart-TV, smart router, smart alarm, etc.
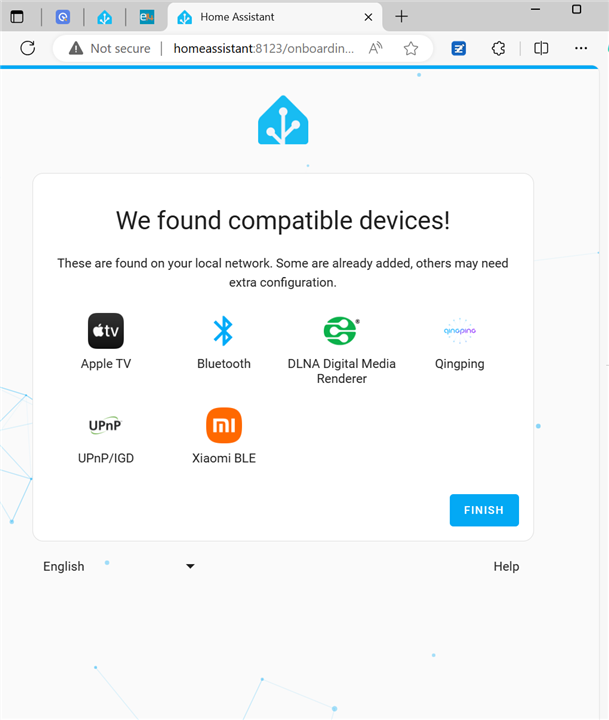
here is the smart alarm founded,
press Finish to enter dash board overview, it is done with installation.
5. Configuration
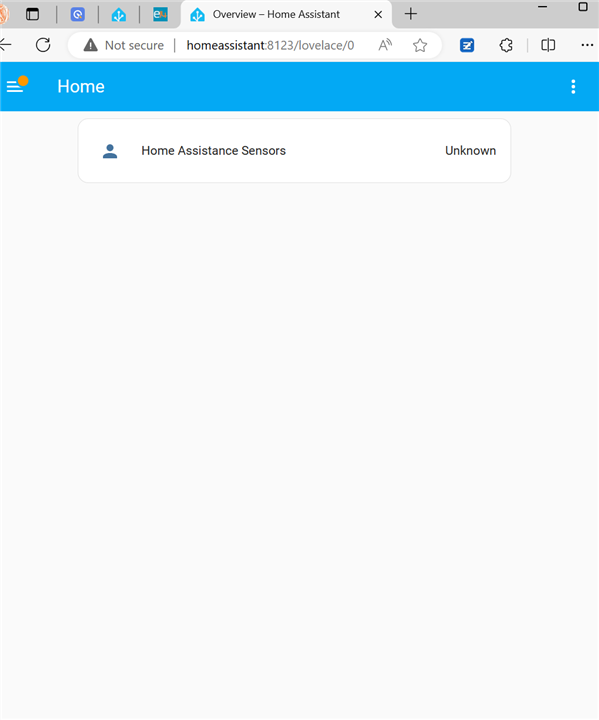
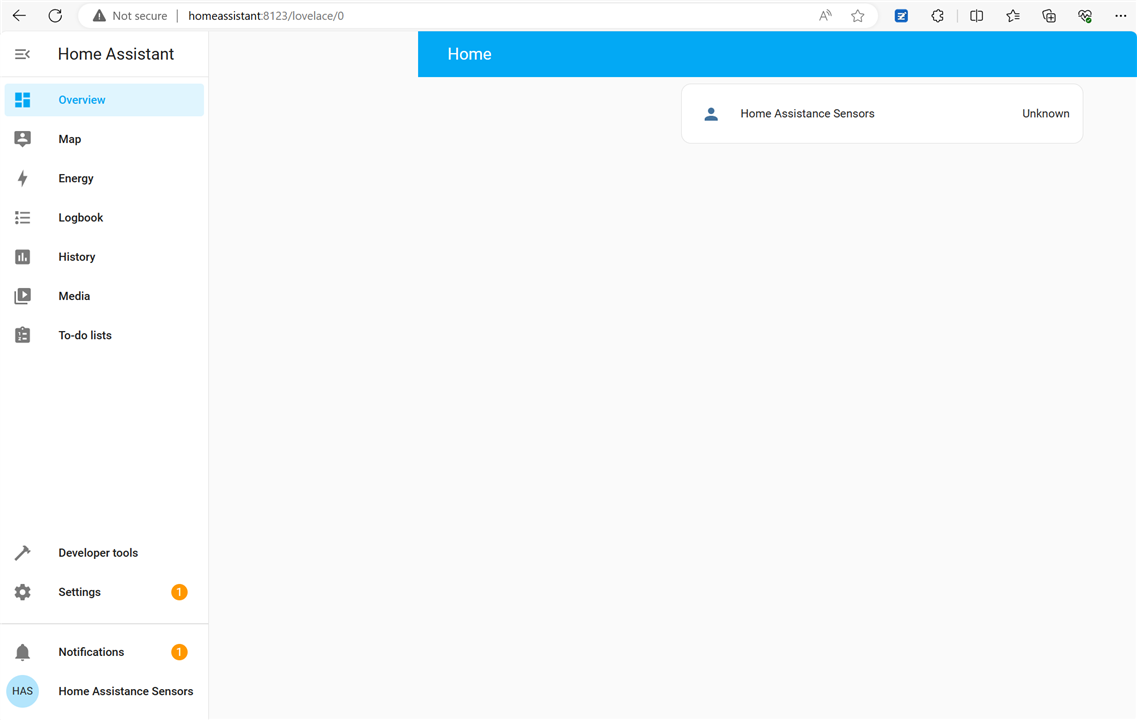
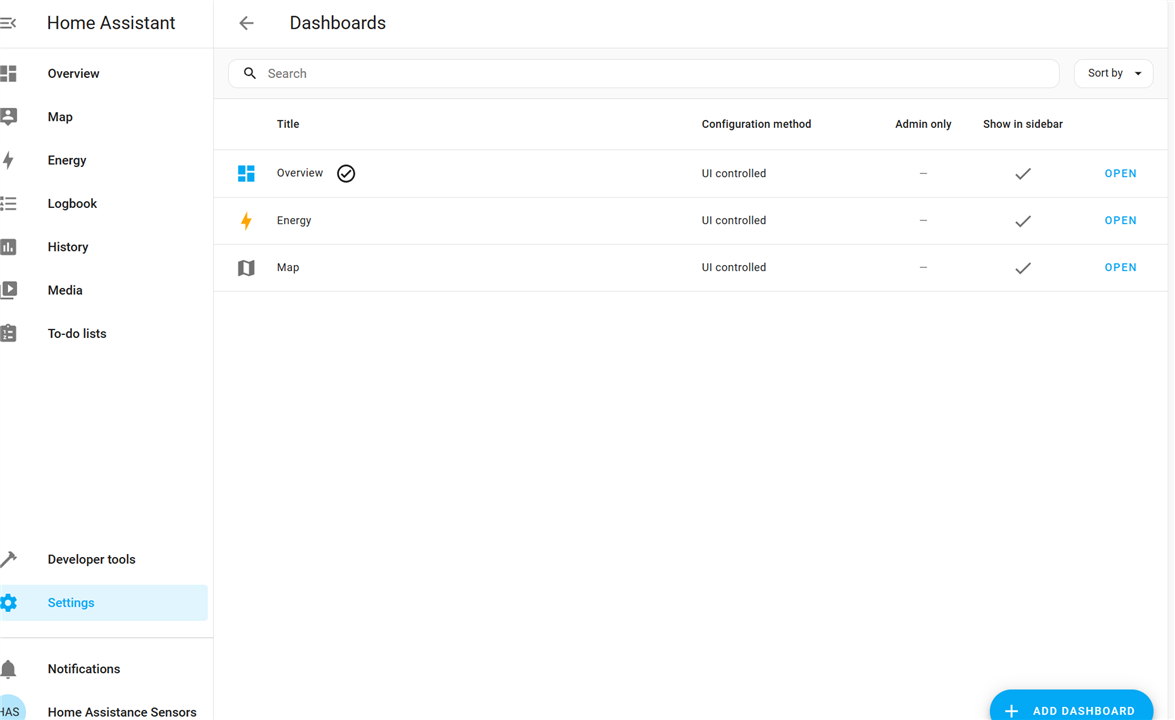
Go to Overview
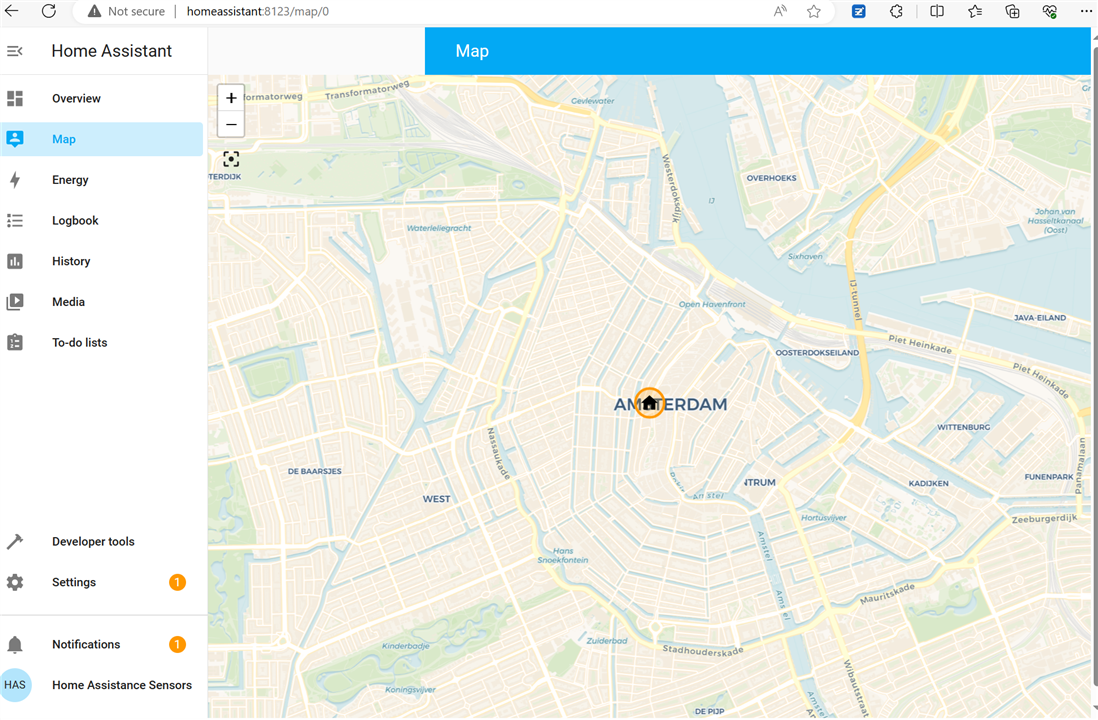
The Map Item shows the location of HAOS hub
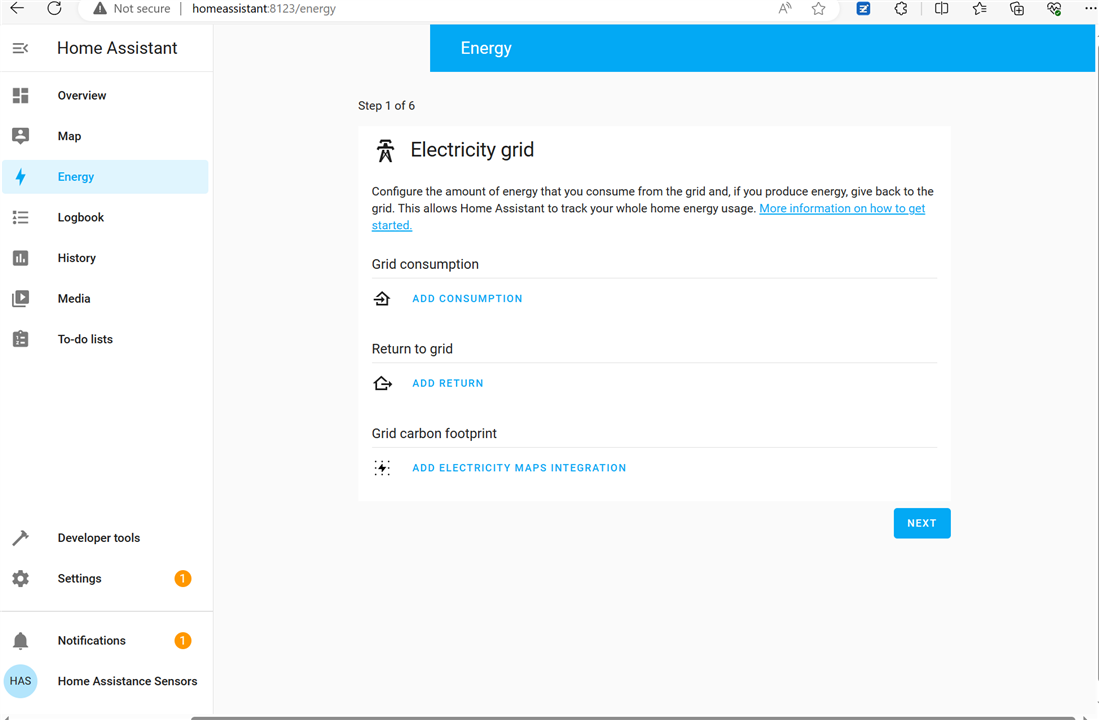
Energy Item shows the energy consumption with supported Smart Meters for electricity, solar panel, natural gas, or portable water, etc.
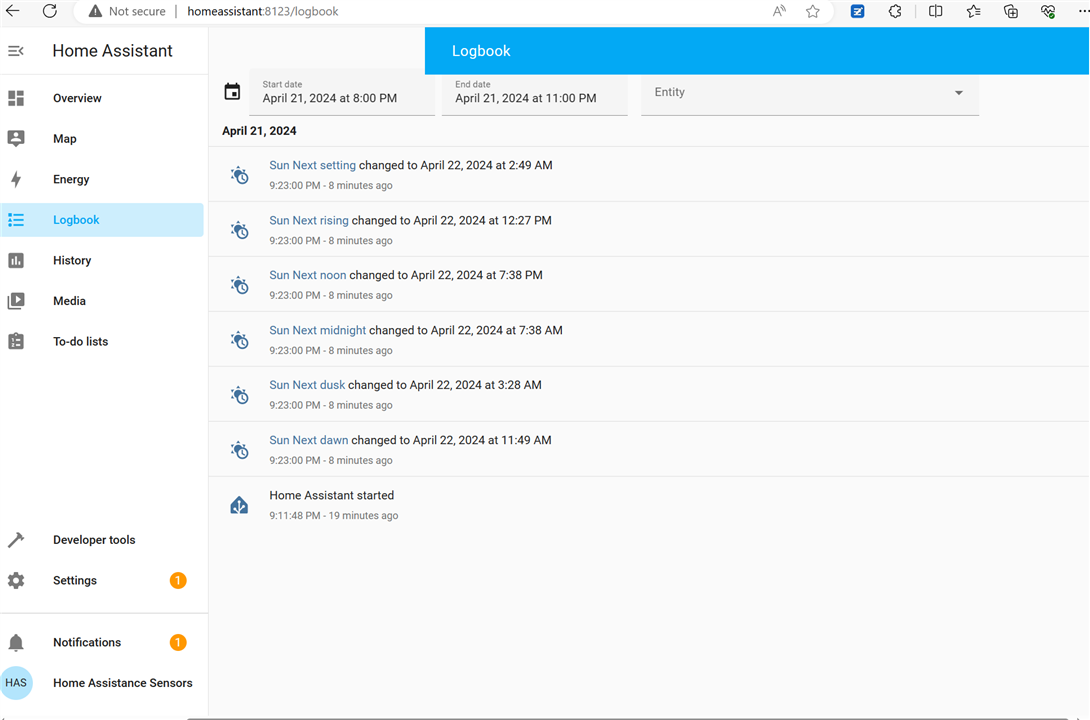
Logbook Item shows the sessions of login or update listed in date.
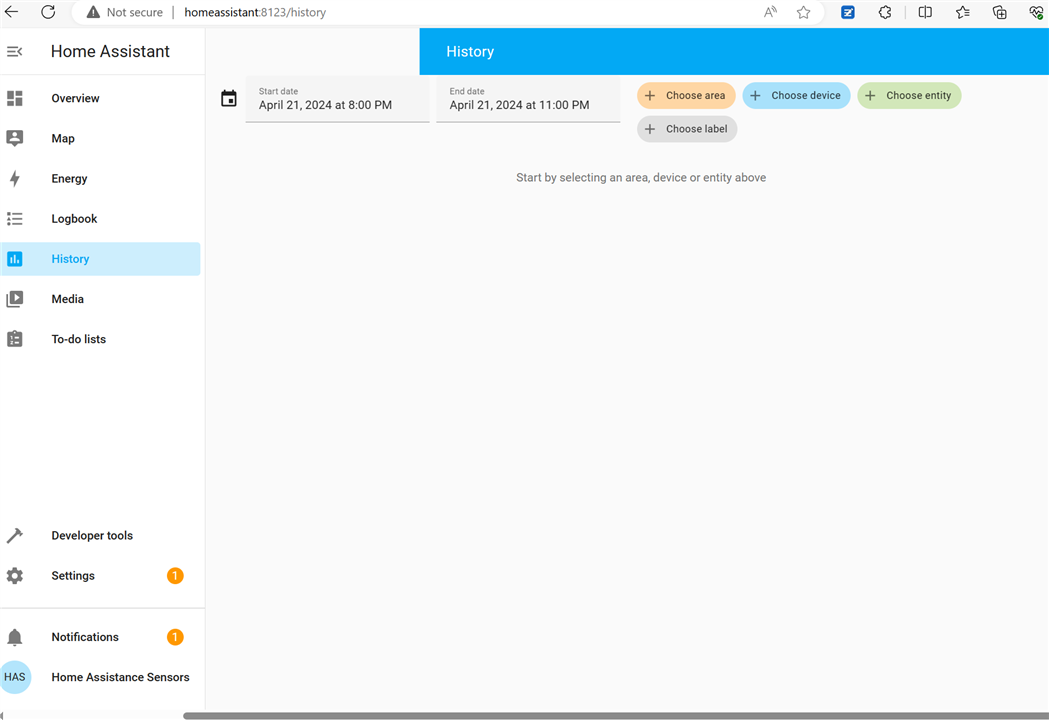
History show the history of HAOS
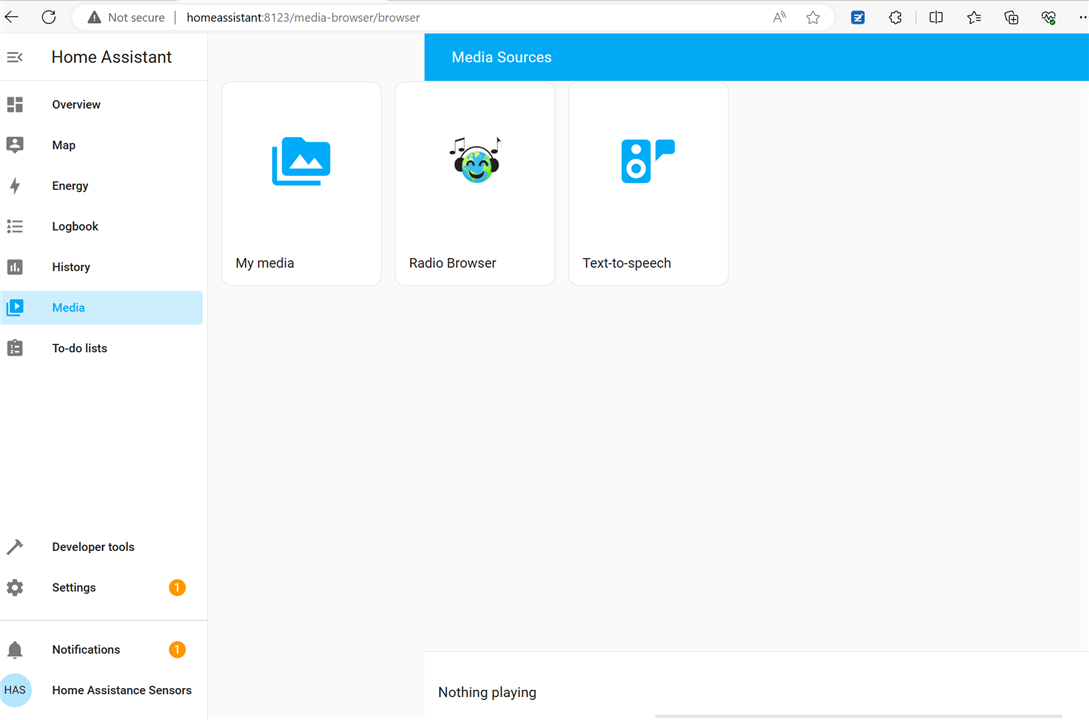
Media Item shows supported media source like music or video
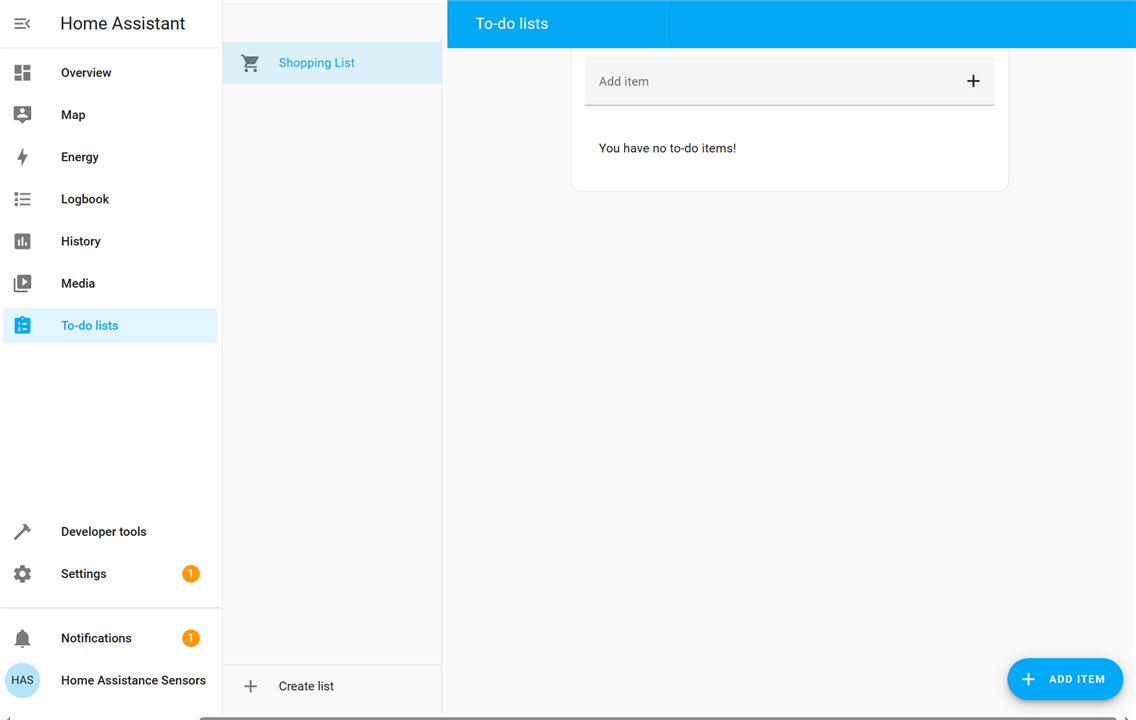
To do lists Item shows preset task to do.
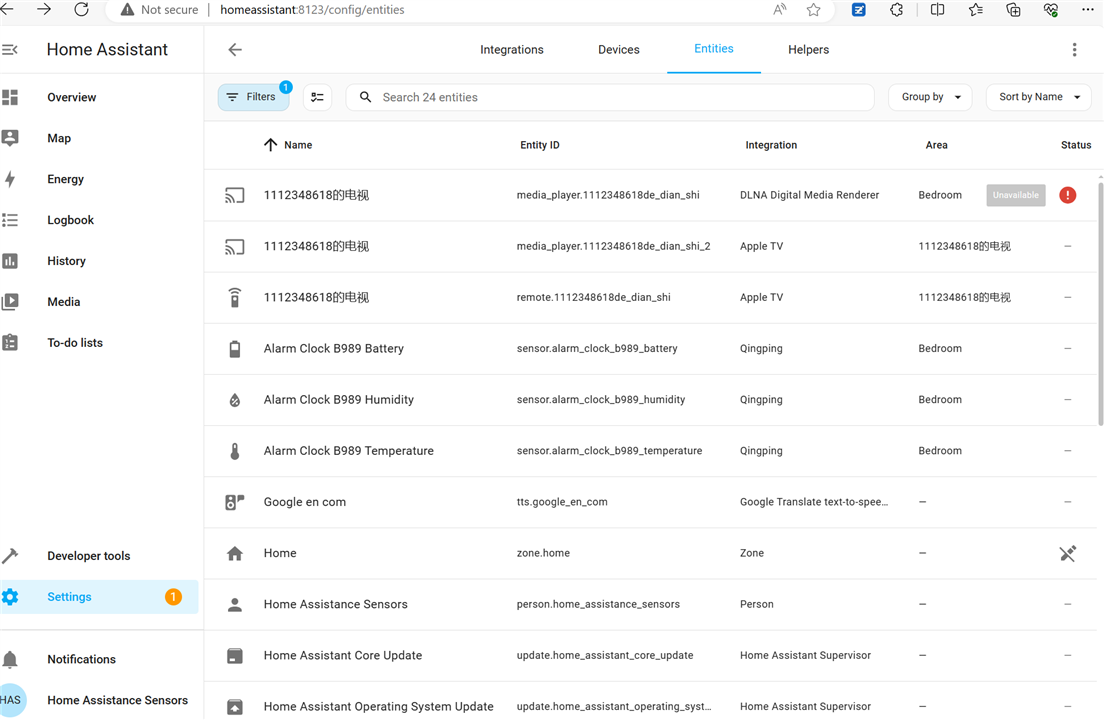
Go to Home Assistant sensors or discover and settings,
Go to configure sensors discover from here,

Here is detail lists to be configure
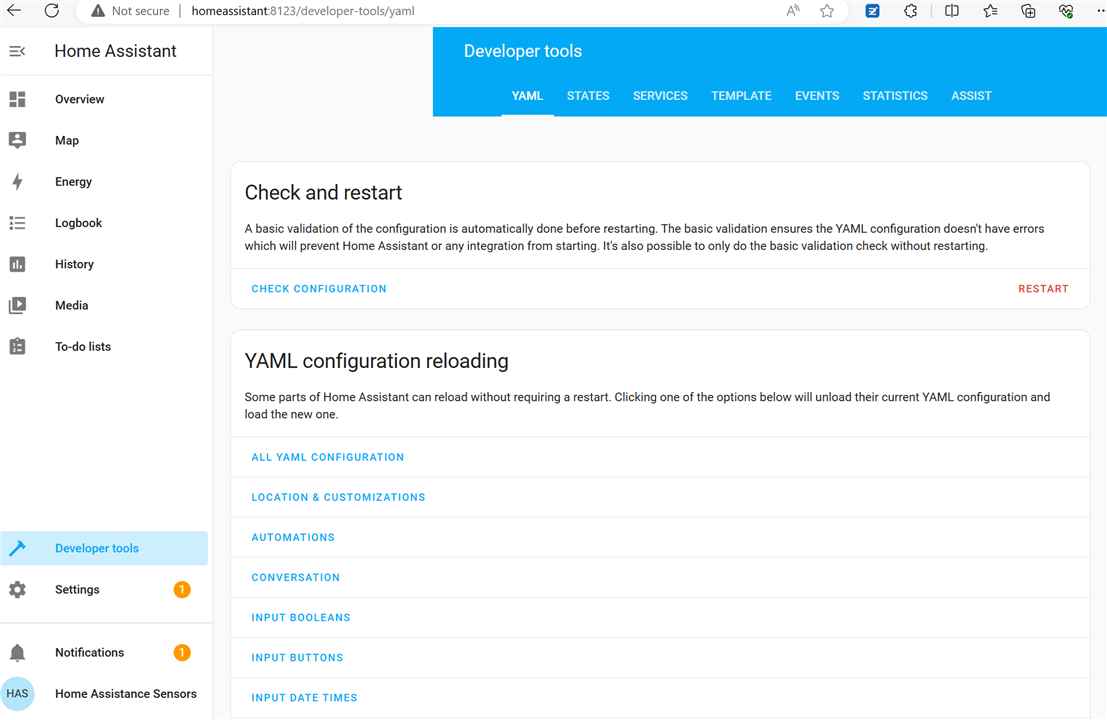
In development tools , YAML format is used as development tools
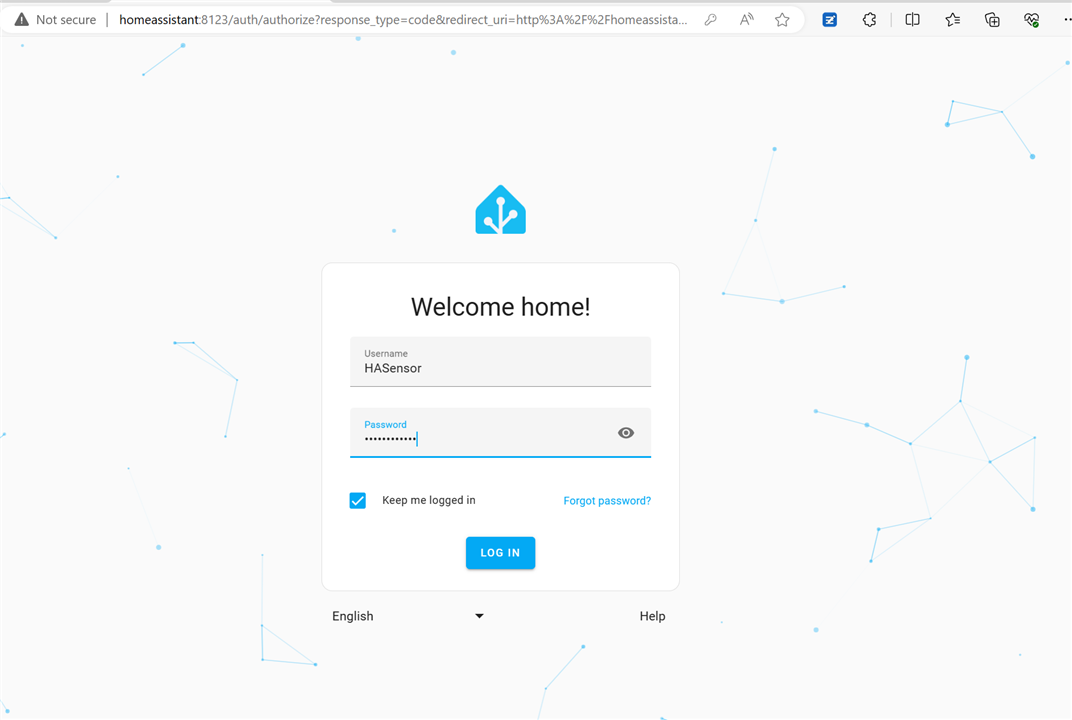
Logout and login again for clean start,
If there is any update of HAOS, this is popup for quick update.

Press configurate for TV, select place
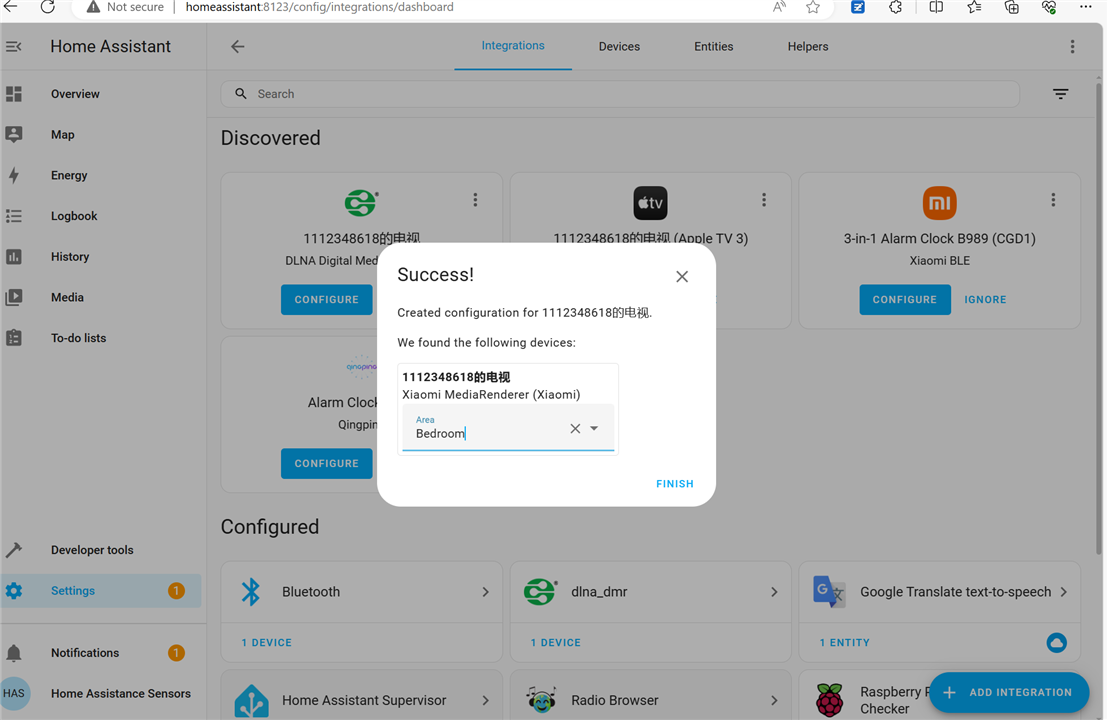
Confirm the configuration with submit button
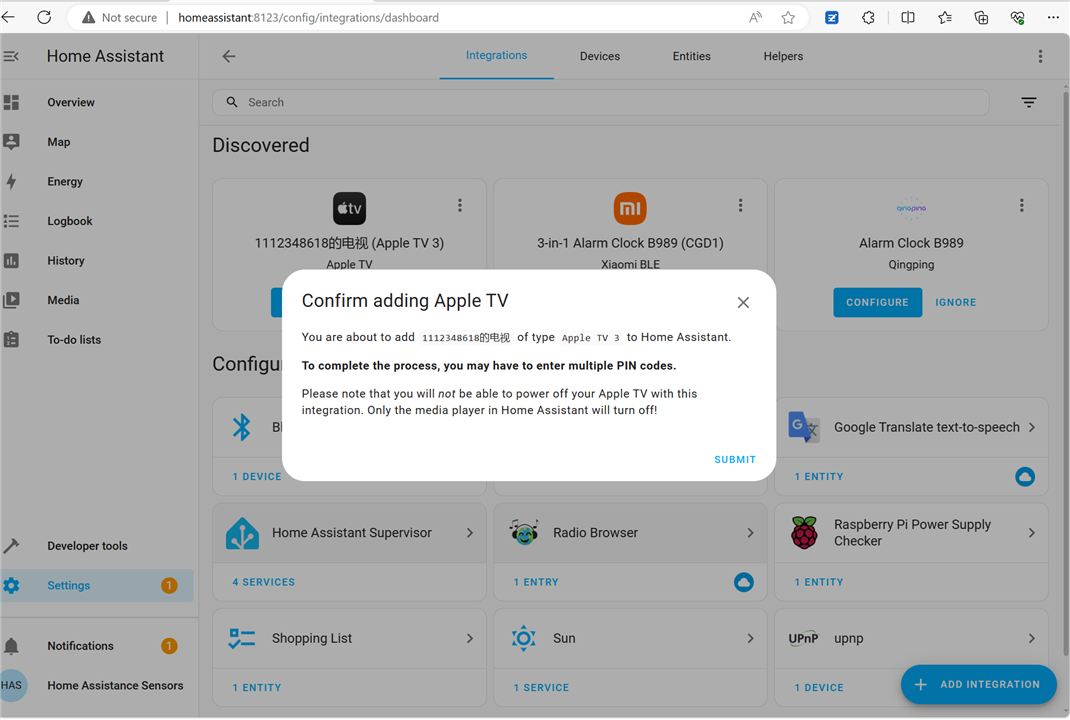
Same TV support other Access Protocol, so configure again,
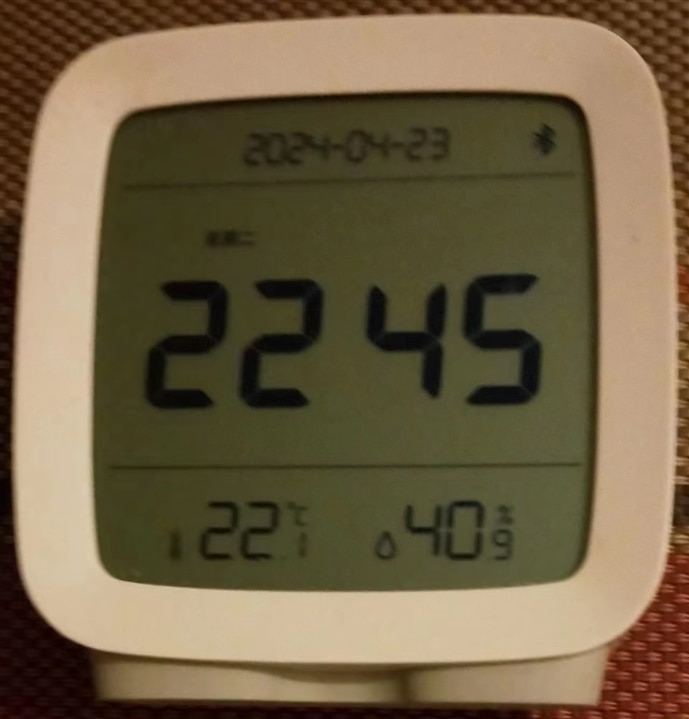
Configure the 3 in One smart alarm clock
confirm the configure

select location
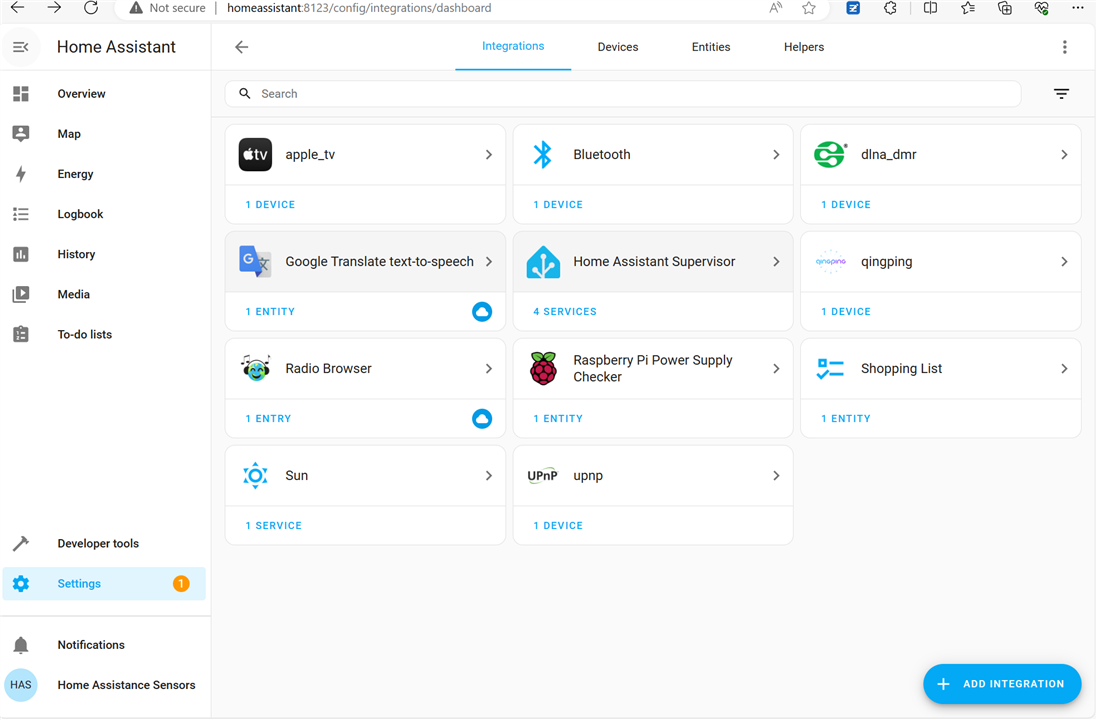
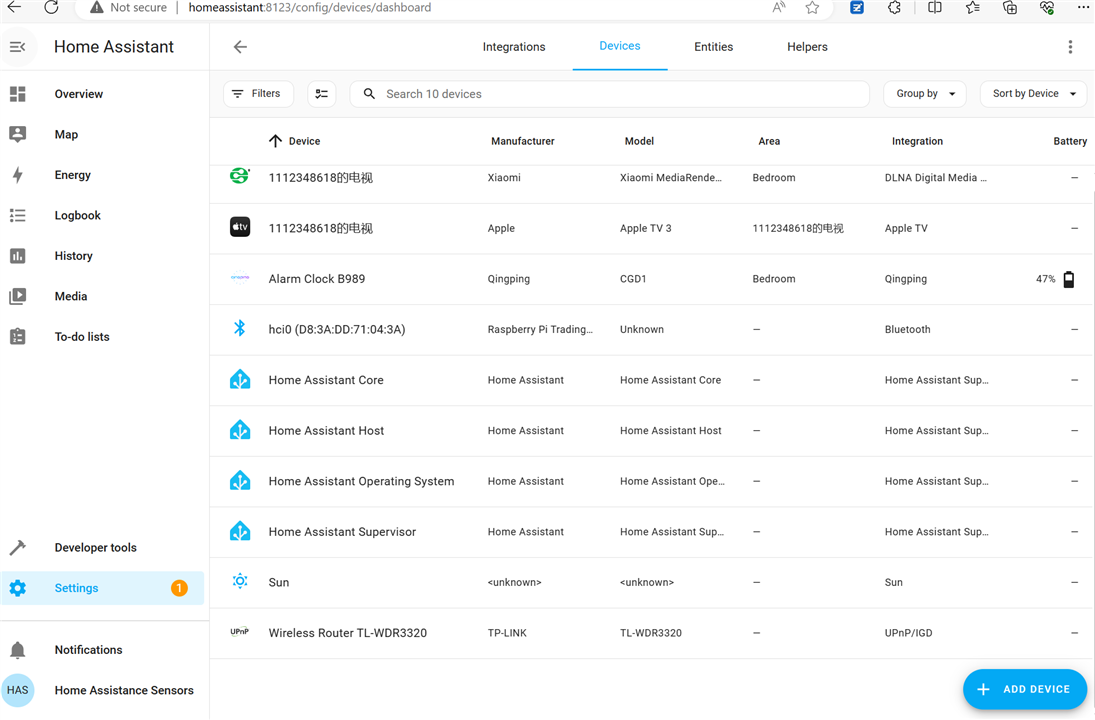
Configure the discovered device one by one as listed below, even the power status of raspberry Pi is supervised,
go to other tabs for detail information
If the TV is power off, red alarm shows that it can not be accessed
Go to setting page for configure
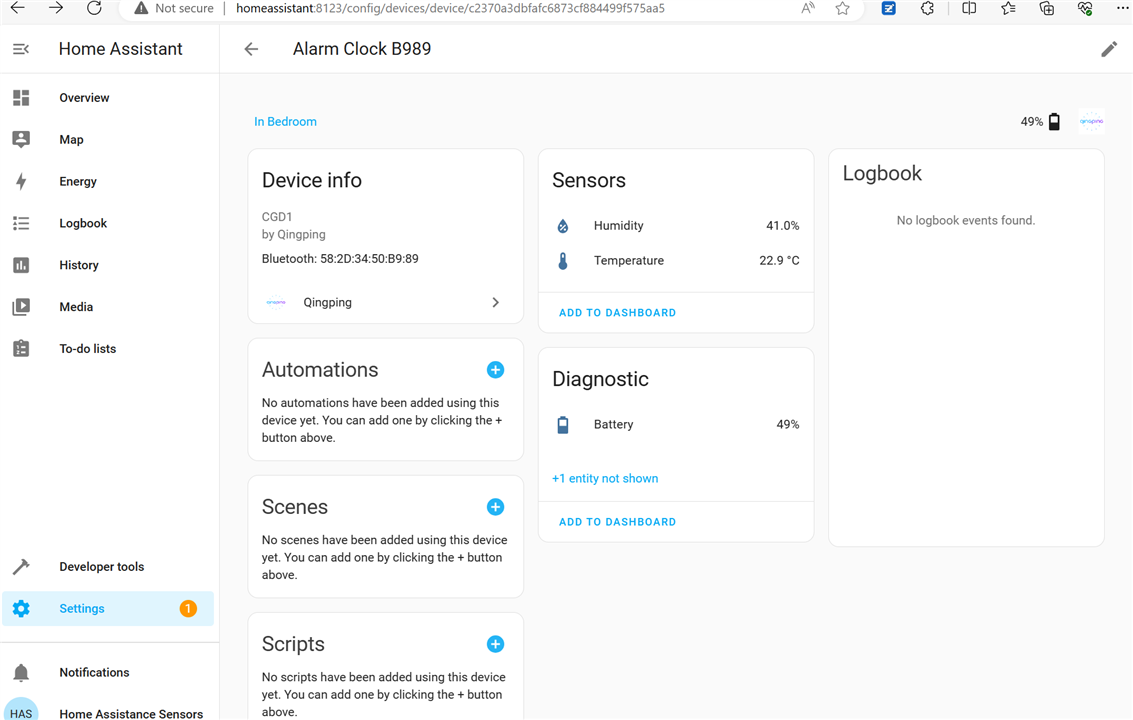
take the smart alarm clock as example, The Humidity , temperature value is shown here.
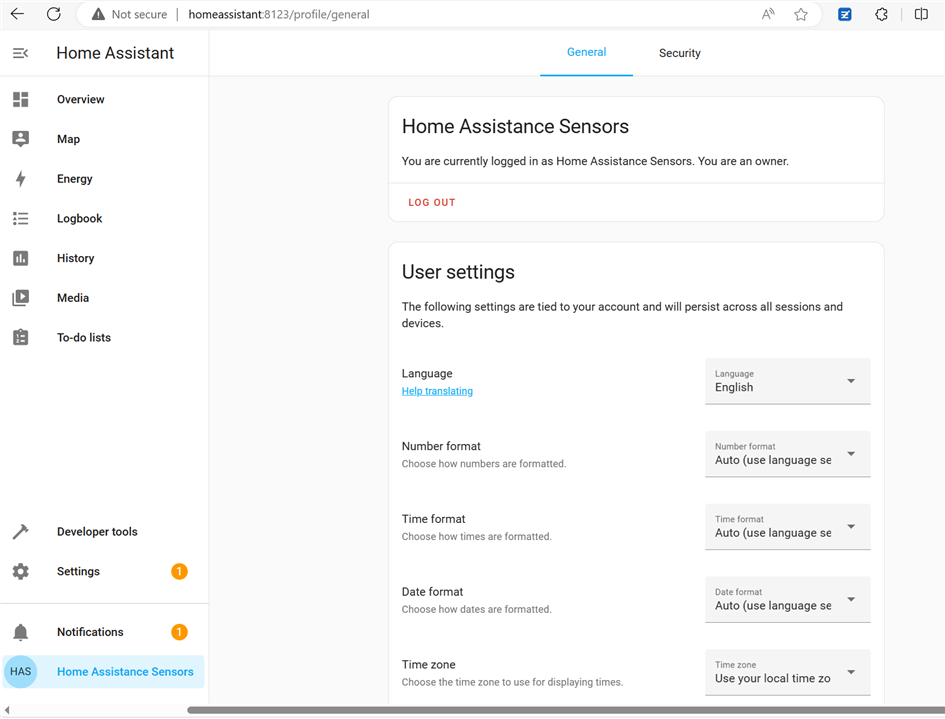
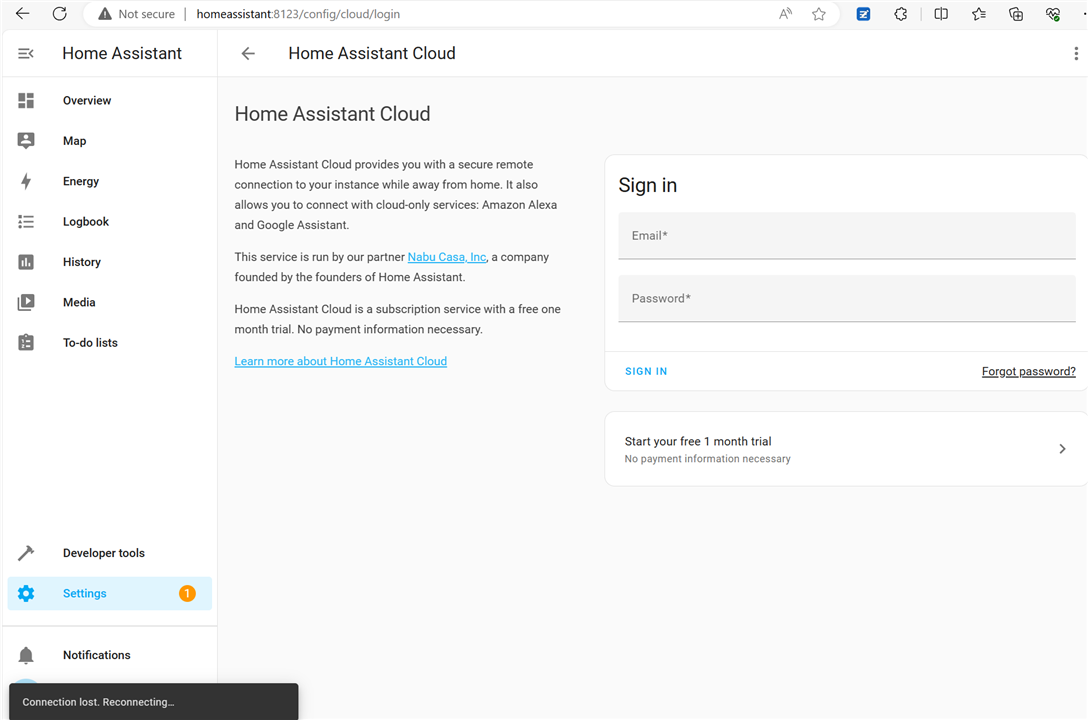
Home Assistant cloud is ready, if user information is created already,
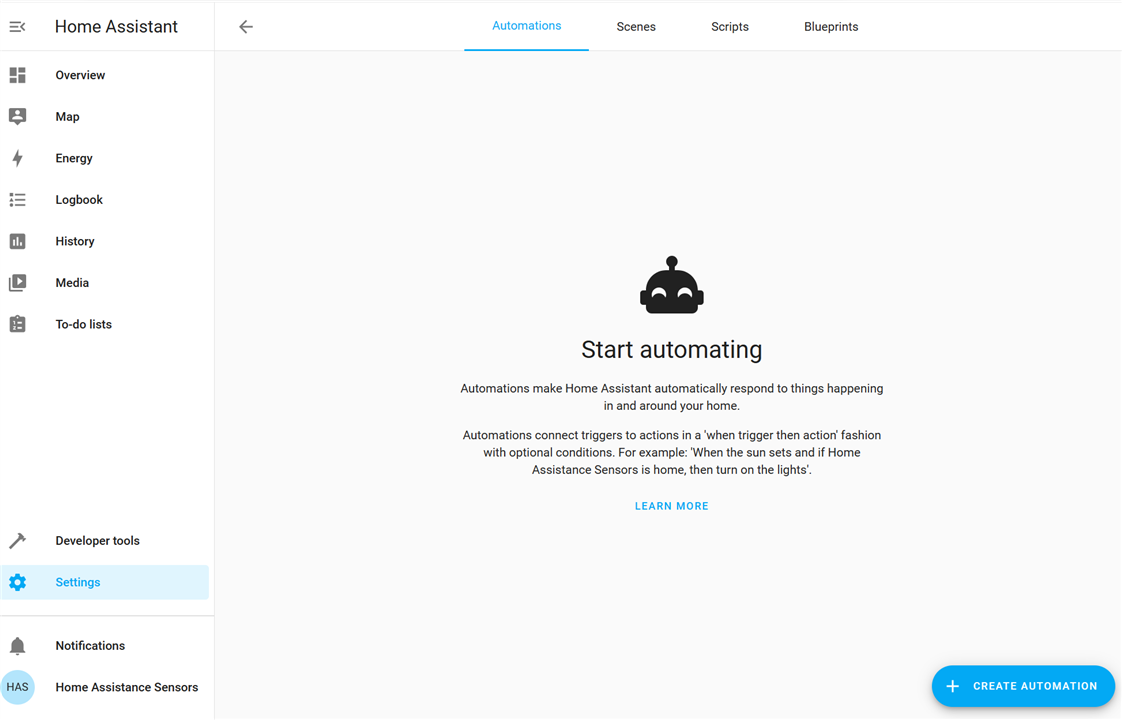
Automation Task can be put here with ADD Integration,
design automation algorithm for smart control
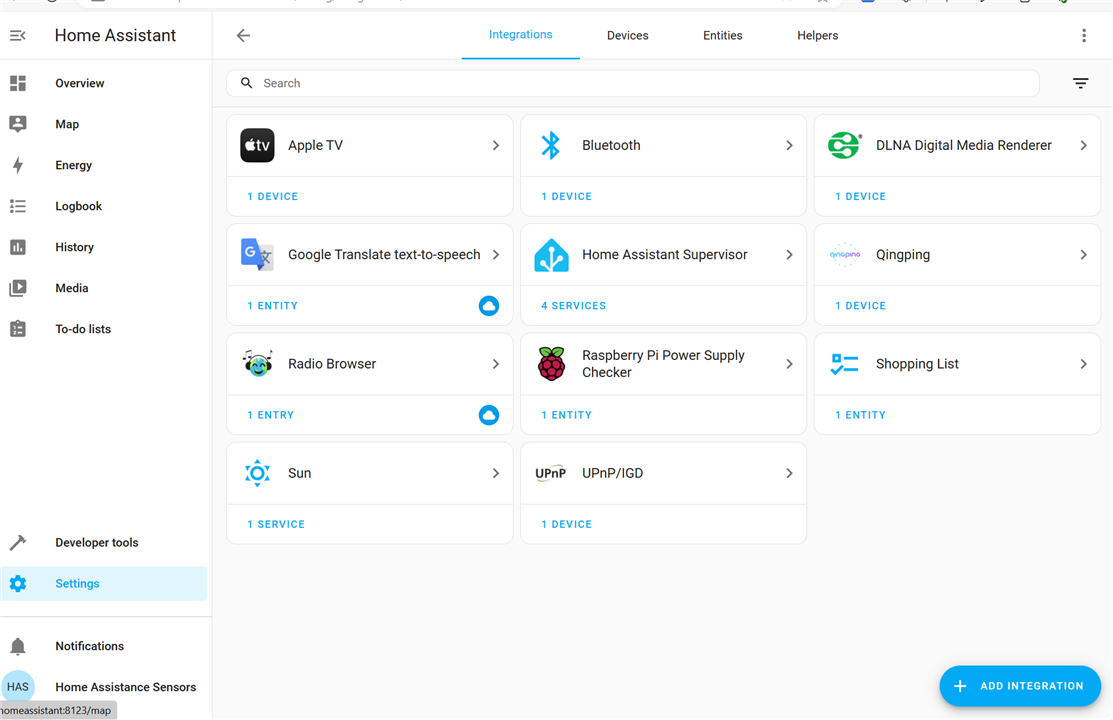
all devices list below can be covered in HAOS,

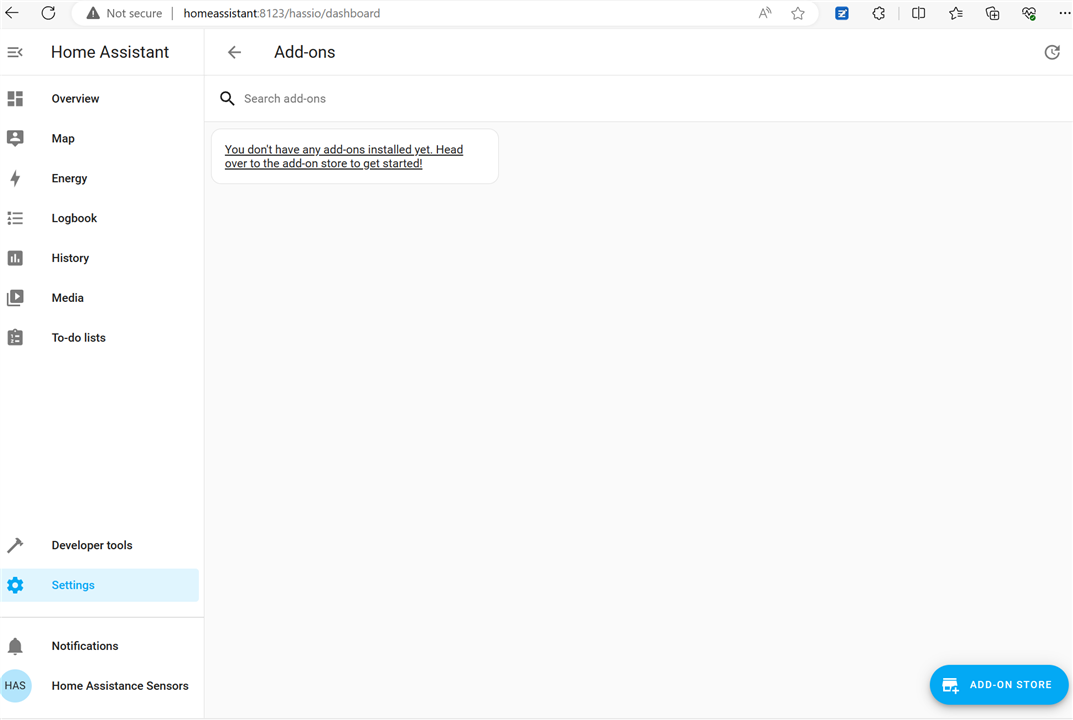
In addon page, no plugin is added now,
In setting page more can be edited.
go to add addons, more can be added later, in this project, HAOS is addedl
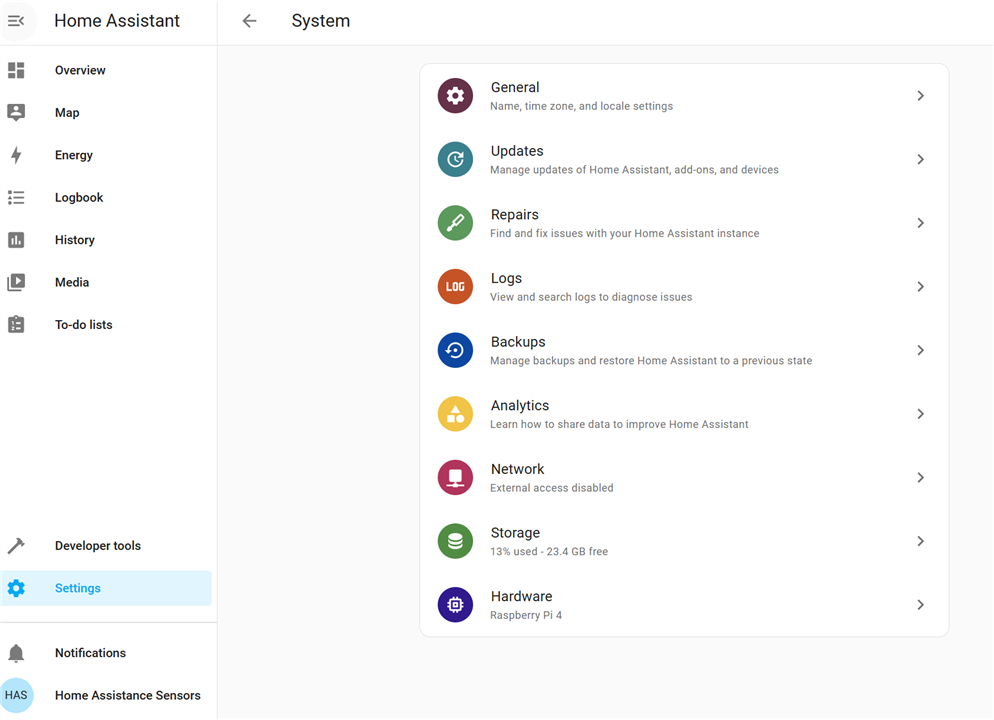
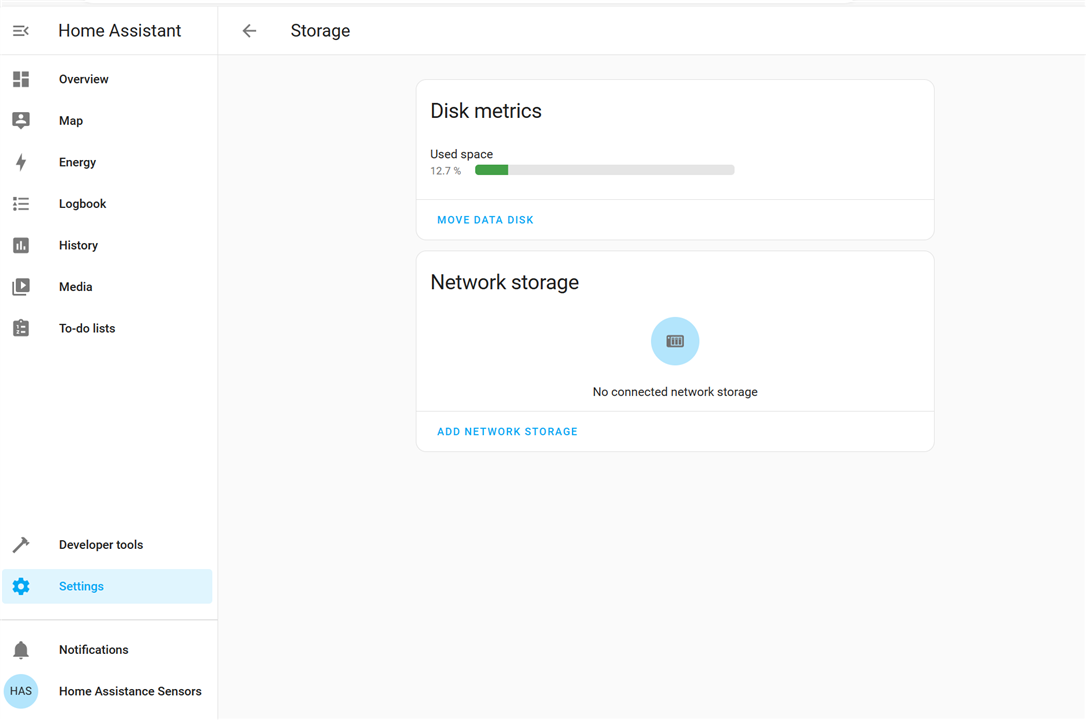
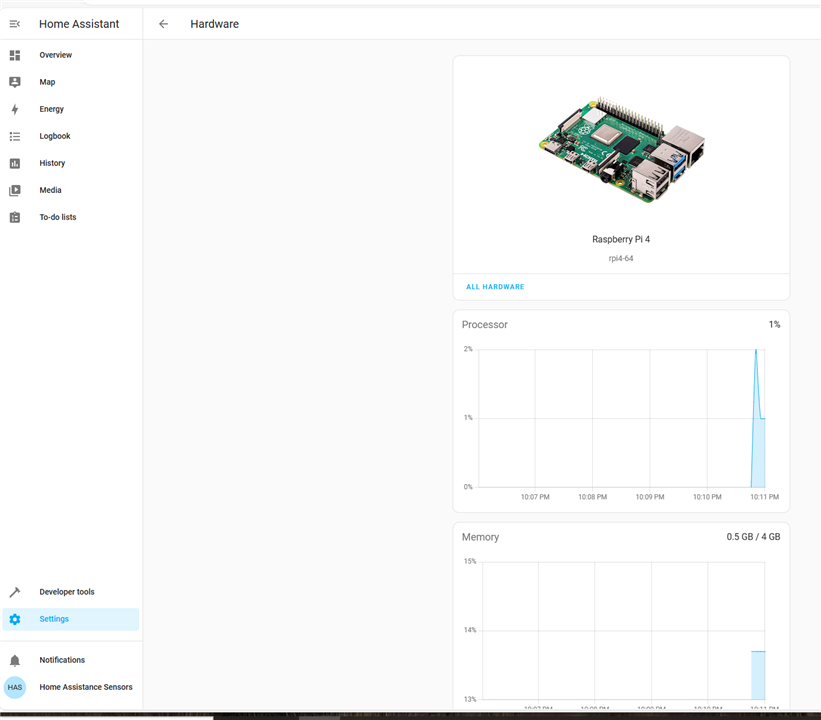
Hardware information can be found here,
If time permitted, following plugins are ready to install.
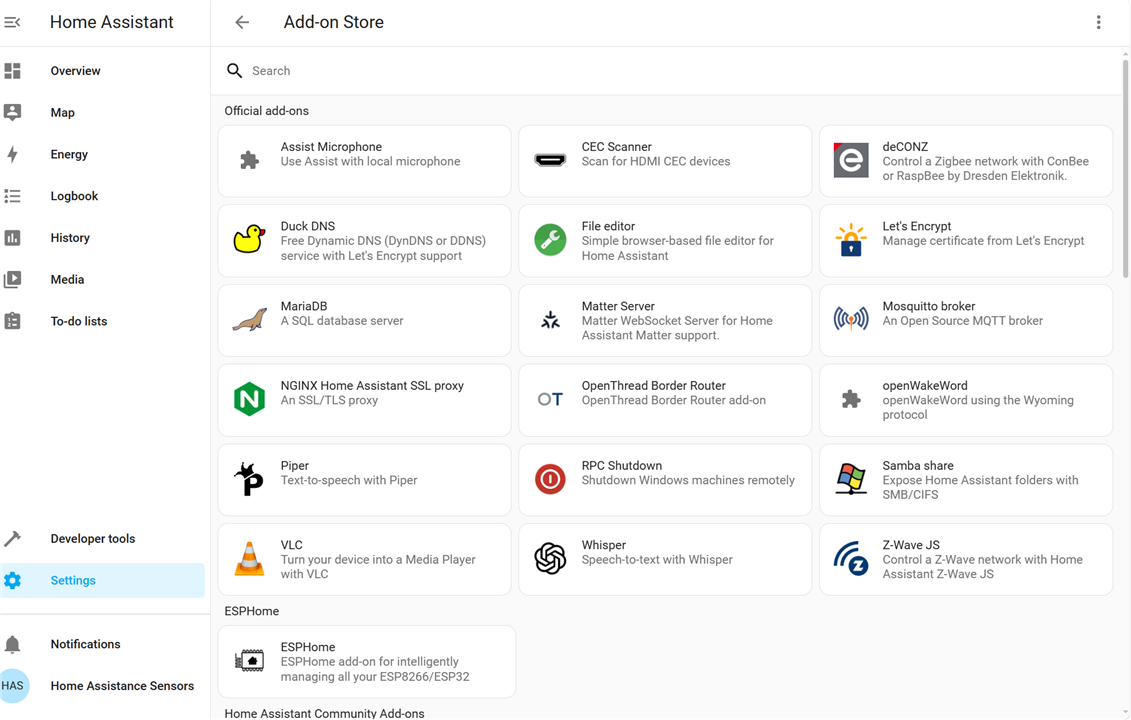

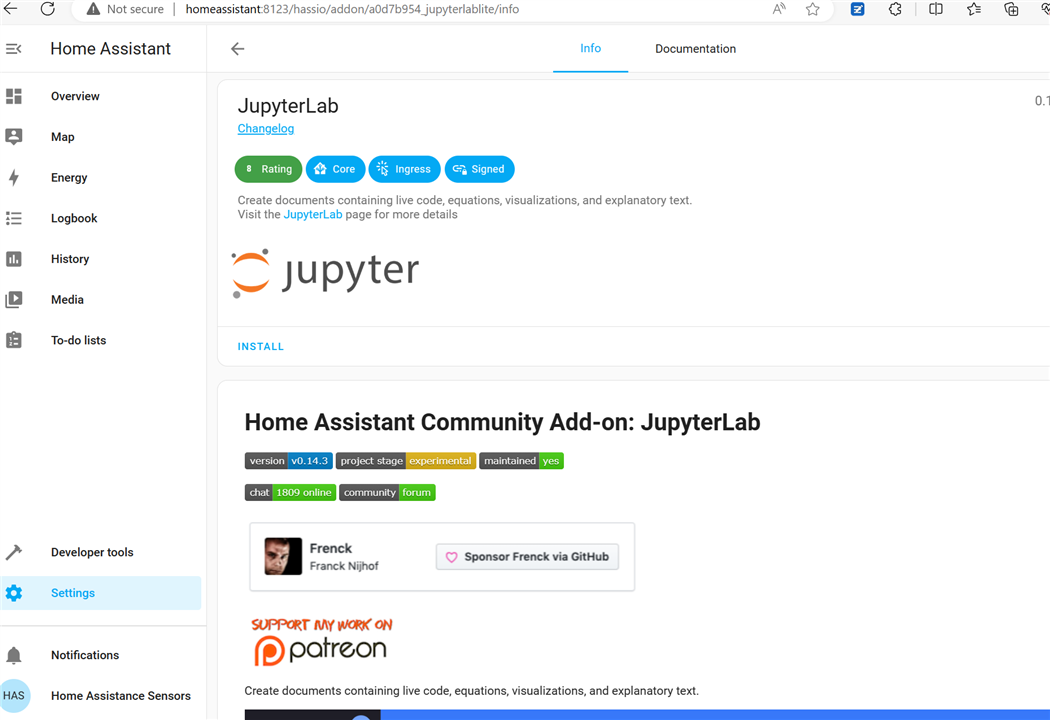
Take Jupyter lab as example , press install
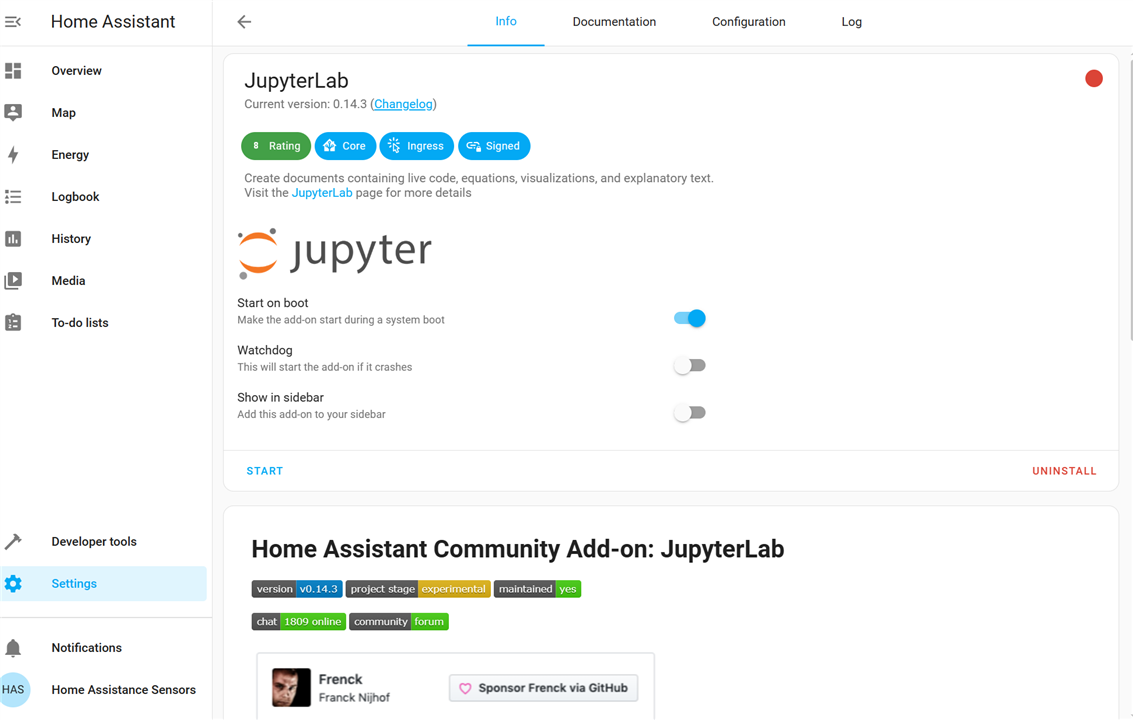
after awhile, it is install and ready to start,
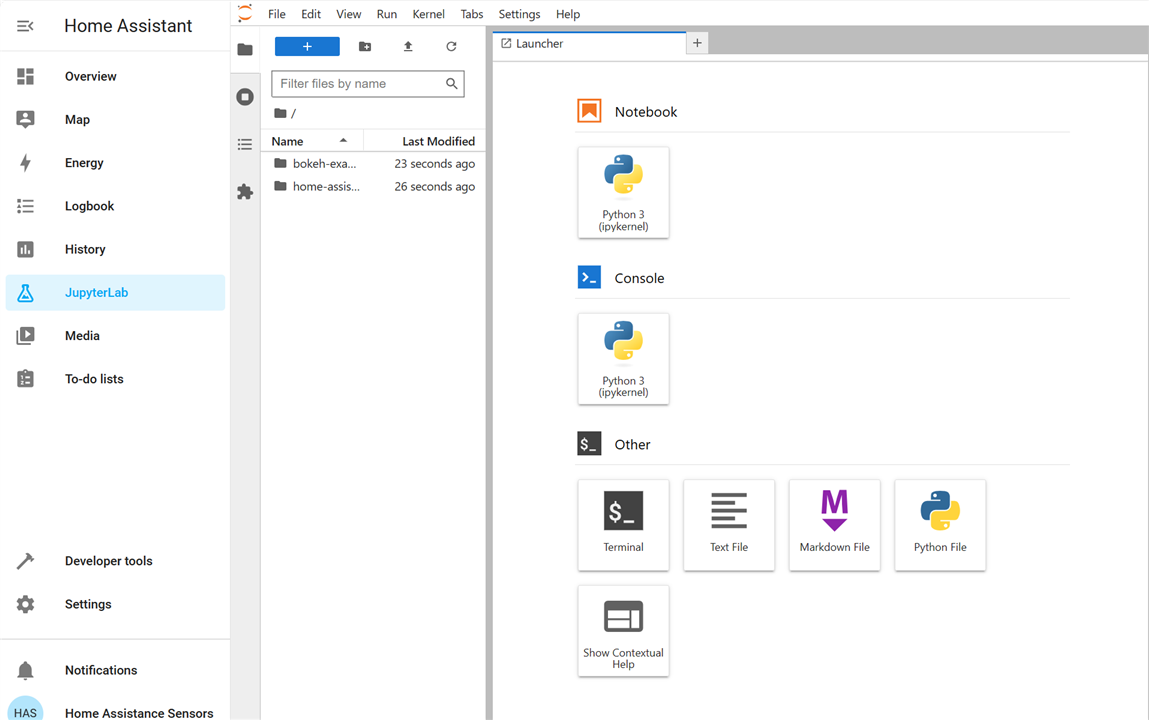
New note book for python can be created and debug here,
6. Ready to Go for ESPhome
ESPhome is one of the addon for Home Assistance OS, it is easy to use and flexible in programming, more to be explained in blog #4.
Reference
[1] Extreme Environment Home Assistance Sensors #1 Unboxing Experiment Kit - element14 Community
[2] Buy a Compute Module 4 – Raspberry Pi
[3] Home Assistant (home-assistant.io)
[4] Compute Module 4
-

DAB
-
Cancel
-
Vote Up
0
Vote Down
-
-
Sign in to reply
-
More
-
Cancel
Comment-

DAB
-
Cancel
-
Vote Up
0
Vote Down
-
-
Sign in to reply
-
More
-
Cancel
Children