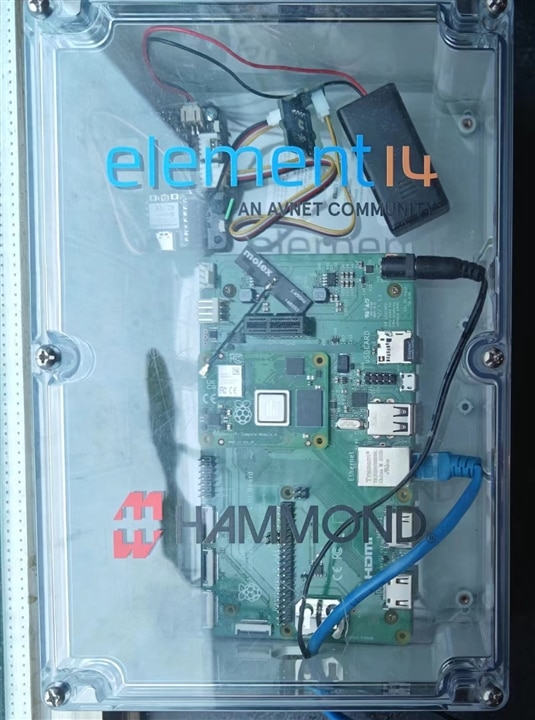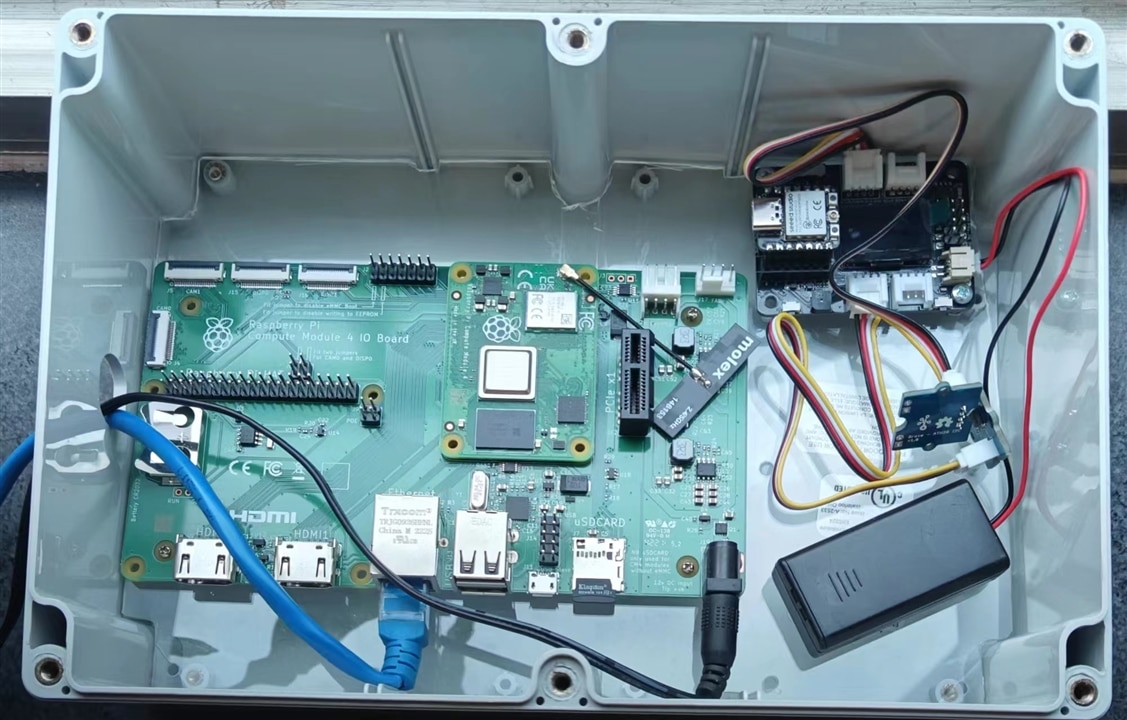
#6 Final Blog: Home Assistant on the Go in Mobile
For Extreme Environment Home Assistance Sensors
1 Brief
Home Assistant Operation System can utilize many plugins and hardware to integrated in one smart control system. This can be arranged at home and outdoor in hash environment.

In this challenge, Raspberry Pi CM4 with rich peripherals to extend, I have prepare PCIex1 Slot NVME board but the HAOS is not supported for this version. And the Camera AI is tested in Blog 5 but not included in final bolg.
This final blog include what can be shown at this moment, there are still more can be done with extensive choice. Which is can be access from mobile with Home Assistant Application download from Google APP market.

There are many applicable plugins for Home Assistant, I have a long screenshot from mobile, I rotate it 90 degree since it is not easy for desktop, it can be download and rotate to right angle.

2 Run Mobile APP
After the HAOS installed on Raspberry Pi CM4, start the mobile APP.

Wait until HAOS is well installed with log output,

Now, it complete and ready to use.

3 Create Use and First Configuration
Create user

Make configuration, select location setting,


find Smart Devices can be included in HAOS,

4 Add Smart Sensors in ESPHome
Connect the network where Home assistant OS is running, connect the CM4 with the name below or change to other name, then waiting for splash screen


The Raspberry CM4 embedded with battery sensor, which can be added in control console,


Go to add-on to browse,


then add ESPhome add-on


If customize service in new board, MQTT broker can be used and added as plugin


5 Add Sensor in Console
Add Smart Sensor in espHome
Install hardware with New Device
choose the type of hardware
finish with new device added, more can be added if repeating again,
edit the yaml file
with define how the sensor behavior
esphome:
  name: xiao-esp32c3
  platformio_options:
   board_build.flash_mode: dio

esp32:
  board: seeed_xiao_esp32c3
  variant: esp32c3
  framework:
    type: arduino
    platform_version: 5.4.0

logger:
hardware_uart: UART0

api:

ota:

wifi:
  ssid: "UMASS fried chicken"
  password: "Zacharyloveschicken"

  # Enable fallback hotspot (captive portal) in case wifi connection fails
  ap:
    ssid: "Xiao-Esp32C3 Fallback Hotspot"
    password: "MoLTqZUvHwWI"

captive_portal:

i2c:
  sda: GPIO6
  scl: GPIO7
  scan: True
  id: bus_0x38

sensor:
  - platform: aht10
    temperature:
      name: "Living Room Temperature"
    humidity:
      name: "Living Room Humidity"
    update_interval: 60s

  - platform: adc
    pin: GPIO2
    name: "Light Sensor"
    update_interval: 6s
build and install the firmware in xiao-esp32c3
Then the hardware can be discovered automatically
Add the light sensor with voltage,
Now the light sensor can be read from Home view of home assistant APP
6 Summary
This is rough summary of how the Home assistant is built with step by step guild, more smart sensor can be added as well.

Reference
