


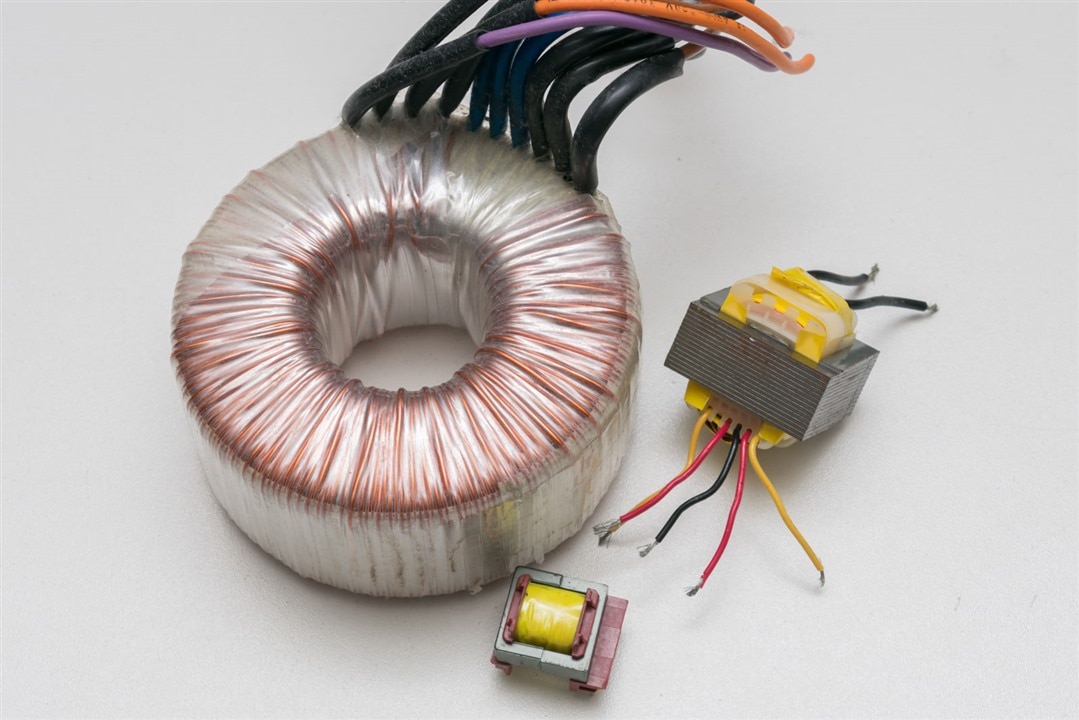
Thanks to element14 and Bourns for selecting me as one of the challengers for the Experimenting with Flyback Transformers Design Challenge. Power conversion is a key part of modern electronics designs and almost every low-power, low-cost, energy-efficient, compact, light-weight mains power adapter has a flyback transformer in it. Looking at the image below comparing a flyback to a similarly-rated E-I core transformer and somewhat larger toroidal, the size and weight advantages are very enticing. As a result, I decided to participate in this challenge as a complete novice, having never studied electromagnetics and having no design experience in this domain, to see whether I could build something “from the ground up” experimentally and detail the results.
Unfortunately, this series of blogs comes very late in the challenge time-frame because of a number of unexpected concurrent commitments including two RoadTests, an overwhelming amount of work from my day jobs, blogging about a few prizes which arrived a bit later than I expected, a number of family issues and external commitments which kept stealing time away from me, delaying my progress on this challenge.
While I don’t expect to be a winner this time around, I don’t want to leave this challenge without submitting at least some blogs and showing some of my results as that would not be fair to the sponsor and the community.
About Me
My name is Dr. Gough Lui and I am an engineer and electronics hobbyist from Sydney, Australia.
I currently work as a postdoctoral researcher in the Biomedical Engineering space with Western Sydney University and as a research assistant with Civil and Environmental Engineering in the University of New South Wales. I have an interdisciplinary background, which includes an undergraduate degree commencing in Electrical Engineering, finishing in Solar Photovoltaics Engineering with first-class honours and undertaking a Taste-of-Research in Spatial and Surveying Information Systems. I have a PhD in Civil and Environmental Engineering, specifically in Water Research. In my work, I support the design, assembly, testing and deployment of embedded electronics for applications in health, medicine and humanitarian fields.
Outside of work, I run my own personal blog site at https://goughlui.com where I blog about random things including product reviews, repair logs, computing, networking, retro-technology, radio, television, satellite, random observations and going on holidays. I am a licensed foundation-level radio amateur (VK2FGYL).
I have spent much time over the years at element14 as a Top Member, mostly lurking but occasionally responding to a comment here or there. I have benefited greatly from the RoadTest program which has yielded plenty of useful and interesting equipment for my bench. I have contributed a whopping 38 reviews as of this posting and have learned plenty from the experience. I have participated in a few Project 14 builds as well although not so much as of late. Previously, I entered three “experimenting with” style Design Challenges, and was awarded the Grand Prize for Experimenting with Thermal Switches, Experimenting with Thermistors and Experimenting with Supercapacitors; and Runner Up Prize for Experimenting with Current Sense Amplifiers. I’ve also completed one “normal” Design Challenge, achieving the Runner Up Prize for Save the Bees.
Proposal
I propose to undertake a series of blogs which focuses on learning about flyback transformers from the “ground-up” as someone with zero experience in implementing or using them. These experiments will include the following:
- A literature review of the theory, converter design basics and products.
- Measurements of key characteristics of flyback transformers.
- Low-voltage bench experiments looking at the differences between ordinary and flyback transformers.
- A physical deconstruction of a flyback transformer.
- An examination of what happens to flyback transformers under abuse.
- Measurement of insulation resistance (up to 1000V).
- Design and build of a crude step-up converter and testing of efficiency.
Let’s see how much of this I can manage within the timeframe given all of my other commitments.
Kit Contents & Introduction to Products
When I think about transformers and magnetics, I’d have to admit that Bourns is not the name I think of. In fact, in my mind, I would associate Bourns with many quality resistors, PTC polyfuses and trimpots that I have specified in my designs in the past. It is interesting to see how flyback transformers became part of their catalogue.
Doing some quick sleuthing revealed that in February 2021, Bourns acquired Kaschke Components, a leader in providing customised magnetics and ferrite cores. While Kaschke is known for its custom capabilities, in May 2023, Bourns announced the release of “standard” products which are carried by distributors and ordered just like any other component. This has many potential benefits, especially for small quantity requirements, reduced lead times and broad availability, allowing more consumers to access Bourns (formerly Kaschke’s) expertise and quality.
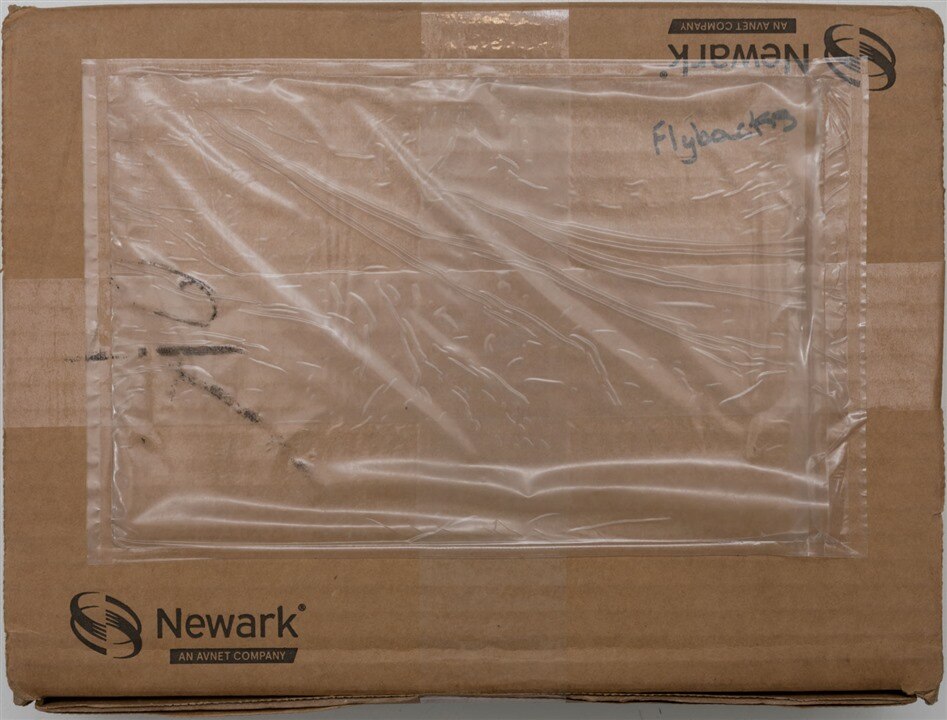
A box arrived for me on 17th November 2023. What could it be? Oh wait, it’s marked on the outside - Flybacks!
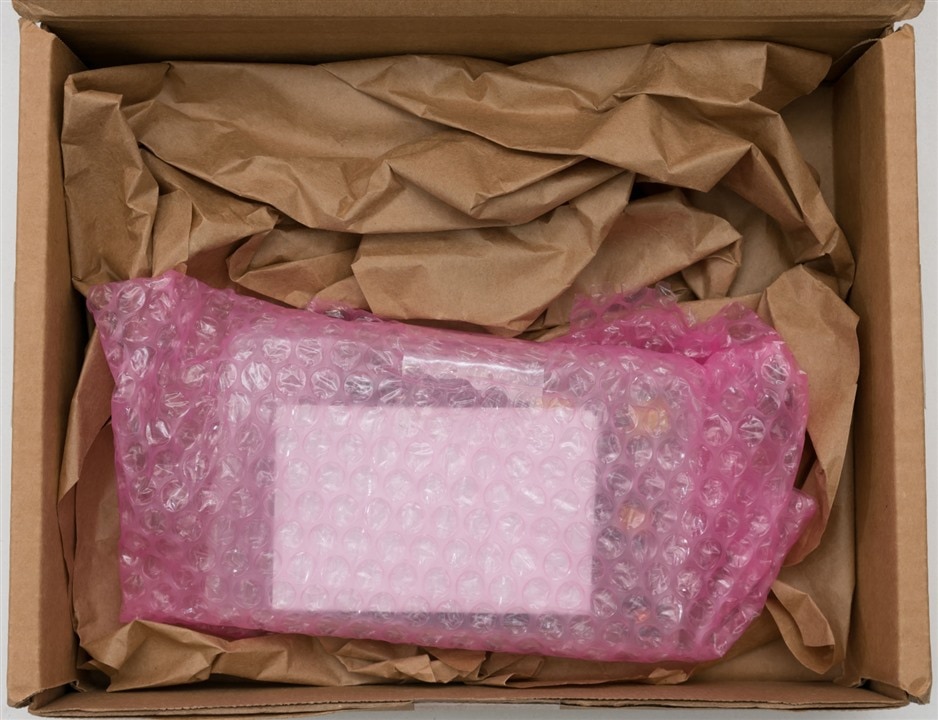
Packed inside was a component sorter with the transformers. I am taken aback by the fact that it is smaller and lighter than I expected!

One of each type of transformer listed were supplied, although with some minor changes to the parts due to availability it would seem. But curiously not all products are flyback transformers.
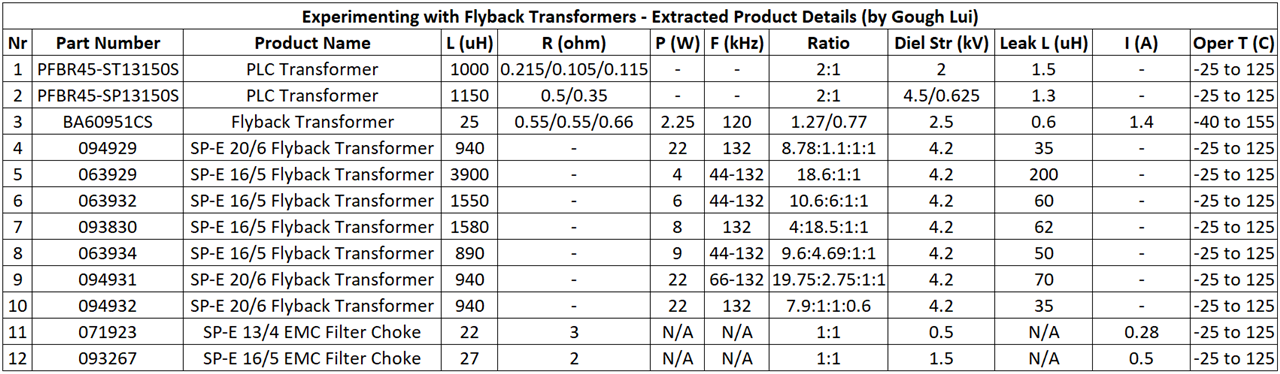
I extracted all the product details into a summary table above. As it turns out, #1 and #2 are power-line communication transformers, which appear to be useful for coupling data signals into power lines. Items #4 to #10 are indeed flyback transformers, all from the SP-E range which incidentally stands for SmartPower Safety Transformer which appear mostly geared towards mains-voltage power supplies optimised for operating at 132kHz. Finally, item #11 and #12 are SP-E filter chokes which are commonly used in switching power supplies to suppress electromagnetic noise, with these units intended to be a good match for the flyback transformers. It would seem #3 is a bit of an odd-one-out, being a flyback transformer but a very small surface-mounted unit from a different series, intended for automotive AEC-Q200 qualified 7-24V usage.
Let’s take a closer look at each, to see the various shapes and sizes they come in. Some of the transformers have been omitted as they appear visually similar to others – I’ve focused mainly on the differences between each.
Device #1 – PFBR45-ST13150S (2kV) PLC Transformer
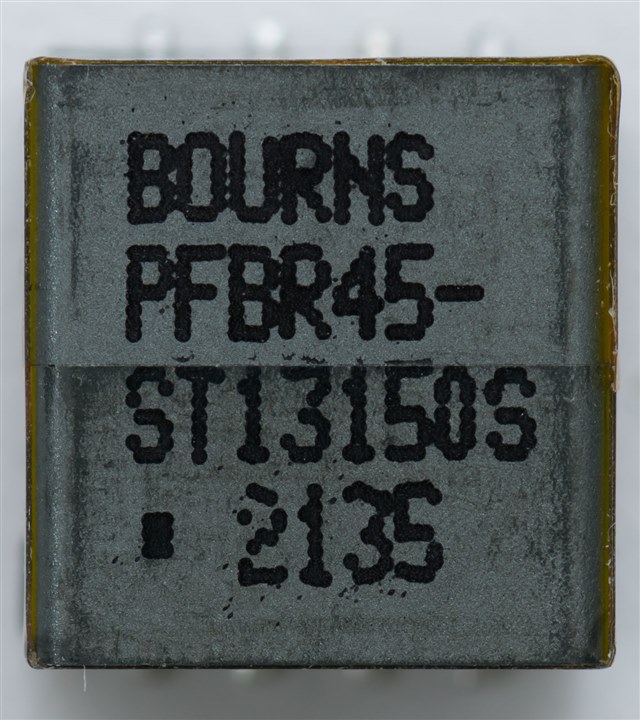
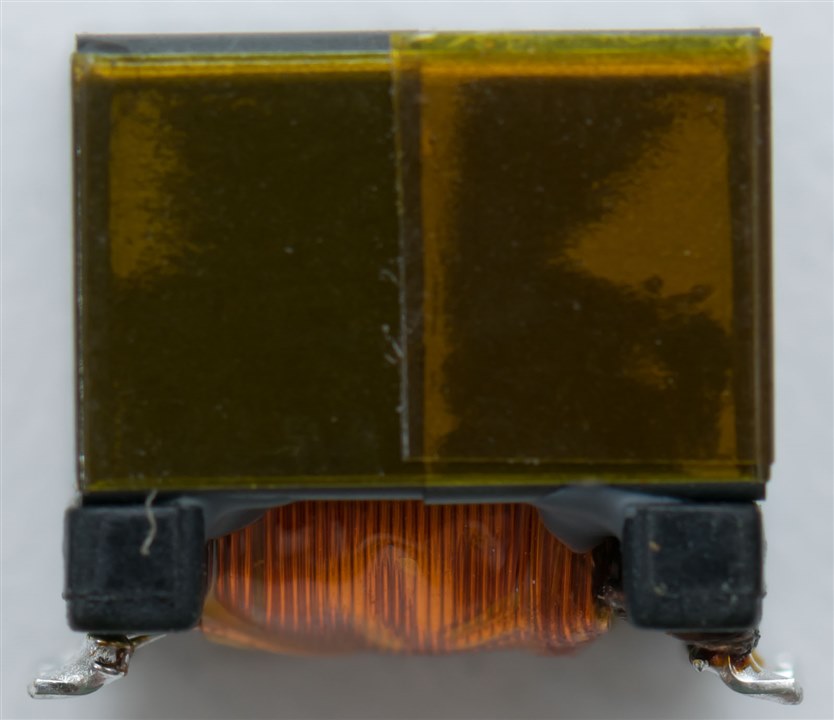
The first PLC transformer is quite a small nearly-cube-shaped SMD component. It is shielded from the top by ferrite, but the coil is visible through insulating tape on the underside. Its construction is not dissimilar to a telecommunications transformer used for interfacing to phone lines.
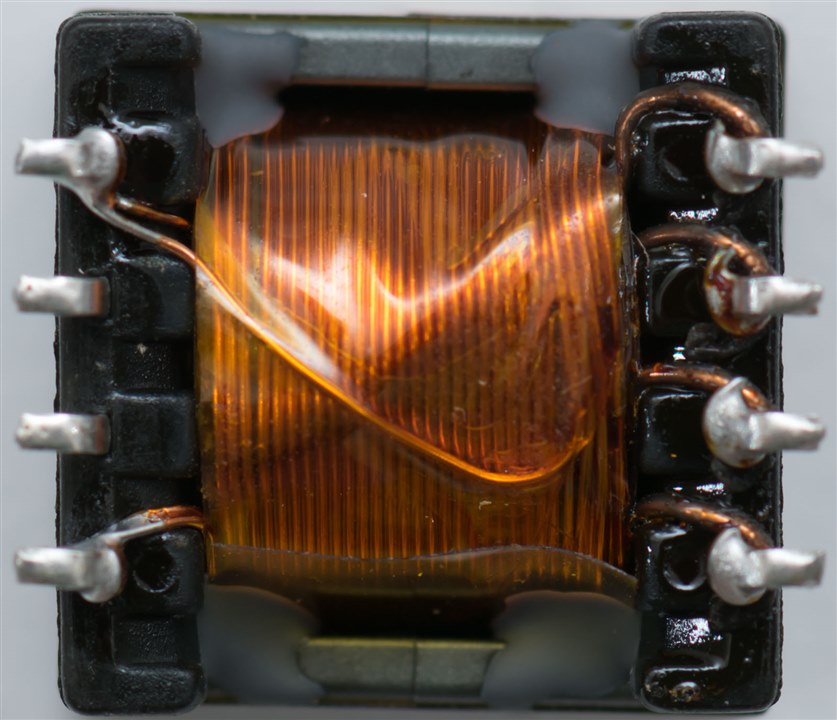
Device #2 – PFBR45-ST13150S (4.5kV) PLC Transformer
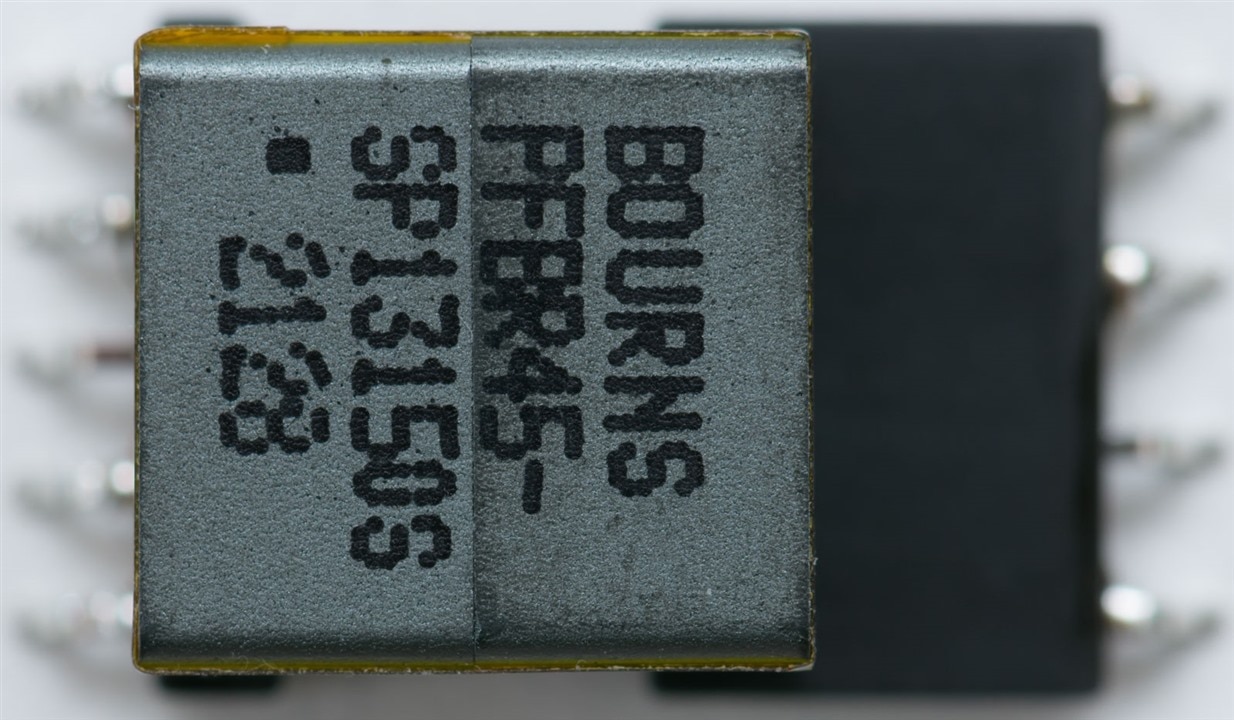
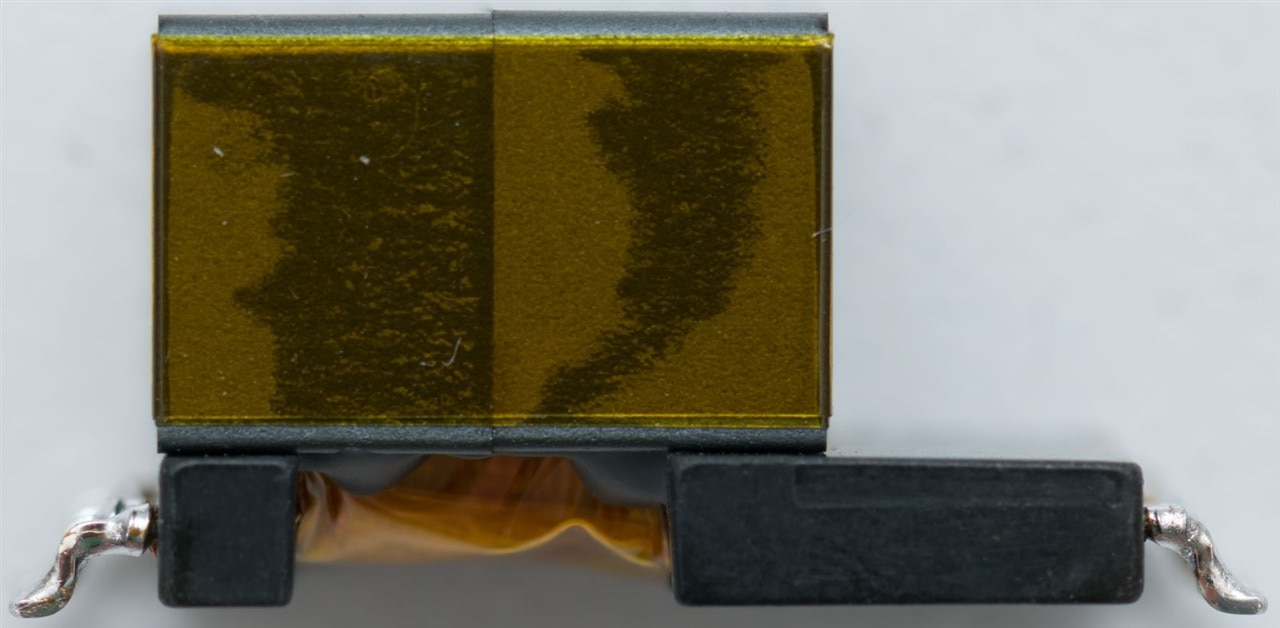
The second PLC transformer differs slightly, by having a slightly extended plastic “leg” on one side. I wonder if this is to ensure sufficient distance for isolation reasons. Nevertheless, there is another difference that can be seen – the secondaries appear to be wound with insulated wire with clear or yellow insulation rather than just enamelled copper wire of the previous. It would be my assumption that this may increase insulation resistance, but may not be ideal for efficiency as the increased distance may reduce coupling or for transformer size due to the bulkier wire.
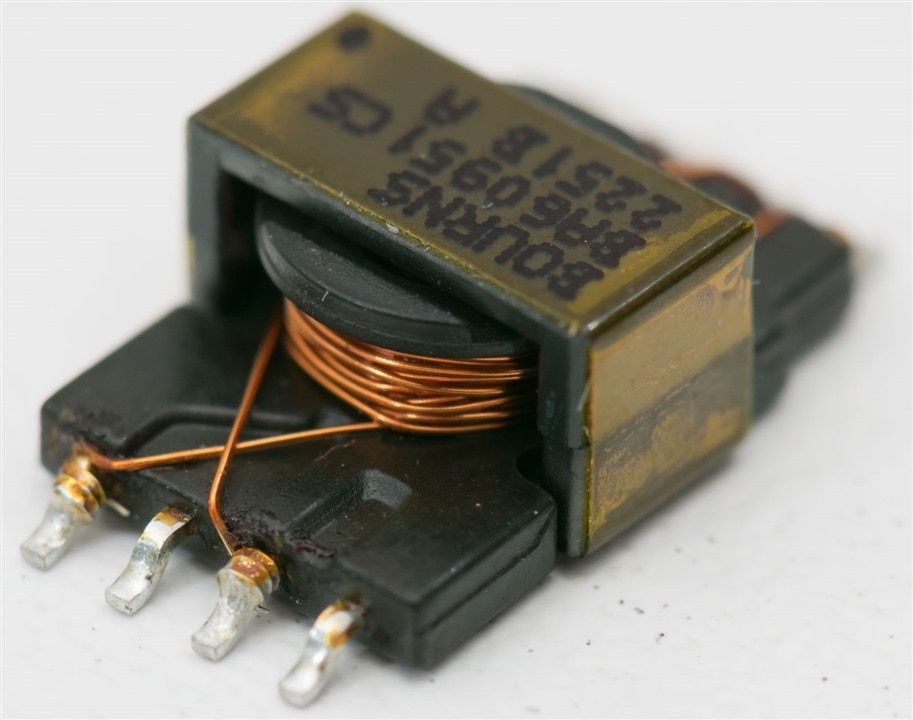
Device #3 – BA60951CS Flyback Transformer
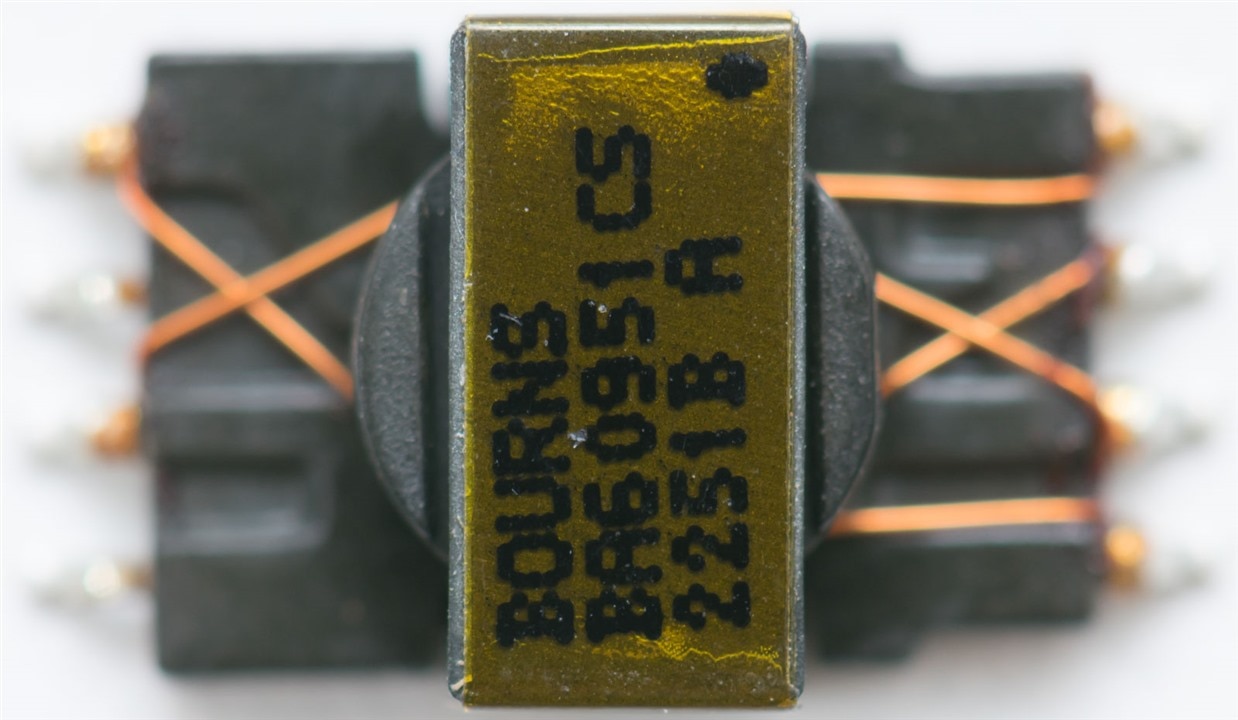
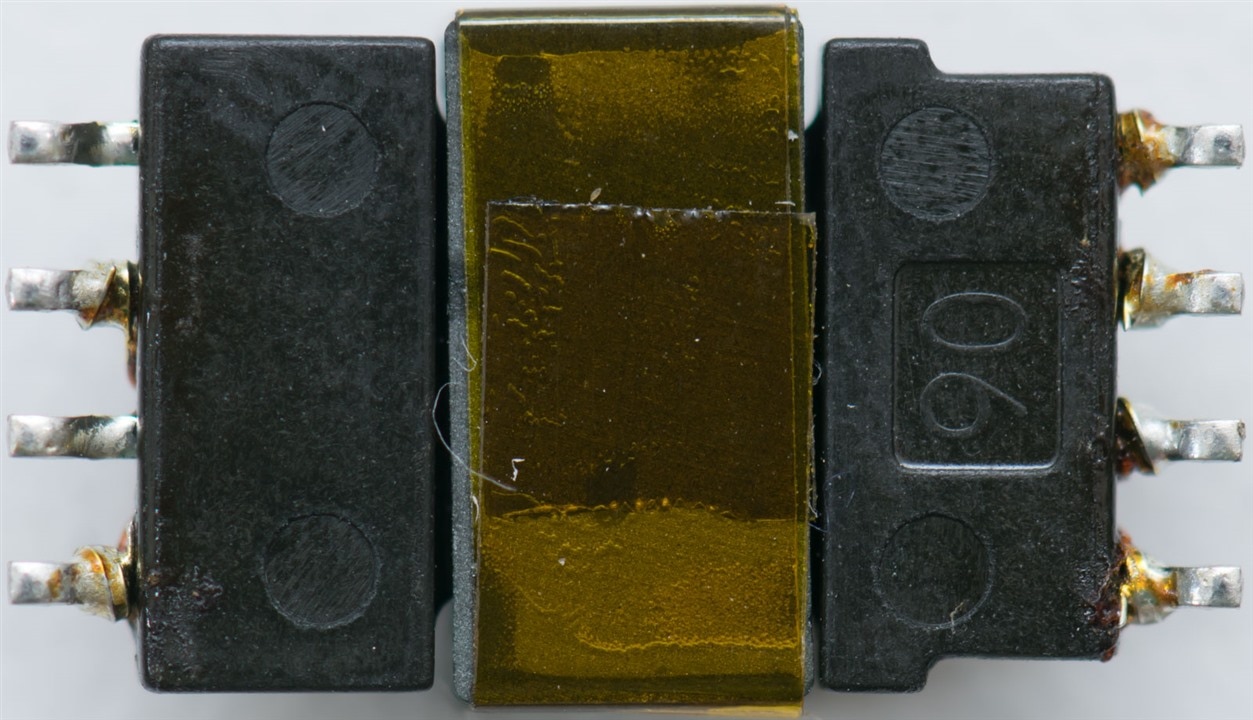
This flyback transformer is a relatively small one designed for automotive low-voltage applications and is made to be surface mounted. It resembles a slightly oversized inductor with a very low profile for a transformer. It is interesting to see some windings having connections that “cross-over” on the plastic base.
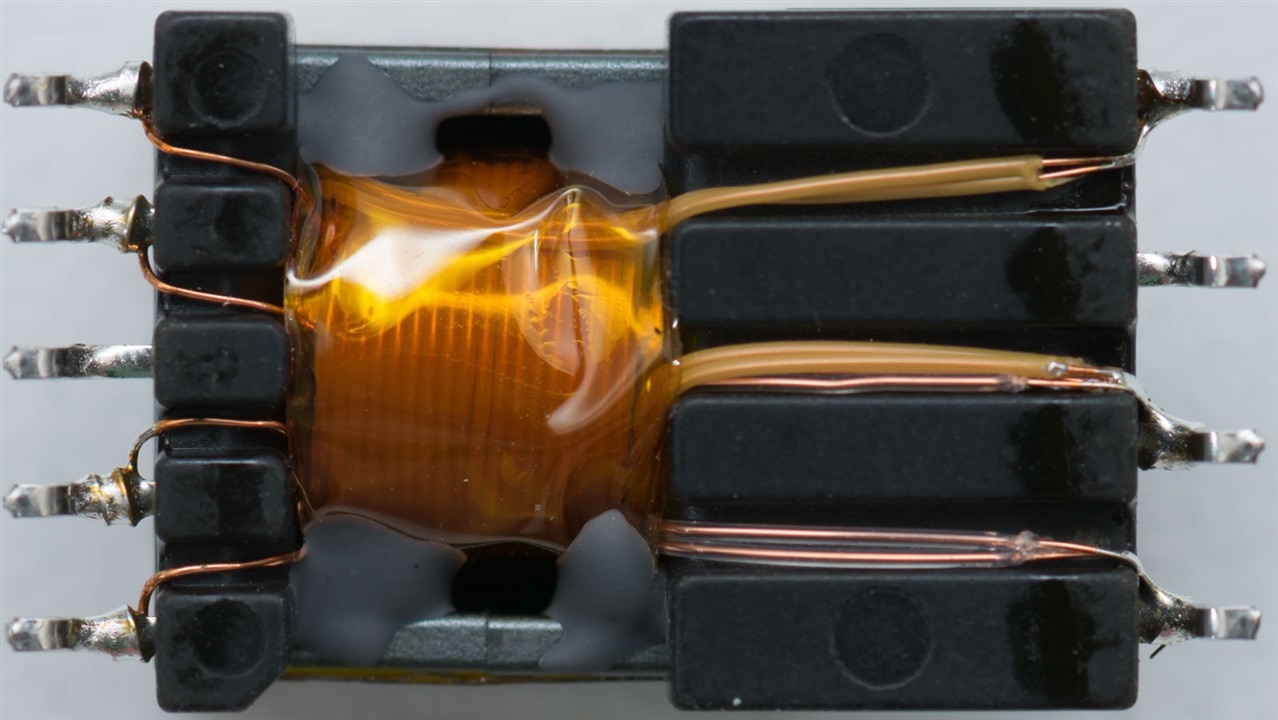
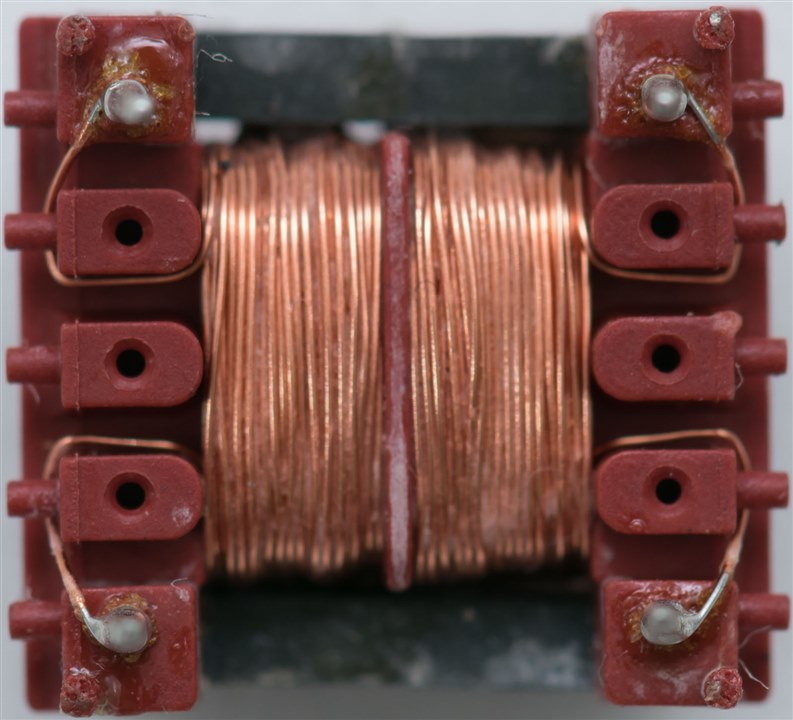
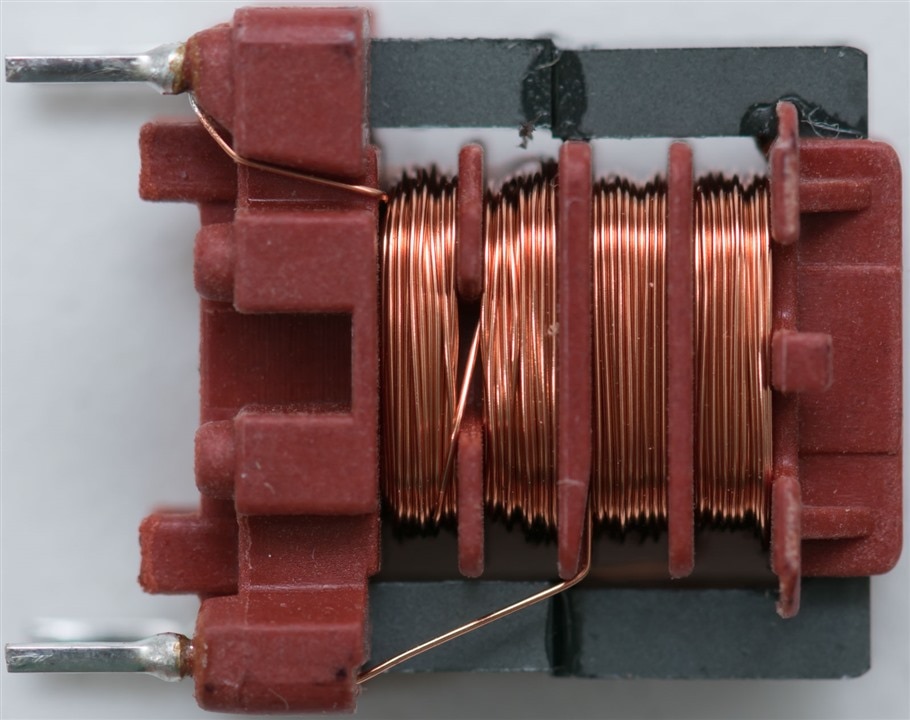
Device #4 – 094929 SP-E 20/6 Flyback Transformer
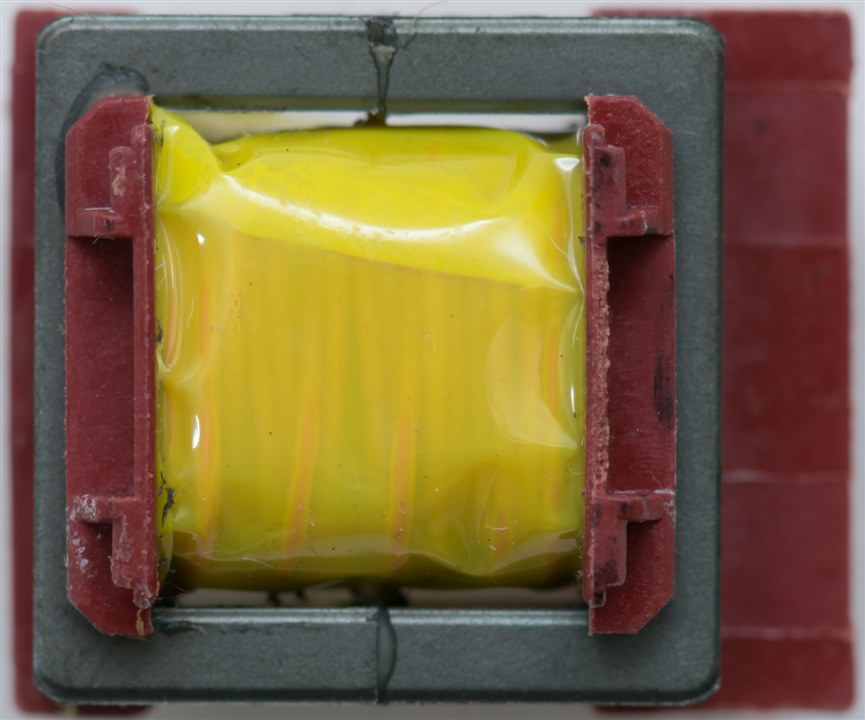
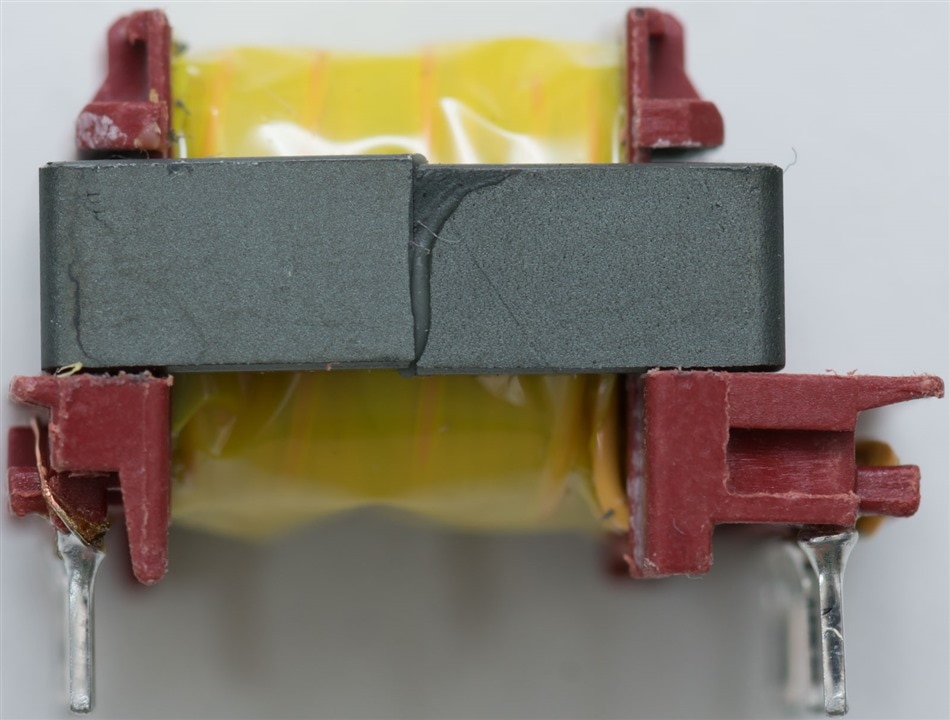
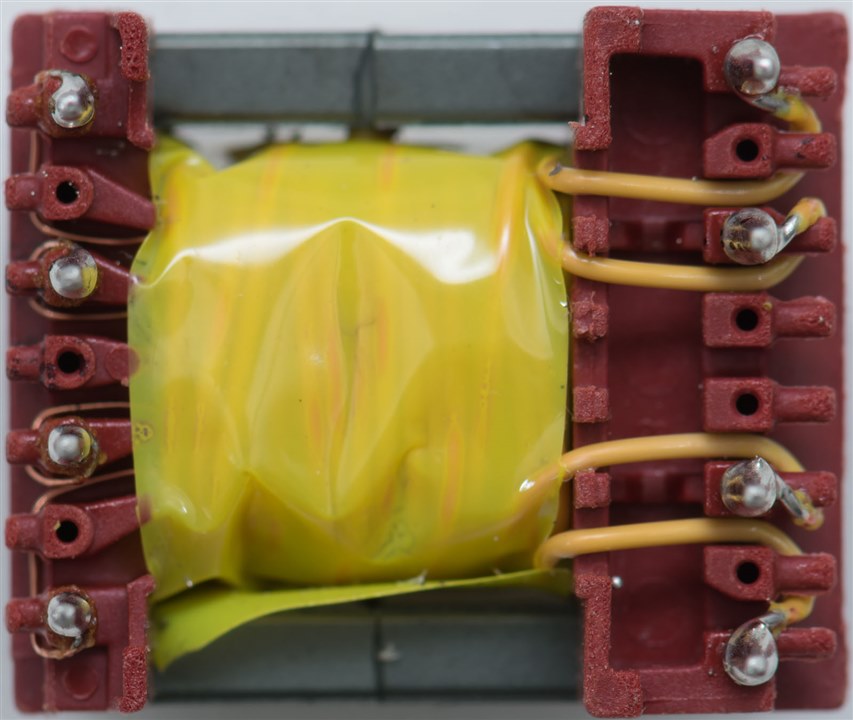
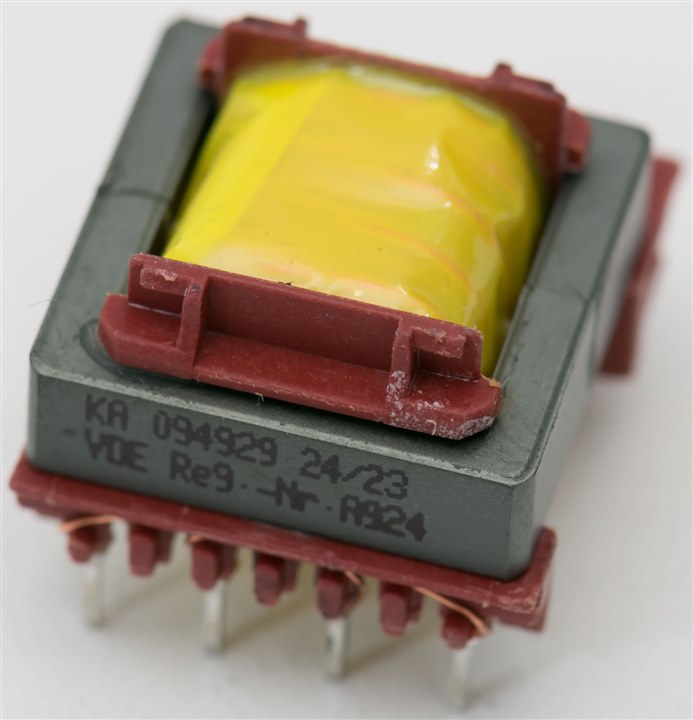
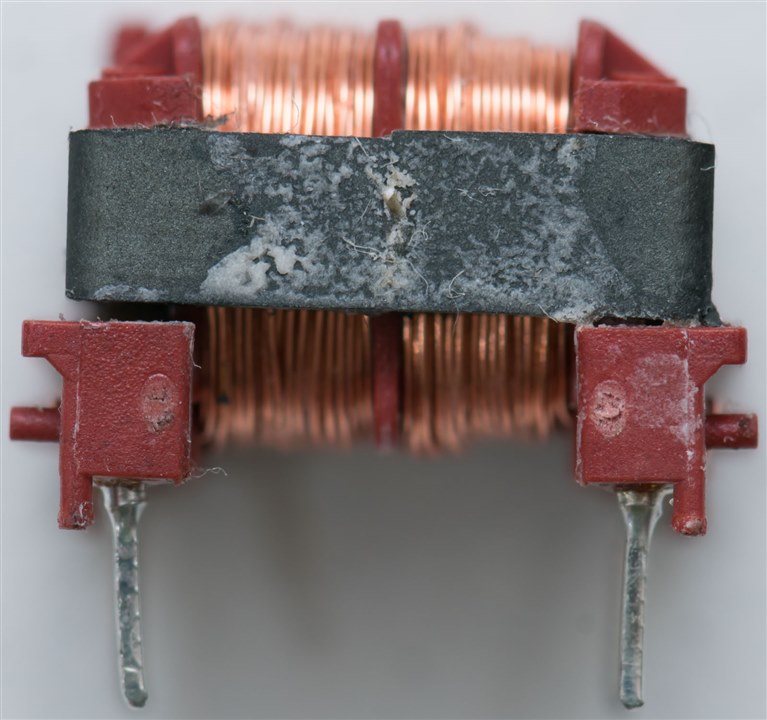
This is the first of the SP-E series and it resembles a flyback transformer you might find inside an external hard drive power supply. It has maroon red plastic at each end holding the through-hole pins, with yellow insulation tape around the windings. The ferrite core appears to be made in two pieces and is glued together, although the alignment of the halves appears to be slightly off. I wonder if this is intentional. From the underside, the primary windings appear to be made using enamelled copper wire, with the secondary made of some form of insulated copper wire. The printing on the side appears to reveal its heritage – KA possibly stands for Kaschke in this case.
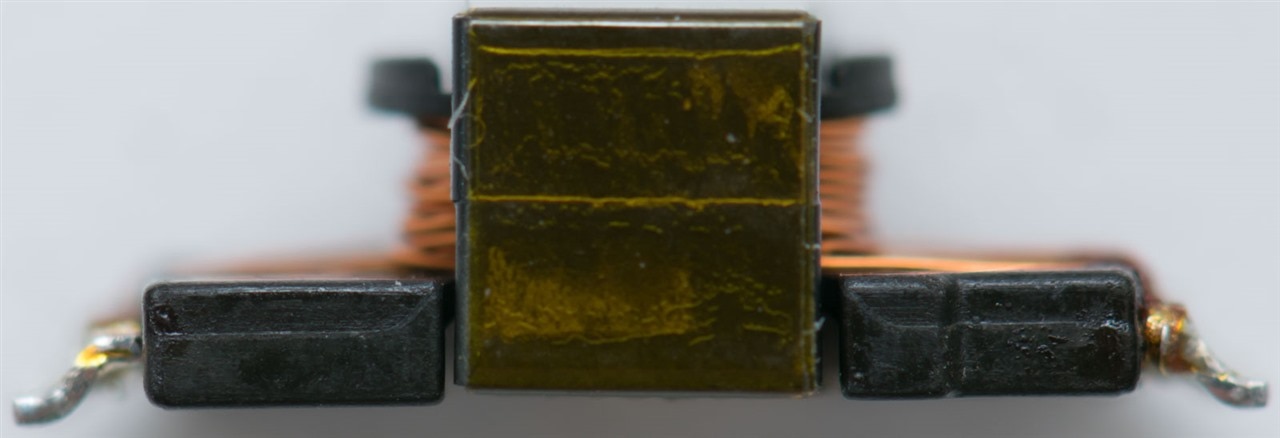
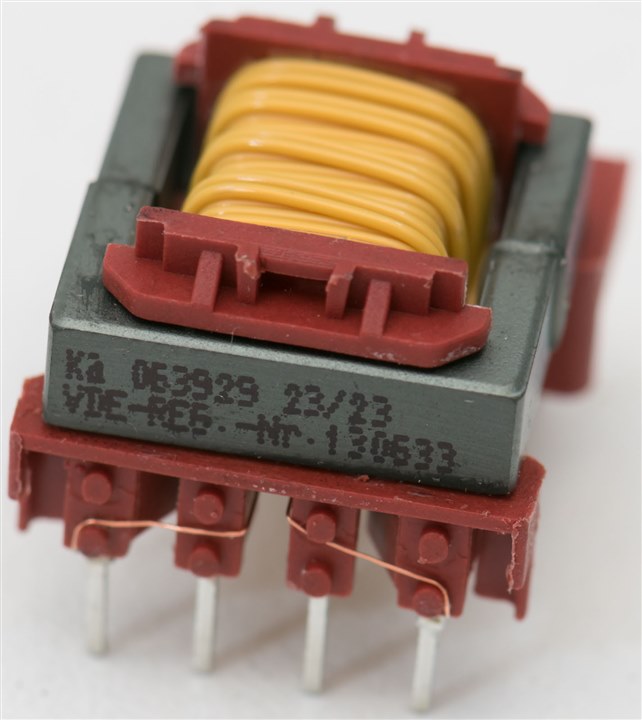
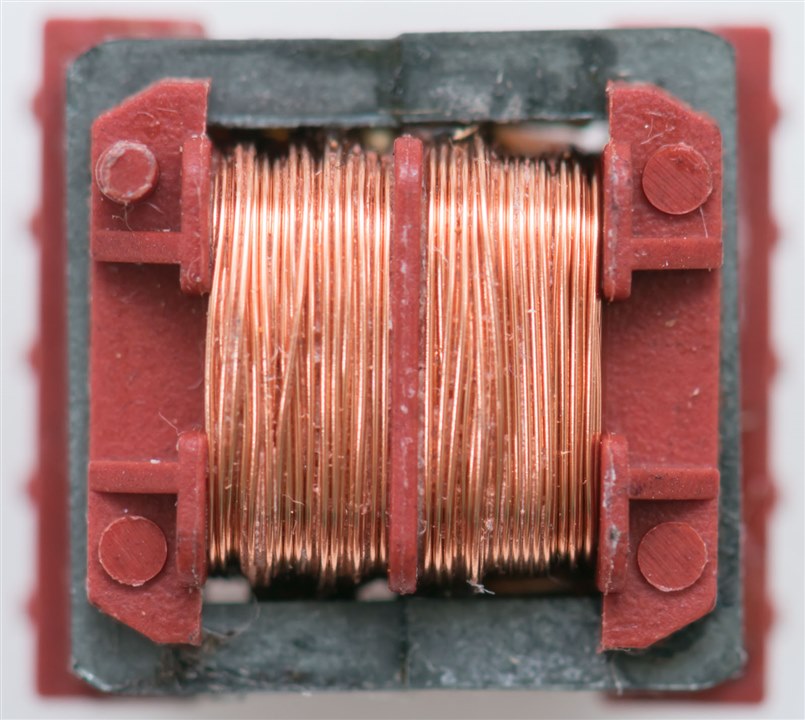
Device #5 – 063929 SP-E 16/5 Flyback Transformer
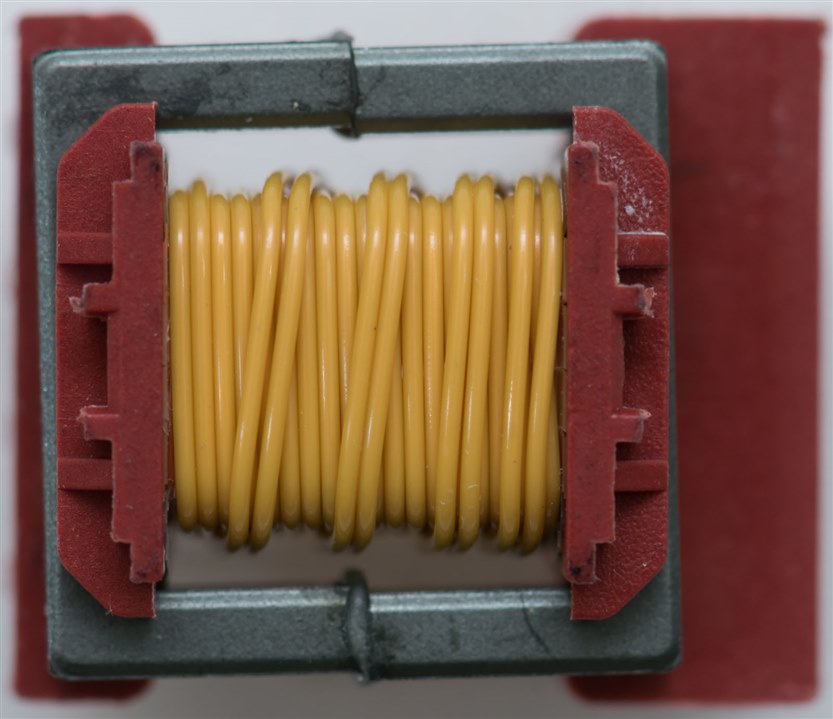
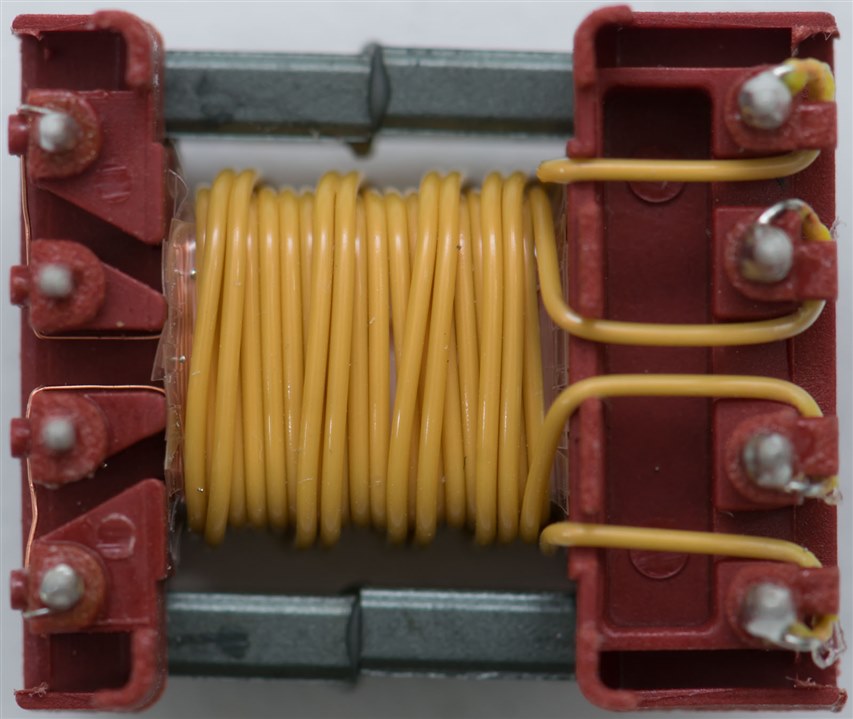
This one is similar to the one above, but the size of the core is smaller, hence the 16/5 designation compared to 20/6. While many of the transformers come with an other layer of yellow insulating tape, this particular one doesn’t, instead leaving the secondary winding’s insulation exposed with the last few wraps being rather spaced across the core. It’s definitely a new sight for me.
Device #11 – 071923 SP-E 13/4 Filter Choke
This particular device is not used as a transformer normally, although it would be a 1:1 transformer if it were. Instead, it is a device used to limit common-mode interference from leaving a converter to improve EMC performance. In this case, it seems very fine enamelled copper wire is wound on separate halves of the bobbin to ensure insulation between the two windings where one would usually be at live potential and the other at neutral.
Device #12 – 093267 SP-E 16/5 Filter Choke


This one is a larger choke with a higher current rating, but unlike the other which is oriented “horizontally”, this one is oriented vertically with four bobbin compartments stacked. This one still carries the Kaschke name as well.
Conclusion
Power conversion is an important part of everyday electronics and flyback transformers are quite ubiquitous even if we don’t actively think about them. I entered this contest as a complete beginner with no knowledge and I’m hoping that this opportunity will give me the opportunity to experiment and learn more about implementing them in simple converters.
Unfortunately, because of a number of circumstances, I haven’t been able to dedicate as much time as I would have liked, resulting in this late-rush of blogs. Nevertheless, while I’m not looking to win, I would still like to share what I learned in the spirit of fulfilling my proposal and to be fair to the community and sponsor.
Thank you for stopping by this unboxing of the kit. As we’ve seen, these products are the result of Bourns’ acquisition of Kaschke Components and bringing “standard” lines of products out for broad distribution rather than relying on only custom orders. The products themselves have interesting subtle differences – the use of insulated wire windings is something new to me, as is the alignment (or slight lack-thereof) of the ferrite core halves which appear glued together. I hope to have more blogs coming really soon, focusing on more of the parts I have proposed to investigate.
Top Comments