Introduction
In the previous blogs I have already mentioned the requirements to create this project and explained the official Industrial Automation kit from Schneider Electric. Now it is time to actually get started with the kit.
I am someone who prefers to incrementally progress on each part of the project. So for example, I have worked on PLC software and how to upload new firmware to device and go online with the device. I have worked with HMI display software and created a simple HMI screen. I have also got started with the Harmony Hub for the wireless transmission/receiver part. So in this blog I will mostly explain the basics of how to get started with these devices using Schneider Electric softwares. I will also create videos on how to work with PLC and other devices in the kit but that is for final blogs.
Also, as this is "Experimenting with" challenge, rather than posting about project in general I will post experiments that I did with Schneider Electric devices.
This is third blog in 5 part blogs
-
Overhead tank monitoring for smart home/industry : BLOG 1
-
Overhead tank monitoring for smart home/industry : BLOG 2
Getting started with EcoStructure Machine Expert
EcoStructure machine Expert is a collection of software to work with machines such as PLC, HMI, I/O modules and motion control devices from Schneider Electric. It provides necessary software to program these devices and upload code to the devices. It is collection of software that were provided separately by Schneider Electric some years ago.
In this post I will explain how to install EcoStructure Machine Expert and upload a new firmware to the device.
Installing EcoStructure Machine Expert
Schneider Electric has provided with software installer to manage installation of different software tools. Below image galaxy has some screen shoot about installation process.
| {gallery}Installation software |
|---|
|
IMAGE TITLE: Software installer |
|
IMAGE TITLE: Components |
|
IMAGE TITLE: Individual components |
Creating a new project
After installing EcoStructure Machine expert open the new project for the controller(PLC) you want to upload firmware to. The software will automatically create devices available on the controller such as Ethernet, Modbus, Serial ports etc. Then IP address needs to be assigned either dynamically or fixed(statically). It will then allow us to update the firmware on the controller and login to the device.
Creating an IP network
A IP network needs to created between the PLC and the development PC in order to communicate between these two so that new firmware can be uploaded to the PLC. Following video shows how to create IP network to communicate between PC and PLC.
Uploading a new firmware & PLC online mode
- Default User: Administrator
- Default Password: Administrator
To upload a firmware to the PLC, EcoStructure has a software called controller assistance. It can be used to login to the PLC and update the firmware following the detailed process. Password and user can be changed on first login.
| {gallery}My Gallery Title |
|---|
|
Controller assistant login |
|
Controller assistant |
|
Controller assistant login |
|
Controller assistant |
After firmware is updated successfully login process can be started. Login will allow us to run the program on to the PLC.
Installing EcoStructure Operator Terminal
EcoStructure Operator Terminal Expert is a GUI design software for Schneider Electric HMI devices. For this contest there is HMI ST6200 4" resistive touch display.
Creating a new project
In EcoStructure Terminal expert a new project can be created targeting specific HMI device. The YouTube Video about GUI design help me and saved a lot of my time to create and test simple GUI.
| {gallery}My Gallery Title |
|---|
|
EcoStructure Terminal Expert: GUI Design on screen that can be uploaded to HMI via USB or ethernet cable. |
|
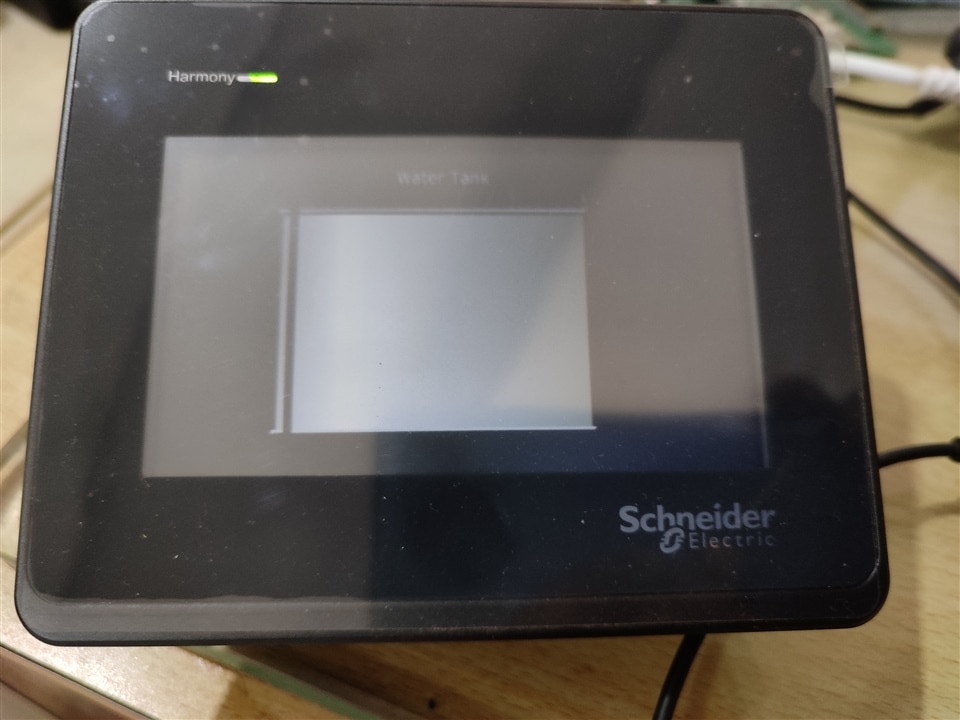
GUI on HMI ST6200: Transferred GUI code to the device over USB. With 24V DC supply display will be more bright. |
Configuring Harmony Hub ZBRN2 with push buttons
In Schneider Electric Harmony Hub series has two different devices(ZBRN1 & ZBRN2). Both are wireless receivers that supports different kinds of transmitters such as Push buttons, Limit switch, Temperature and Humidity sensors etc. The push buttons are battery less and wireless. They have inbuilt dynamo that generates electricity from mechanical energy. These devices can be associated with Harmony hub by teaching pairing to them.
General information about Harmony hub ZBRN2
ZBRN2 is a device with two RJ-45 connectors that support Modbus serial communication. ZBRN2 has predefined registers that can be accessed from external controllers such as PLC. For example TM-251SC can be interfaced to it to check the push button values and when it is pressed. Similarly, data from sensors can be accessed by PLC. This can create interesting use cases.
Associating Push button to Harmony hub input
Harmony hub has some input configurations. These inputs can be set using Jog dial available on the device. So for example, the following video shows how to associate push button to Harmony hub input No 04.
There are many methods mentioned in the datasheet to pair(associate) the push button to the input. Initially, it was confusing to understand the process looking at some examples in Chapter 9(Page 169 in user guide). I referred to some online Schneider electric videos that could help but finally Chapter 3 (Page 54) of user guide has explained the procedure in comprehensive manner. So that helped me to pair the two push buttons to input 2 & input 4 respectively.
Conclusion
This blog was more about Experiments that I did with Schneider devices. And I really enjoyed it. The upcoming blogs I will explain more details about the project that I am doing and how to get it working with PLC.
Reference Documents
- Harmony Hub User guide
- EcoStructure Machine Expert programming guide
- M251 PLC user guide


