Introduction
This is the last blog of this series of Experimenting with Waterproof Connector - Weather station.
I decided to build a weather station because exposing this device to different weathers would put the connectors and enclosure on stress.
The Kit
| 1554VA2GYCL Watertight Plastic Enclosure | Buy Now |
| DFR0418 LattePanda V1 Single Board Computer | Buy Now |
| MRU-AF41-2020 USB Type A Sealed Connector | Buy Now |
| MRU-AM21-4000 USB Type A Sealed Connector | Buy Now |
| MRJ598001 Rugged RJ45 Jack | Buy Now |
| MRDBN04M17000 Circular Connector | Buy Now |
| MRD-BG04-L13-000 Circular Connector, IP67, MRD Series, Panel Mount Receptacle | Buy Now |
| 242125-10. RF Adapter | Buy Now |
| AD-SMAJMCXJ-1 RF / Coaxial Adapter | Buy Now |
| 122192-15 RF / Coaxial Connector | Buy Now |
| 095-902-545-250 RF / Coaxial Cable Assembly | Buy Now |
The 1554VA2GYCL enclosure is a great addition to this kit, because it gives a way to do a proper testing of the connectors. Also, Hammond Manufacturing did a great job customizing the enclosure with cutout for the connectors in this kit and including the logos.
Amphenol provided us with a variety of waterproof connectors for different purposes, USB, RJ45, RF, GPIO.
The Idea
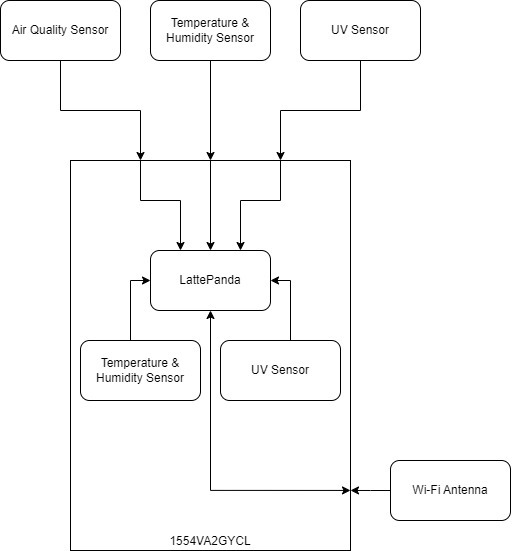
The Lattepanda acts as the processor of sensors data. The Lattepanda with a humidity & temperature sensor are inside the enclosure.
The Lattepanda will interface with different sensors that are outside of the enclosure. Air quality, humidity & temperature.
The SMA connector is used to connect a Wi-Fi antenna to the Lattepanda in order to have a good Internet connection.
Enclosure Testing
Before putting things inside the enclosure, I did a waterproof test of the enclosure.

For this I put one humidity sensor inside the enclosure.
The enclosure was assembled with all the connectors and the Wi-Fi antenna.
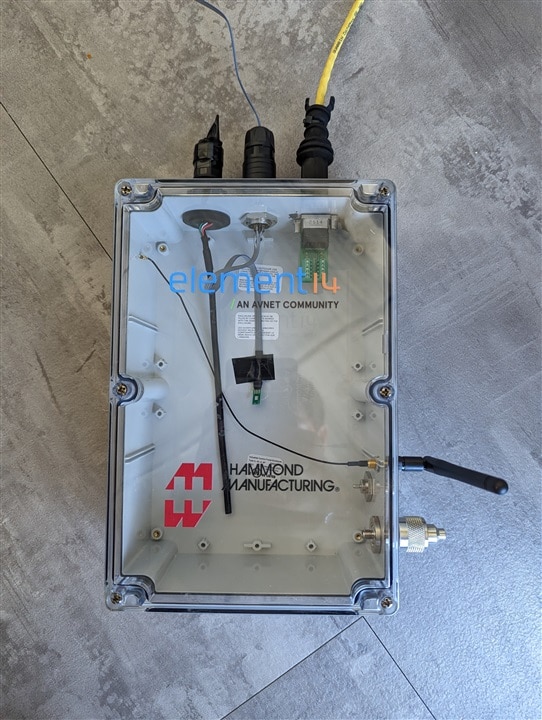
This test was useful to identify that the GPIO connector (MRD-BG04-L13-000) was leaking around 40 minutes started the test. 
This wasn't a design failure but it was an installation failure. The cable that I was using didn't meet the gauge requirement for this connector, after fixing this the leaking wasn't happening anymore and the enclosure passed test.
Weather Station Building... sort of
I put the Lattepanda inside the enclosure and a HS3001 devkit from Renesas.
The Lattepanda is connected to the exterior of the enclosure using the USB, RJ45 and GPIO circular connector.

On the exterior of the enclosure I connected the following sensors.
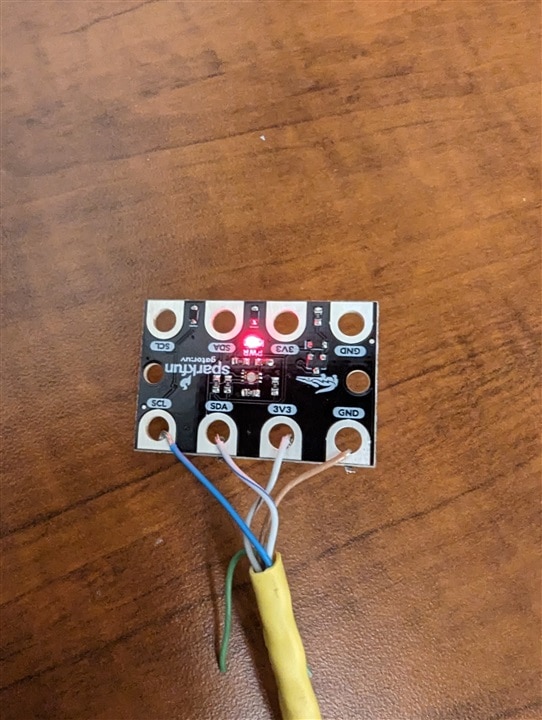
VEML6070 UV sensor.
The original ideas was to monitor the UV radiation inside and outside of the enclosure but I wasn't able to make this sensor works so I didn't use it at the end but it was connected using the RJ45 connector. This feature will be implemented in a future development of this weather satiation.
ZMOD4510 Air Quality Sensor
I connected this sensor with the USB connector.

I build a weather shield to protect the air quality sensors, this was done using cheap plastic bowls.
This shield provides protection versus rain, wind and solar radiation, while the sensors has enough air contact to have good measurements.

Splash Test
After the integration of the electronics with the enclosure and connectors I did a splash test using a water flosser as a splasher device. I was monitoring the humidity inside the enclosure the whole test. I find out that the humidity sensor reading is susceptible to the angle of the sensor. This was another successful test, no water ingress.
https://www.youtube.com/watch?v=jN1WKNRe5ec
Difficulties
I had some difficulties while making this project.
The Lattepanda doesn't have the resources to be a development device. Not enough RAM and not enough disk space. I had to reinstall Windows in order to keep working. Using another computer to do the development and release the final software in the Lattepanda is my recomendation.
The UV sensor didn't work, I was reading 0 all the time and I'm pretty sure that there was a significant amount of UV radiation. Probably this was an issue with the library implementation. Further experimentation has to be done with this sensor.
My plan was to put the weather station in the Lake Michigan but when I was installing it in a small park that has access to the lake I was interrupted by the police, basically you cannot leave an "unknow device" in the lake and a permit is require for this kind of activities. I don't have access to a private land with lake or river access so I was afraid to have to explain again to an authority that this devices is harmless so I decided to continue with the experimenting without a proper outdoor test.
Salt Spray Test
This an accelerated corrosion test, I prepared a solution with vinegar, salt and hydrogen peroxide. I spray the connector and enclosure with this solution twice a day for 3 days. The enclosure was in a plastic enclosure with a bulb to provide heat and make more effective the test, the temperature was around 40°C.
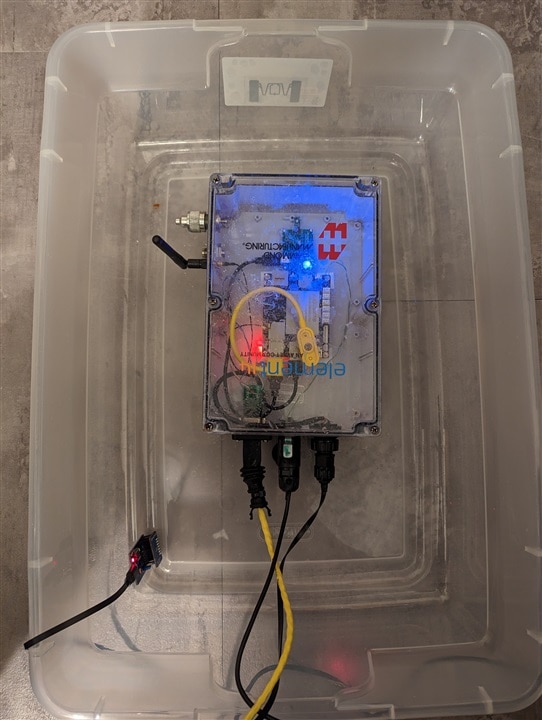
I put the air quality sensor inside the plastic enclosure, in this chart it's visible the increase of the air quality index, the sensor provides this values so there's no need for extra calculations. The EPA specifies that a good air quality index is between 0 and 50, after 50 and 100 is considered as moderate and between 101 and 150 is considered as unhealthy.

This values doesn't represent that the connector are suffering or anything like that.
After 3 days, only one of the bolts was getting corroed, my guess is that because I had to assembly and disassembly the enclosure many times in the development and testing, the protection coating in the bolt was damaged.
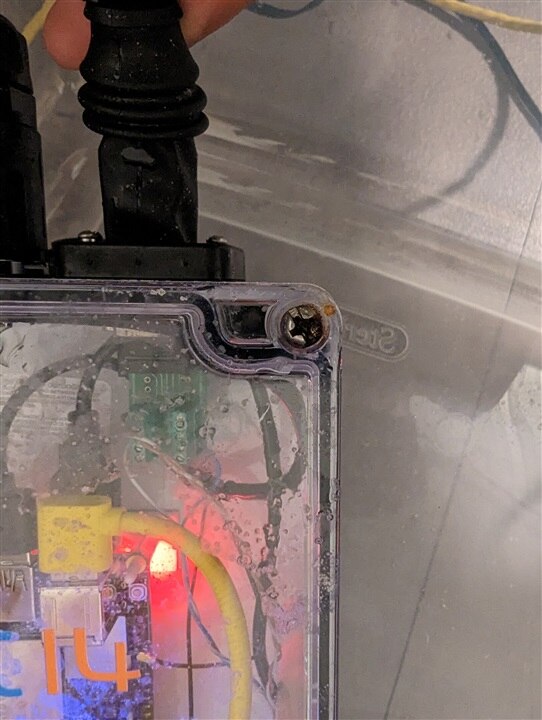
| {gallery}Corrosion Test |
|---|
 |
 |
|
|
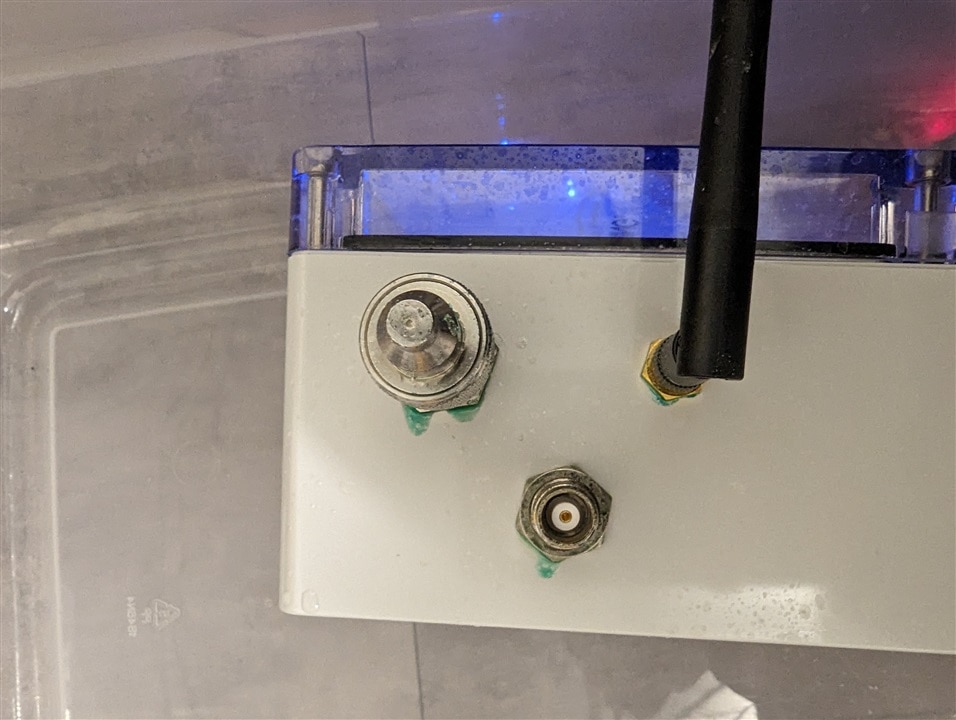 |
No more damaged was identified, even with the corroed bolt I considered this as a successful test, all the connector continue working without any visible damage.
Conclusion
I learned a lot with this experimenting with waterproof connectors.
One is that is really easy to start designing with this connectors, Amphenol has a great variety of connectors for different applications. As we can see in the forum the documentation for the MRJ598001 needs to be improved. The same applies for the Hammond enclosure, there was a confusion with the actual IP rating for this specific part number.
Another learning is that sometimes things doesn't goes as expected and it's needed to continue and improvise would be required. In my case, I loose a lot of day trying to make the Lattepanda work with the embedded Arduino. At the end I uses all the sensors with the respective devkits and connecting them to the Lattepanda using the USB connectors. I'm sure the Lattepanda could do the job using the Arduino but it requires a more knowledge to use it without consuming all of the RAM and disk resources.
Third learning, the Hammond enclosure works just great and the size of this enclosure provides a good amount of space for developing various projects, the clear lid is a good features that helps to develop this kind of project and adds a good overall look for the project.
Links
Enclosure Waterproof Test - Blog 2
Turning Lattepanda on without using power button

Top Comments