Introduction
The requirement for this module was to have a weather station that would transmit weather data over the internet to OpenHAB. Why the internet? because we can and because what would an IOT solution be without the Internet. Hence there was a lot to be done.
The Sensors
The ideas was to keep things in budget and use scrap parts to build a Weather station. I did get some of it working by using an old bike ball-bearing, plastic cups and cycle spokes.
Unfortunately, during testing I guess it got blown away by heavy winds and in my zeal I forget to take pictures either...
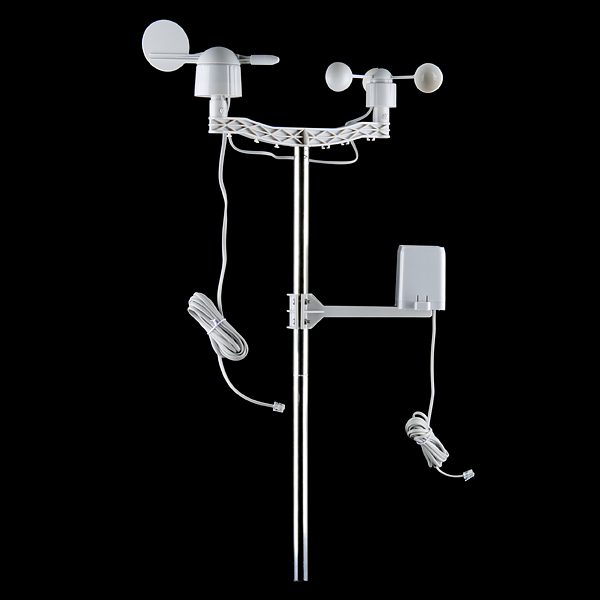
Hence my last resort was to buy one. I did see one at Sparkfun.com and its pretty neat. It would never reach in time hence instead of waiting for it, it decided to emulate it.
The website tells us that..." The rain gauge is a self-emptying bucket-type rain gauge which activates a momentary button closure for each 0.011" of rain that are collected. The anemometer (wind speed meter) encodes the wind speed by simply closing a switch which each rotation. A wind speed of 1.492 MPH produces a switch closure once per second"
Hence the emulator should produce variable frequency and the MET system should measure it and report it. I used the MSP340F5529 Launchpad to read an analog value and produce the required frequencies. Scope captures are given below.
These are from the same output and I feed these as weather station outputs to the CC3200. Next the CC3200 part. Temperature data can be captured from the CC3200's OnBoard temperature sensor.
MET MQTT Station
I am using MQTT pretty extensively in this project. eclipse PAHO project provides code for embedded clients and Benjamine Cabe has a great tutorial on getting started. I wrote the necessary tasks for reading the temperature and calculating the speed. Using Timer A0 I was able to measure the frequency of the input and it works better than expected. The CC3200 has a lot of Great sample projects that help out a lot. shabaz sir has written a great tutorial CC3200 "Internet-on-a-Chip" Getting Started Guide – Part 1
My objective was to simply read the data and post it to the MQTT broker. The final system looks like this.
The portable version for Demo makes it easy to move around. The power is from a Booster pack which both share. I am using existing code from my previous project to read the battery status. However I am not sending that right now. My Idea was to use a solar panel but that will have to come at later stages. My current solar solution is based on the Li-Po Rider Pro and I am looking for a local person to make the PCBs necessary.
The software
The data after having been transmitted to the MQTT broker is read by OpenHAB using the MQTT binding. This means I can bounce the data from any where but why? Well my initial objective was to duplicate the data to Xively.com and display the data publicly. I stil do that but without xively.com
The met system screen on openhab looks like
Public Display of Data
In order for the data to be made available online i used freeboard which allows the data to be publically displayed. The working is simple and uses dweets to upload data and freeboard puts it on display for the world to see. I managed to put together the following:
you can visit the live feed (when we have power)at https://freeboard.io/board/qeRlqA
Now to update on the robot and prepare the final report.
Cheers
IP


