


CC3200 + 430BOOST-SHARP96 with Energia:
In this chapter I will explain the CC3200, 430Boost-sharp96 and Energia. This should save lot of time with given code and example code for the existing hardware and software.
I have try the BBB and BB View 4.3" with no success, not even power up the display to show something @.@ so give up that for now. 
CC3200 come with pre install program. User can test and play around with the hardware and software. I will not talk about that here.
All information about this can get from TI webpage or just follow the given info come together with the CC3200.
Hardware & Software:
I will put the hardware and software together because they related to each other.
Let go straight to the point for CC3200 and Energia.
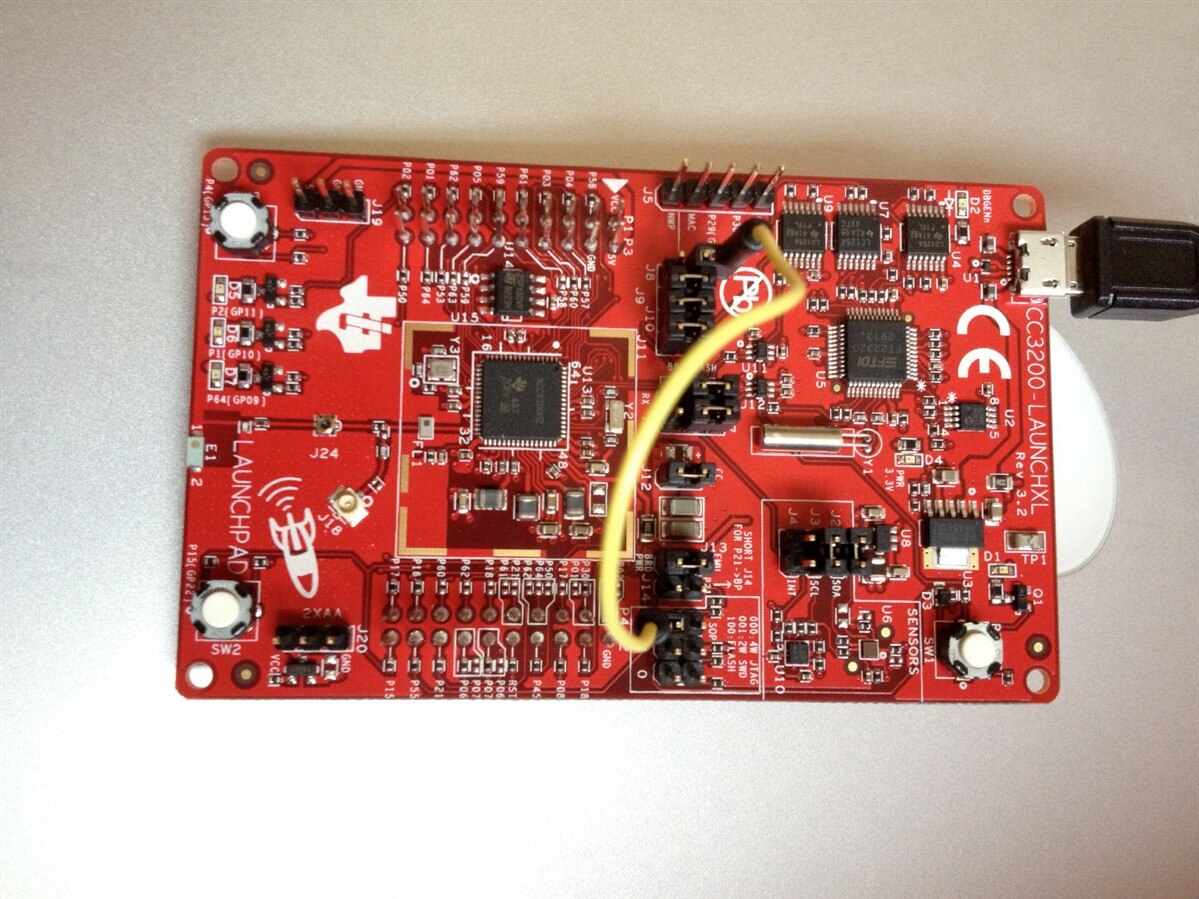
Preparation for the CC3200 to use with Energia. There are few connection setting need to be done at CC3200.
Jumper 8 need to be remove, connection at P1 also need to be remove and make a connection at jumper 8 and JTAG
Picture show connection example.
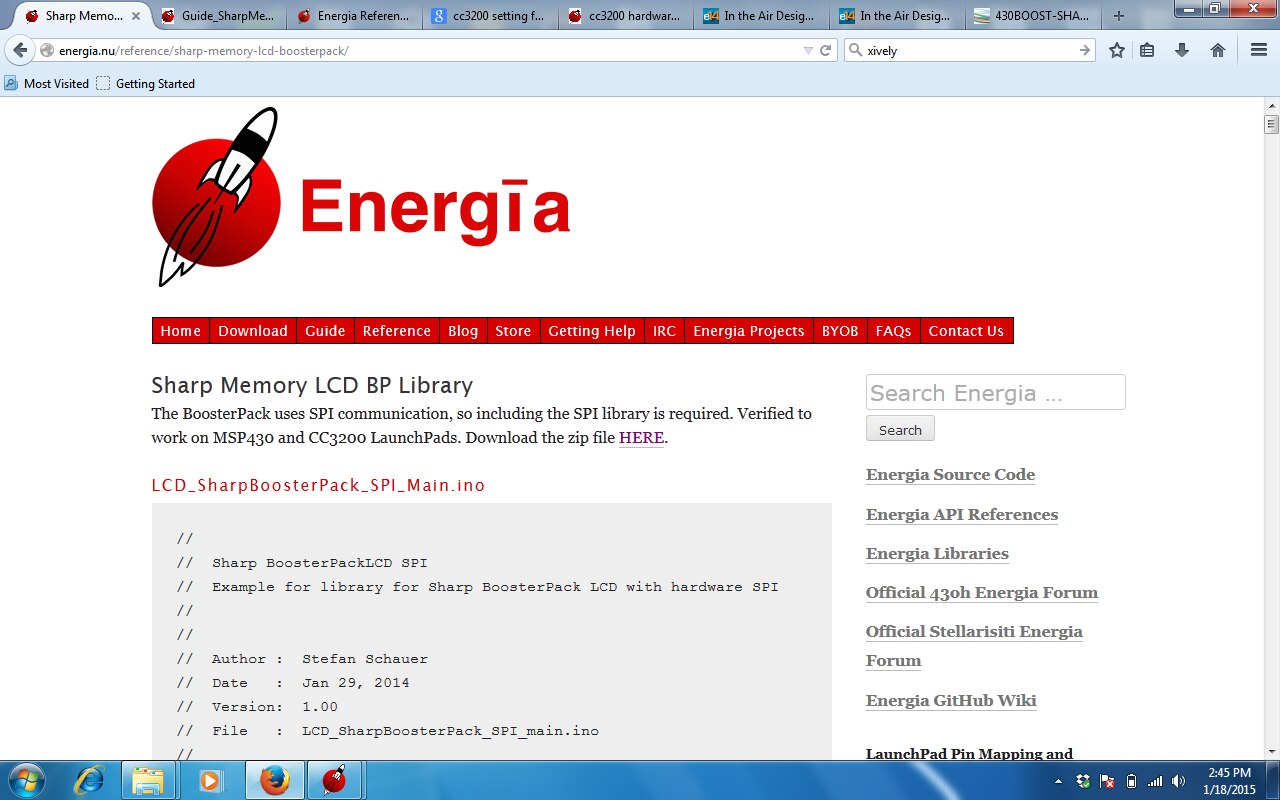
Next is the Energia software where it look similar with the Arduino IDE.
Here just show the LCD example code to the Energia for CC3200. The given link bellow is the example code.
Link to 430 boost-sharp96 code.Sharp Memory LCD BoosterPack | Energia
Unzip the downloaded folder, place them under related hardware libraries folder.
Picture show the example for the folder location for CC3200. Don't put the code under example folder it will not work.

After everything done you should be able to program CC3200.
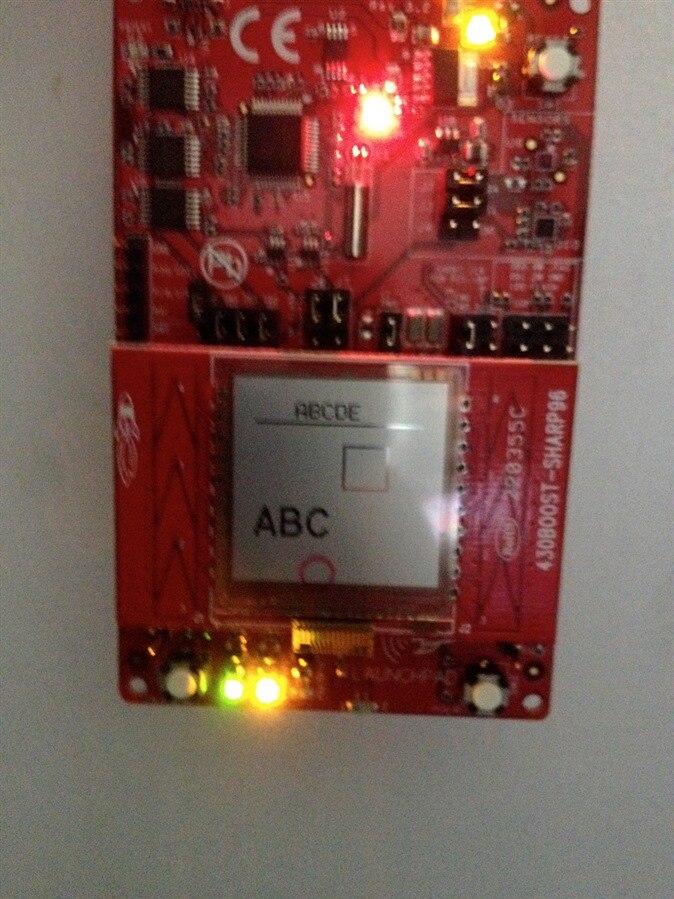
Remove the jumper wire and plug in the LCD module. Power up the board and it should work.
Picture show the example for the LCD display. Sorry for the blur picture
The coming day will be programing, programing and programing.
Now stuck with value to display at the LCD. It took me more then 3 days and I still unable to convert the float value to char for the LCD.
I heard Energia is similar with Arduino. Now I realize that there are very different.
Place the code here in case some one can help .
| //float to charactor convertion | |
| float value = 12.3456789; | |
| char res[10]; | |
| sprintf(res, "%4.3f", value); |
| char res1[10]; | |
| float valuek = 78.230984; | |
| sprintf(res1, "%4.3f", valuek); |
| myScreen.clearBuffer(); | |
| myScreen.setFont(0); | |
| myScreen.text(10, 20, "Voltage:"); | |
| myScreen.text(10, 30, res); | |
| myScreen.text(10, 40, res1); | |
| myScreen.flush(); |
| //myScreen.clearBuffer(); | |
| myScreen.setFont(0); | |
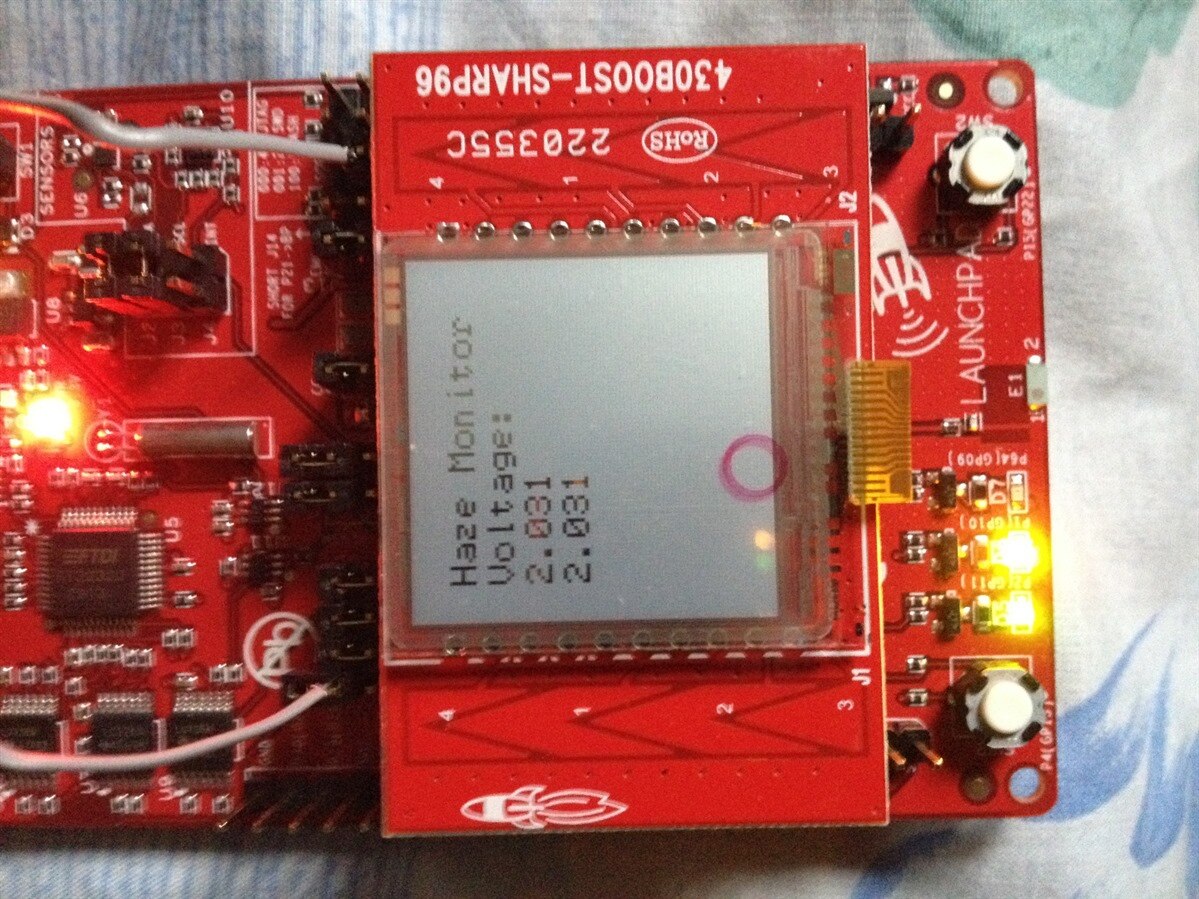
| myScreen.text(10, 10, "Haze Monitor"); | |
| myScreen.flush(); | |
| delay(2000); |
screen show value 2.031. I have no idea at all where this number come from OMG.
Old style programing.
I think many people will comment about my programing.
Using the basic function in program to change the float to char(number only). It working at slow speed due to using fix for loop.
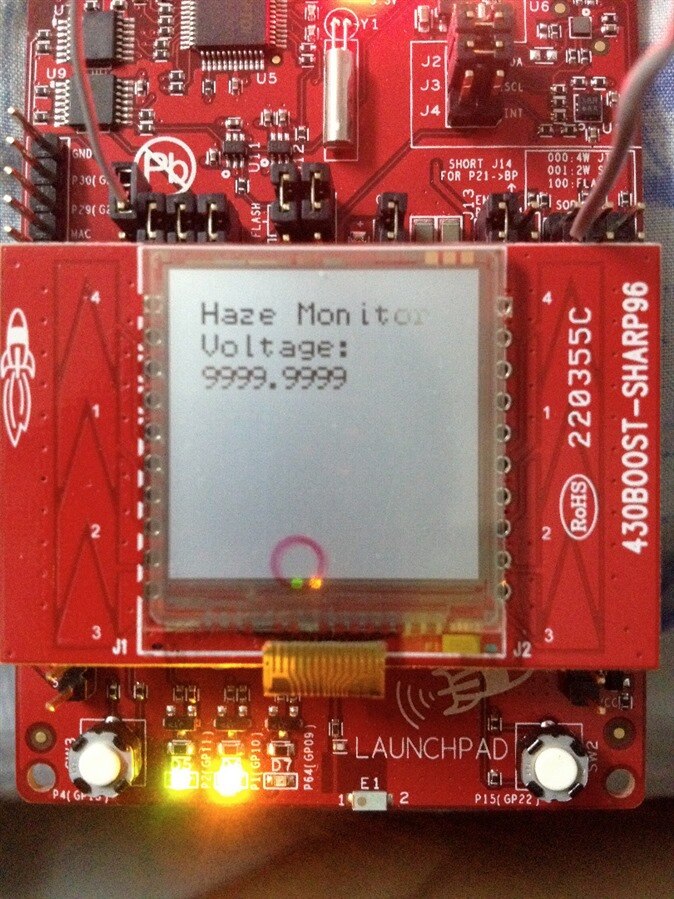
This program also just run up to XXXX.XXXX and it should be more then enough for this project.
I will optimize the programing is there is time to do it. For now keep to this first because cannot fine function to convert float to char in Energia.
Any suggestion are welcome to improve this programing .
//float to char convertion
float value = sensorValue * a/ b;
//float value = 9999.9999;// for testing
int v1000 = 0;
int v100 = 0;
int v10 = 0;
int v1 = 0;
int v01 = 0;
int v001 = 0;
int v0001 = 0;
int v00001 = 0;
//make the reading to 0.XXX
int x = 0;
for (x = 0; x < 100; x ++)
{
if (value > 1000)
{
value = value - 1000;
v1000 = v1000 + 1;
}
else if (value > 100)
{
value = value - 100;
v100 = v100 +1;
}
else if (value > 10)
{
value = value - 10;
v10 = v10 +1;
}
else if (value > 1)
{
value = value - 1;
v1 = v1 +1;
}
else if (value > 0.1)
{
value = value - 0.1;
v01 = v01 +1;
}
else if (value > 0.01)
{
value = value - 0.01;
v001 = v001 +1;
}
else if (value > 0.001)
{
value = value - 0.001;
v0001 = v0001 +1;
}
else if (value > 0.0001)
{
v00001 = v00001 +1;
value = value - 0.0001;
}
else
{
}
}
char res[1];
sprintf(res, "%d", v1000);
char res1[1];
sprintf(res1, "%d", v100);
char res2[1];
sprintf(res2, "%d", v10);
char res3[1];
sprintf(res3, "%d", v1);
char res4[1];
sprintf(res4, "%d", v01);
char res5[1];
sprintf(res5, "%d", v001);
char res6[1];
sprintf(res6, "%d", v0001);
char res7[1];
sprintf(res7, "%d", v00001);
myScreen.clearBuffer();
myScreen.setFont(0);
myScreen.text(10, 20, "Voltage:");
myScreen.text(10, 30, res);
myScreen.text(15, 30, res1);
myScreen.text(20, 30, res2);
myScreen.text(25, 30, res3);
myScreen.text(30, 30, ".");
myScreen.text(35, 30, res4);
myScreen.text(40, 30, res5);
myScreen.text(45, 30, res6);
myScreen.text(50, 30, res7);
myScreen.flush();
Picture show the output for the given float value. Play around with some value and the output is still acceptable.
Previous:
Dust, Temperature and Humidity Monitor Chapter 9
Next:
Dust, Temperature and Humidity Monitor Chapter 11
