


1. To control the via BLE, the BLE service and BLE characteristics UUID shall be nominated.
In the mbed projects, 0xA000 plus blue UUID default value -0000-1000-8000-00805f9b34fb shall be used.
And set BLE characteristics UUID to 0xA001-0000-1000-8000-00805f9b34fb.
Device name of FLY. With 1 received to LED on and 0 for LED off.as of
    if ((params->handle == ledServicePtr->getValueHandle()) && (params->len == 1)) {
        actuatedLED = *(params->data);
Full codes as,
#include "mbed.h"
#include "ble/BLE.h"
#include "LEDService.h"
DigitalOut actuatedLED(LED1, 0);
const static char     DEVICE_NAME[] = "FLY";
static const uint16_t uuid16_list[] = {LEDService::LED_SERVICE_UUID};
LEDService *ledServicePtr;
void disconnectionCallback(const Gap::DisconnectionCallbackParams_t *params)
{
    (void)params;
    BLE::Instance().gap().startAdvertising(); // restart advertising
}
/**
 * This callback allows the LEDService to receive updates to the ledState Characteristic.
 *
 * @param[in] params
 *     Information about the characterisitc being updated.
 */
void onDataWrittenCallback(const GattWriteCallbackParams *params) {
    if ((params->handle == ledServicePtr->getValueHandle()) && (params->len == 1)) {
        actuatedLED = *(params->data);
    }
}
/**
 * This function is called when the ble initialization process has failled
 */
void onBleInitError(BLE &ble, ble_error_t error)
{
    /* Initialization error handling should go here */
}
/**
 * Callback triggered when the ble initialization process has finished
 */
void bleInitComplete(BLE::InitializationCompleteCallbackContext *params)
{
    BLE&        ble   = params->ble;
    ble_error_t error = params->error;
    if (error != BLE_ERROR_NONE) {
        /* In case of error, forward the error handling to onBleInitError */
        onBleInitError(ble, error);
        return;
    }

    /* Ensure that it is the default instance of BLE */
    if(ble.getInstanceID() != BLE::DEFAULT_INSTANCE) {
        return;
    }

    ble.gap().onDisconnection(disconnectionCallback);
    ble.gattServer().onDataWritten(onDataWrittenCallback);
    bool initialValueForLEDCharacteristic = true;
    ledServicePtr = new LEDService(ble, initialValueForLEDCharacteristic);
    /* setup advertising */
    ble.gap().accumulateAdvertisingPayload(GapAdvertisingData::BREDR_NOT_SUPPORTED | GapAdvertisingData::LE_GENERAL_DISCOVERABLE);
    ble.gap().accumulateAdvertisingPayload(GapAdvertisingData::COMPLETE_LIST_16BIT_SERVICE_IDS, (uint8_t *)uuid16_list, sizeof(uuid16_list));
    ble.gap().accumulateAdvertisingPayload(GapAdvertisingData::COMPLETE_LOCAL_NAME, (uint8_t *)DEVICE_NAME, sizeof(DEVICE_NAME));
    ble.gap().setAdvertisingType(GapAdvertisingParams::ADV_CONNECTABLE_UNDIRECTED);
    ble.gap().setAdvertisingInterval(1000); /* 1000ms. */
    ble.gap().startAdvertising();
   while (true) {
        ble.waitForEvent();
    }
}


int main(void)
{
    BLE &ble = BLE::Instance();
    ble.init(bleInitComplete);
}
2. Now create empty cordova project with
- cordova create flywheels
- cordova platform add android
in www directory, put index.html as control UI as,
Then,
- cordova build android
- cordova run
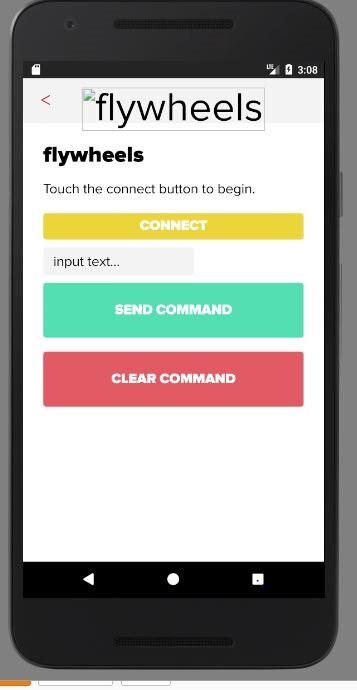
I got apk file and here is the screenshot.
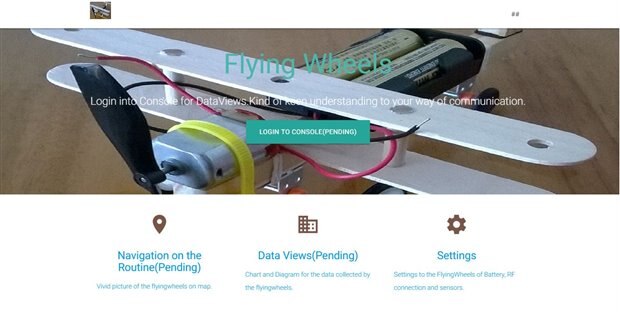
Upload one web UI for this flywheel introduction,
Top Comments