
Hi all again. Hope everyone is safe.
This is the second part, of a two part blog, showing how to receive values through LoRa communications and upload the values to Arduino IoT Cloud.
On the first part, we got both LoRa devices communicating and sending/receiving temperature and humidity values.
Today, let's add the receiving device to the Arduino IoT Cloud and display the values in a dashboard.
Add a device
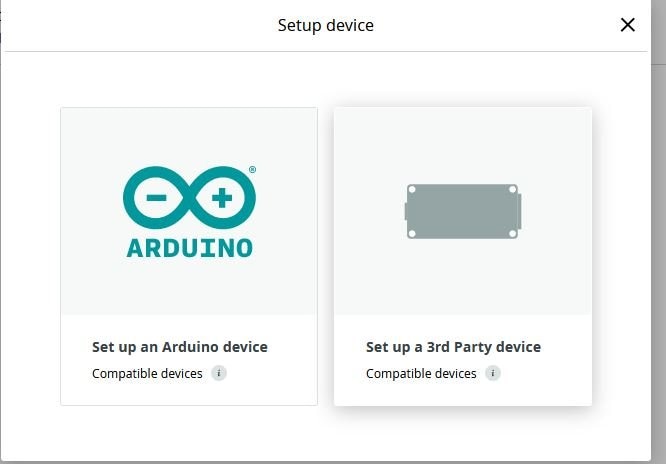
First, let's add a new device, but this one is not an Arduino official.
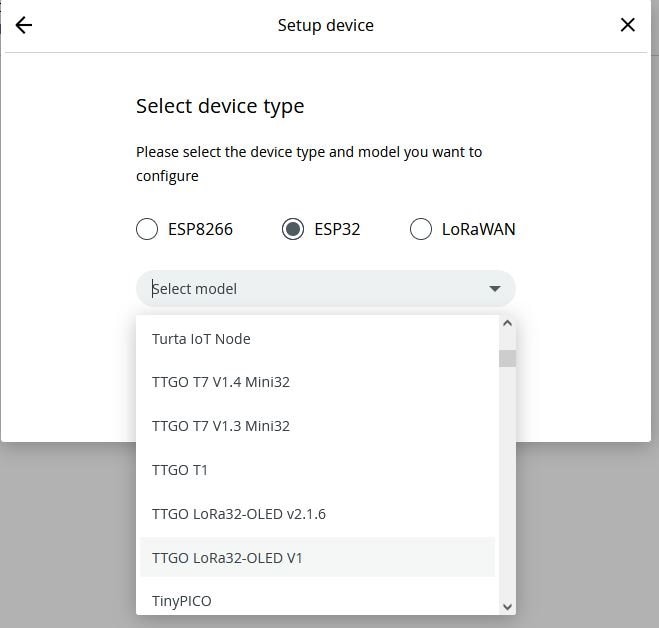
Let's choose de model of my modules. They are TTGO Lora32 SX1267 868Mhz, without LCD. I'm choosing here the OLED v1 - hopping it will work
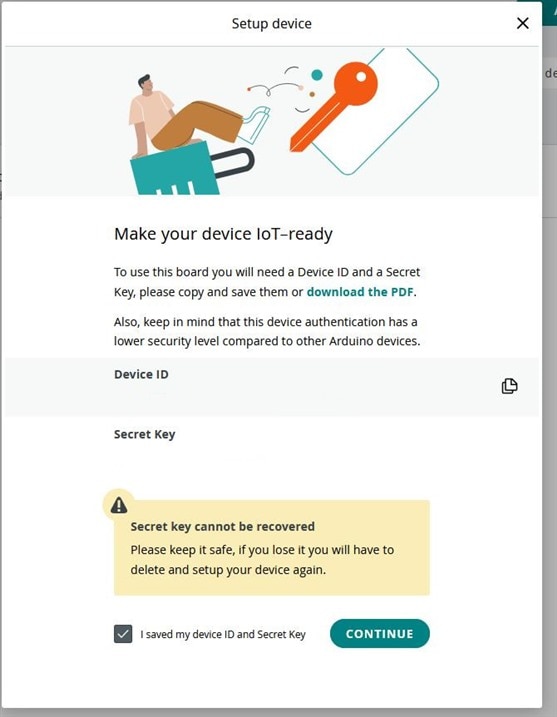
Because it's not an official Arduino device, a device ID and key are generated and provided. Download the PDF, you will need the keys later.
After this, we're all set
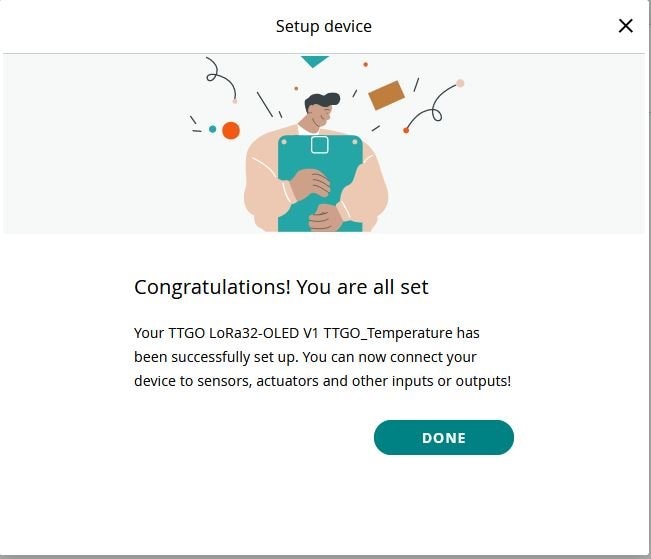
We now have a new device.

Create a thing
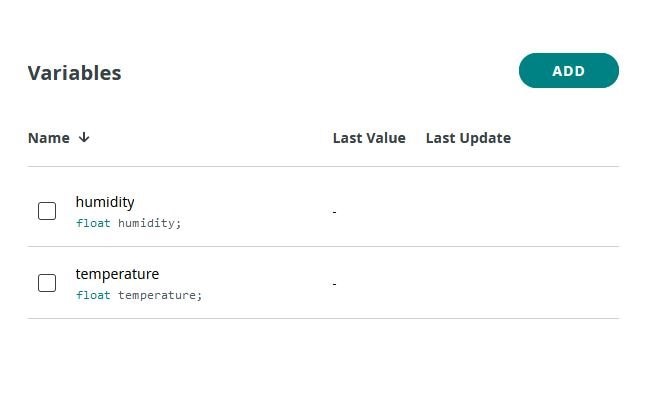
Let's create a thing. Because the DHT22 monitors temperature/humidity, let's create two variables.
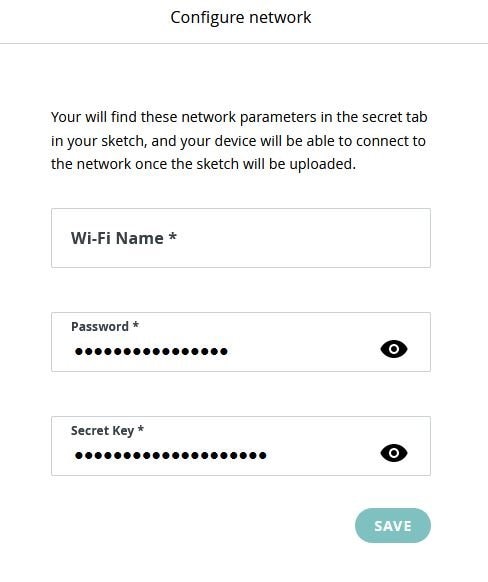
Let's configure the network. Here's where we provide the secret key given to us back there.
Code
Here's the code for the Arduino IoT Cloud
/*
  Sketch generated by the Arduino IoT Cloud Thing "Untitled"
  https://create.arduino.cc/cloud/things/dab0df4a-94e4-476c-a054-7e948b0ef9f2

  Arduino IoT Cloud Variables description

  The following variables are automatically generated and updated when changes are made to the Thing

  float humidity;
  float temperature;

  Variables which are marked as READ/WRITE in the Cloud Thing will also have functions
  which are called when their values are changed from the Dashboard.
  These functions are generated with the Thing and added at the end of this sketch.
*/

#include "thingProperties.h"
#include <SPI.h>
#include <LoRa.h>

//define the pins used by the LoRa transceiver module
#define SCK 5
#define MISO 19
#define MOSI 27
#define SS 18
#define RST 14
#define DIO0 26

//433E6 for Asia
//866E6 for Europe
//915E6 for North America
#define BAND 866E6


String LoRaData;

void setup() {
  // Initialize serial and wait for port to open:
  Serial.begin(9600);
  // This delay gives the chance to wait for a Serial Monitor without blocking if none is found
  delay(1500);

  // Defined in thingProperties.h
  initProperties();

  // Connect to Arduino IoT Cloud
  ArduinoCloud.begin(ArduinoIoTPreferredConnection);

  /*
     The following function allows you to obtain more information
     related to the state of network and IoT Cloud connection and errors
     the higher number the more granular information you’ll get.
     The default is 0 (only errors).
     Maximum is 4
  */
  setDebugMessageLevel(2);
  ArduinoCloud.printDebugInfo();
  Serial.println("LoRa Receiver Test");

  //SPI LoRa pins
  SPI.begin(SCK, MISO, MOSI, SS);
  //setup LoRa transceiver module
  LoRa.setPins(SS, RST, DIO0);

  if (!LoRa.begin(BAND)) {
    Serial.println("Starting LoRa failed!");
    while (1);
  }
  Serial.println("LoRa Initializing OK!");
}

void loop() {
  ArduinoCloud.update();
  // Your code here
   //try to parse packet
  int packetSize = LoRa.parsePacket();
  if (packetSize) {
    //received a packet
    Serial.print("Received packet ");

    //read packet
    while (LoRa.available()) {
      LoRaData = LoRa.readString();
      Serial.print(LoRaData);
    }

    String temp = LoRaData.substring(2,7);
    String hum = LoRaData.substring(8,13);

    temperature = temp.toFloat();
    humidity = hum.toFloat();
    Serial.println("");
    Serial.println(temperature);
    Serial.println("");
    Serial.println(humidity);

    //print RSSI of packet
    int rssi = LoRa.packetRssi();
    Serial.print(" with RSSI ");
    Serial.println(rssi);
  }
}

/*
  Since Temperature is READ_WRITE variable, onTemperatureChange() is
  executed every time a new value is received from IoT Cloud.
*/
void onTemperatureChange()  {
  // Add your code here to act upon Temperature change
}

/*
  Since Humidity is READ_WRITE variable, onHumidityChange() is
  executed every time a new value is received from IoT Cloud.
*/
void onHumidityChange()  {
  // Add your code here to act upon Humidity change
}
My device didn't get recognized by Cloud sketcher, but, using the full editor, the device is recognized and I'm able to upload the sketch to the device.
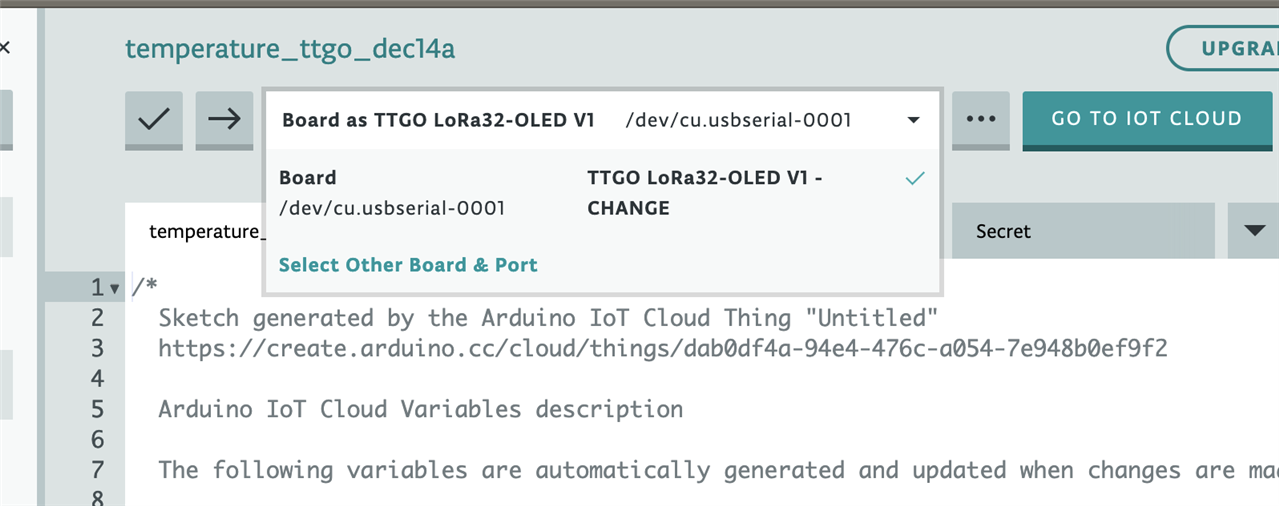
After there it is, uploading..

Now, in the serial console tab, receiving the temperature from the other module - the one with the DHT22
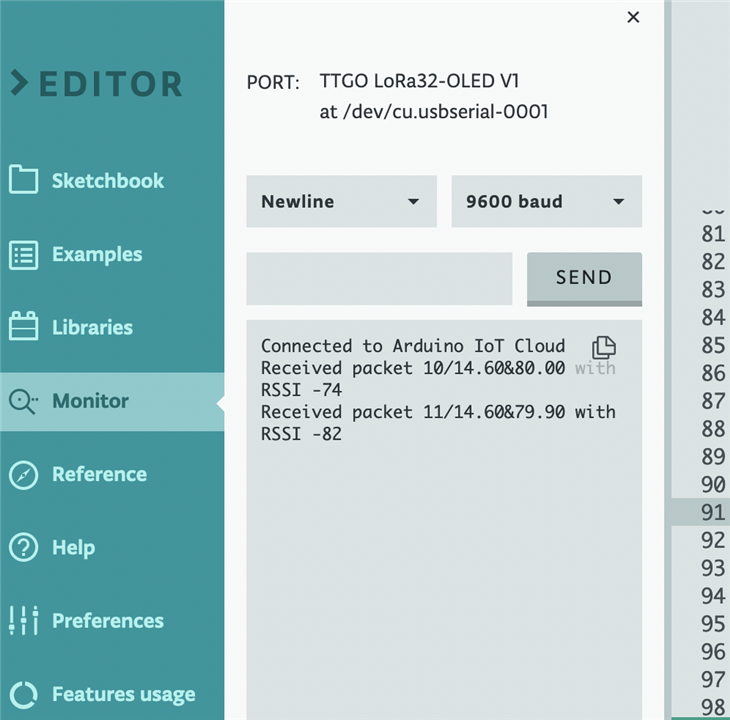
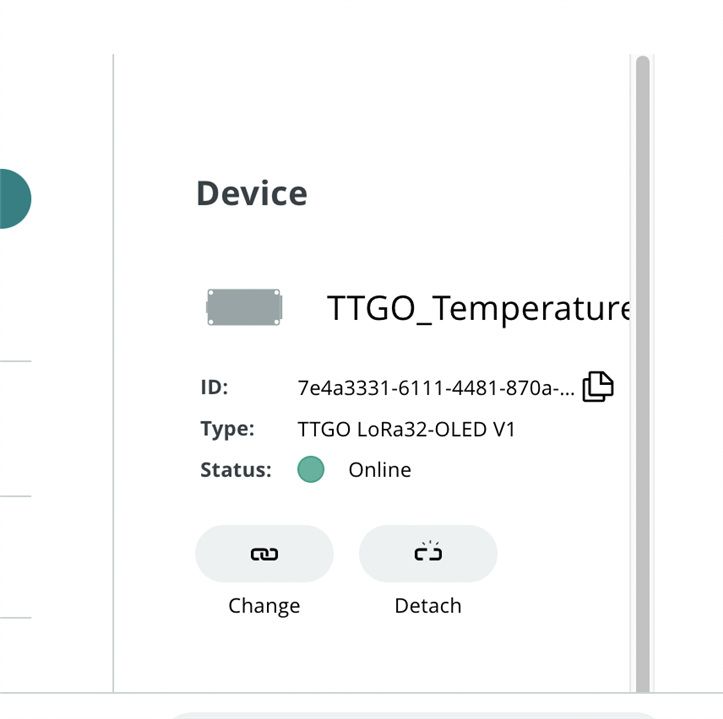
Here's the device online - but not recognized by IoT Cloud.. Strange...
After this, I created a dashboard and displayed the variables in it.
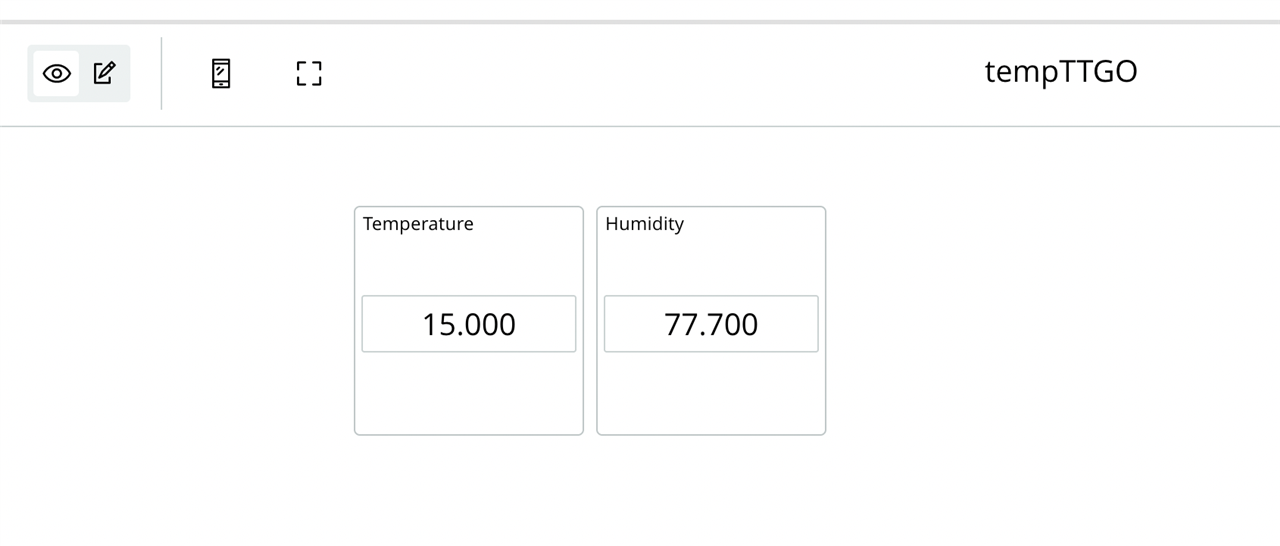
And here it is, Lora to Lora to Arduino IoT Cloud using two TTGO ESP32 SX1276.
Let's wait for the Arduinos MKR WAN 1300 to arrive and start real !
