


Unboxing the Challenge Kit

In the previous two articles, I introduced Tiltie, the Smart Tilting Bin, and developed the first mechanical design based on recycled materials and a compact tilting mechanism. With the challenge kit now in my hands, I can finally start validating some of the key assumptions behind the project, including the yoke mechanism, sensor placement, and the overall electronics architecture that will bring Tiltie to life.
After a week of dealing with the FedEx AI agent that handles customs clearance in Spain, the box containing the kit for element14’s “My Project is Trash” challenge finally arrived at my home in perfect condition.
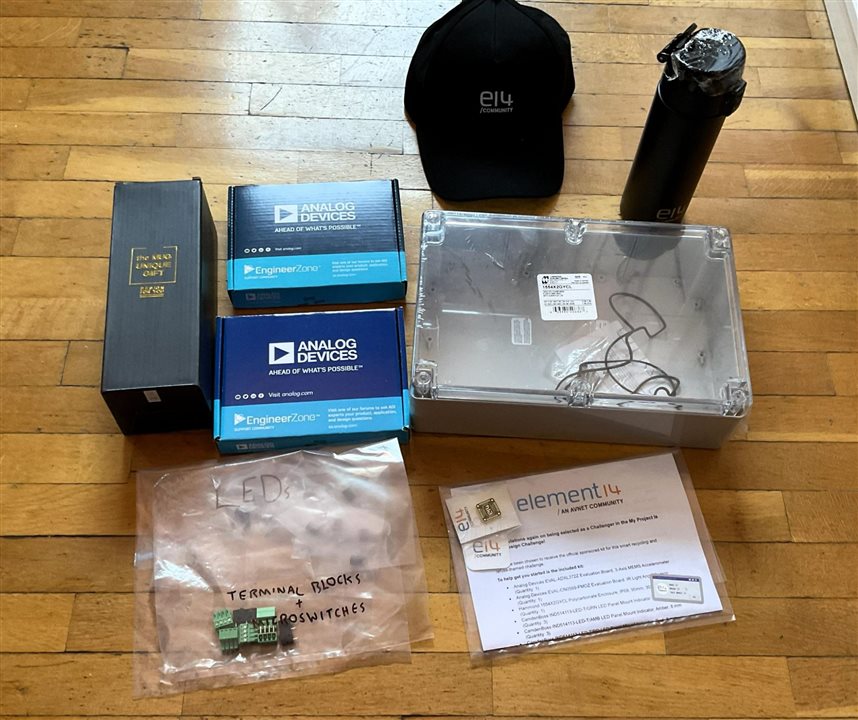
The package includes all the components for the challenge, along with several very welcome surprises: a 100% cotton cap featuring a subtle e14/community logo, which will help protect my bald head during my walks, an elegant black thermal bottle (also with the e14 logo) that has already caught the eye of several people at home. In addition, there were some new stickers and a curious e14 pin.
The kit also comes with a welcome letter containing challenge instructions and a detailed packing list. This is a great improvement over previous design challenges, so congratulations to the e14 team for the excellent work.
Without further ado, here are some photos of the kit.
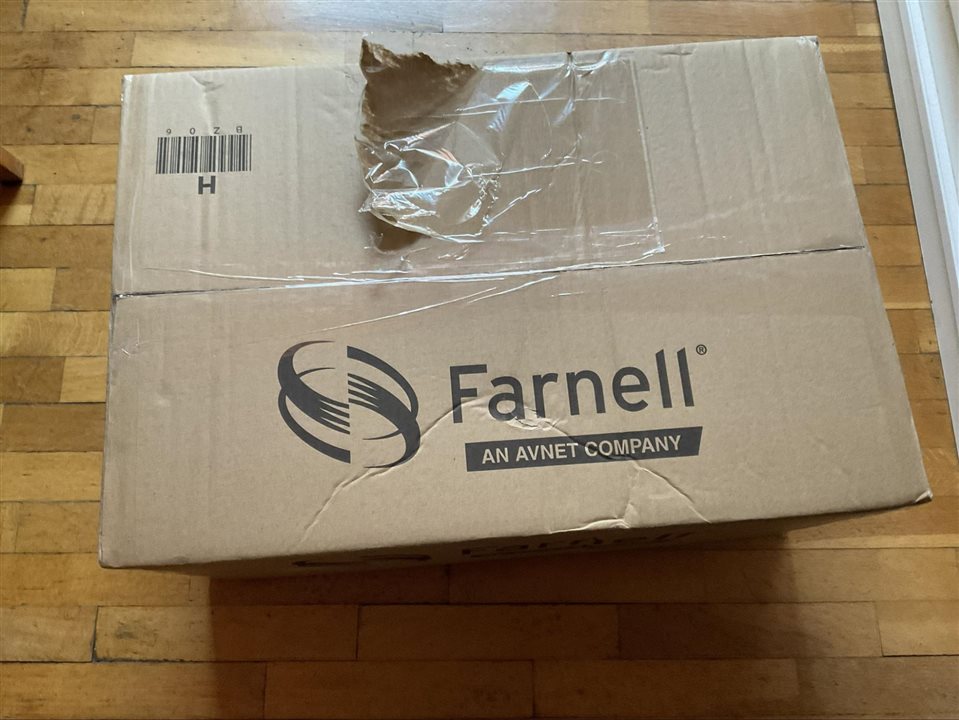
The first thing that caught my attention was how large the shipping box was compared to what I was expecting. Everything was very well protected:
Inside, I found all of this:
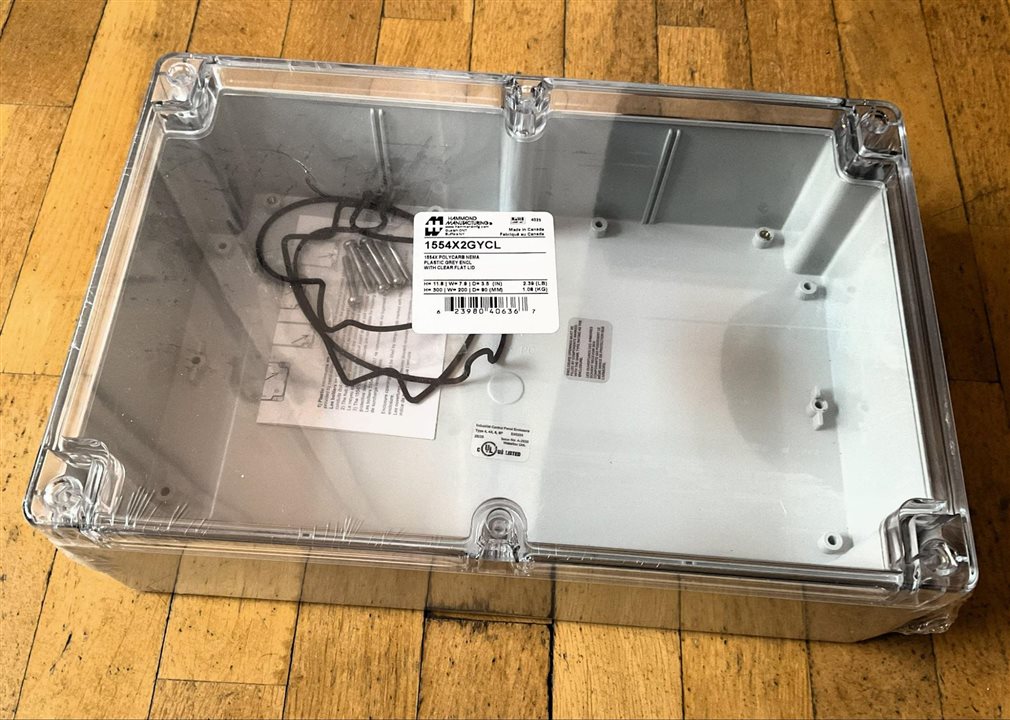
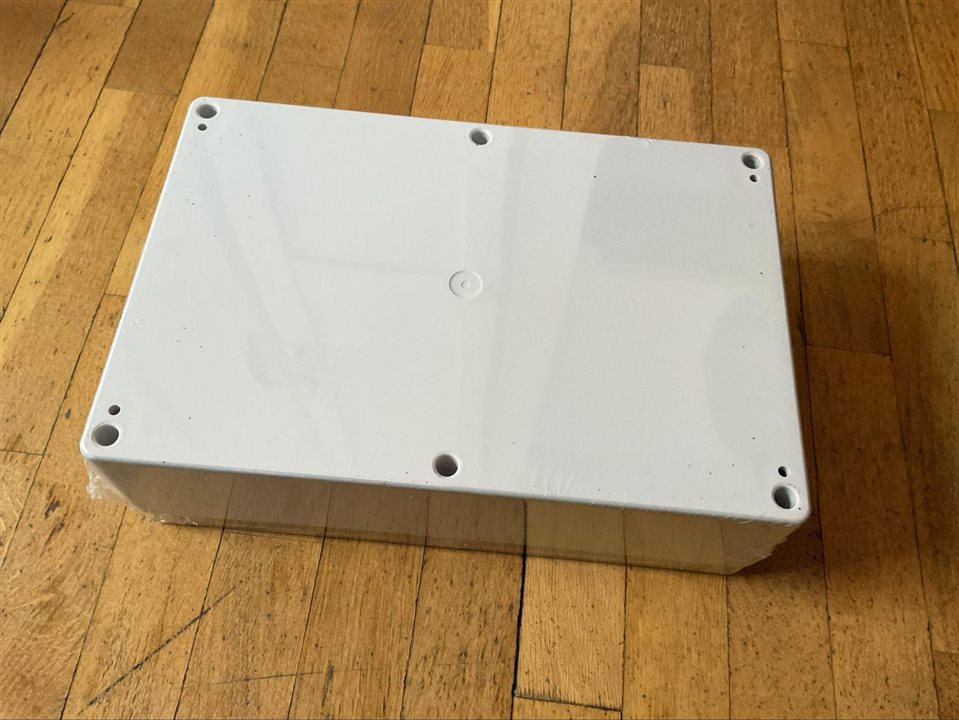
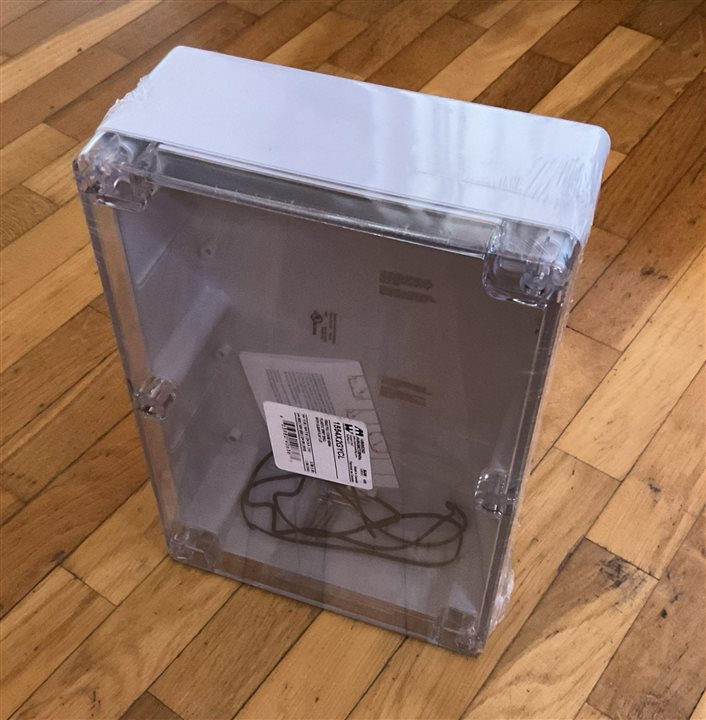
The Hammond enclosure turned out to be slightly larger than I had expected. I clearly didn't pay enough attention to the dimensions and had been designing around a different size. That's what happens when you overlook the details!
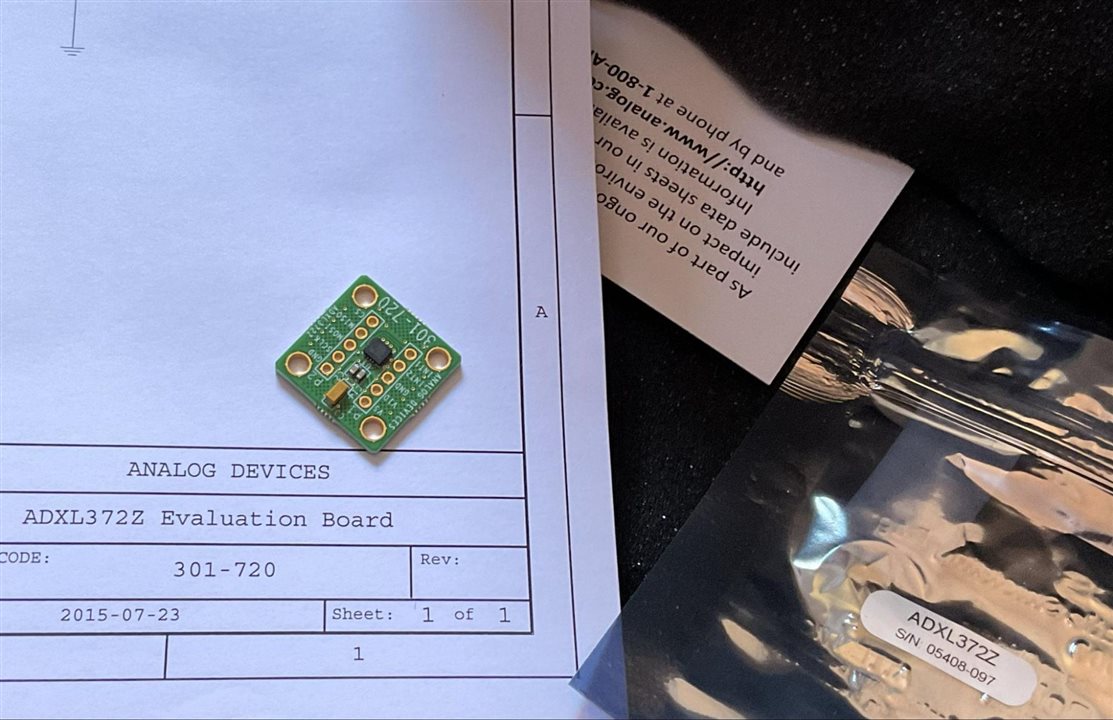
Inside the two Analog Devices boxes were the evaluation boards:
An evaluation board for the ADXL372 accelerometer, complete with schematic documentation and featuring an SPI-only interface. I plan to use it to detect impacts and capture vibration signatures when objects collide with Tiltie's tray.
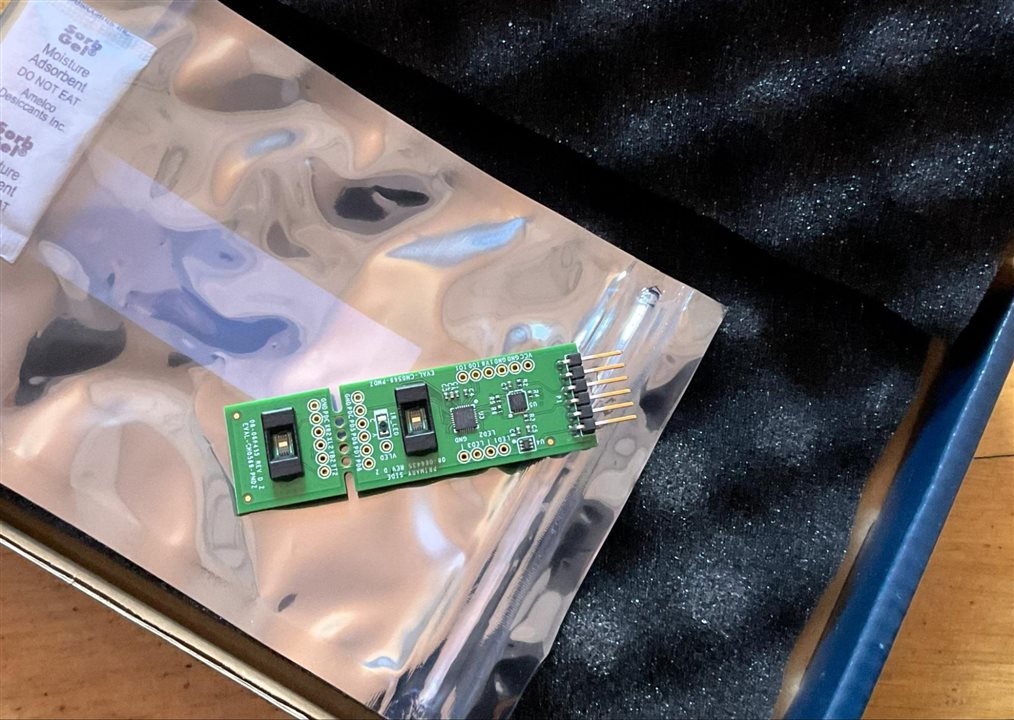
The second board is the Analog Devices EVAL-CN0569, which I will use to help Tiltie to label samples, act as a presence detector to activate the remaining sensors, and serve as the user interface for a gesture-controlled game.
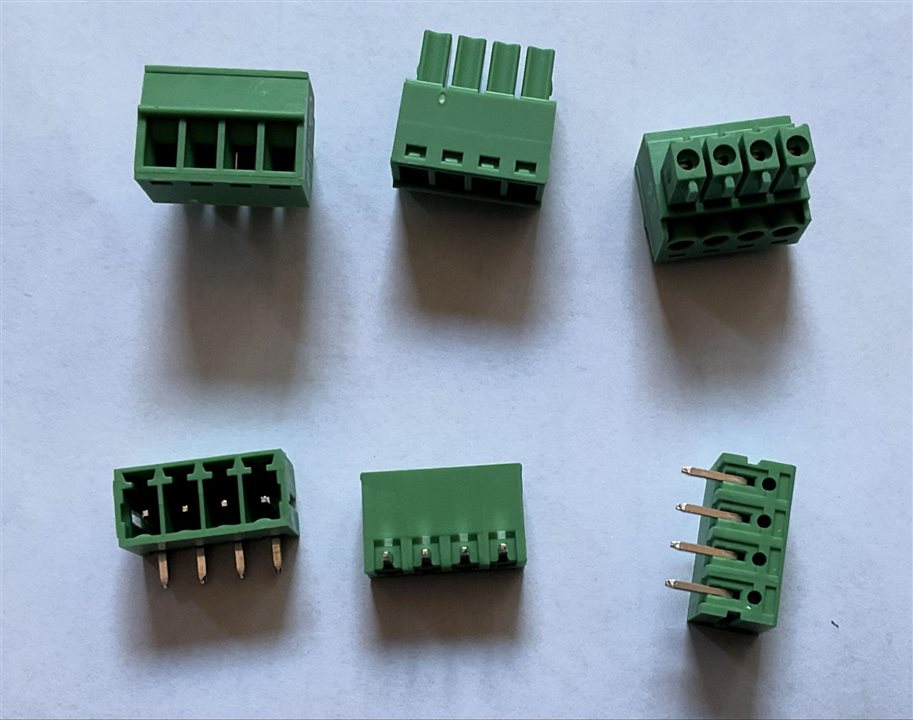
The remaining items, which are no less important, include CamdenBoss terminal blocks that I will use to connect groups of CamdenBoss indicator panel LEDs and to provide communication between a Raspberry Pi CM4 and the Raspberry Pi Pico that will control Tiltie's motors.
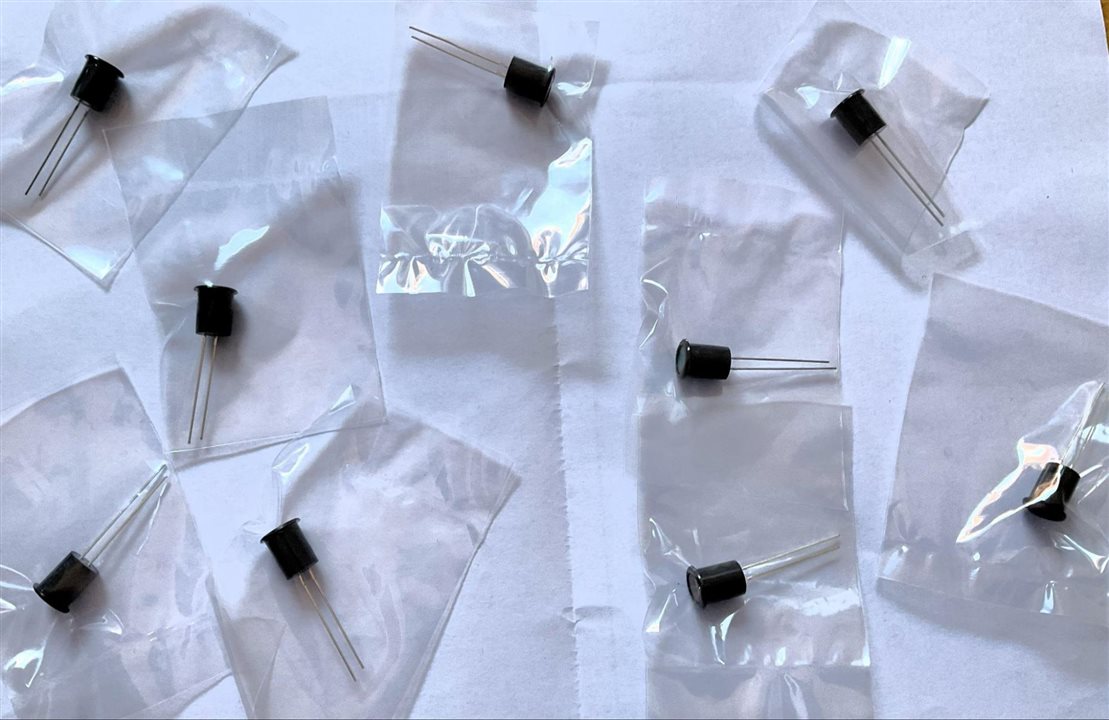
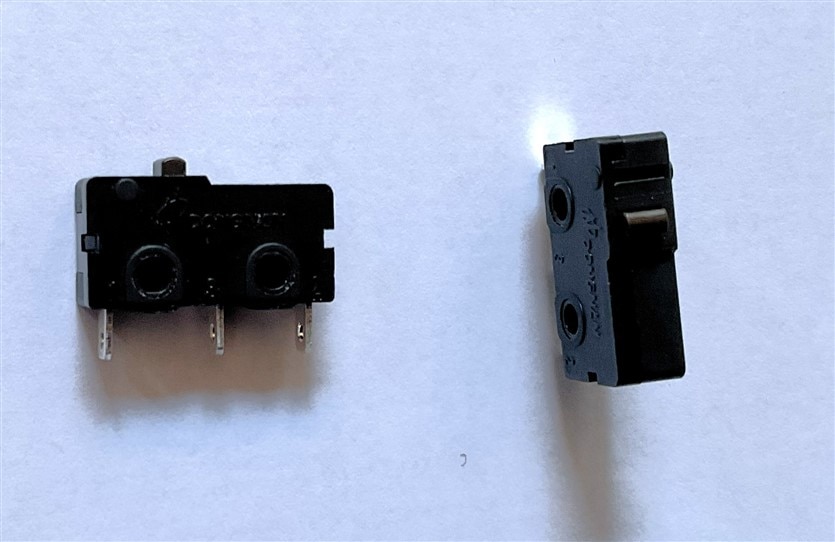
Finally, there are two SPDT microswitches that I will adapt and use as limit switches for the stepper motor responsible for rotating Tiltie's tray.
Project Updates
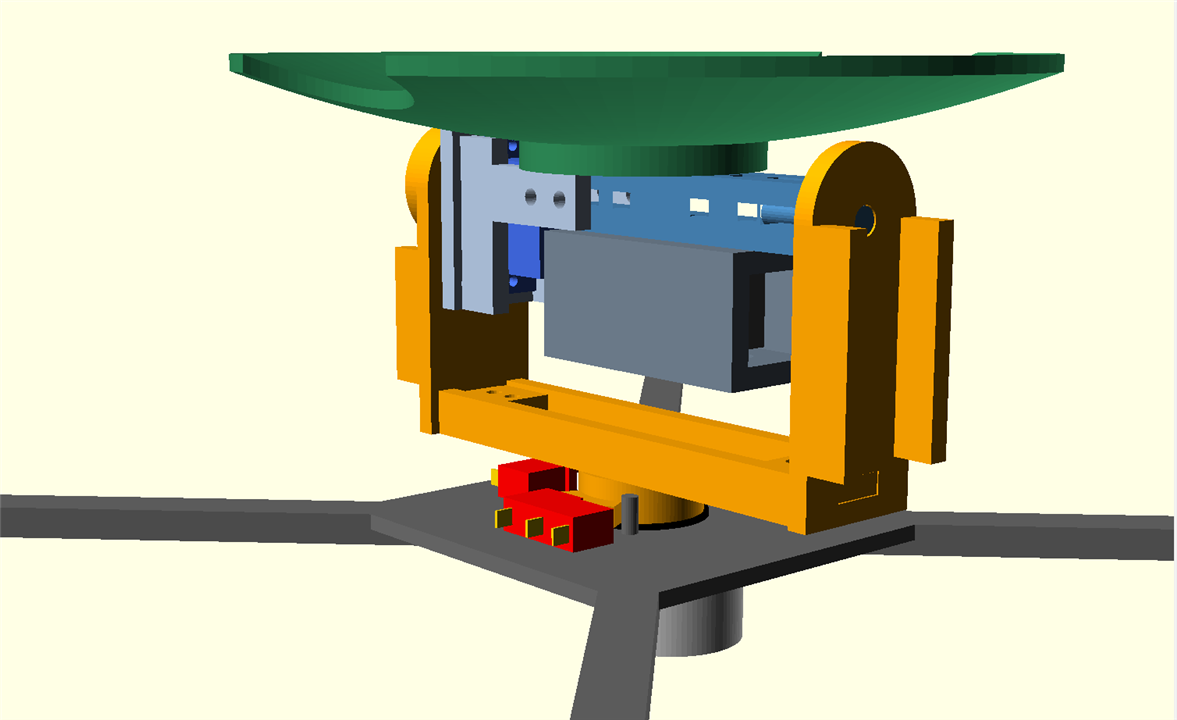
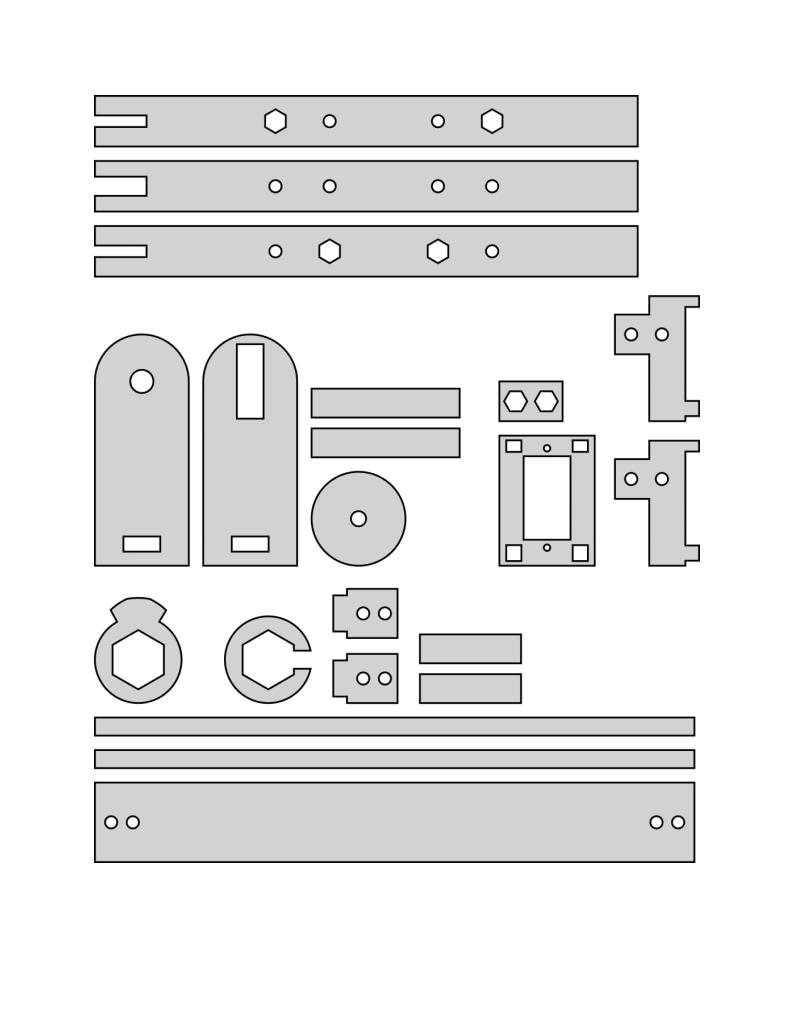
While waiting for the components to arrive, I continued working on the mechanical design. Specifically, I've been developing a version that can be built from reclaimed plywood panels and other repurposed components, eliminating the need for 3D printing.
This is what the design currently looks like. I've also added a few plywood reinforcement ribs to improve overall rigidity.
And these are the individual parts prepared for cutting or printing. Wide and compact versions of the mechanism:
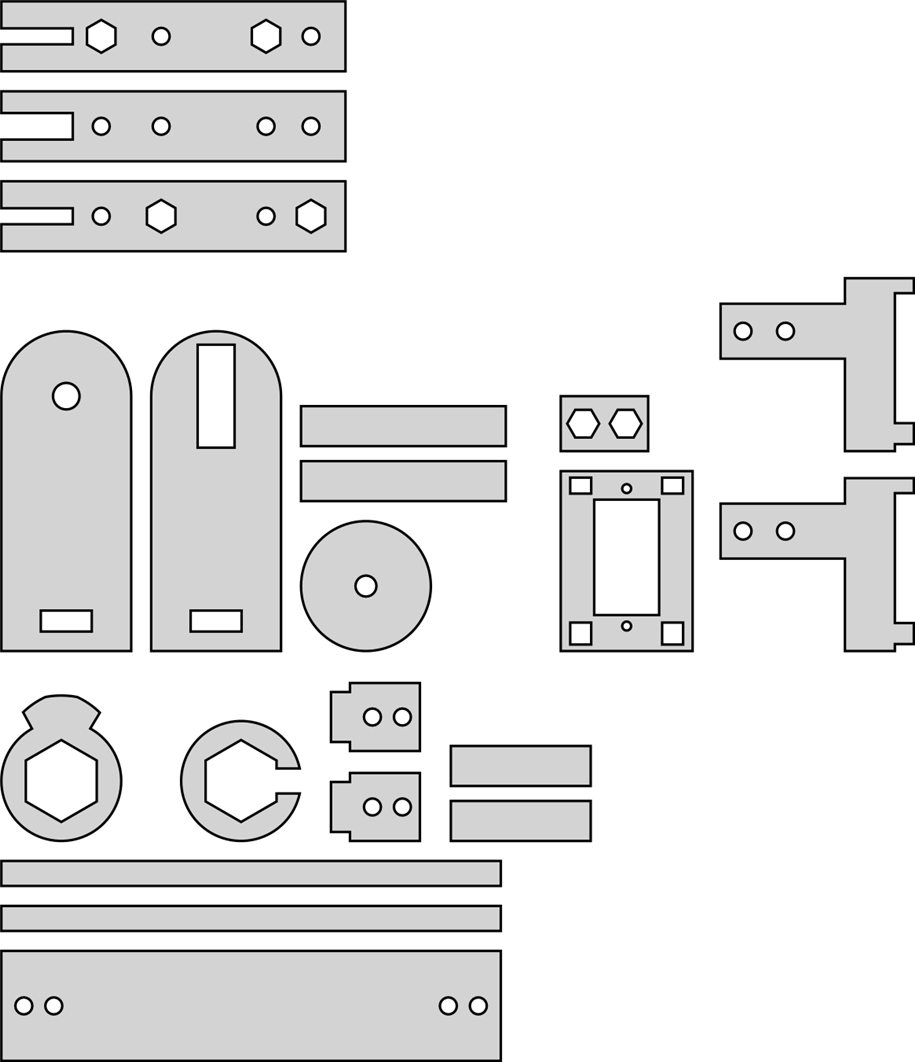
Now that I have the kit at home, I can clear up my main questions: whether the yoke’s cam mechanism will be able to actuate the microswitch, and where and how I should position the IR sensor and the accelerometer.
Want to Follow the Complete Journey?
This is the third article in the Tiltie series. You can find all previous and future project updates in the Tiltie tag page:
See you in the next update!