In blog #2, I described the setup of the equipments, software and cloud in general. In this blog, I am going the talk about some specifics about the smart farm's IoT setup. The overall setup of the farm will look like the following. Here only one smart sensor is shown. Depending on the size of the farm, additional smart sensors can be installed.

At this inital phase, the farm will use only the smart sensor. Other type of sensor equipments may be used when the need arises. The smart sensor can provide the temperature, humidity, light and additional custom sensors' data.
Gateway and Smart Sensor
With the Gateway registered on the Omega Layer-N Cloud, as shown below, I can start attaching a smart sensor to the gateway.
My smart sensor data was configured with the TC,T,H,L setting.
Omega Layer-N Cloud
After pairing the Smart Sensor, my cloud Dashboard will look like this:
At the top on the dashboard, the lastest temperature, humidity and light sensor data are displayed. The TC sensor was not used. Battery status was shown as well.
And the bottom part of the dashboard displayed the charts of the various sensors' data:
Here is the dashboard after collection some sensors' data.
Smart Farm mock scenario
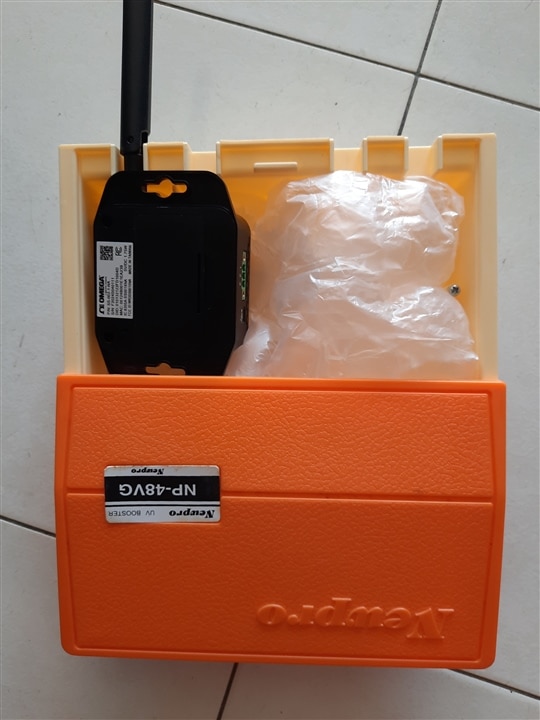
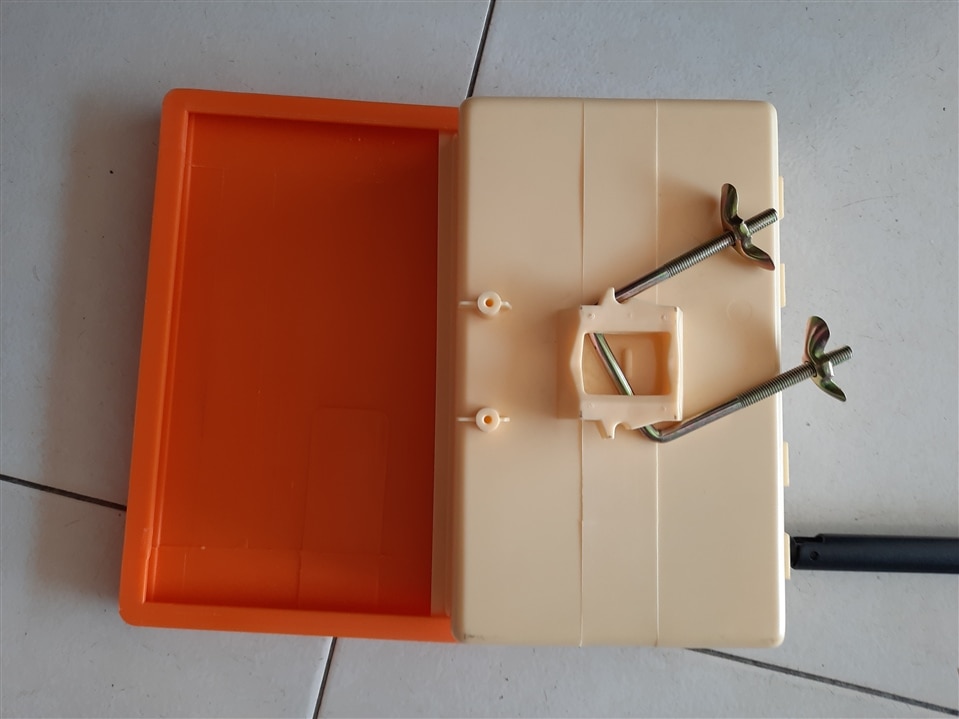
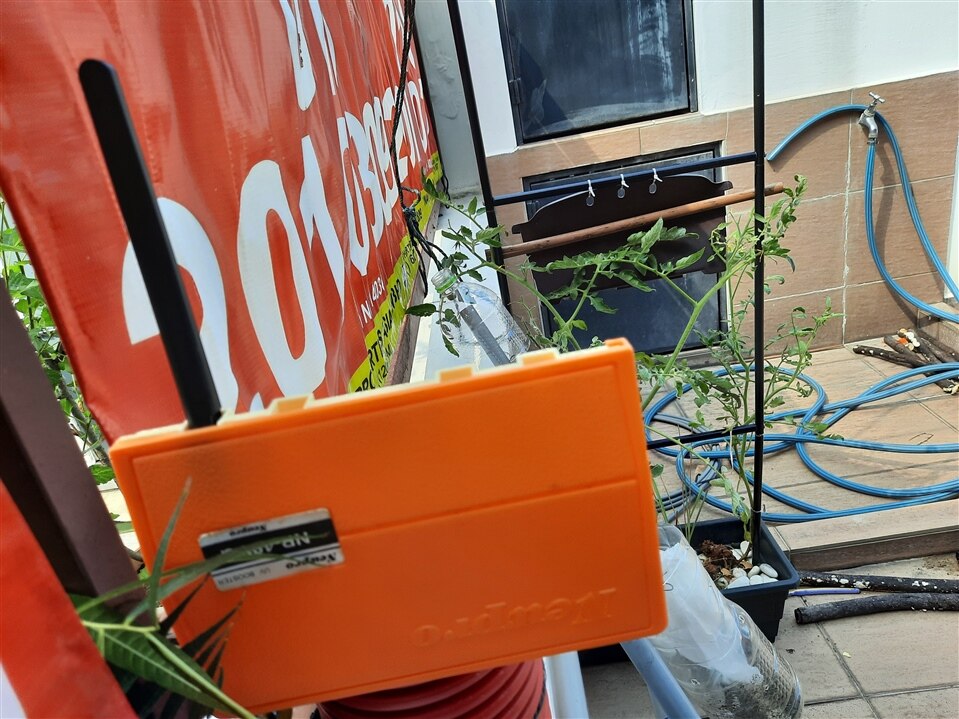
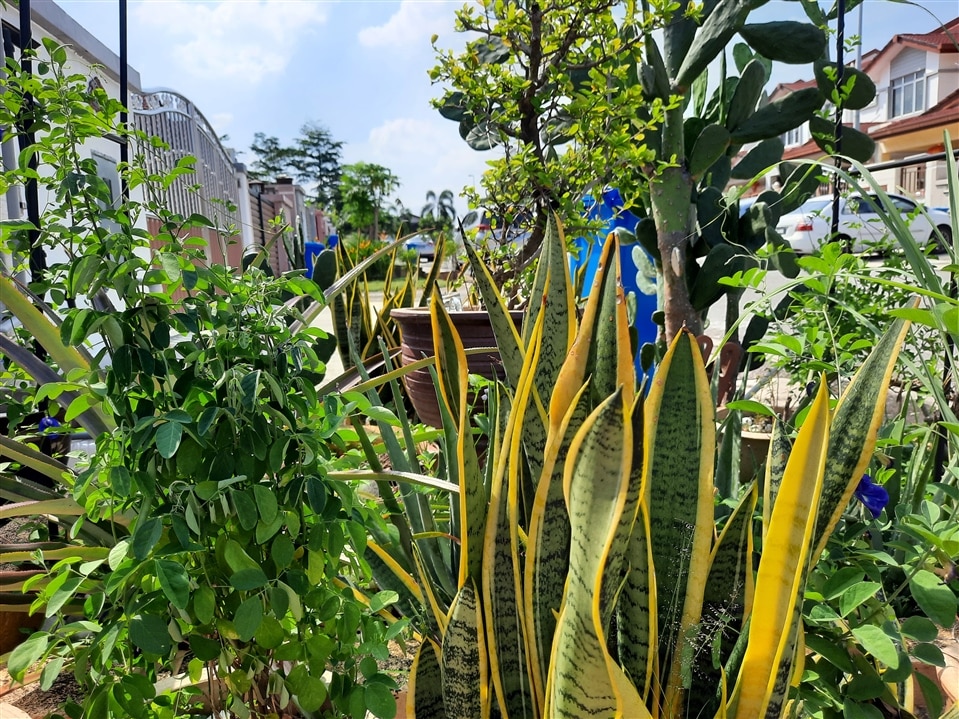
This smart farm project is still work-in-progress. The farm site is not ready yet. Hence I am making the garden outside my house as a test ground. I attached and hung the smart sensor to one of the frame in the garden. The sensor was housed inside a plastic enclosure. The gateway was placed at a corner inside the house.


.
